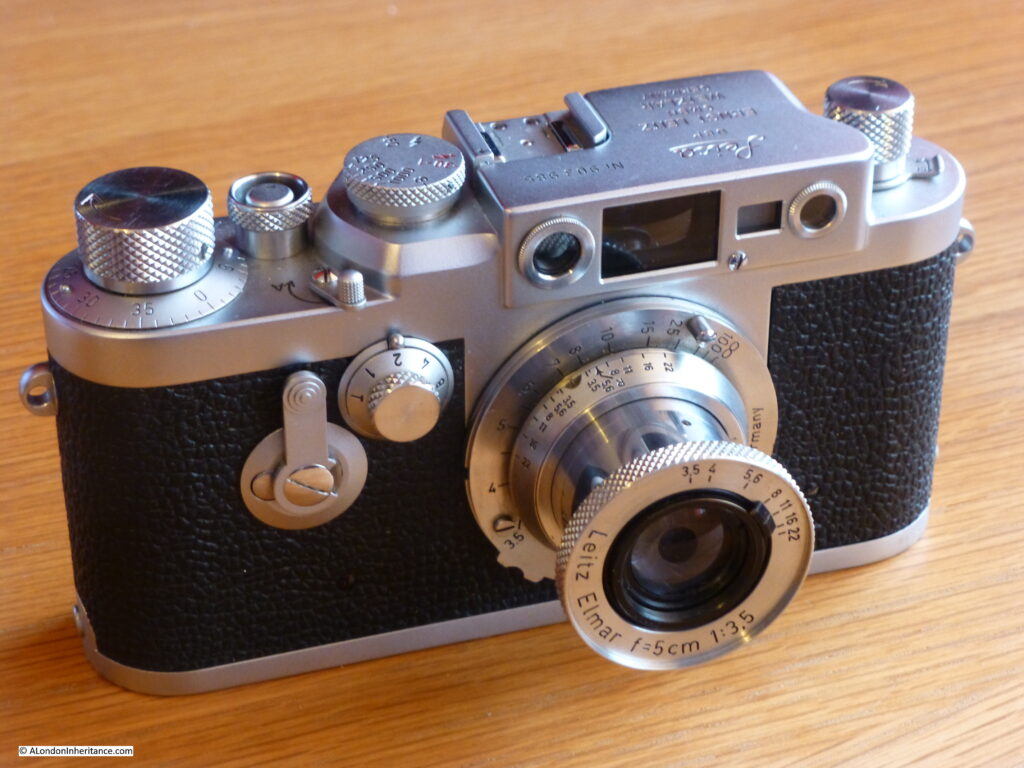
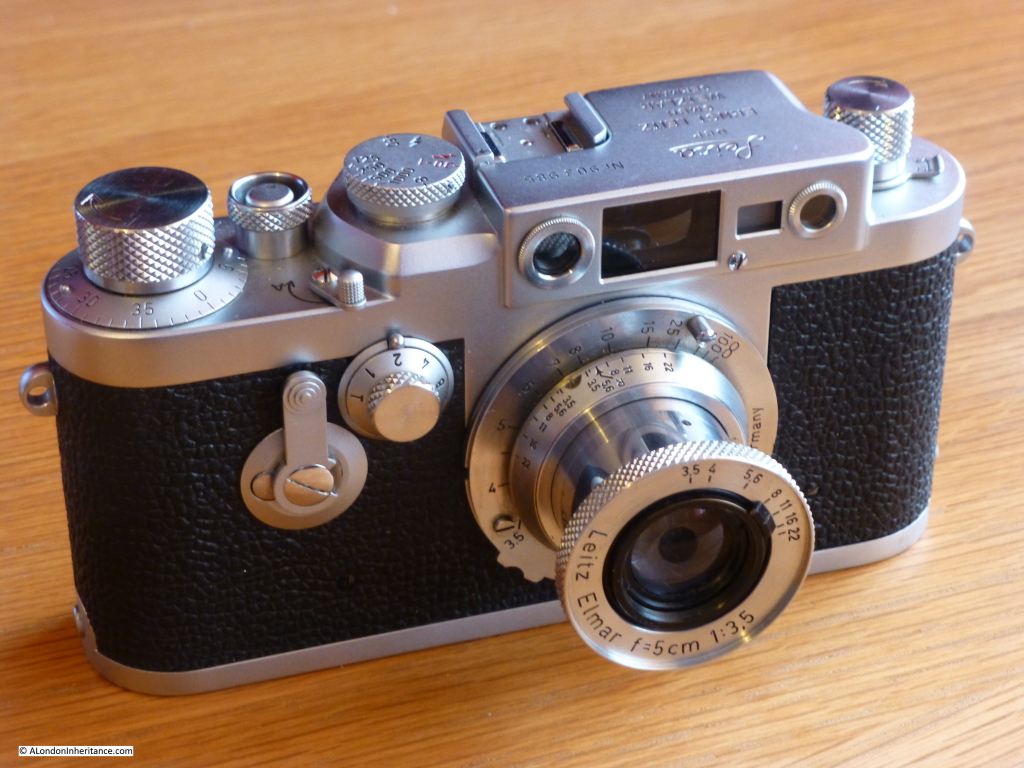
I hope you will excuse a rather self indulgent post this week, but it is a post I have been wanting to write for a long time – my first attempt at using my father’s Leica IIIg camera.
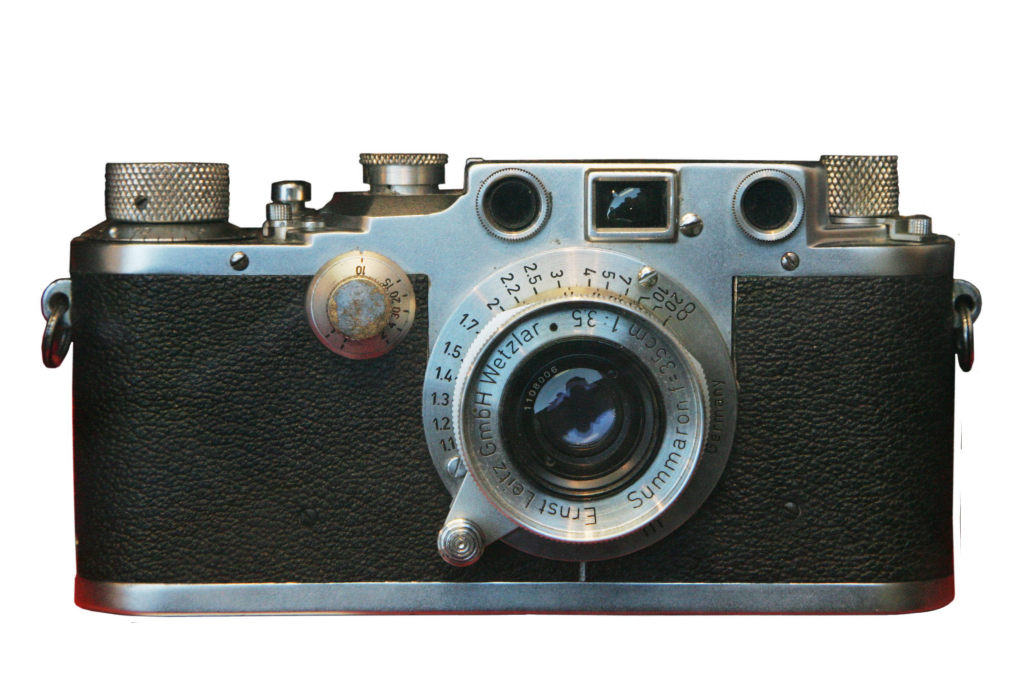
He used two main cameras for the 1940s and 1950s photos. A Leica IIIc for the earlier and a Leica IIIg for the later photos. He sold the IIIc to help pay for the IIIg, and gave the Leica IIIg to me about 20 years ago.
He last used it at the end of the 1970s, when it developed a problem with the shutter sticking, and rather than getting it repaired, he purchased a new SLR camera.
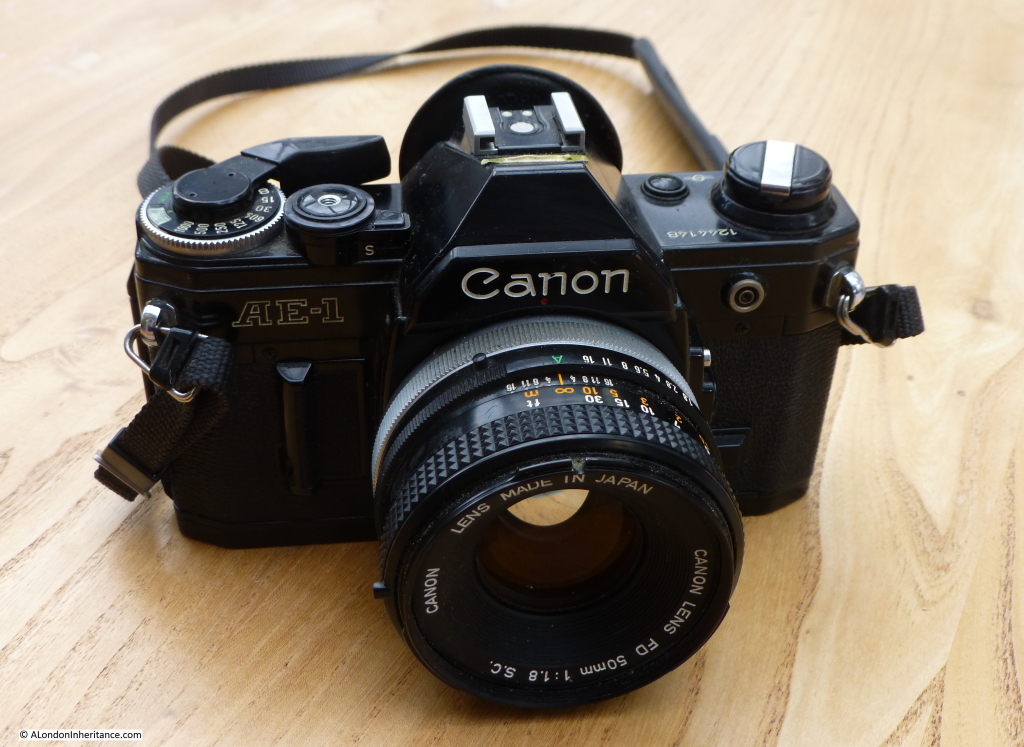
I have been wanting to use the camera for some years. A couple of years ago I had it repaired to fix the sticking shutter problem, and a few weeks ago I finally had the time to learn how to use the camera. I purchased some film, and took the camera on a walk through London to take a reel of film and see how it performed – mainly how I performed using a very different camera to my digital cameras and my old Canon AE-1 film camera.
The Leica IIIg is completely manual. Everything has to be set, shutter speed, the aperture opening of the lens and the focus. The film also needs to be moved to the next frame ready for the next photo.
The Leica IIIg:
The lens is not the lens meant for the camera. It is from my father’s earlier Leica IIIc. He wrote the following in his notes to the camera “the lens is not the standard lens that should accompany the body, but is from my previous Leica IIIc bought, because it was the best lens to be used in both camera and enlarger”.
He developed and printed his own films, therefore the reference to the enlarger is to the item of equipment that you would use to shine a light through the negative and focus onto photo paper during the printing process. The lens would be unscrewed from the camera and placed in the enlarger to allow negatives to be printed onto photo paper.
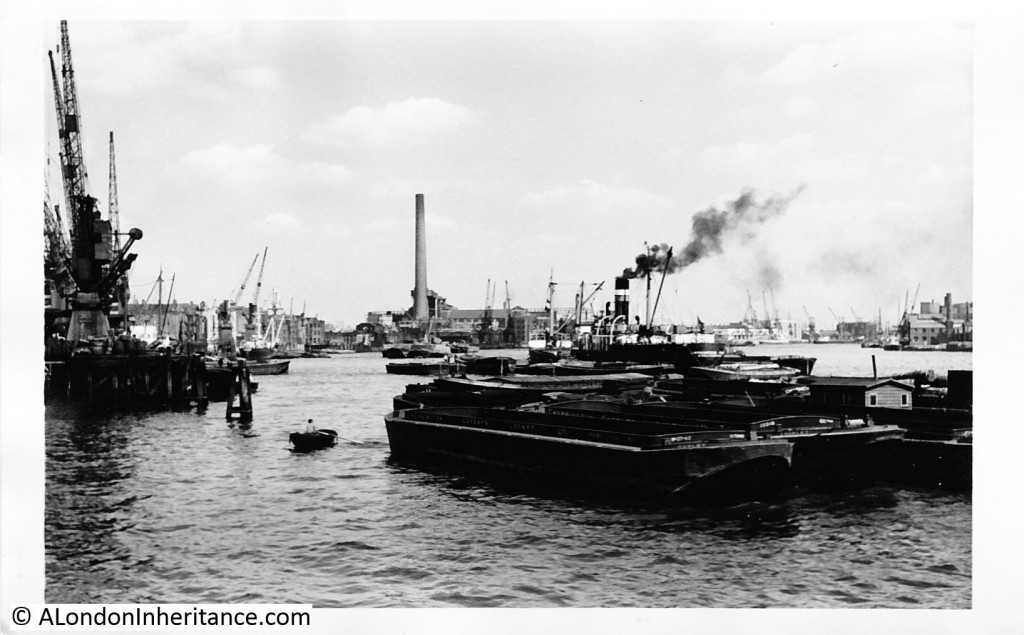
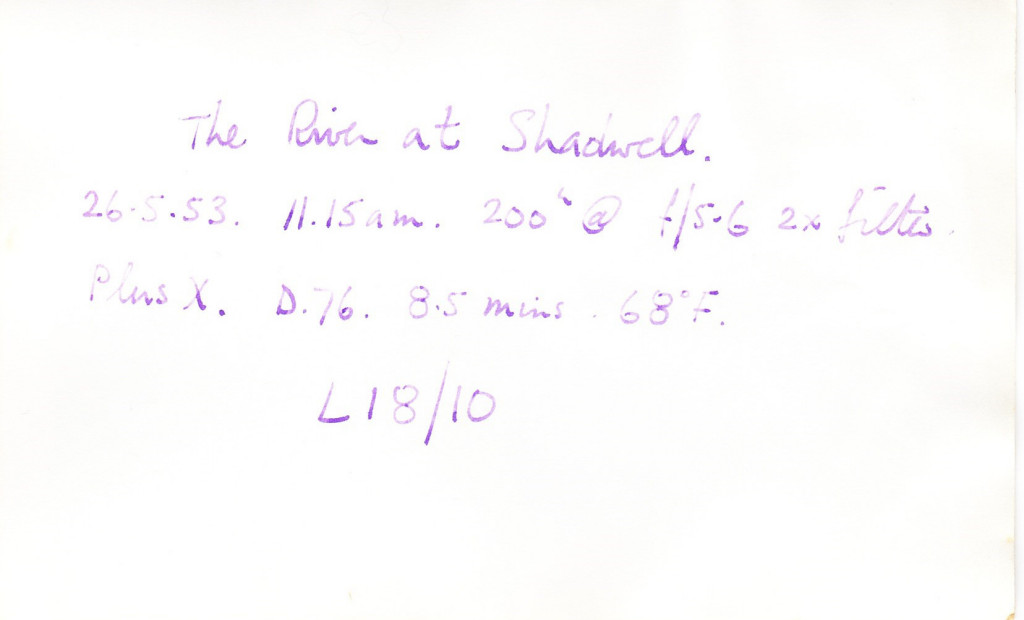
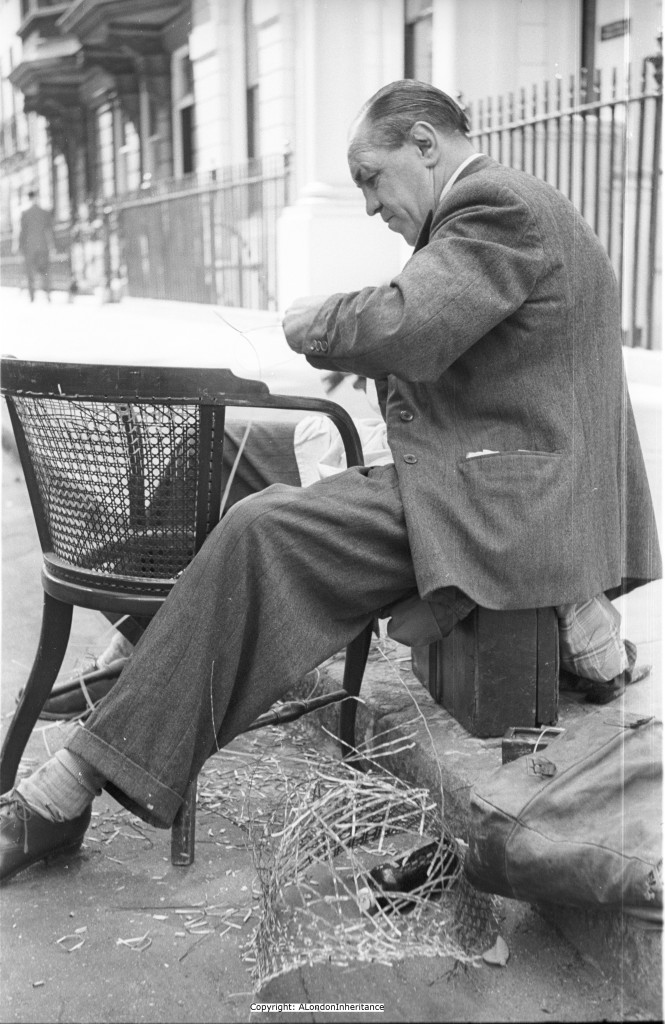
The lens is therefore the lens through which the majority of my father’s photos which I feature on the blog from the 1940s and 1950s were taken.
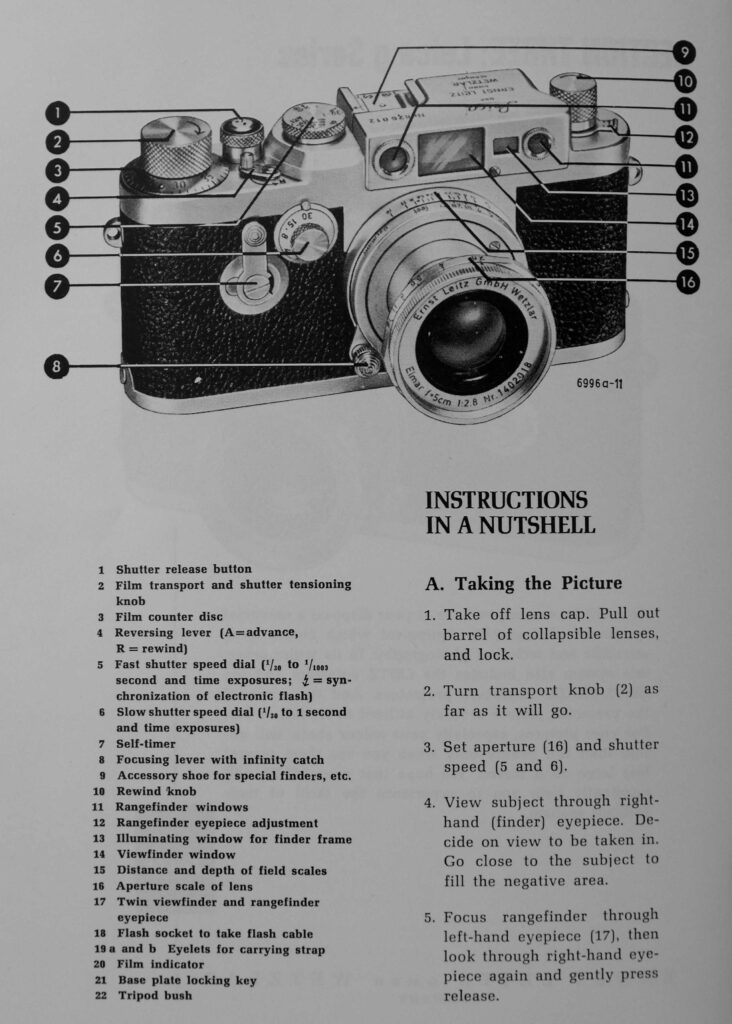
Luckily, I have the instruction booklet that came with the camera, and a diagram in the booklet details all the functions of the various knobs, levers and windows on the camera.
You may have noticed there is no light meter on the camera, to measure the amount of light and therefore setting the correct speed and aperture – I will come on to this later.
You may also be asking why on earth I would want to use such a camera, limited to 36 photo films, with the cost of film and developing, when digital cameras are so good, and after buying the camera, the cost of photos is almost zero?
A couple of reasons. Obviously the sentimental one that it was the camera and lens that my father used for so many of his early photographs, but also because using such a camera really forces you to think and perhaps relearn the whole process of photography.
The number of photos available on each roll of film, and the cost of film and processing means you really have to be selective and think about the photo you want to take – I could not take the 200 to 400 photos that I would normally take on a walk around London.
It also makes you really think about light. Having to manually measure the light coming from the scene you want to photograph, deciding the combination of speed and aperture, focusing on the specific object you want to be the focus of the photo, all combine to make you think more about the process. I know all these combinations of manual options are available in many digital cameras, but so often using the auto option is the easiest way, along with the internal light meter.
The first challenge was to load the film.
The choice of film was relatively easy. I went with Ilford FP4 Plus. The reason being it is a very tolerant film which “will give usable results even if it is overexposed by as much as six stops, or underexposed by two stops” (a stop is basically either the halving or the doubling of the light hitting the film, so the film can still give good results if too much or too little light hits the film for the ideal photo).
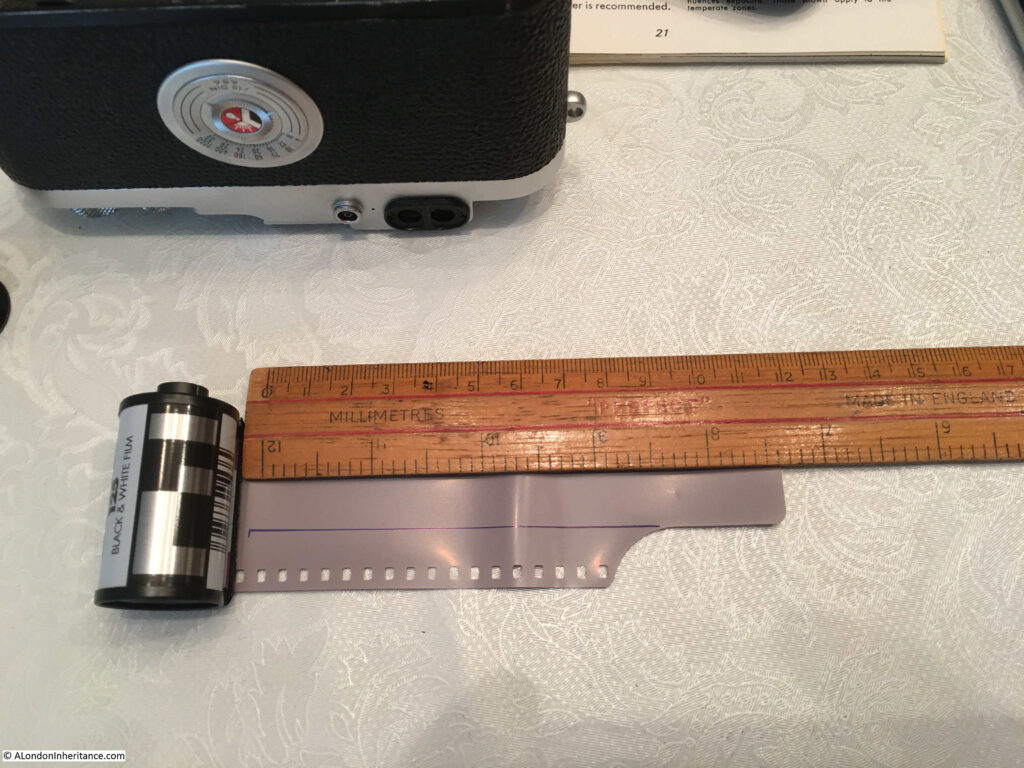
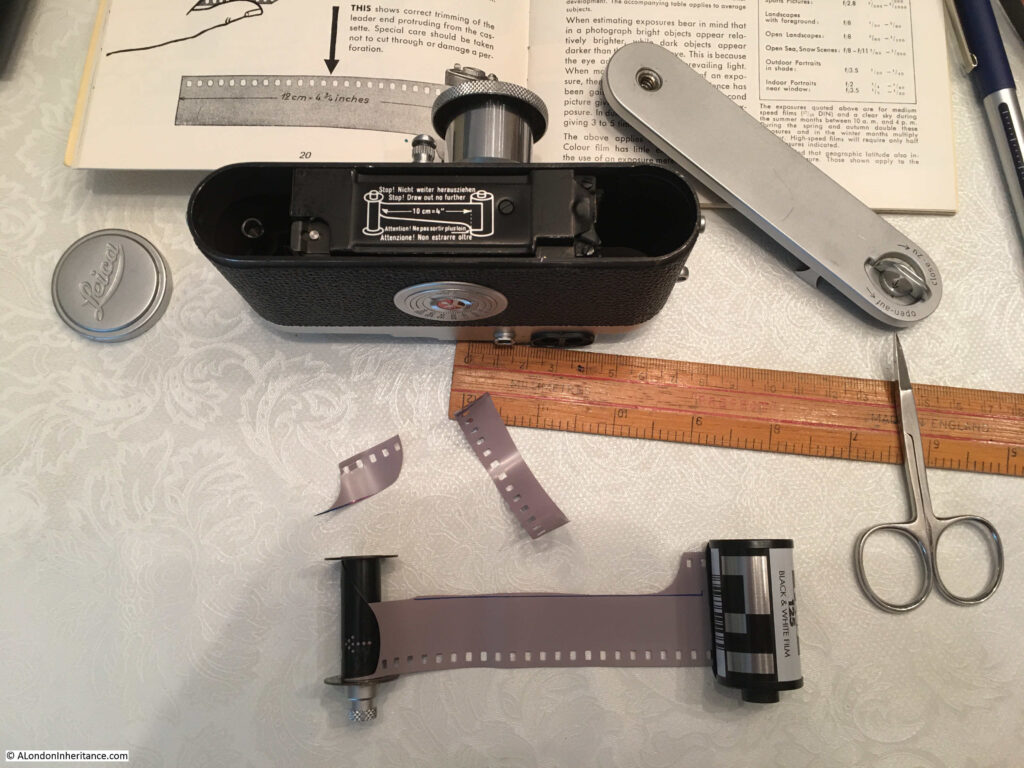
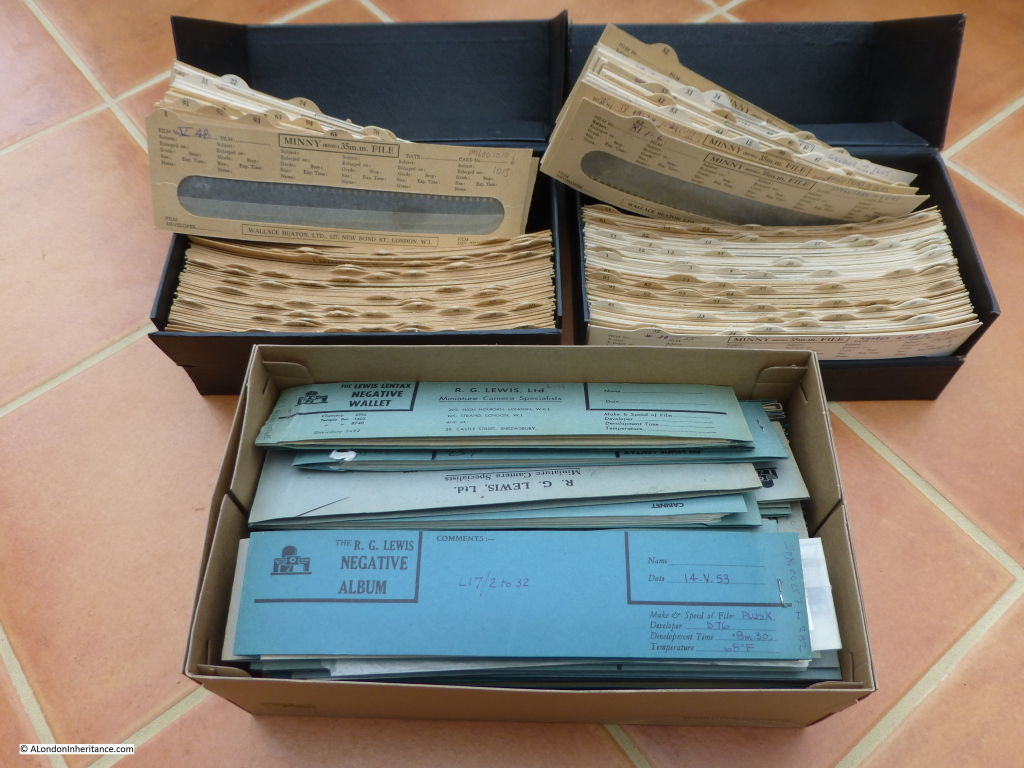
My first attempt at loading the film in the camera was not good. Firstly, the film has to be trimmed with scissors so there is a long enough length of half width film to avoid the winding mechanism, then the film needs to be securely and accurately wound onto the take up spool.
And you will not know if it has worked correctly until the film is in the camera and you start winding on the film.
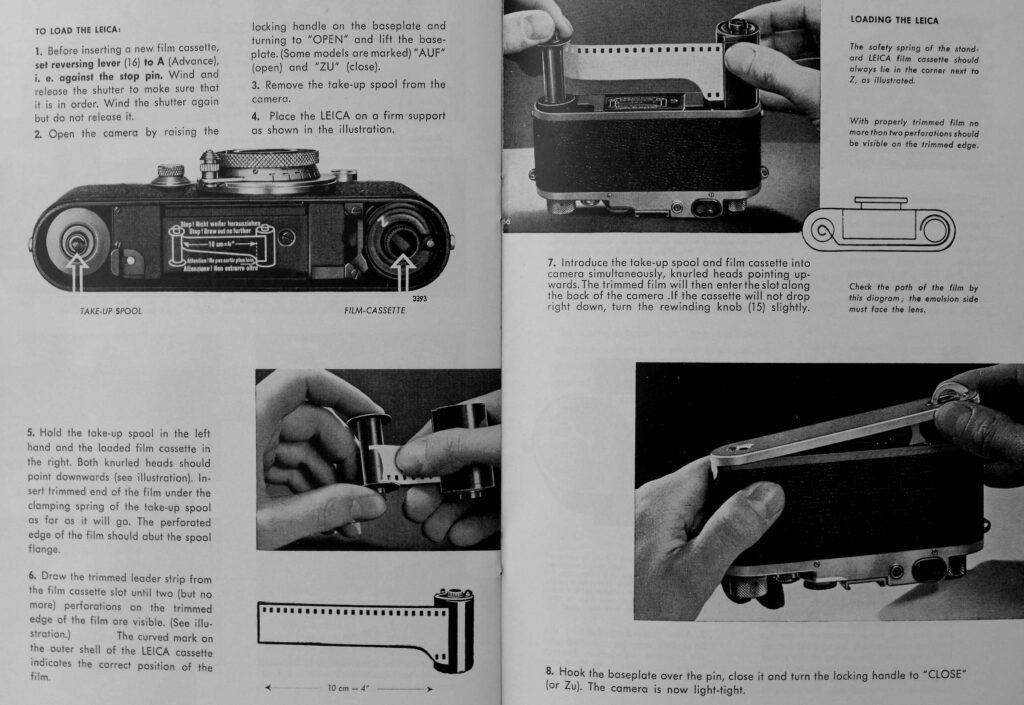
The pages from the manual detailing the film loading process:
Trimming the film – Ilford FP4 already comes trimmed, but not enough for the Leica, so I had to measure and cut a longer trimmed length of film. There must be a winding mechanism at the top of the slot behind the lens, which the film cannot be inserted over, but engages with when the film is pulled through the camera.
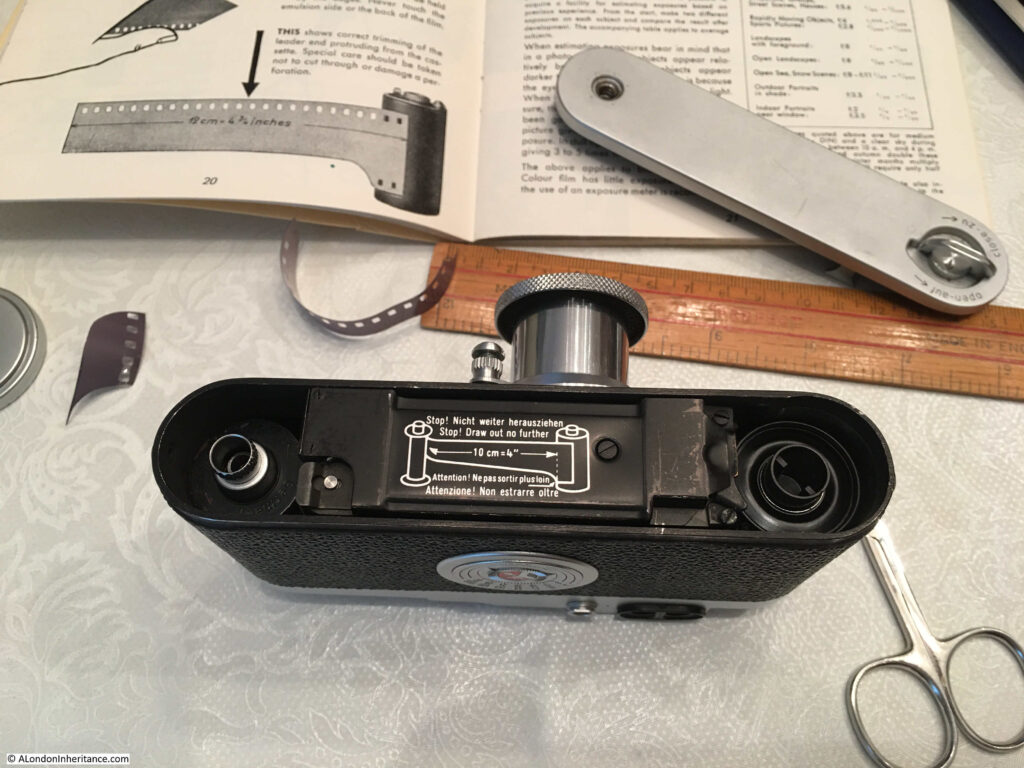
The end of the correctly trimmed film then needs to be inserted into the take up spool. This is where I had most problems as the film has to be parallel with, and tightly up against the lower end of the take up spool as in the following photo. If the film is not correctly positioned (as I found on the first two attempts), the film does not grip and wind onto the take up spool.
The film cassette, film, and take up spool is then carefully inserted into the slot at the rear of the camera, and the cassette and spool pushed into their positions at the two ends of the camera.
My first two attempts failed. You cannot confirm the film is inserted correctly until you try winding on the film.
There are two knobs at either end of the top of the camera. The Film Transport and Shutter Tensioning Knob – which pulls the film forward, out of the cassette and onto the take up spool after each photo has been taken, as well as tensioning the shutter ready for release. The second is the Rewind Knob that engages with the film cassette and is used to rewind the film back into the cassette when the full length of film has been used.
If the film is inserted correctly, winding the film transport knob, should also result in the rewind knob turning as film is pulled out of the cassette.
With my first attempt, the film had slipped off the take up spool, and with my second, the film was winding on correctly, but there must have been so much slack in the cassette that the rewind knob was not turning. I wasted that film as I was not sure how much film had been wound on and therefore exposed when I opened the camera to see what was going on.
With the film correctly loaded (hopefully) in the camera, there was one final element to learn before taking the camera out on the streets of London – how to set the speed and aperture correctly.
Basically, the aperture sets how much light the lens allows through to the film, and the speed is the speed with which the shutter opens, also changing how much light is let through to the film. They also impact the photo in different ways. Low speed can lead to a blurred photo of a moving object and with aperture you can change the elements of a photo which are in focus, for example by a blurred background with the foreground object in focus.
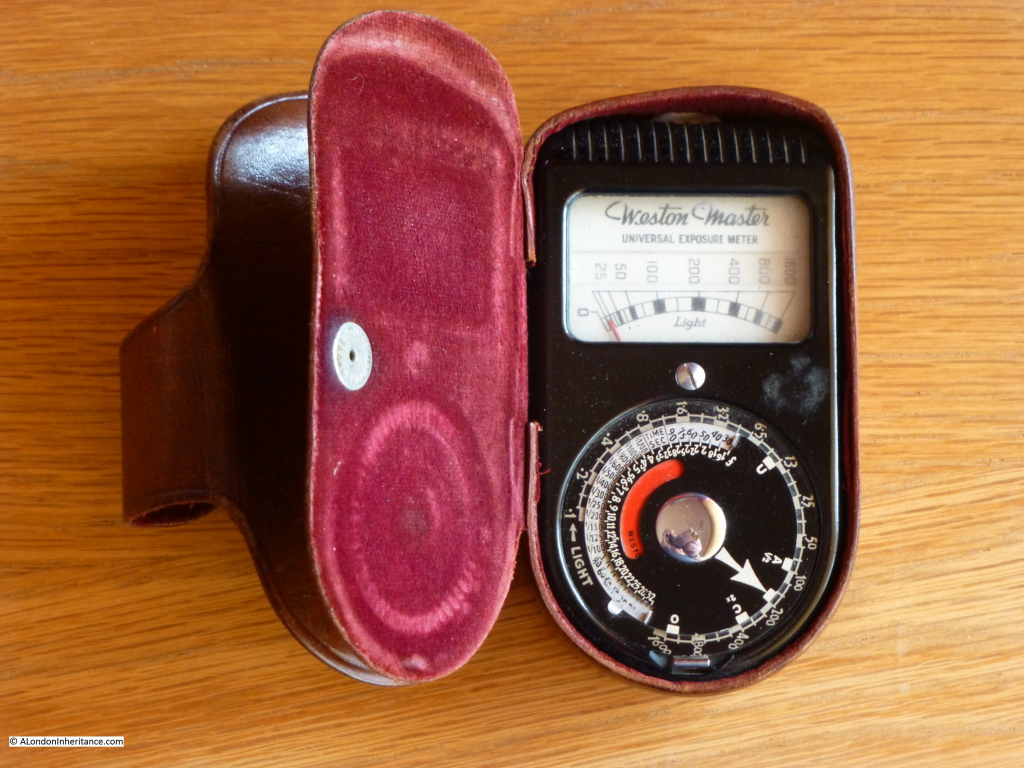
To know the correct range of settings, you need to know how much light is coming from the scene you want to photograph towards the lens of the camera. Today, cameras have built in light meters, but 1940/50s Leica’s needed a different solution, and this was by using an external, hand held light meter, and along with the camera, my father had given me his Weston Master Exposure Meter.
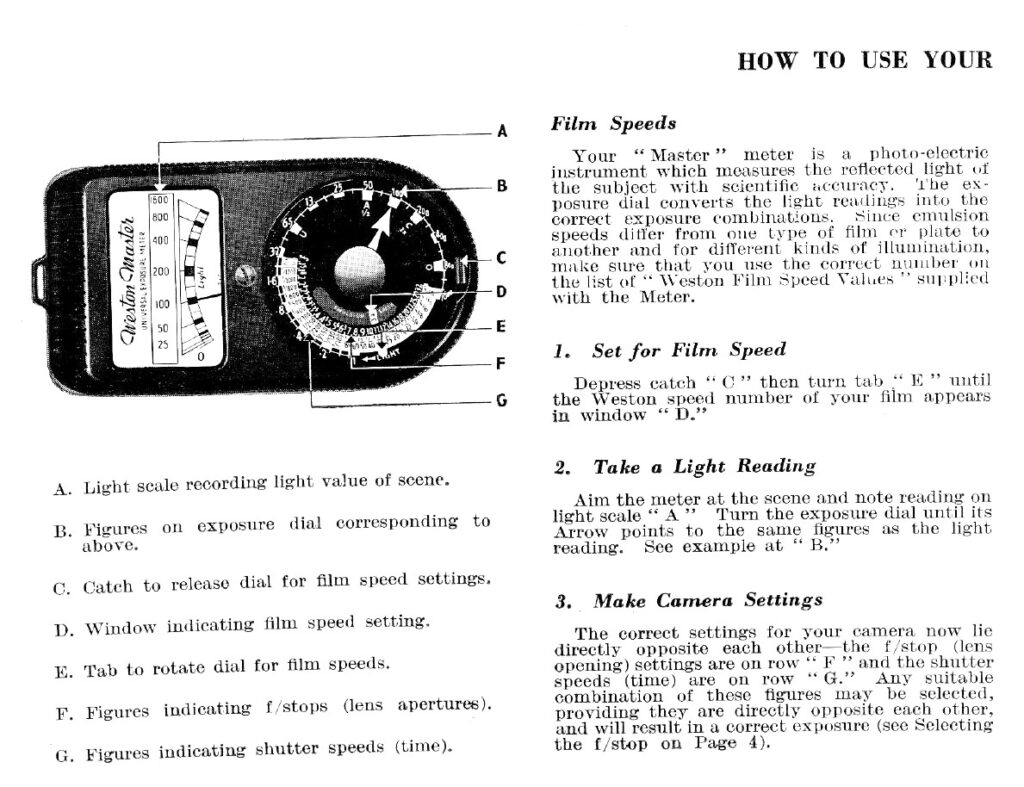
As the text describes “Your ‘Master’ meter is a photo-electric instrument which measures the reflected light of the subject with scientific accuracy”.
There is a photo cell in the rear of the meter, which generates an electric current dependent on the strength of the light. This electric current drives the pointer on the meter on the front of the meter.
The pointer, points to a scale of numbers. The light meter first needs to be set up correctly with the speed of the film (tab E and window D as described in the instructions), then the exposure dial is turned to point at the number the pointer in the electric meter is pointing at, and the range of aperture and speed combinations can be read from the scales F and G in the instructions.
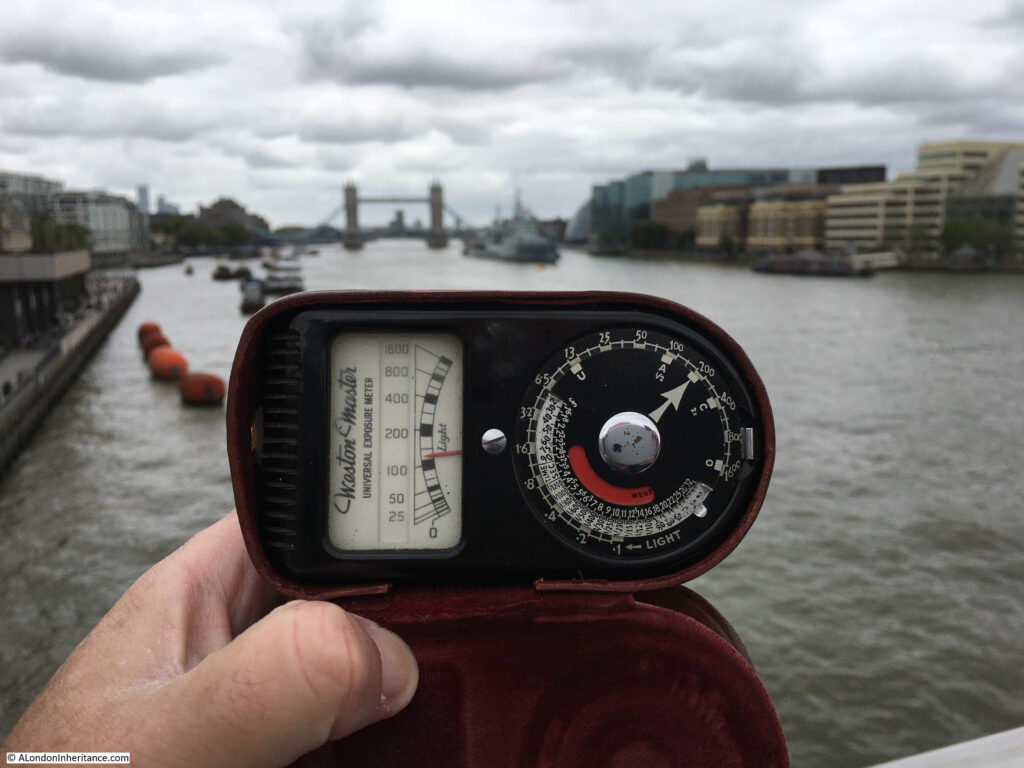
One of the problems with using the meter was that the pointer would be moving up and down depending on where I was pointing the meter in the overall scene to be photographed. It was relatively stable in a scene where there was little change in light, but looking at a combination of river, buildings and sky, the meter would change considerably with minor changes in position.
The same challenge happens with digital photography, but again using an entirely manual method really gets you thinking about light.
Using the light meter on London Bridge (photo taken on my phone which handled light measurement, speed, aperture and automatically focused without me having to do anything – how photography has changed)
So, with film loaded, a reasonable understanding of how the camera and light meter worked, I went out for a walk to see if the camera worked, did the light meter still give accurate readings, and could I take photos using a Leica IIIg.
Back at home, the film was wound back into the cassette, posted to Aperture (who as well as repairing cameras, also develop and print), and I waited expectantly for 10 days for the negatives and prints to drop through the letter box.
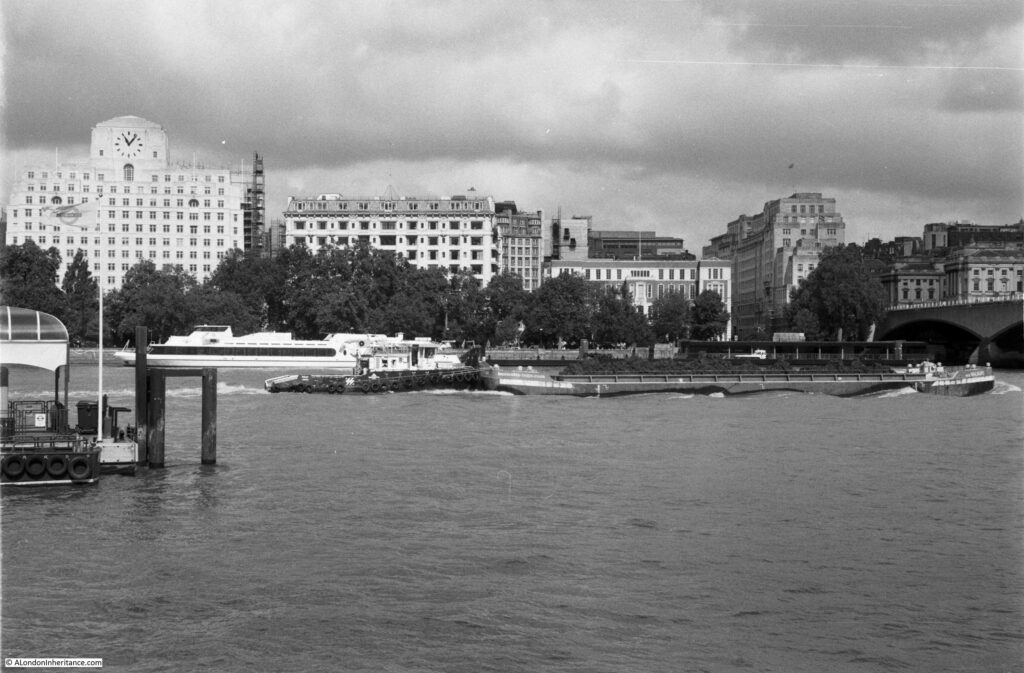
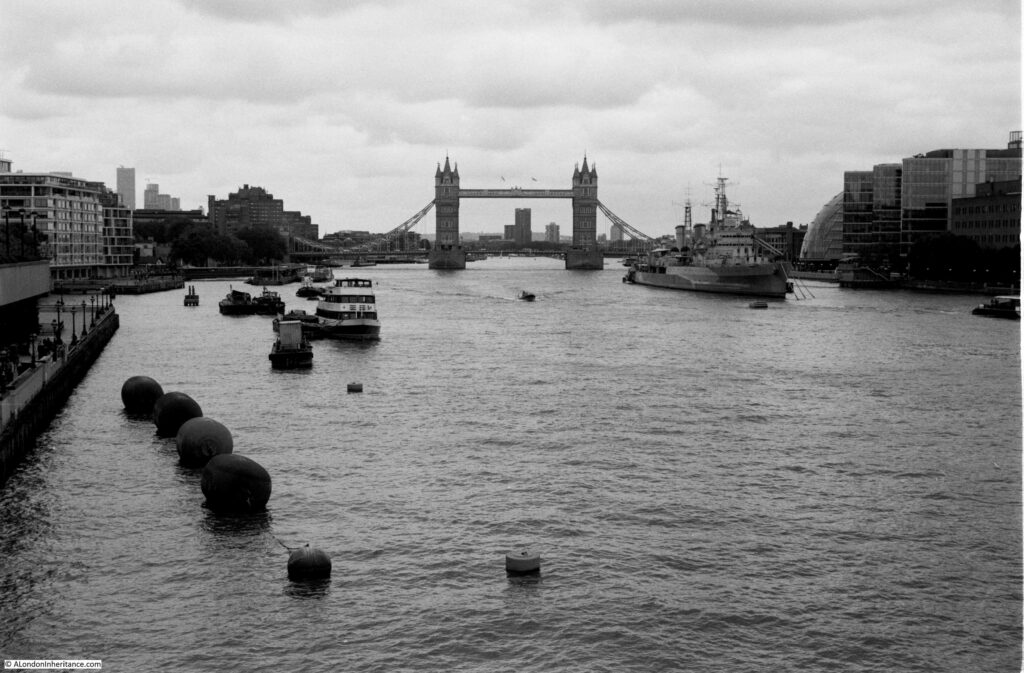
The first photo taken by the Leica IIIg in over 40 years – looking to the north bank of the river from the south bank.
Much to my surprise, the photo came out well. The river, buildings and sky all gave different light readings, so I used an average to see what would happen.
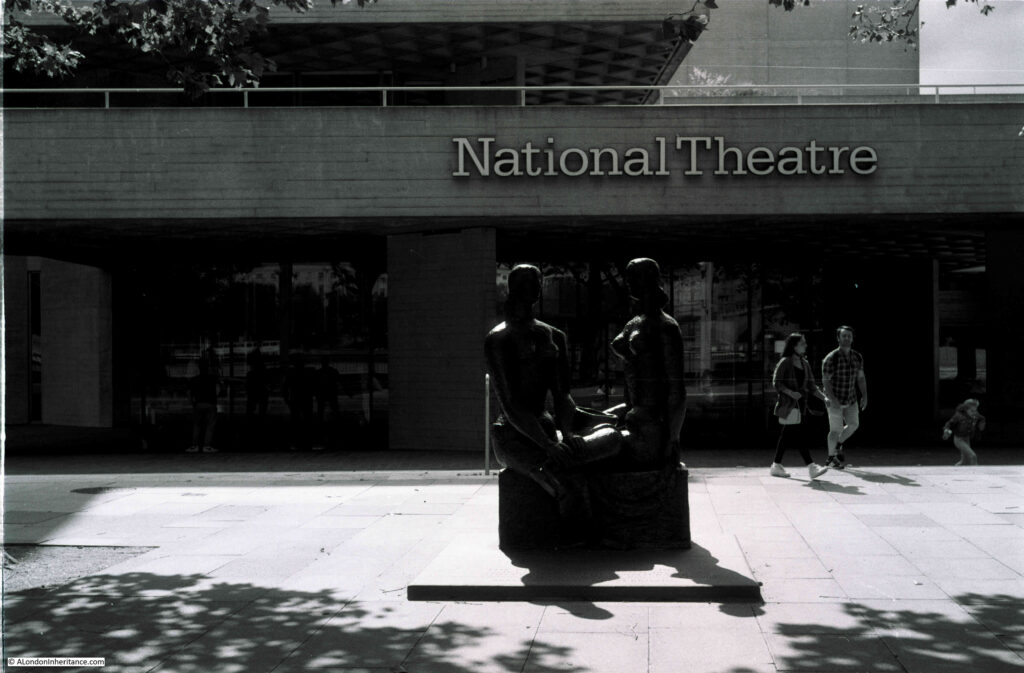
I was not aiming to take photos of specific objects, or scenes of any historic or architectural value, it was just a random walk looking for different scenes to see how the photo would come out. This following photo did not do so well.
The photo is of the Frank Dobson sculpture “London Pride” in front of the National Theatre. The sculpture was backlit with bright sunshine, The photo works well for the National Theatre, but the sculpture is too dark.
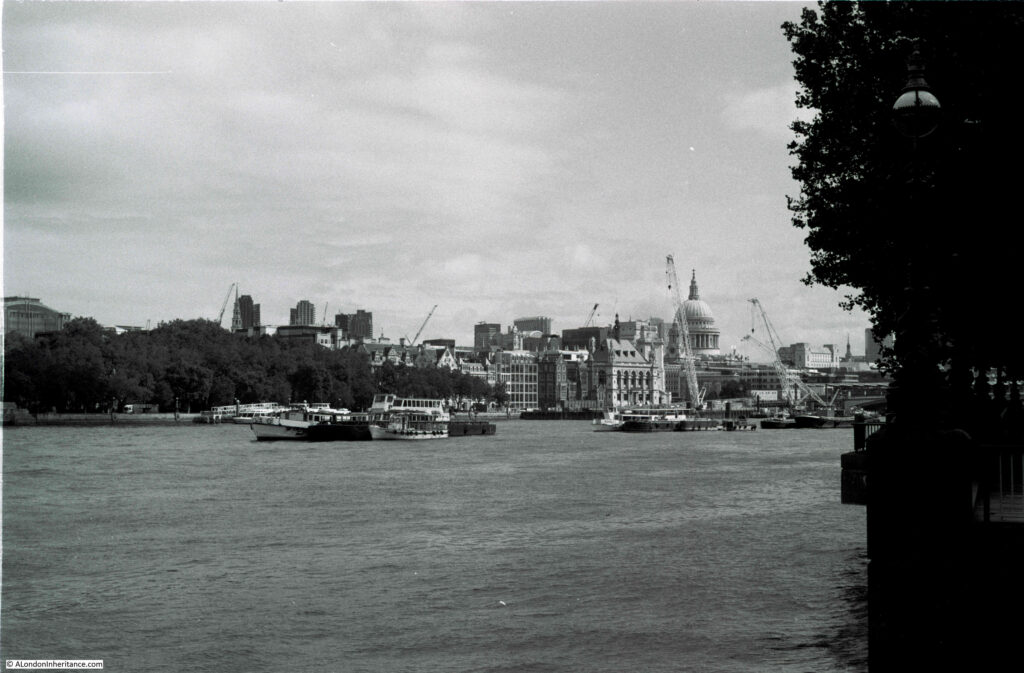
A view across the river to St Paul’s:
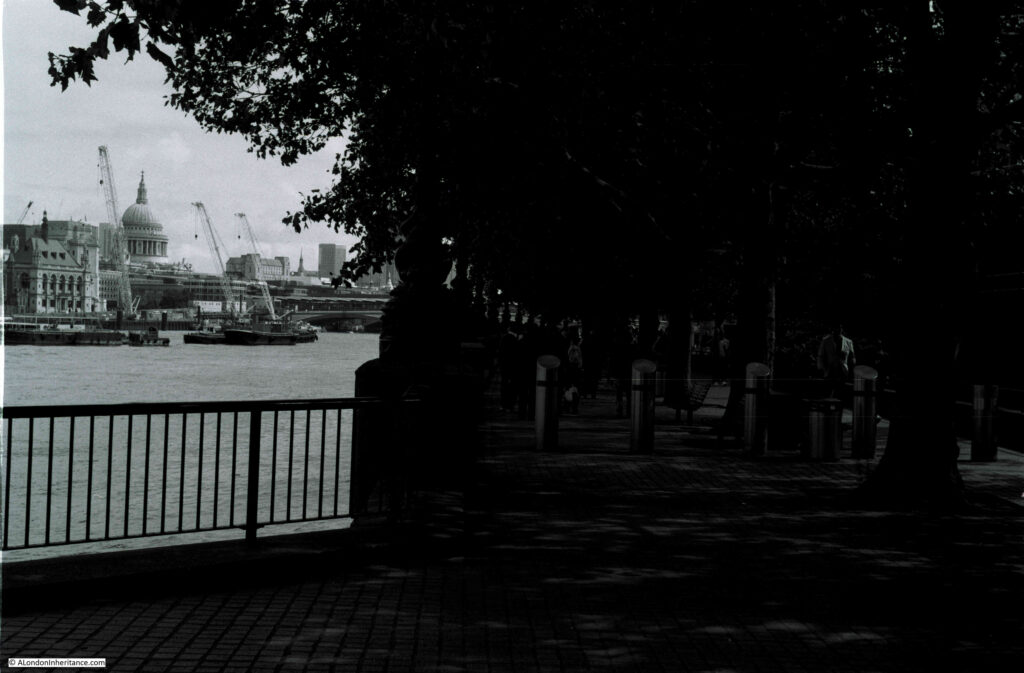
The following photo did not work well. On the left was the brightly lit view across to the City. The view on the right should have been really good as shafts of sunlight were breaking through the tree cover onto the walkway. I had set the exposure for the view on the left, not the view through the trees.
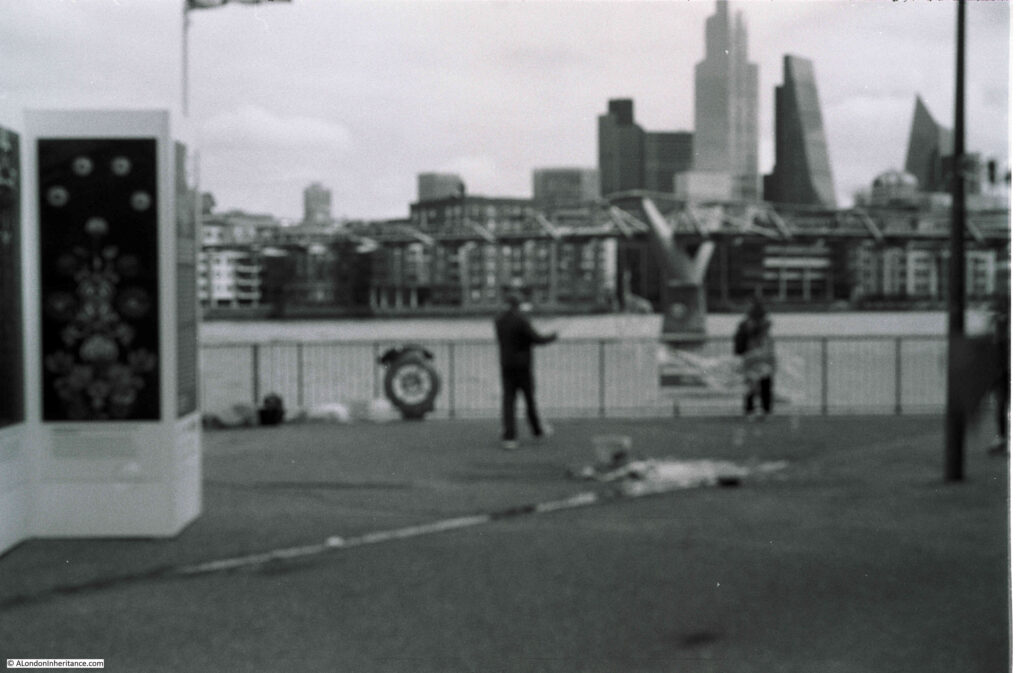
Really not sure what happened with the following photo, but it seems out of focus.
Focusing needs to be set manually on the Leica IIIg. There is a separate viewing window to focus the view. Looking through this window and if the scene is out of focus, you will see two views of the same object, each slightly apart.
To focus the camera on the scene, you need to turn the lever adjacent to the lens, which should bring the two views of the scene together. When the views of the primary object in the scene meet as one, the camera is correctly focused.
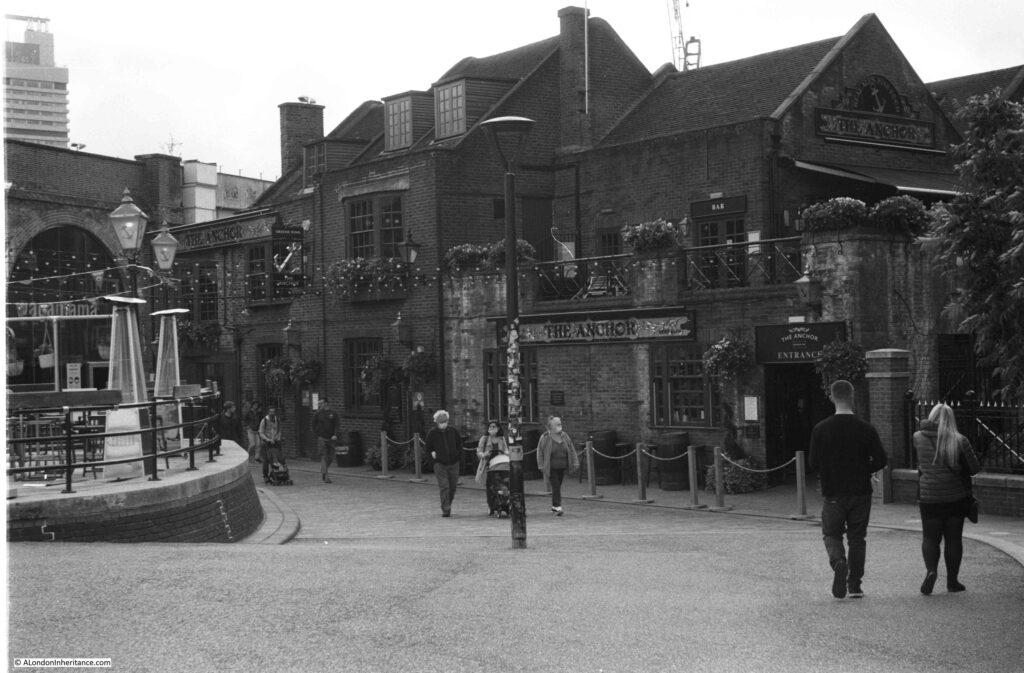
The Anchor pub:
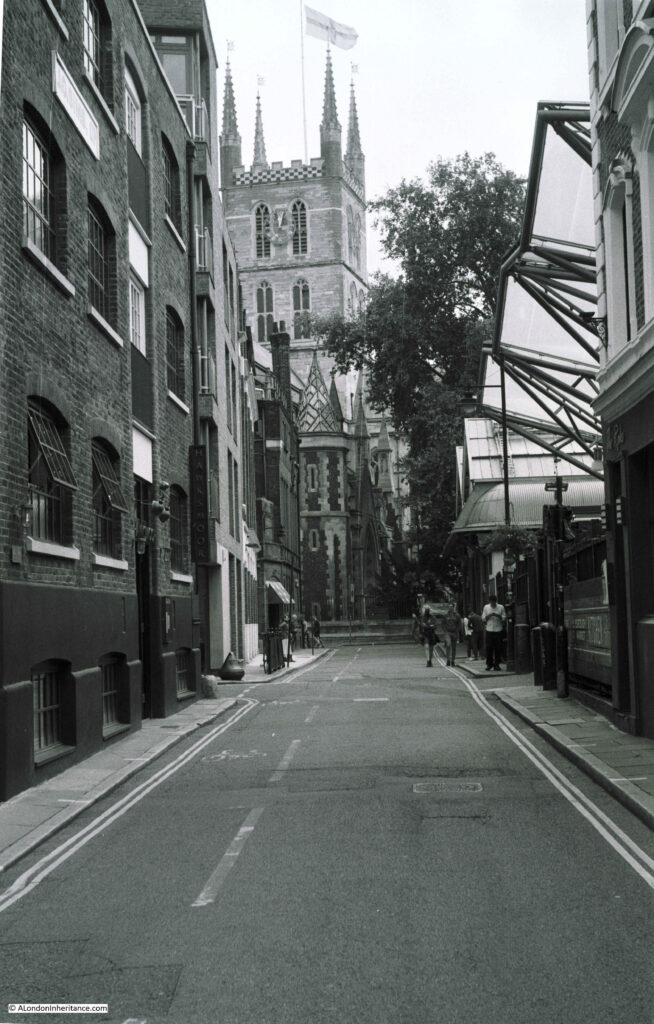
I was starting to get to grips with the light meter and camera, and took the following photo in Winchester Walk. Borough Market on the right and Southwark Cathedral at the end of the street.
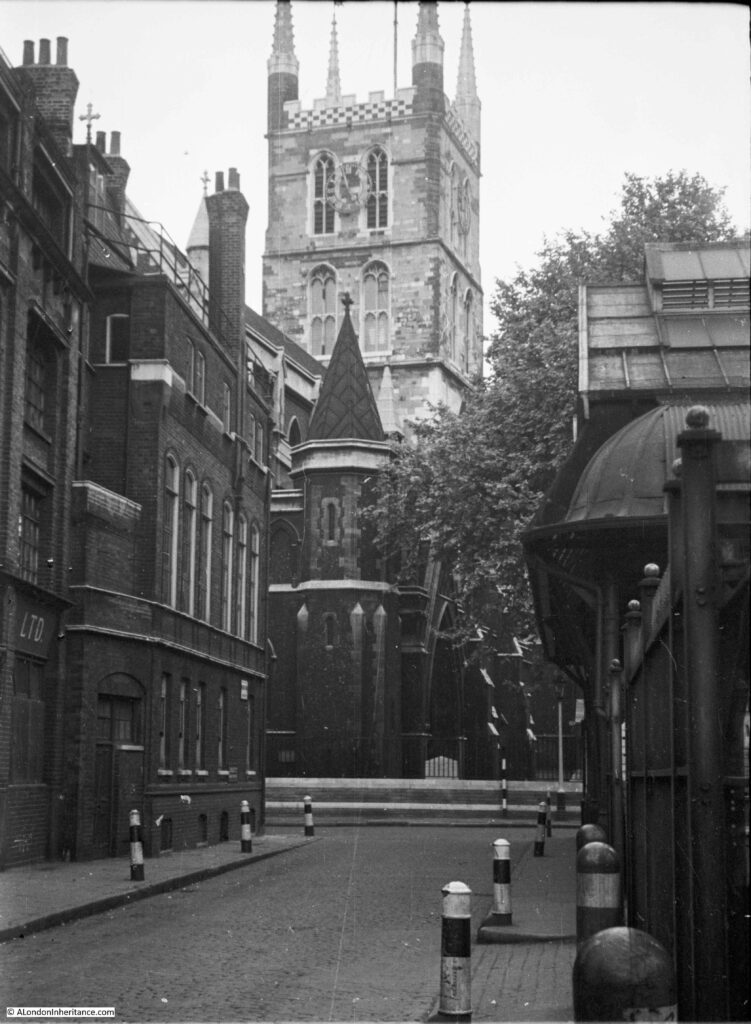
I took the above photo as my father had used the same camera, 67 years ago to take a very similar view (I did not have the original with me, so I was not at exactly the right location). The same camera and lens – 2020 above and 1953 below:
The following photo was taken from London Bridge, where the colour photo earlier in the post with the light meter was taken. It was a difficult scene. Point the light meter at the sky and it would shoot up, down at the river and a much lower light reading. Going for an average reading seems to give a reasonable result.
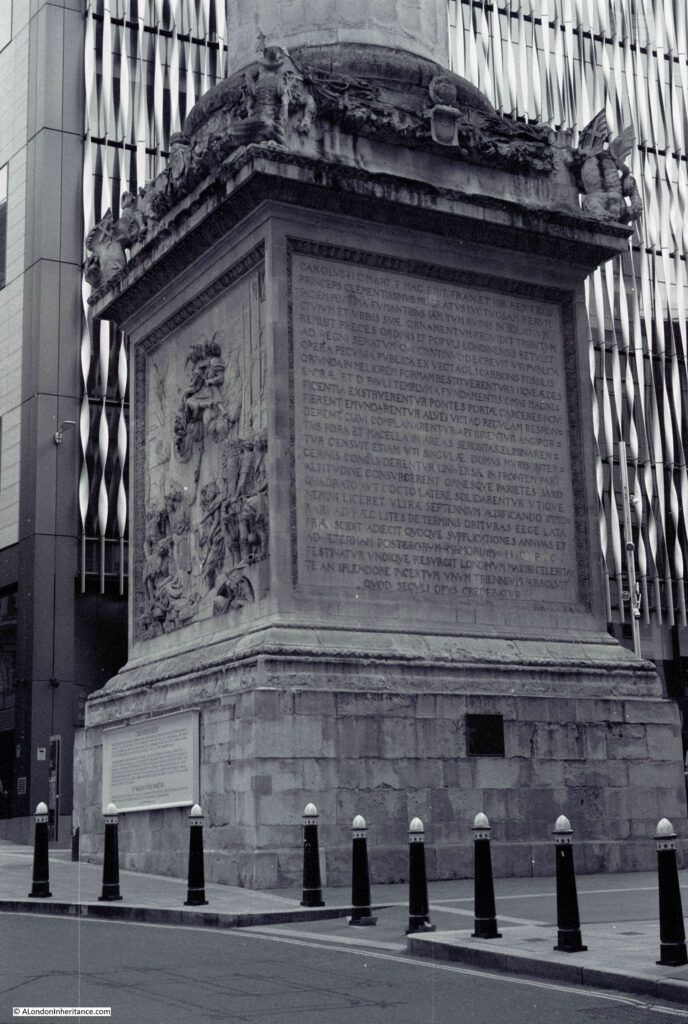
I took the following photo as there was plenty of detail on the base of the monument, a building in the background, and the scene in relative shade due to the surrounding buildings.
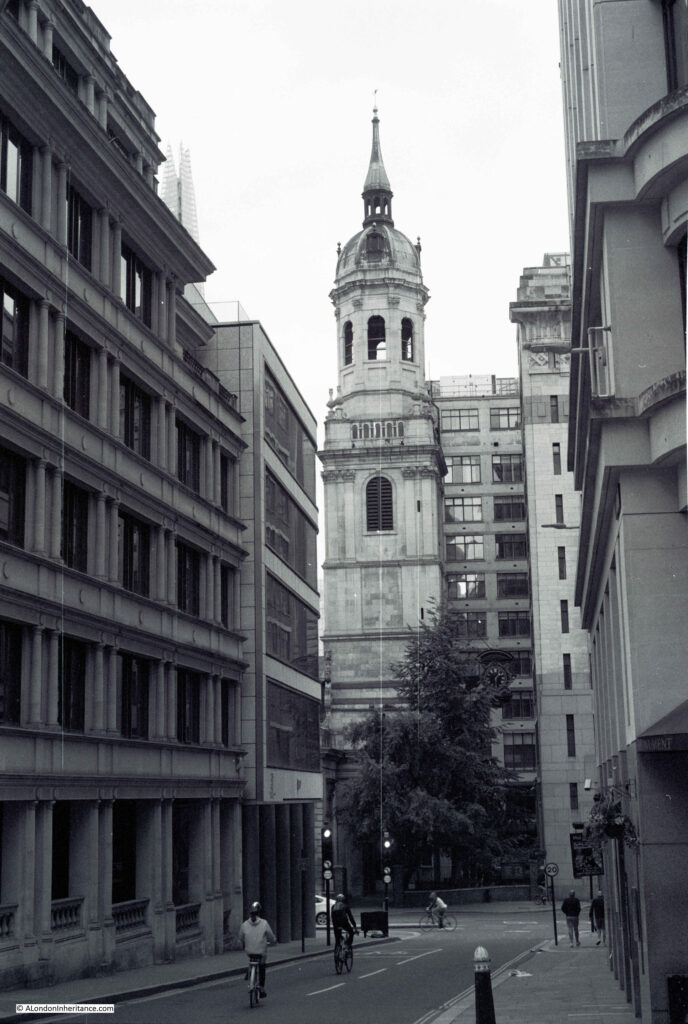
View down Fish Street Hill to the church of St Magnus the Martyr:
The view looking up Gracechurch Street from Eastcheap:
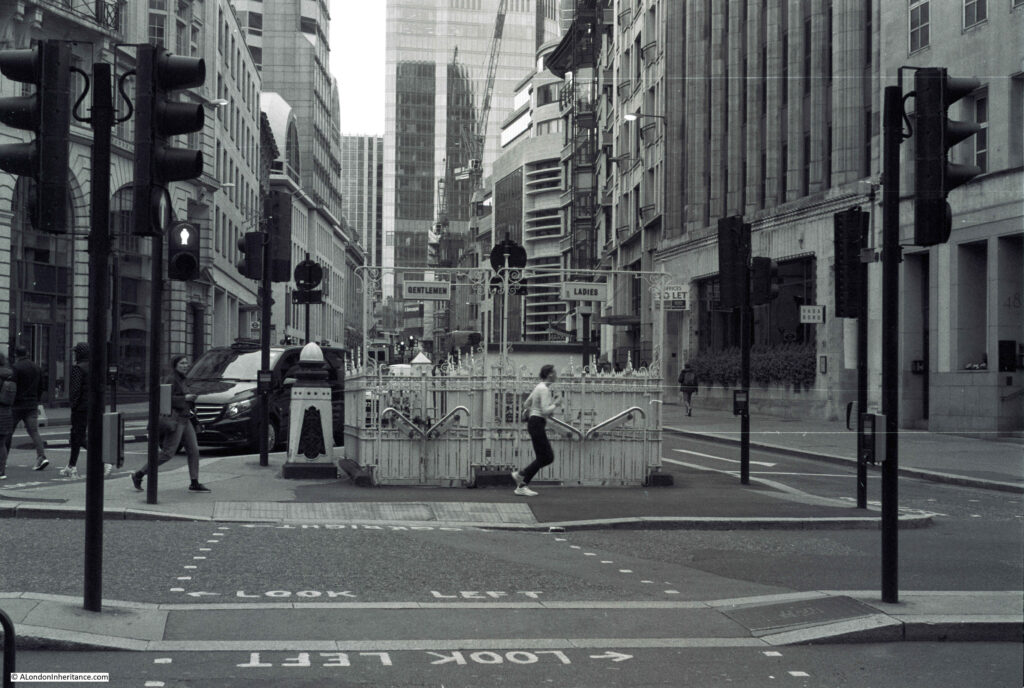
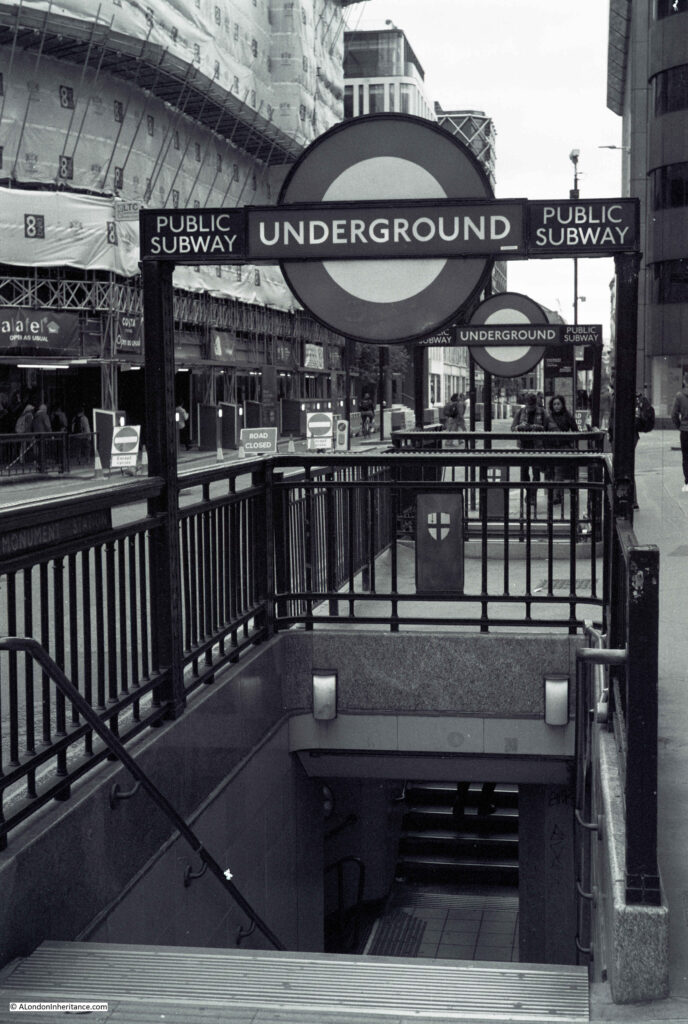
Entrance to Monument Underground station in King William Street. I wanted to see if I could get the exposure right for the street scene and the steps below ground, and also focus on a close object and with the rest of the view in focus.
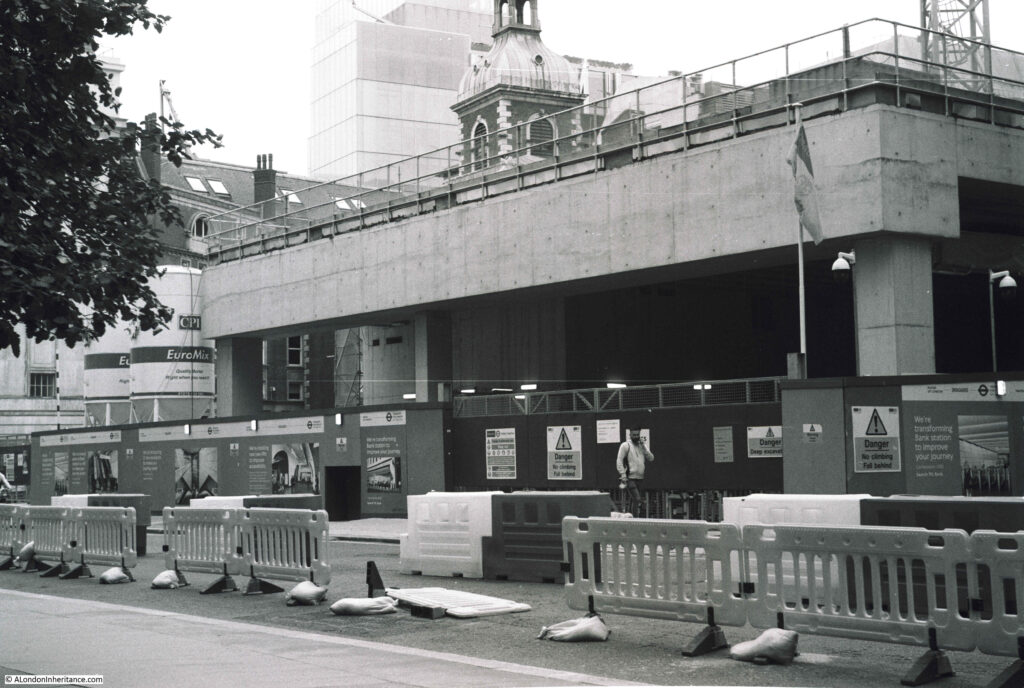
Construction site for the new entrance to Bank Underground station in Cannon Street with the tower of St Mary Abchurch in the background.
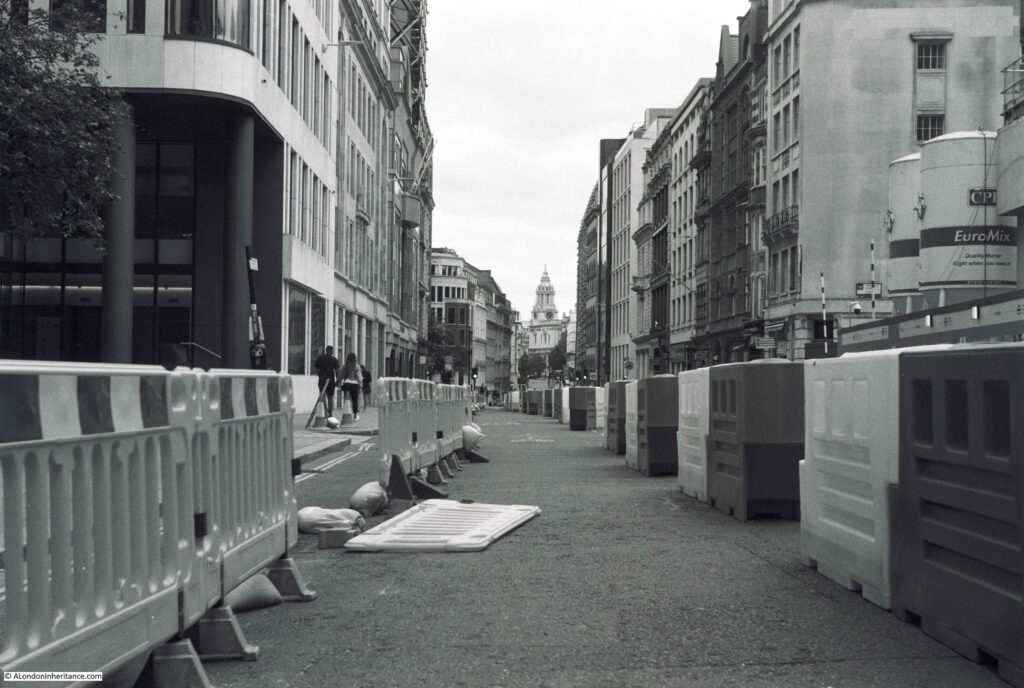
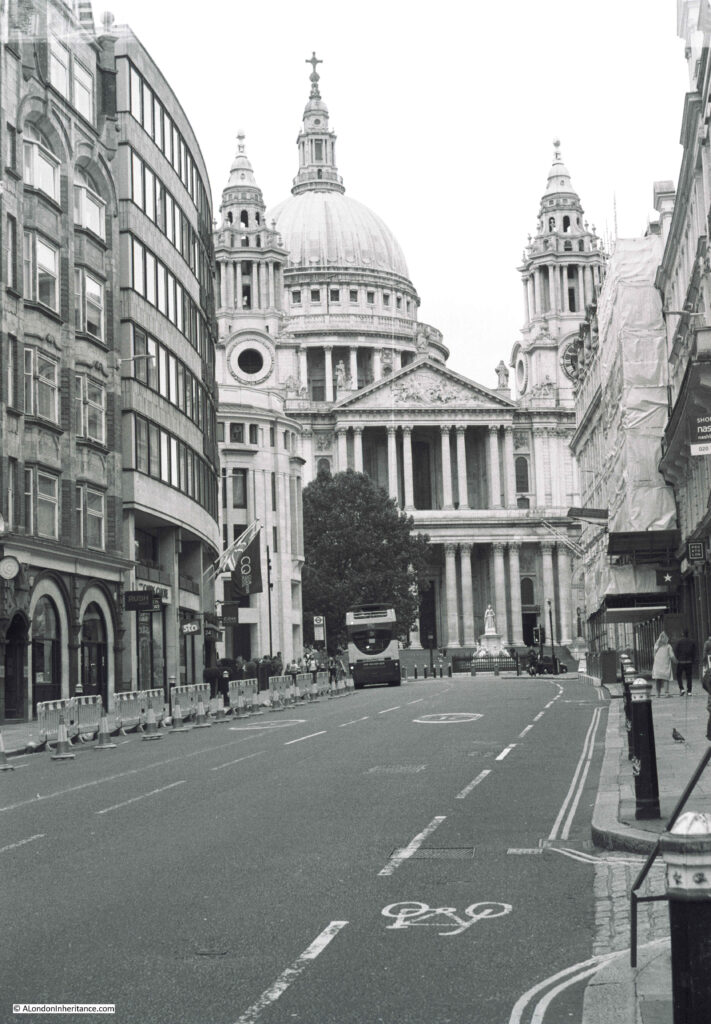
Temporary bike lane in Cannon Street. Pleased with this as both the adjacent barriers and the tower of St Paul’s at the end of the street are all in focus.
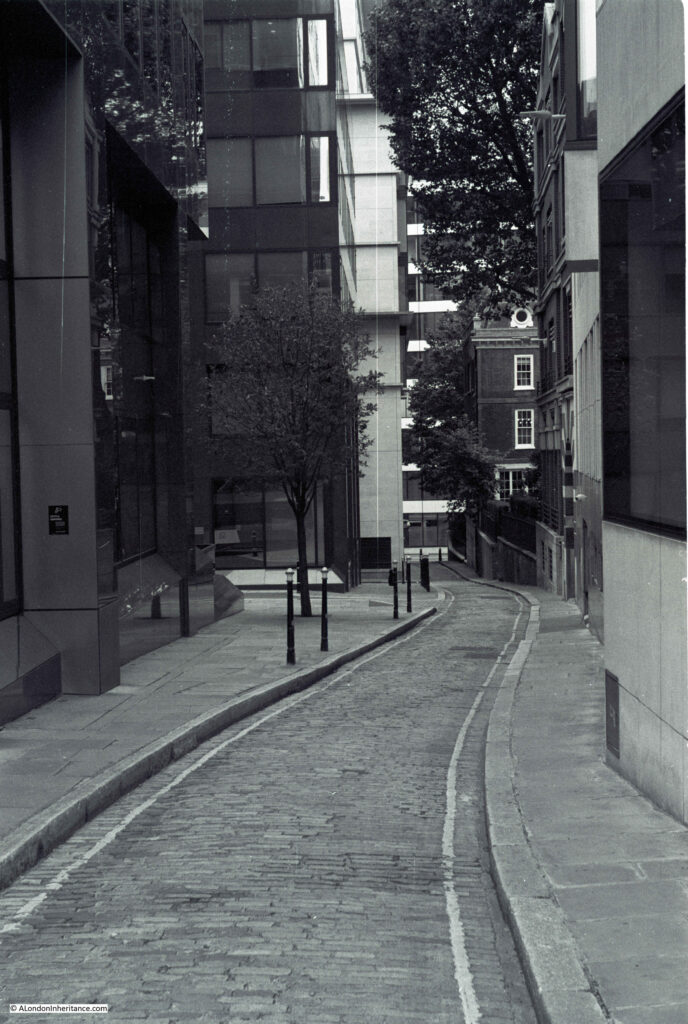
View down Laurence Pountney Lane:
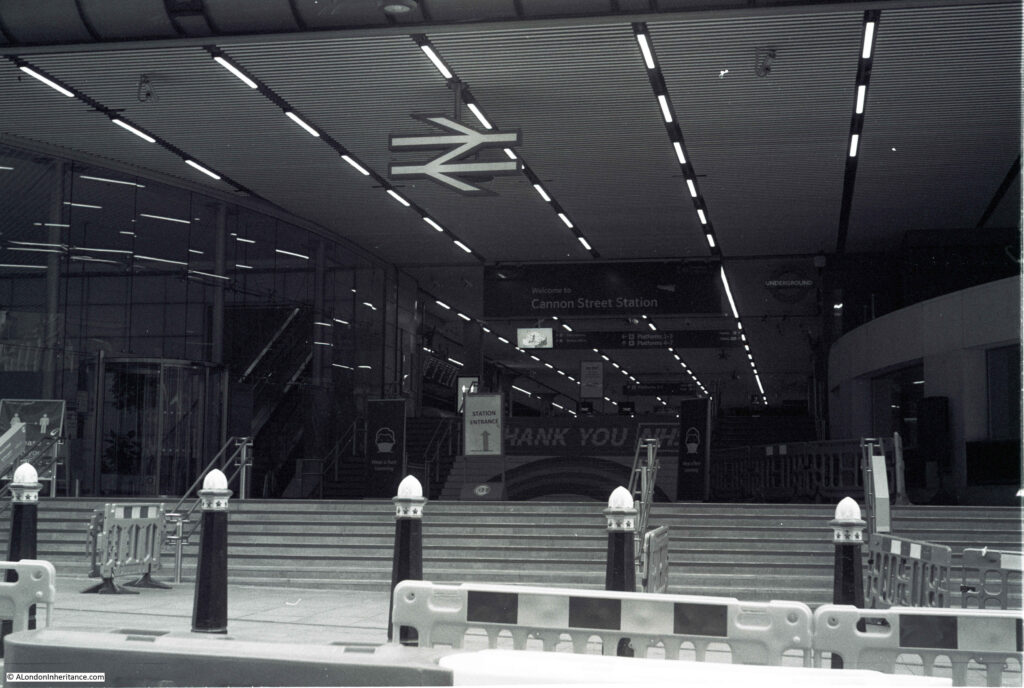
Entrance to Cannon Street Station – I should have exposed more for the darker interior of the station, but I was trying to get the way the lights swept into the station.
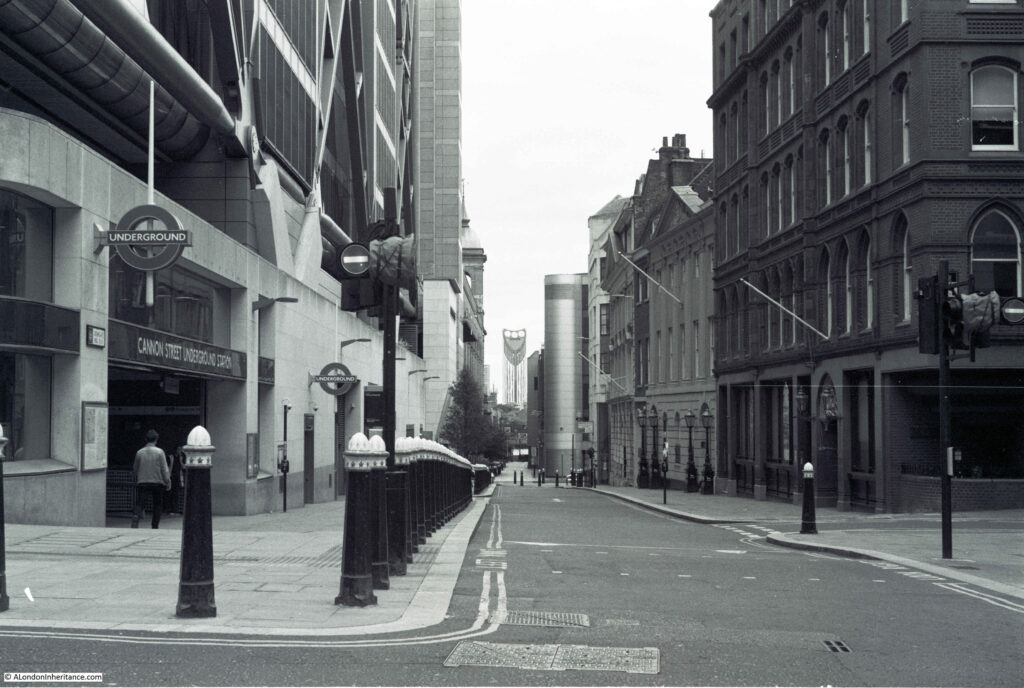
Dowgate Hill at the side of Cannon Street Station, with the Strata Tower at the Elephant and castle in the distance:
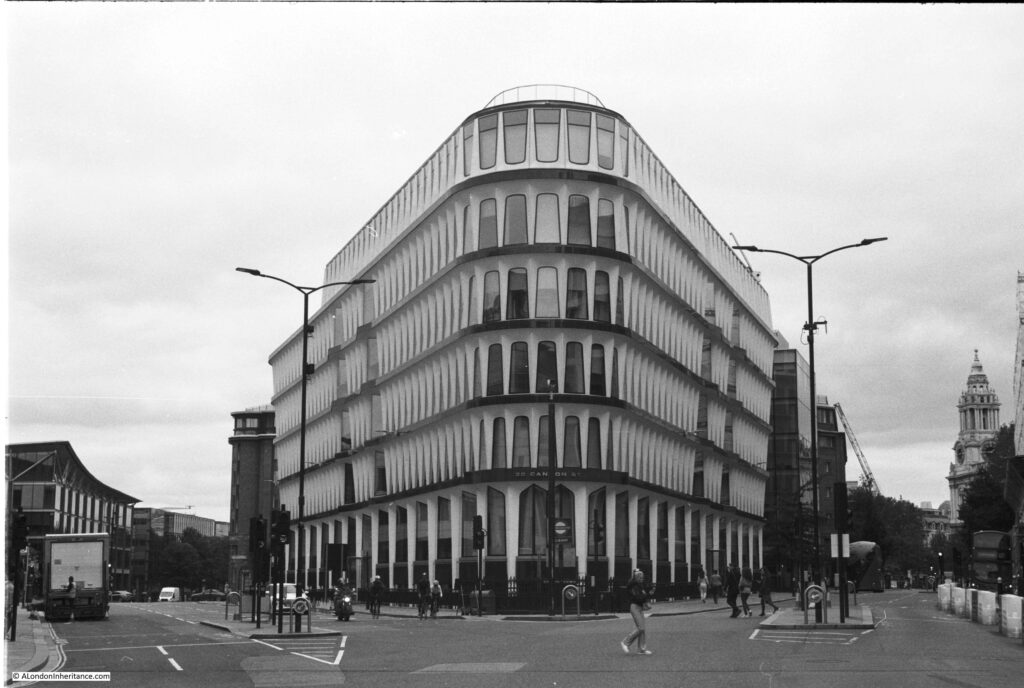
One of my favourite City buildings – 30 Cannon Street:
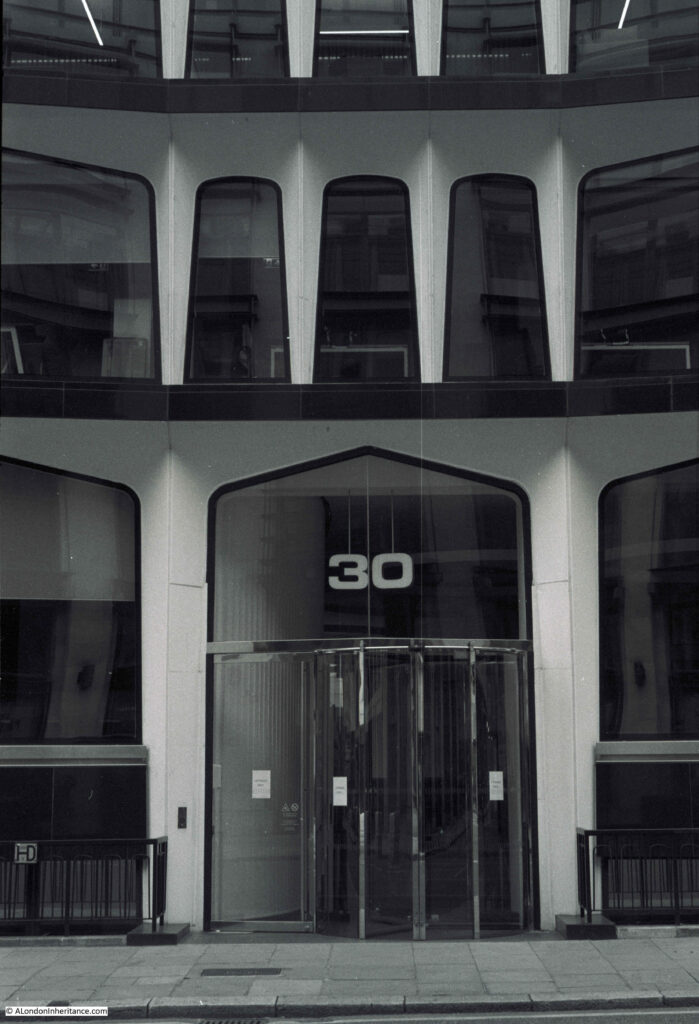
The main entrance to 30 Cannon Street:
Really pleased with the above photo. Architectural photography is one of the areas where black and white photography seems to work well.
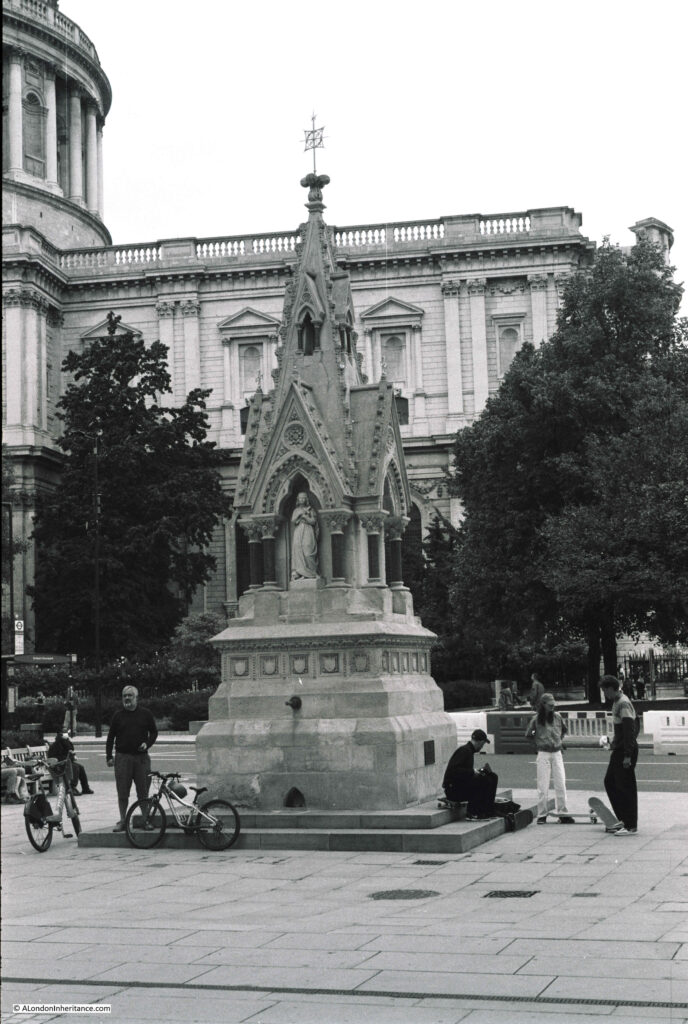
The St Lawrence Jewry Memorial Drinking Fountain at the top of Carter Lane. A good spot for skateboarding down into the lane.
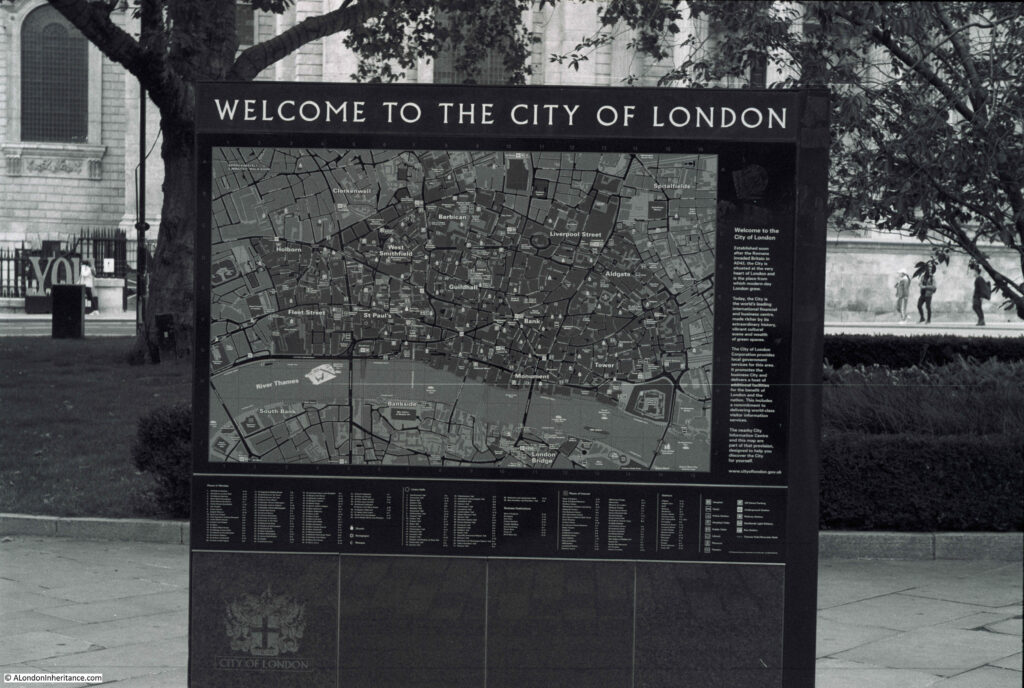
Welcome To The City Of London – map near the visitor information center.
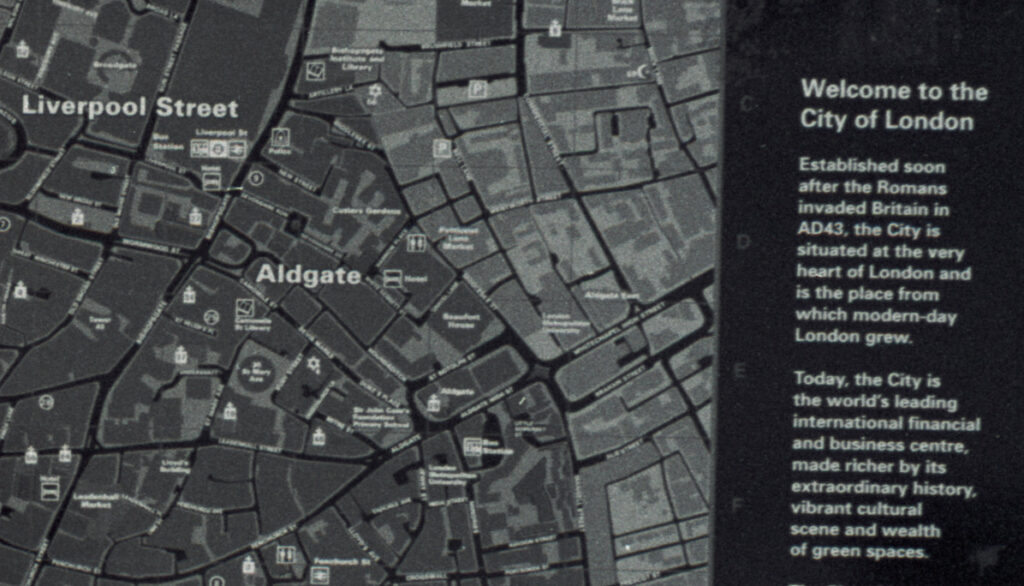
I took the above photo as I was interested in the level of detail that could be recorded on film. The map had lots of text and detail within the map, and the photo below is a small extract of the above. It shows that extracting a small part of the photo and enlarging still retains an excellent level of detail.
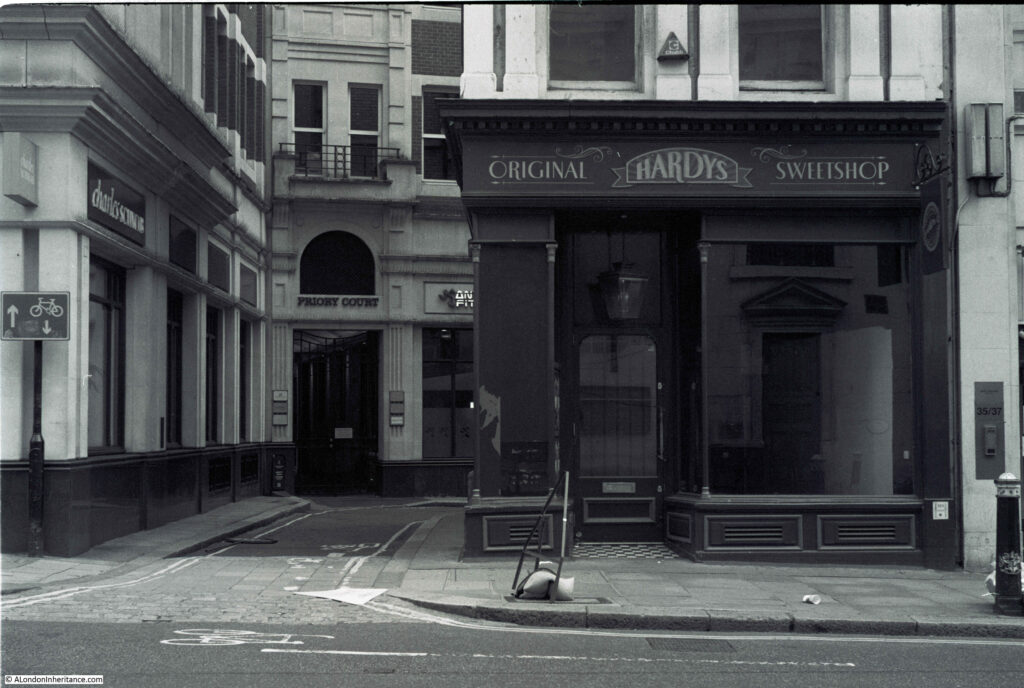
Walking down Ludgate Hill and I noticed this closed shop. Originally a “traditional” sweet shop, probably catering to the tourist trade on the route to and from St Paul’s Cathedral. Now closed and empty – possibly a victim of the lack of tourists for most of the year.
Looking up Ludgate Hill towards St Paul’s Cathedral – I have never seen it so quiet on a Sunday afternoon in late August.
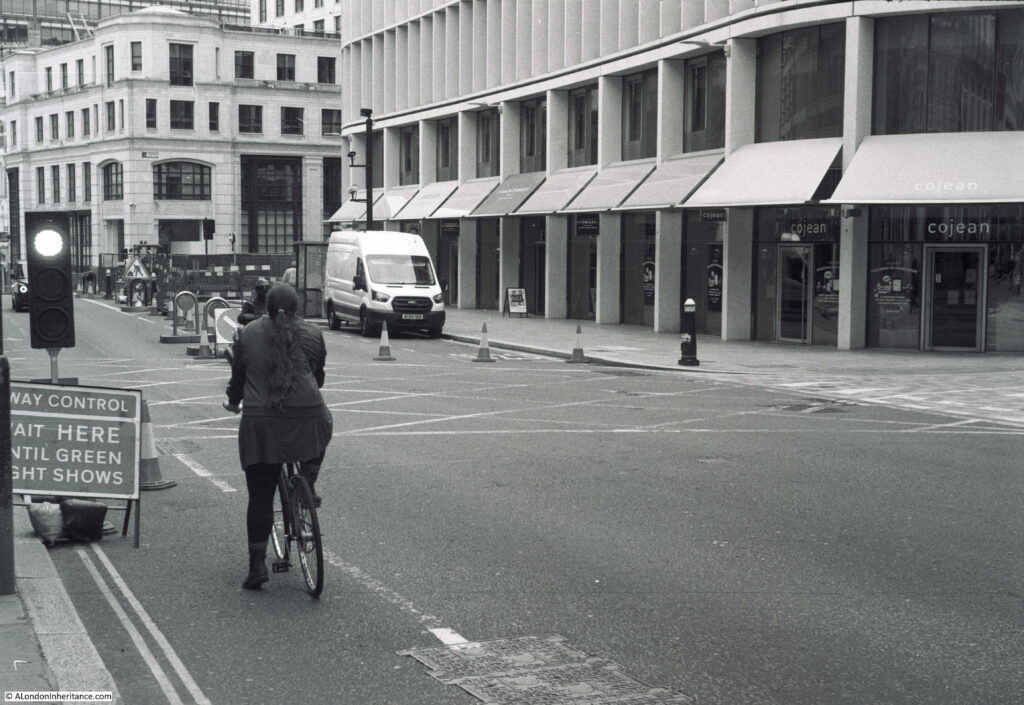
Road works and temporary traffic lights looking down Ludgate Hill:
The film I was using was theoretically capable of 36 exposures, however I only managed 29 photos from the roll of film. I suspect I lost some at the start of the film by needing to trim an extra long length, then winding the film on too much to make sure it was on the take up spool and the rewind knob on the film cartridge was turning. Whilst this showed that the film was correctly loaded – it did waste some of the total number of photos that should have been available.
The camera does have a dial that shows the number of photos that have been taken, and the dial is manually set to zero before the first photo is taken, however the dial assumes the film is loaded with minimum film on the take up spool to give 36 exposures.
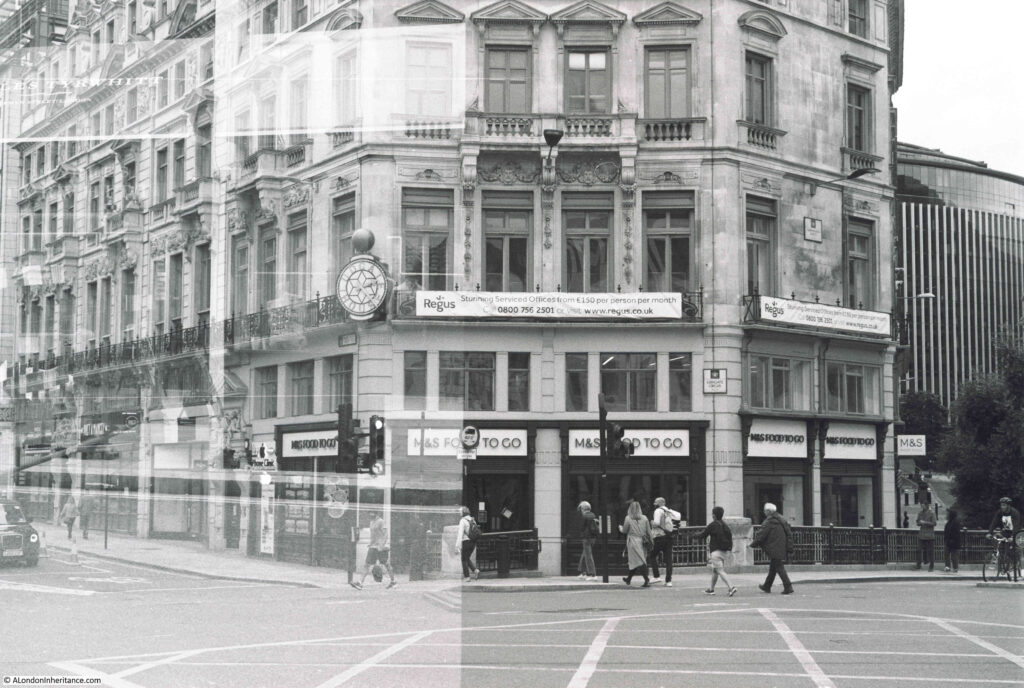
The final couple of photos on the film showed problems with double exposure, the following photo is an example. Not sure why as the film did appear to wind on correctly, but obviously a problem at the very end of the film.
The photos are very routine photos of the south bank of the river and the City of London, however, for me, they are very special.
They show that the Leica camera and the Weston light meter are working well, and that I have a basic understanding of how to use them.
There is something rather special taking photos with such a camera. The lens is over 70 years old, and was already taking photos of London in the late 1940s.
One of the problems of taking the “now” photos to compare with the photos from the 1940s and 1950s is that my current camera is so very different to the Leica. Completely different lens, different method of capturing the photo etc. This means that whilst I can take a “now” photo of the scene, it is never exactly the same as the original. What I hope to do is revisit the sites of my father’s original photos with the Leica and take new comparison photos. With the same lens and camera I should be able to get the new photos to be exact comparisons.
I also still have much to learn. The camera also came with a number of accessories such as an open frame sports viewfinder, red and yellow/green filters to add contrast to a black and white photo etc. I suspect I will be experimenting with the Leica and film far more over the coming months.

