If you are in Westminster, walk past the Houses of Parliament towards Lambeth Bridge, but turn right before reaching the bridge and you will end up in Smith Square. The relative peace is in sharp contrast to the crowds around Westminster and it is a pleasure to walk here and explore the history of the area.
Smith Square and the surrounding streets still follow much of the original 18th century street plan. A central square occupied by a church, with streets radiating out, some still lined by the original terrace houses from when the square was originally developed.
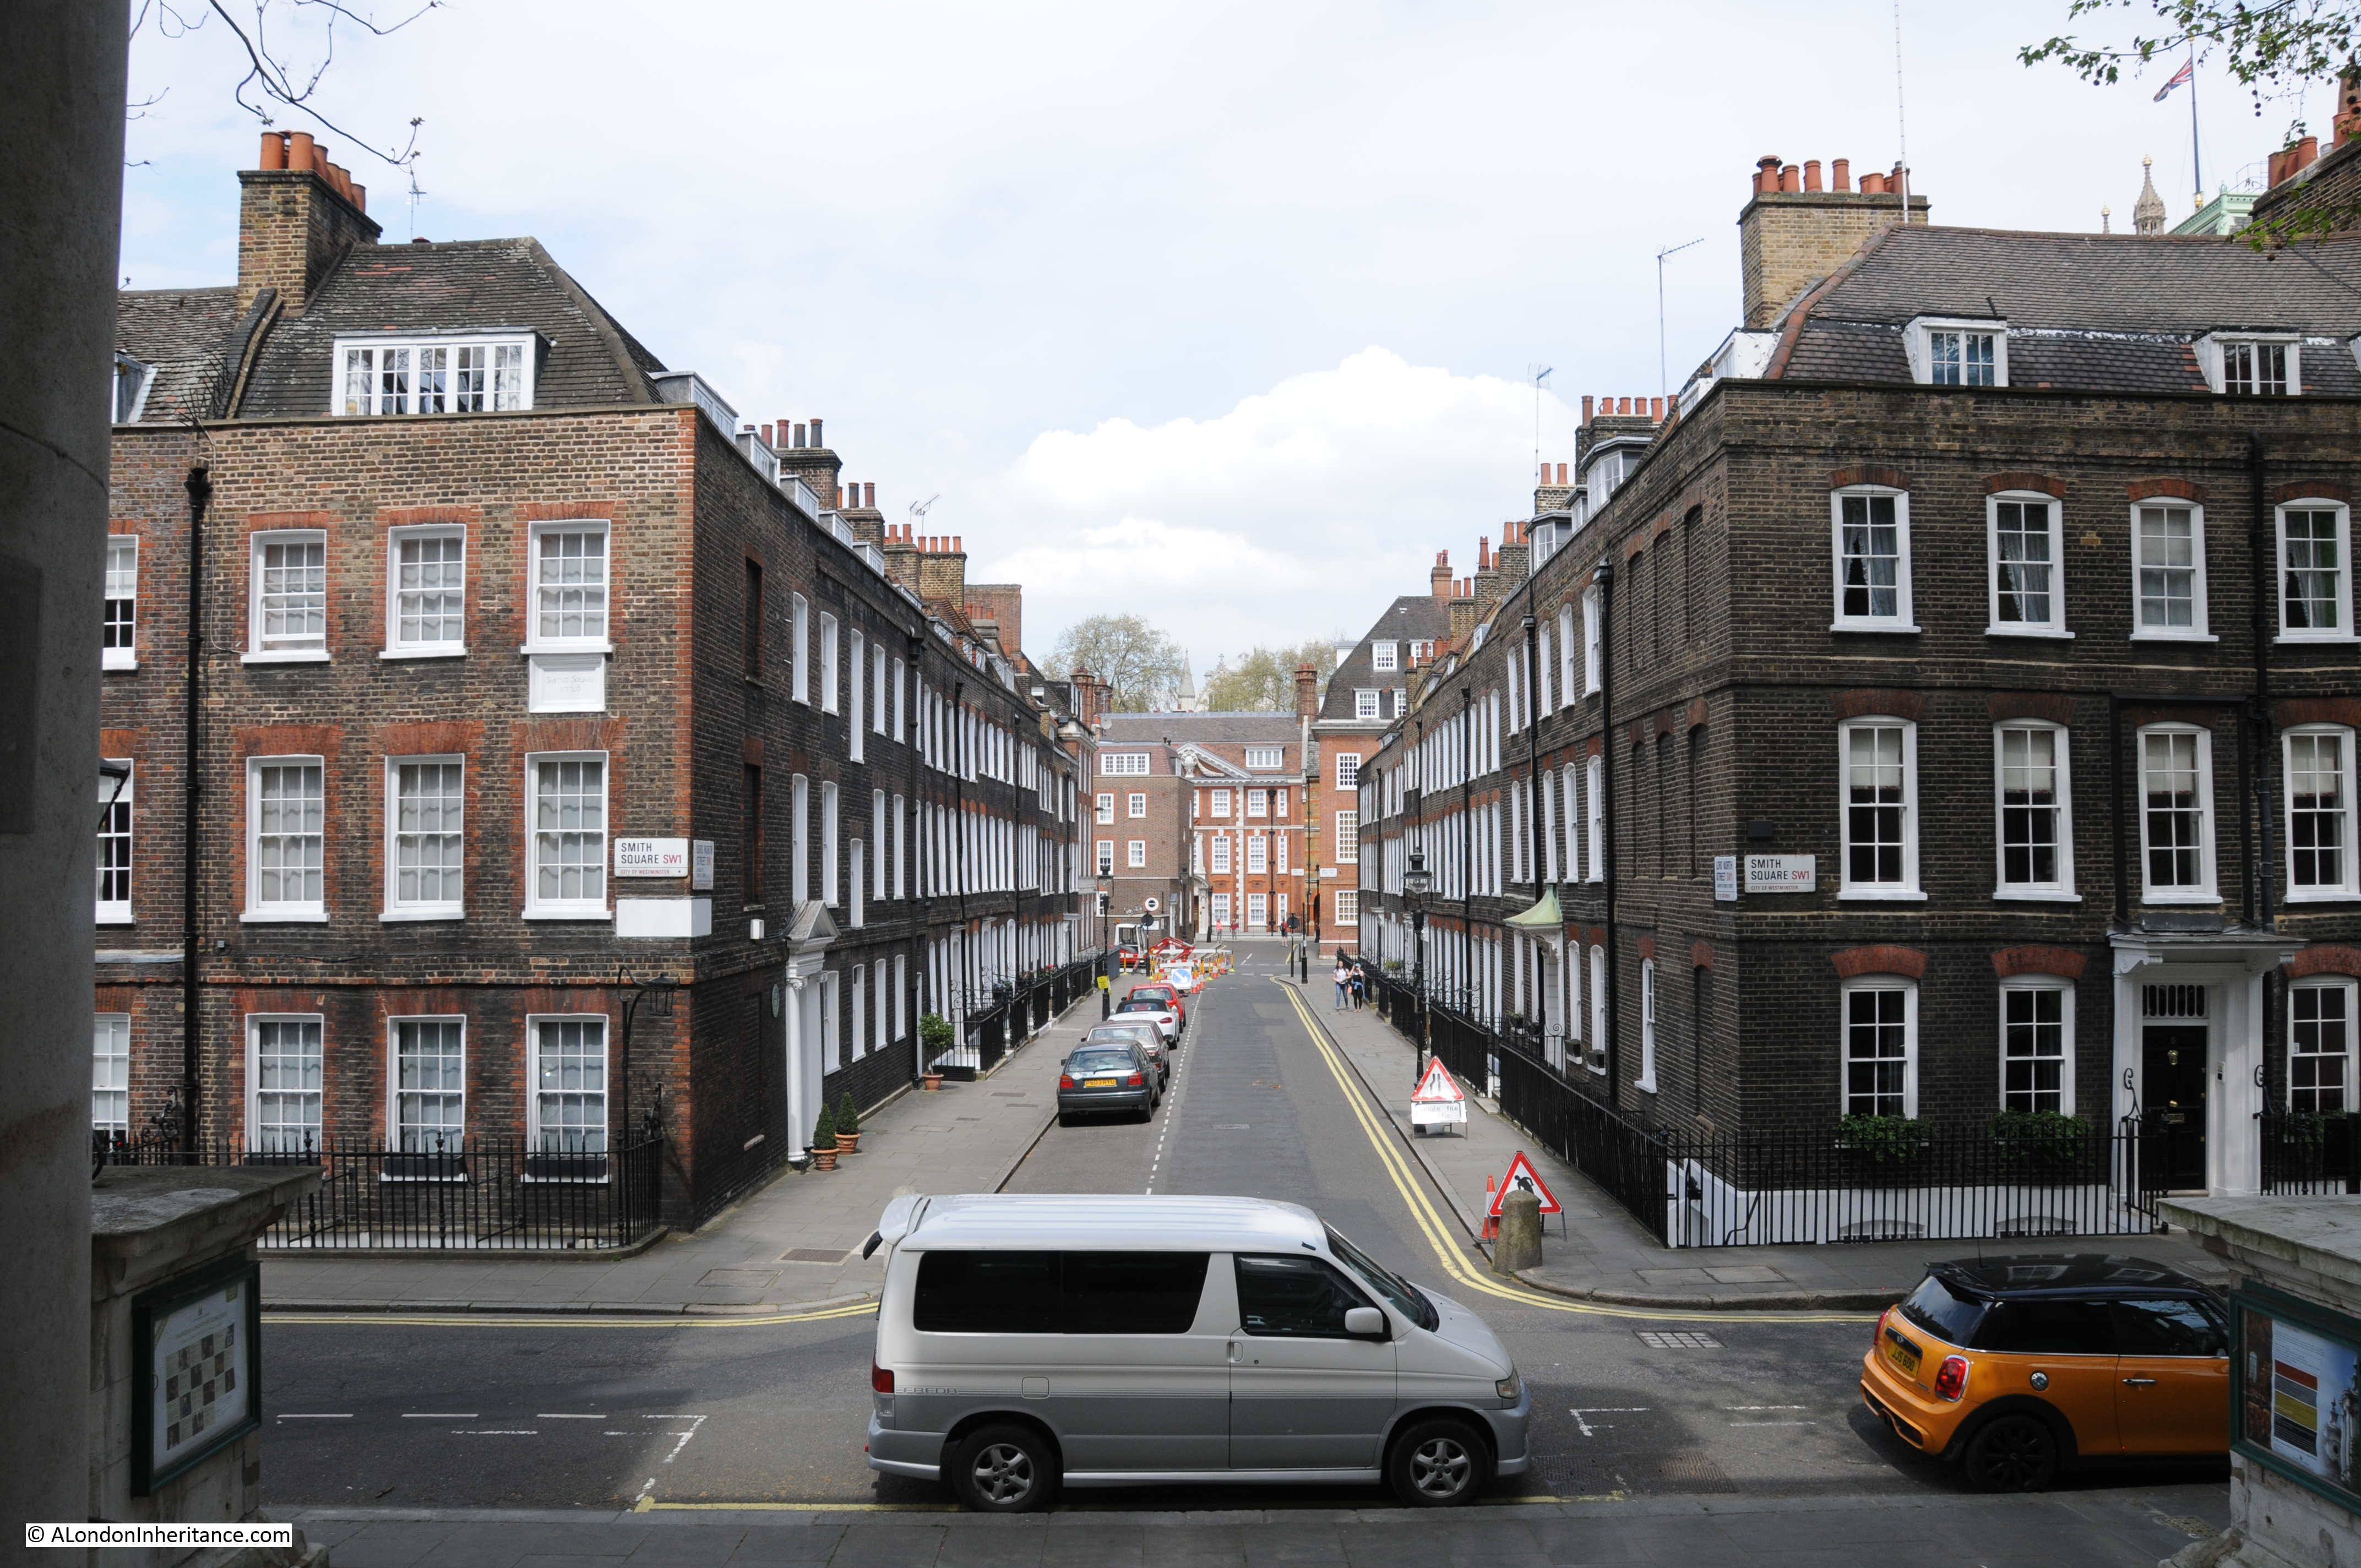
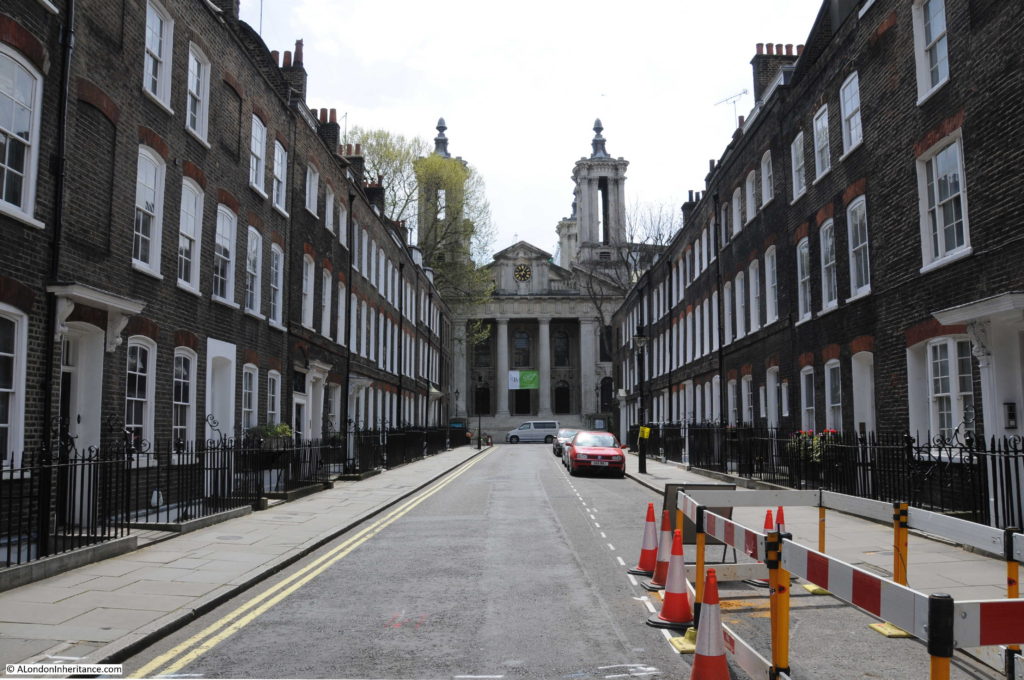
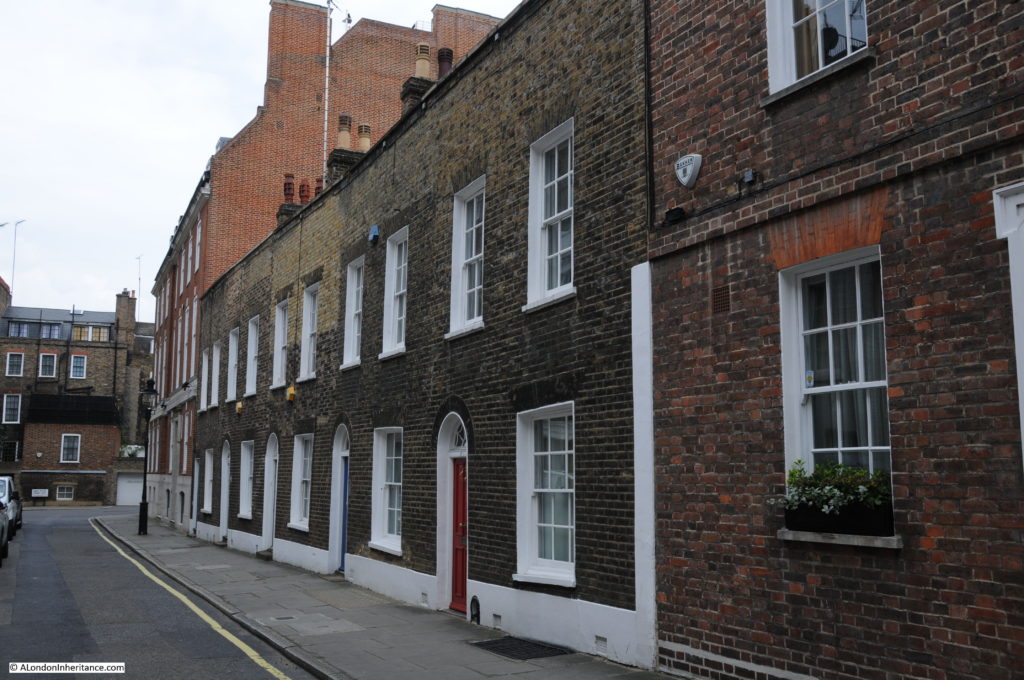
If you have turned down Great Peter Street from Millbank, then the first turning on the left is Lord North Street. This street is a contemporary with the church of St. John at the centre of the square and is lined with terrace housing built between 1722 and 1726.
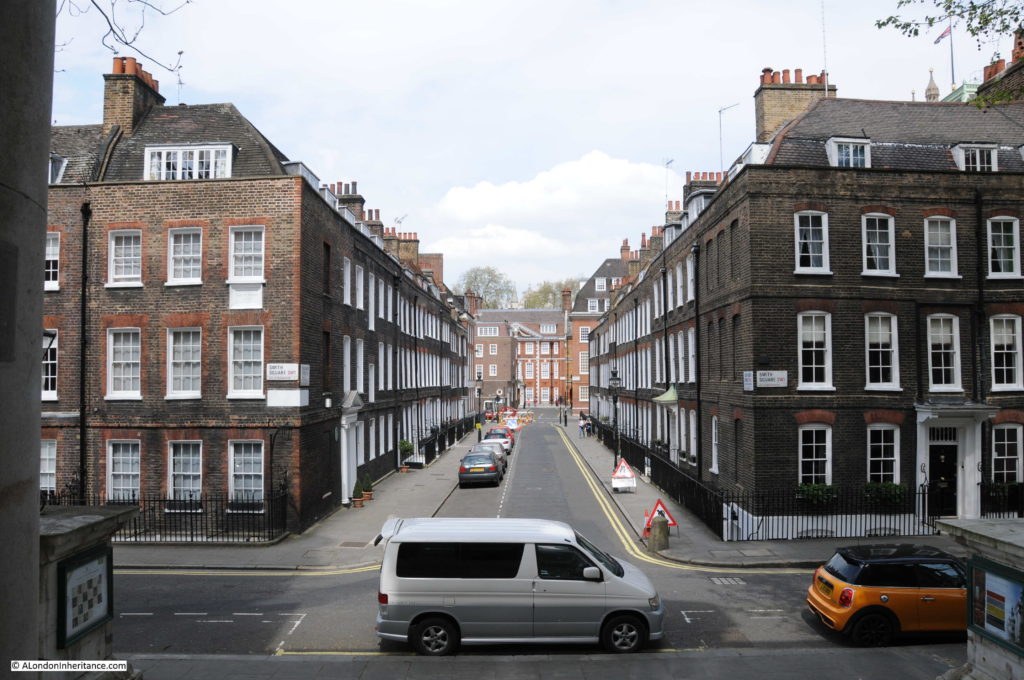
The view looking down Lord North Street:
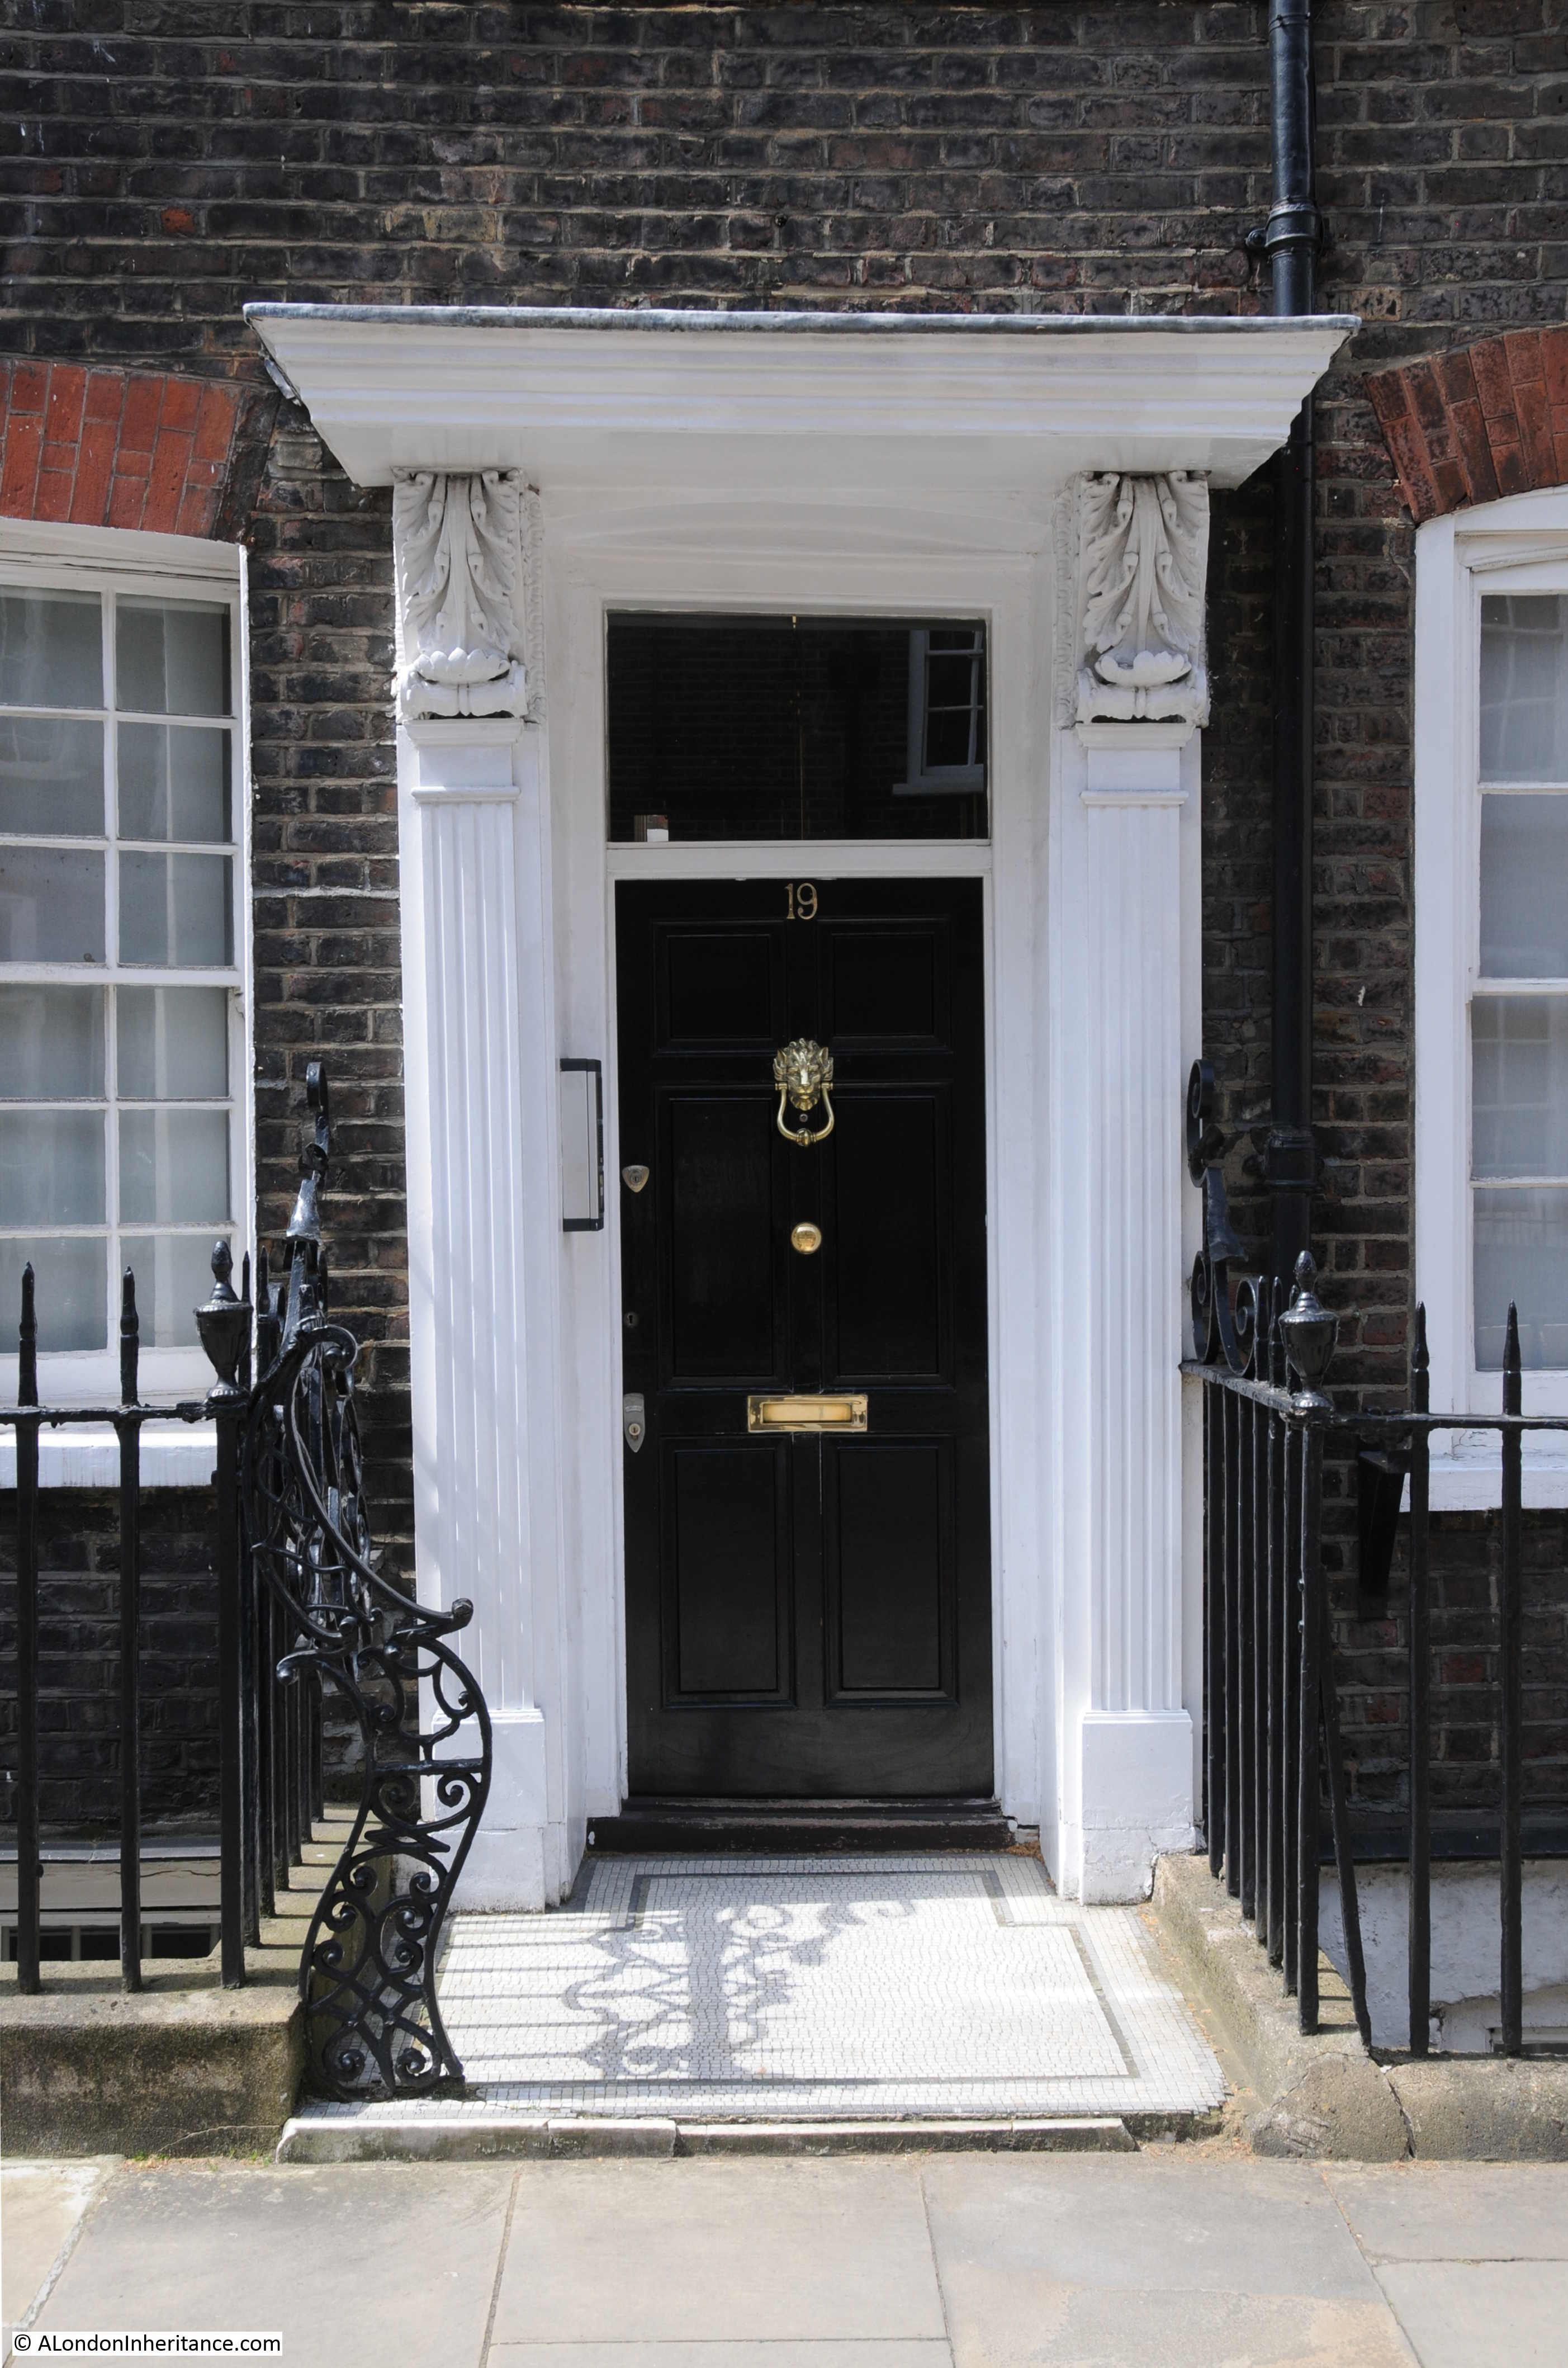
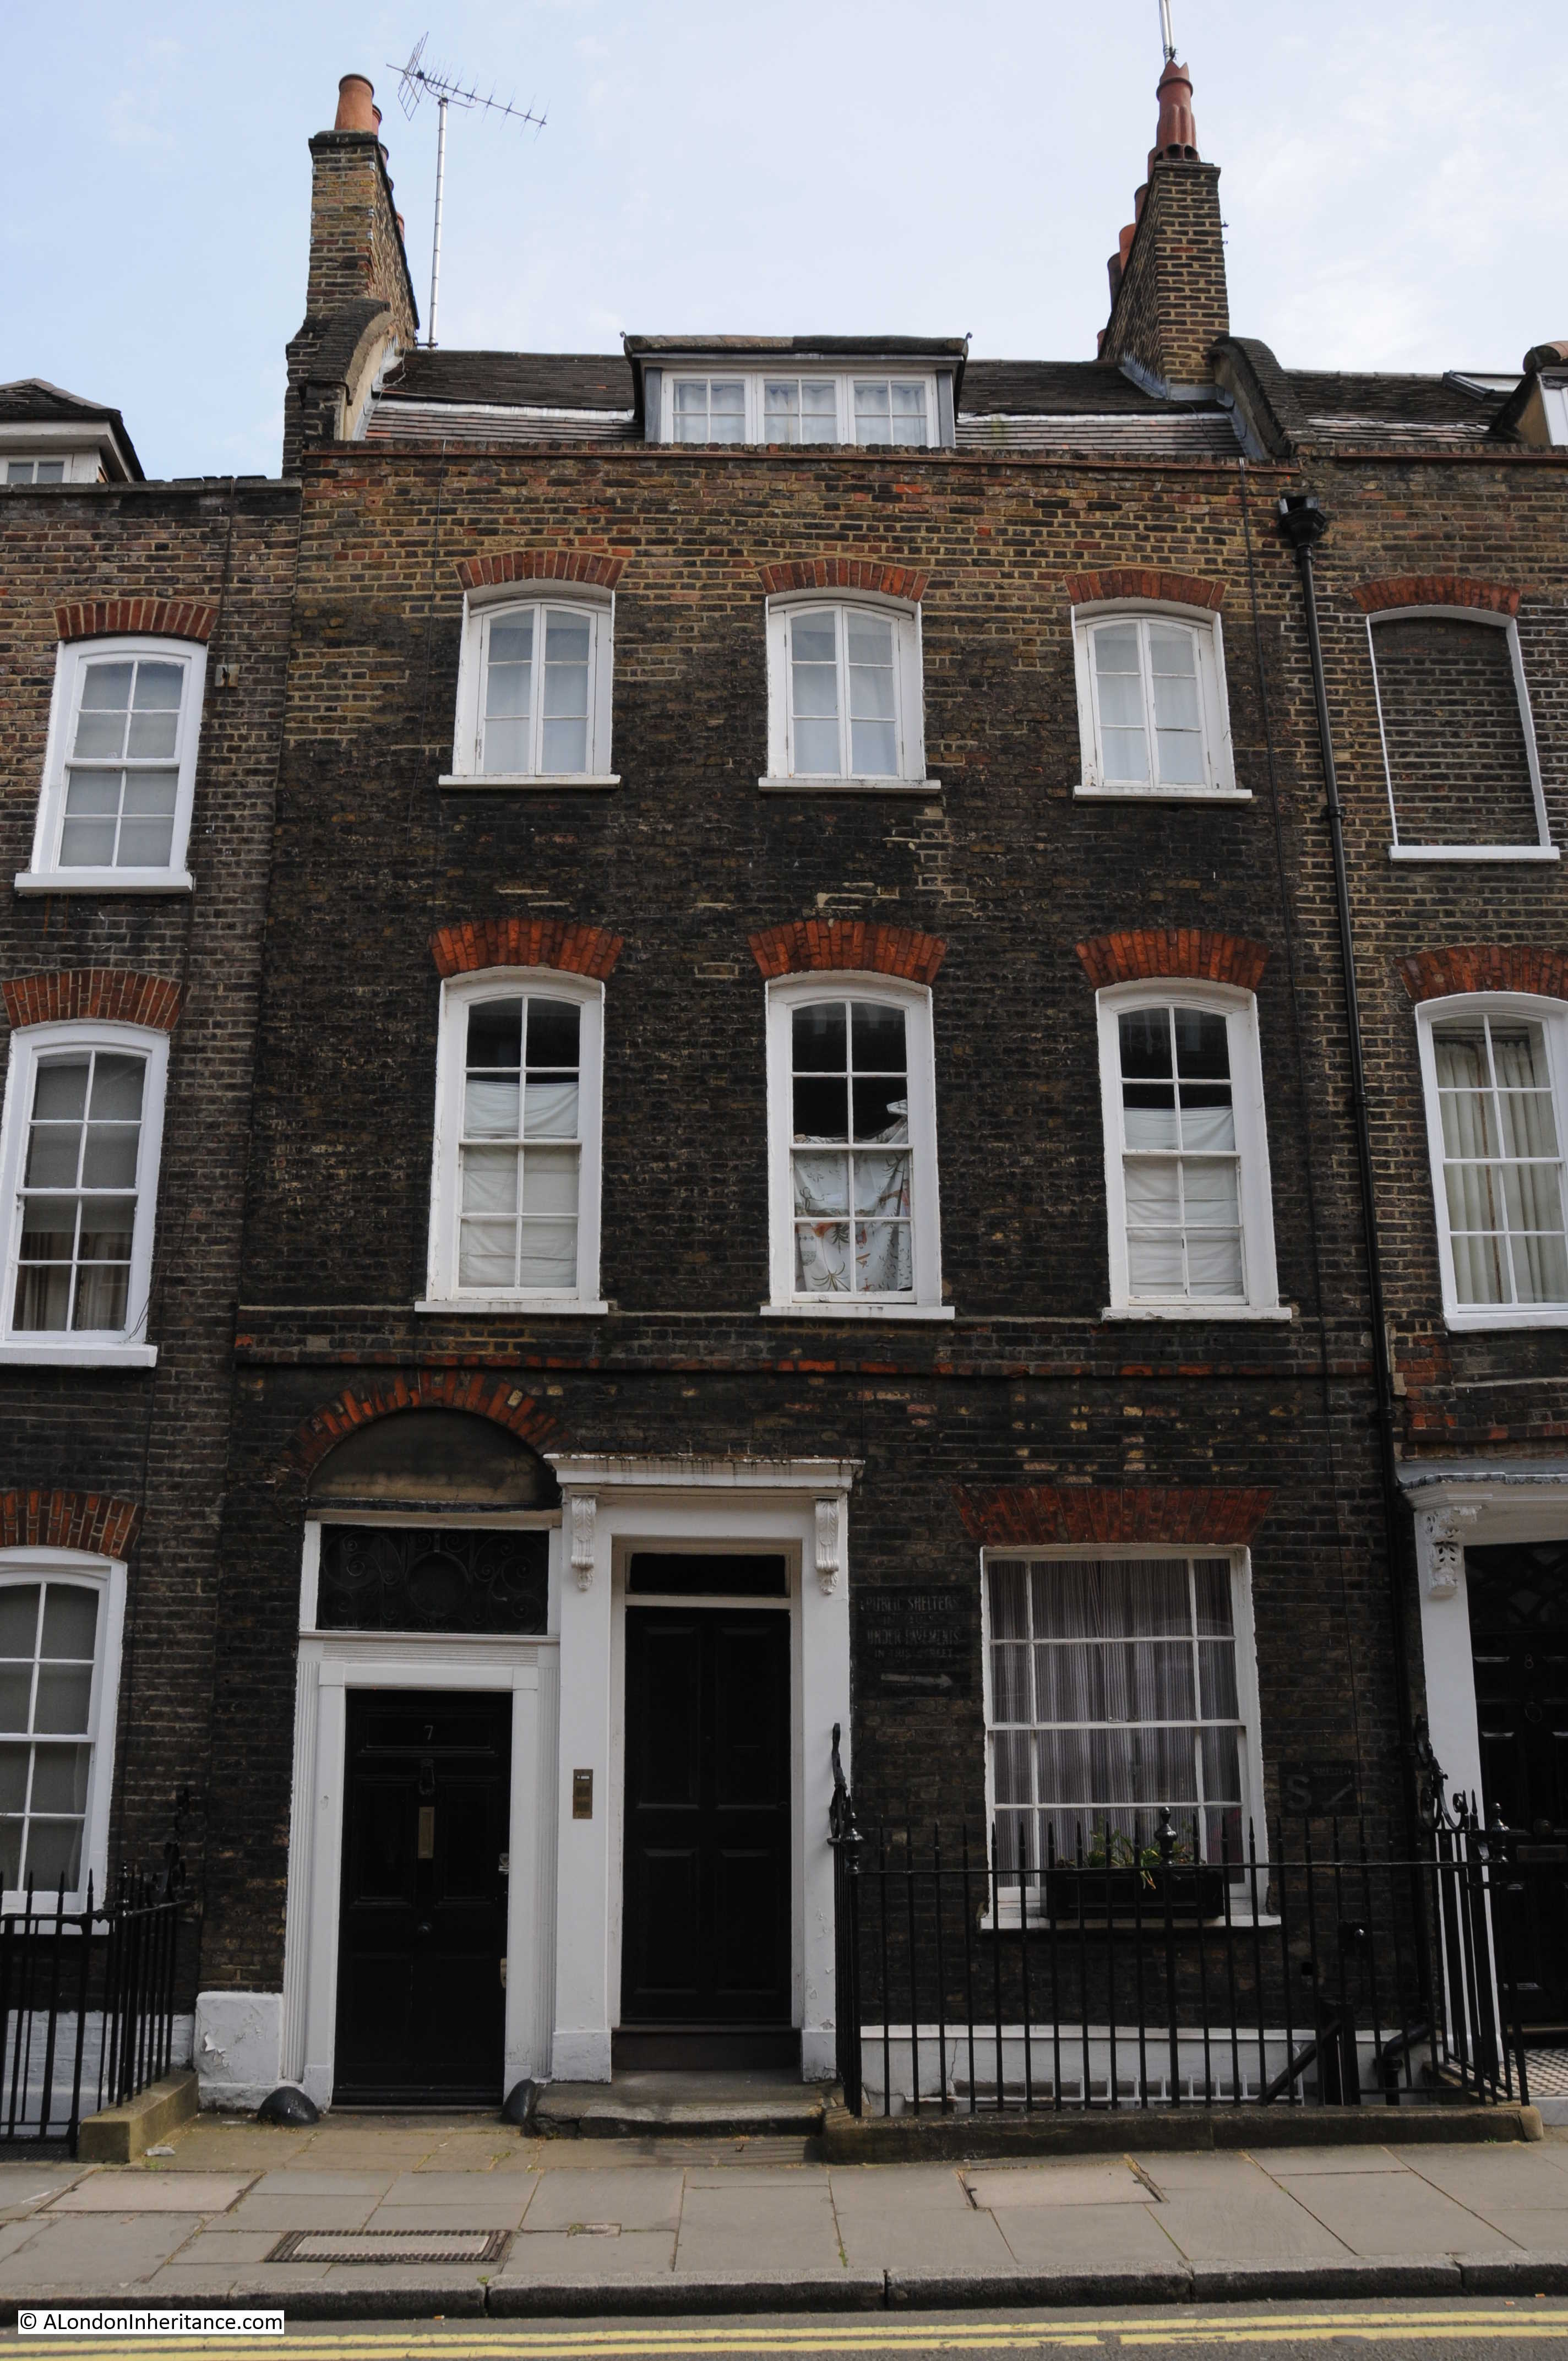
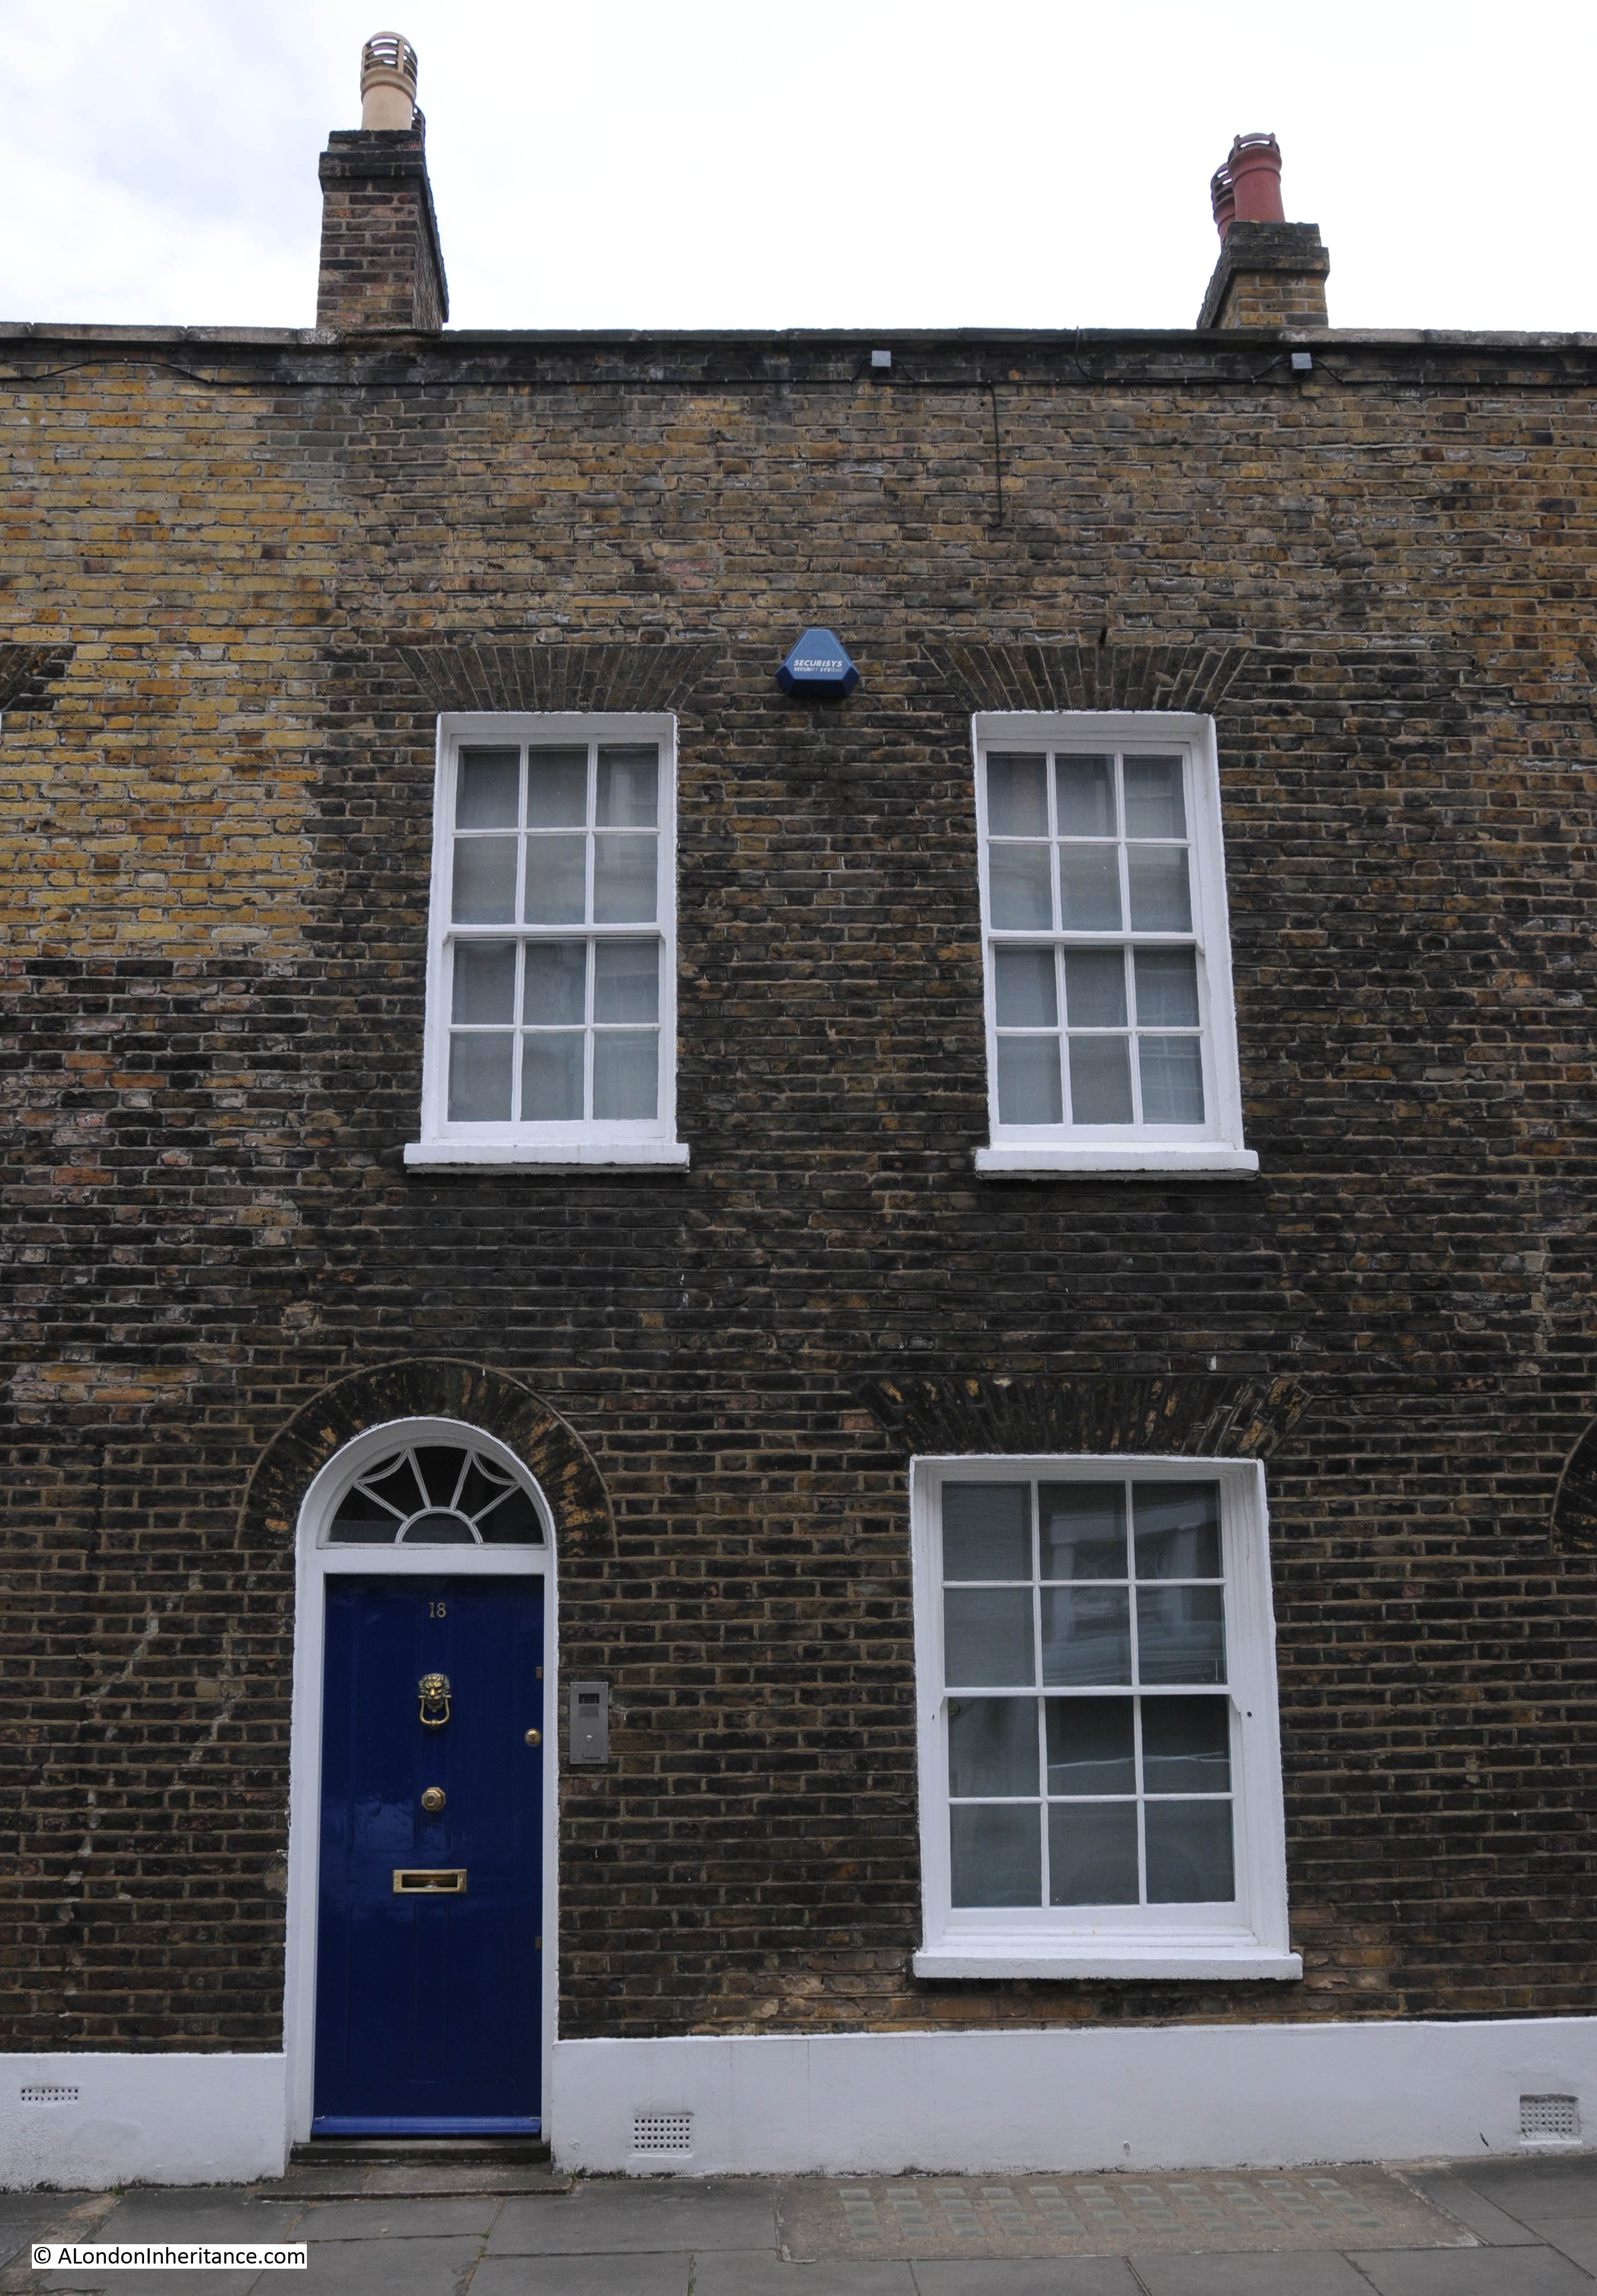
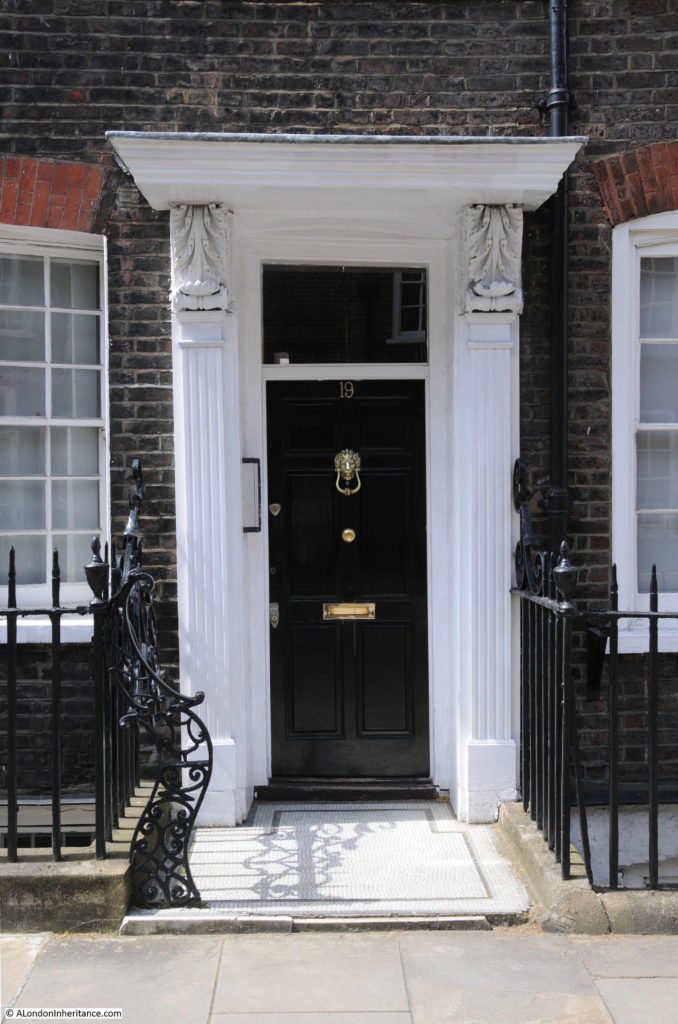
Whilst the architectural style of the majority of the buildings along the street is the same – the buildings have timber sash windows, iron railings and the same building materials – there are variations, for example with the decoration around the main door to the street, some being simple with others having a rather ornate door surround as shown in the photo below.
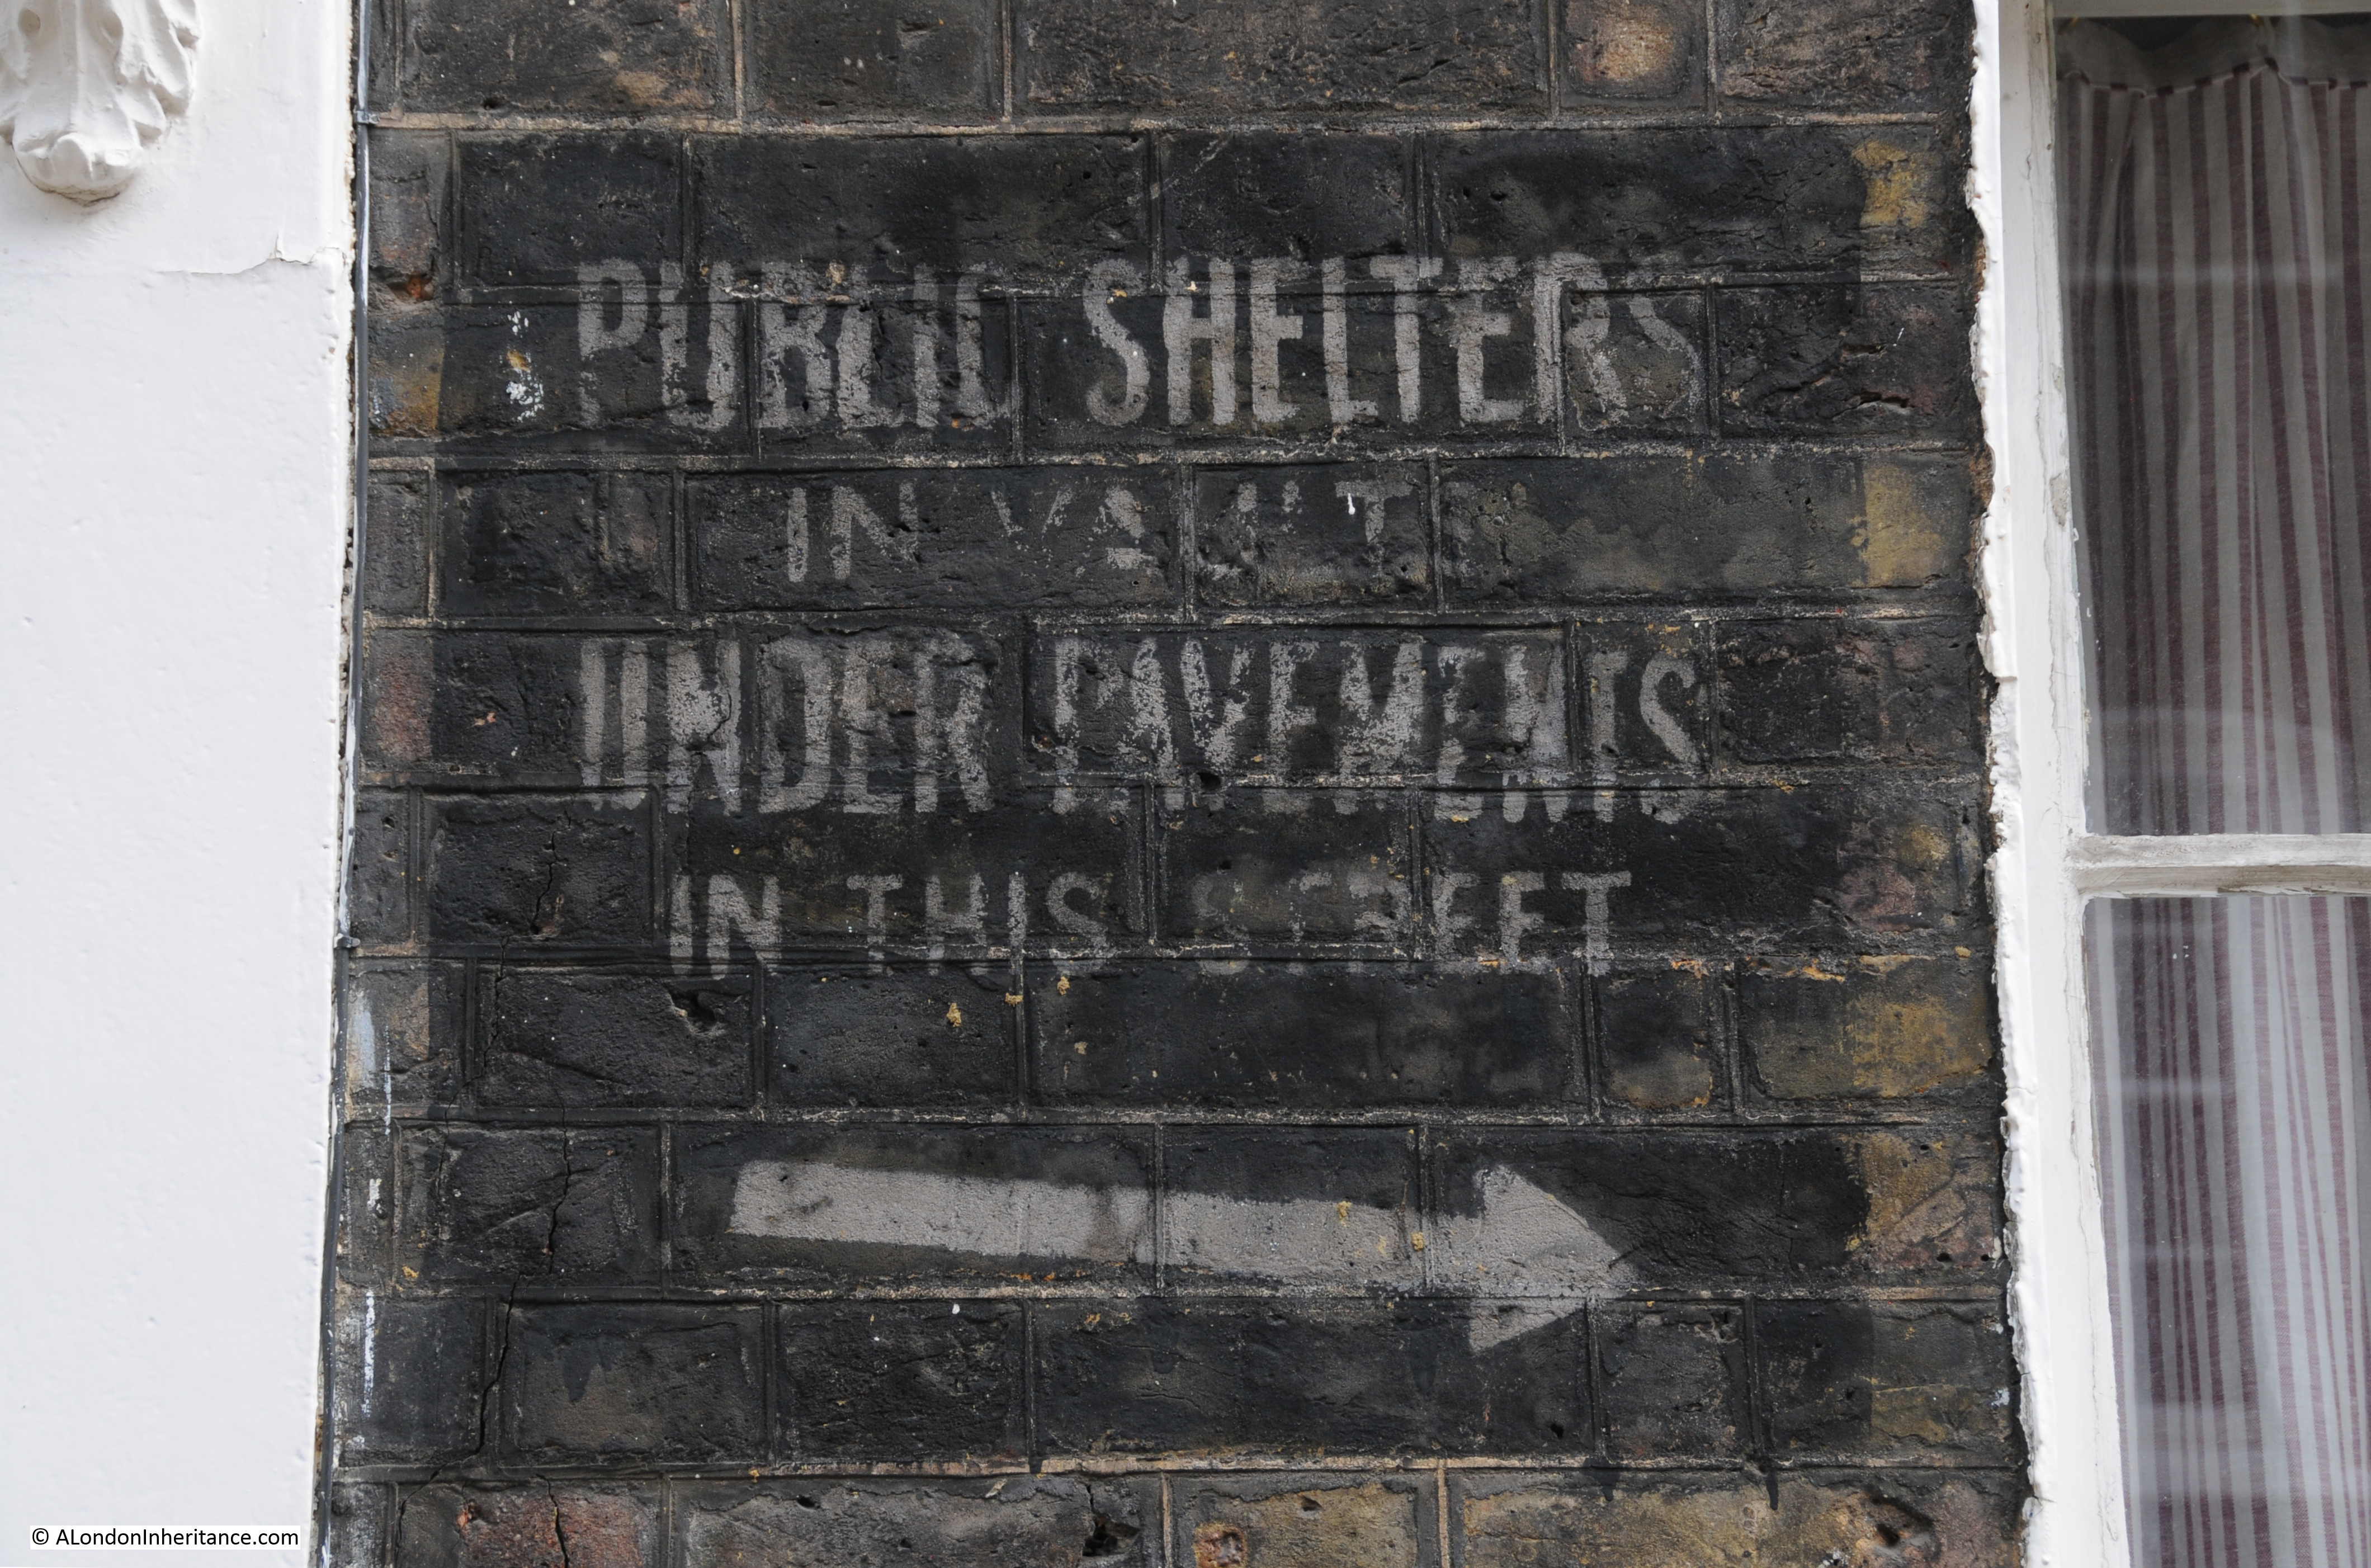
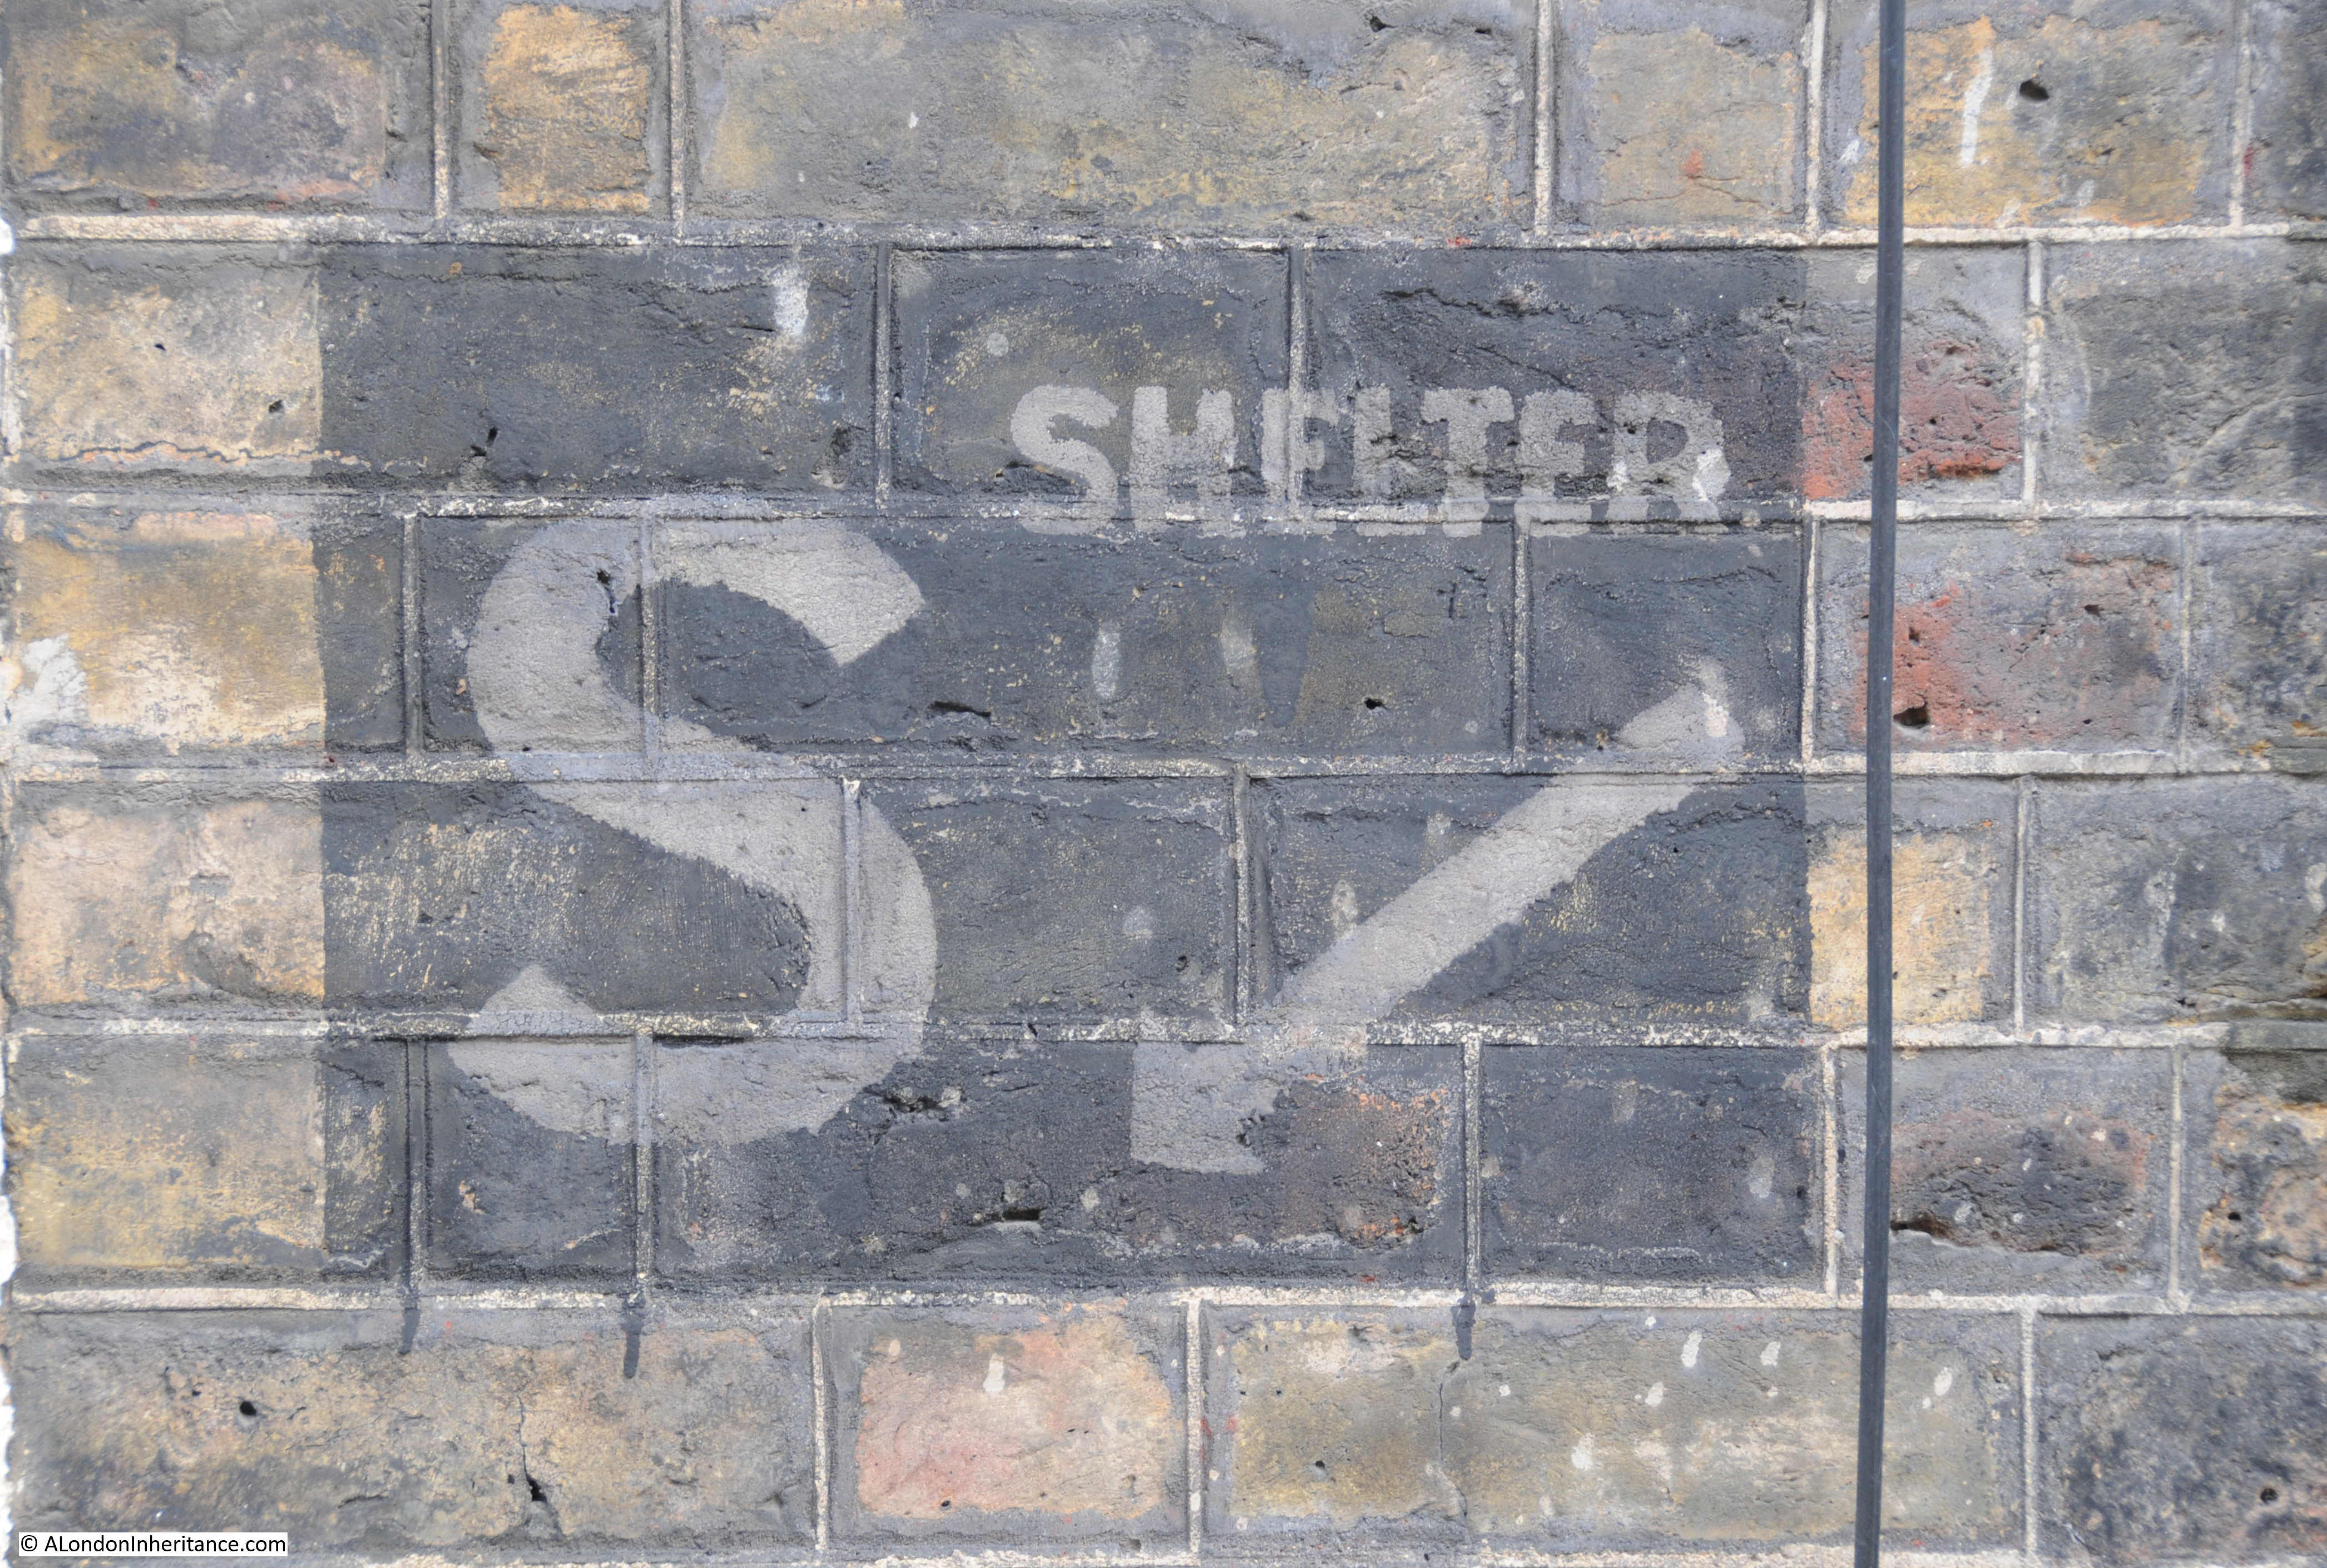
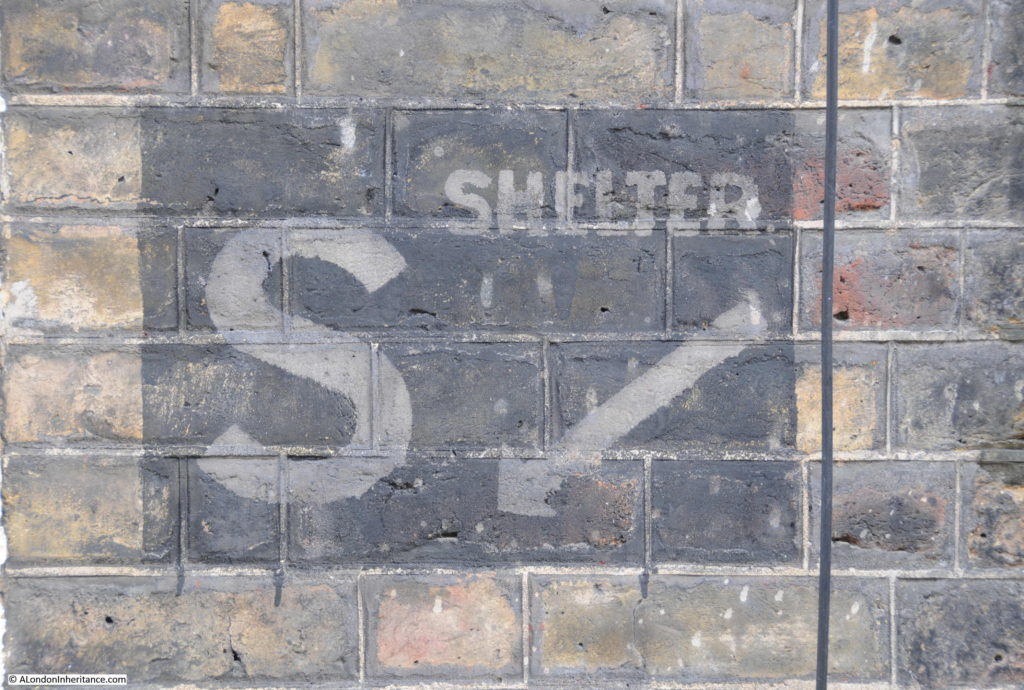
As well as retaining their original 18th century features, some of the buildings in Lord North Street have features from more recent events:

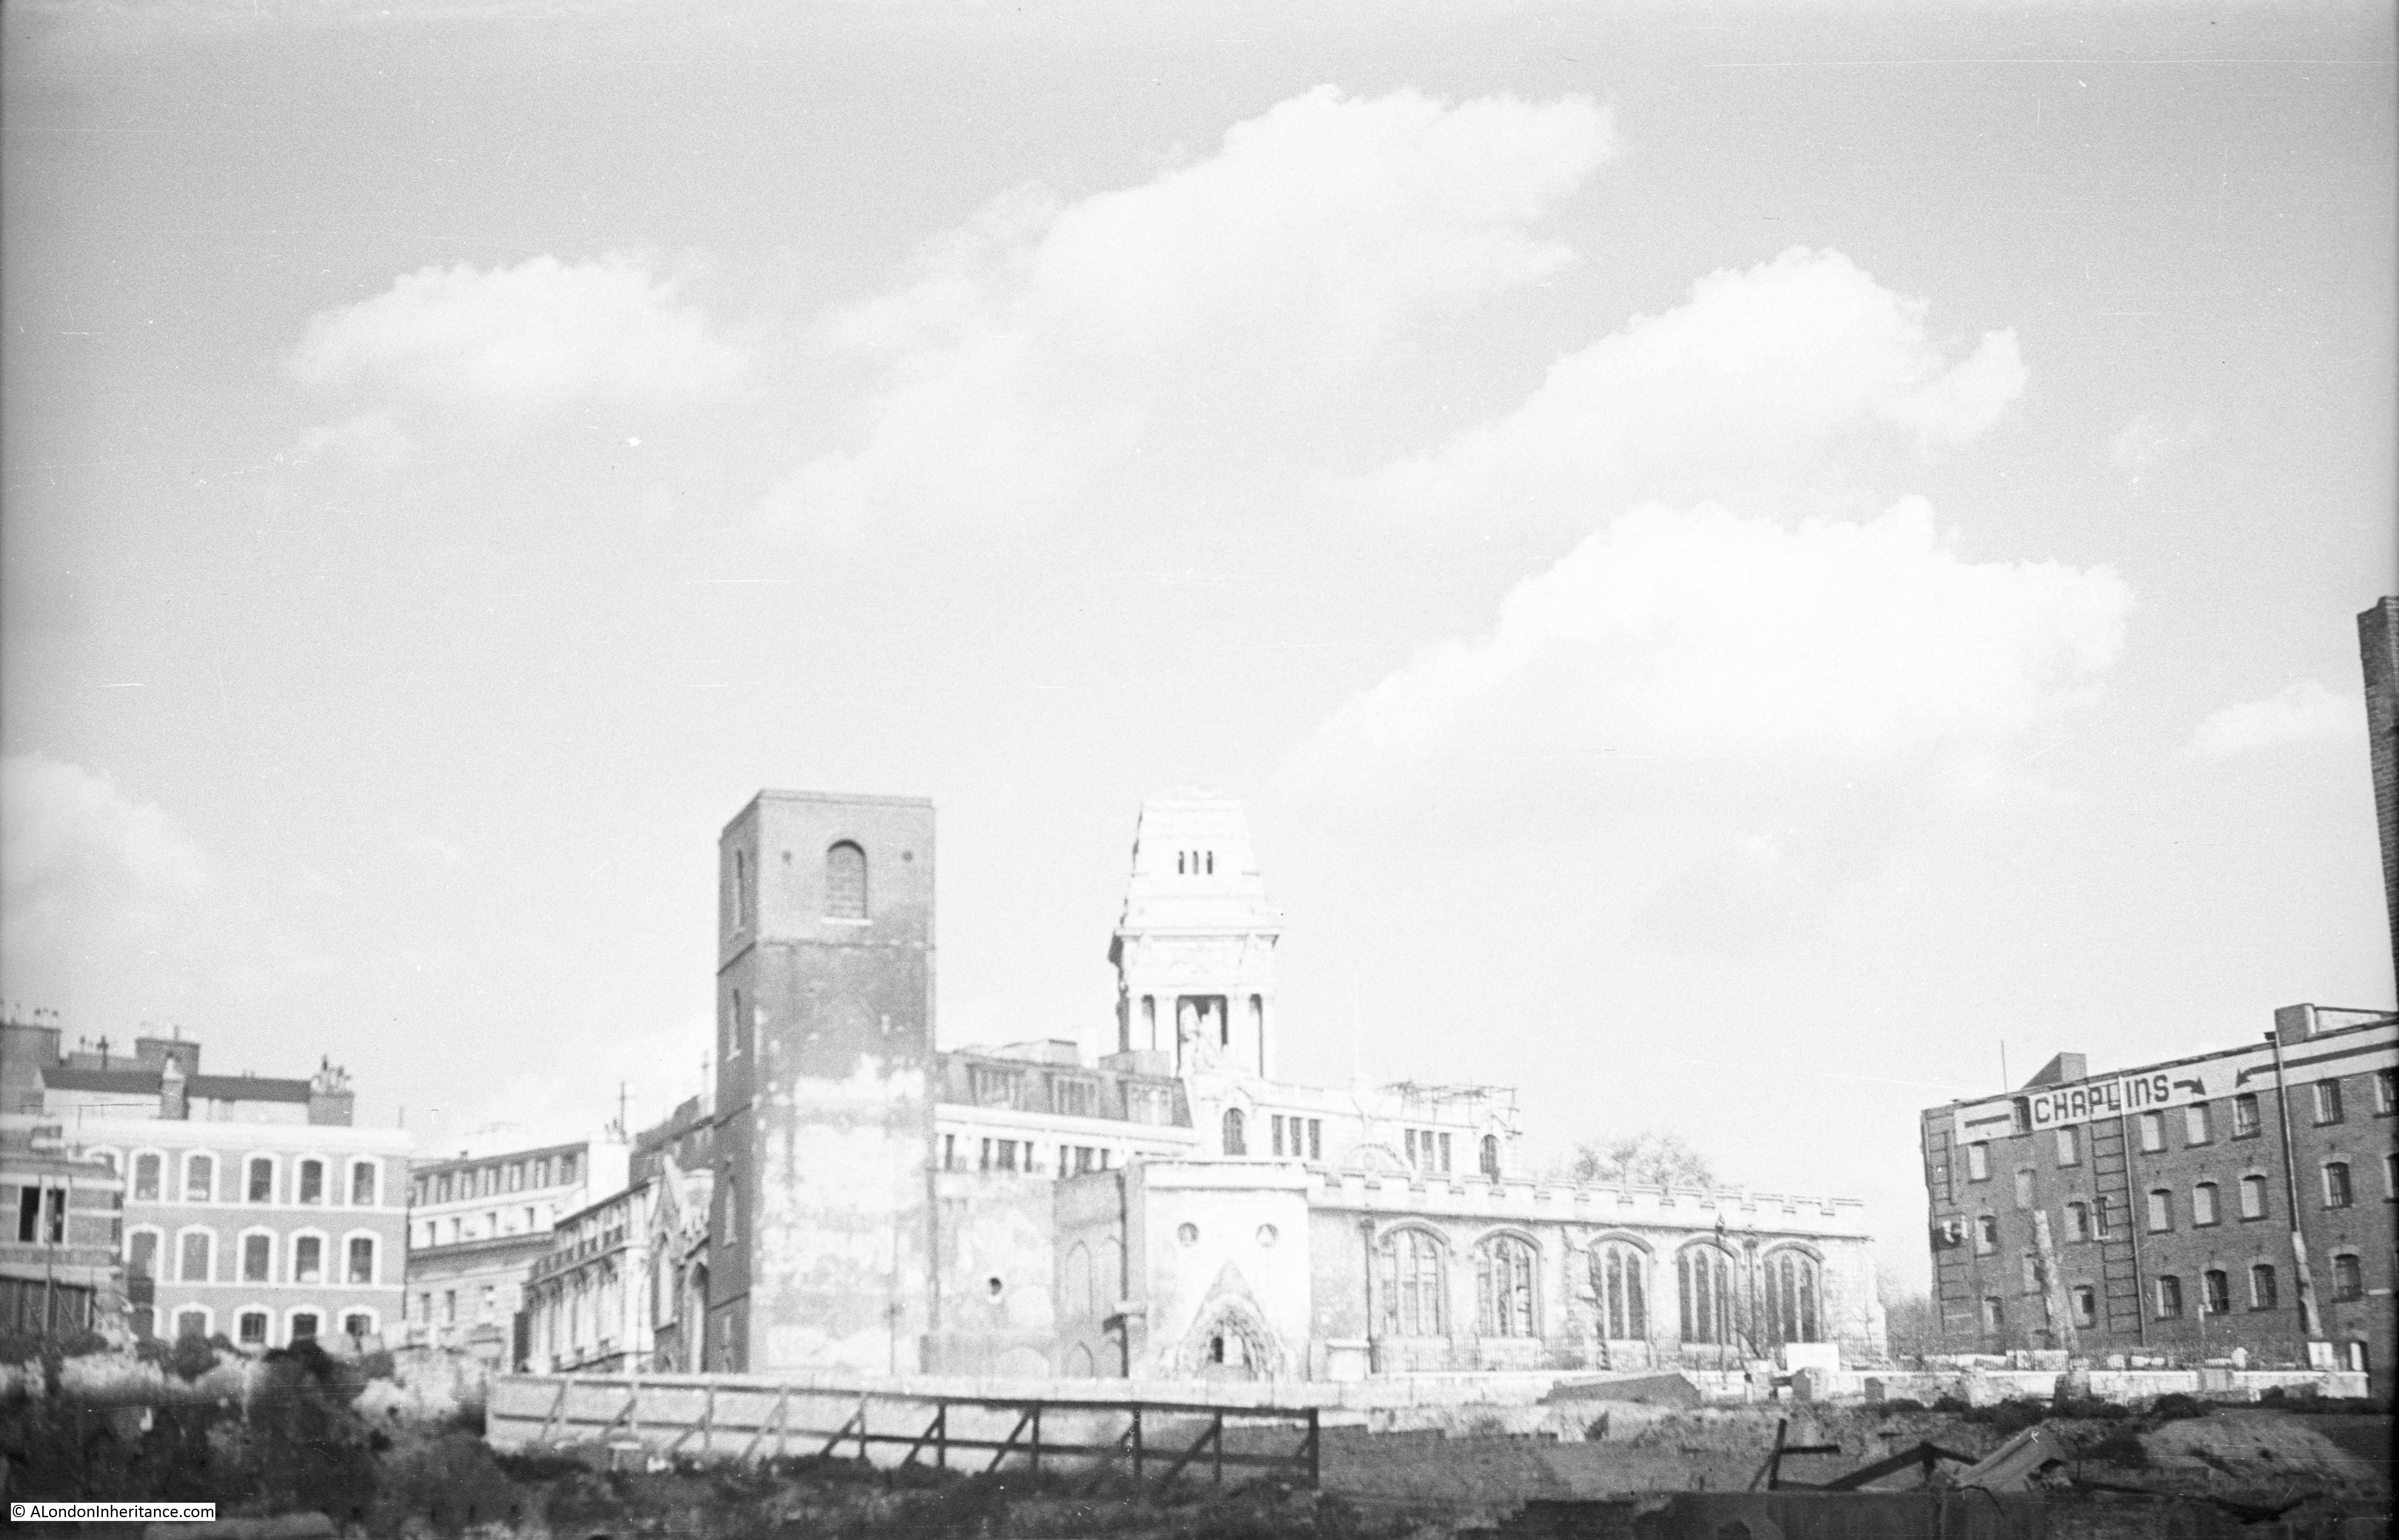
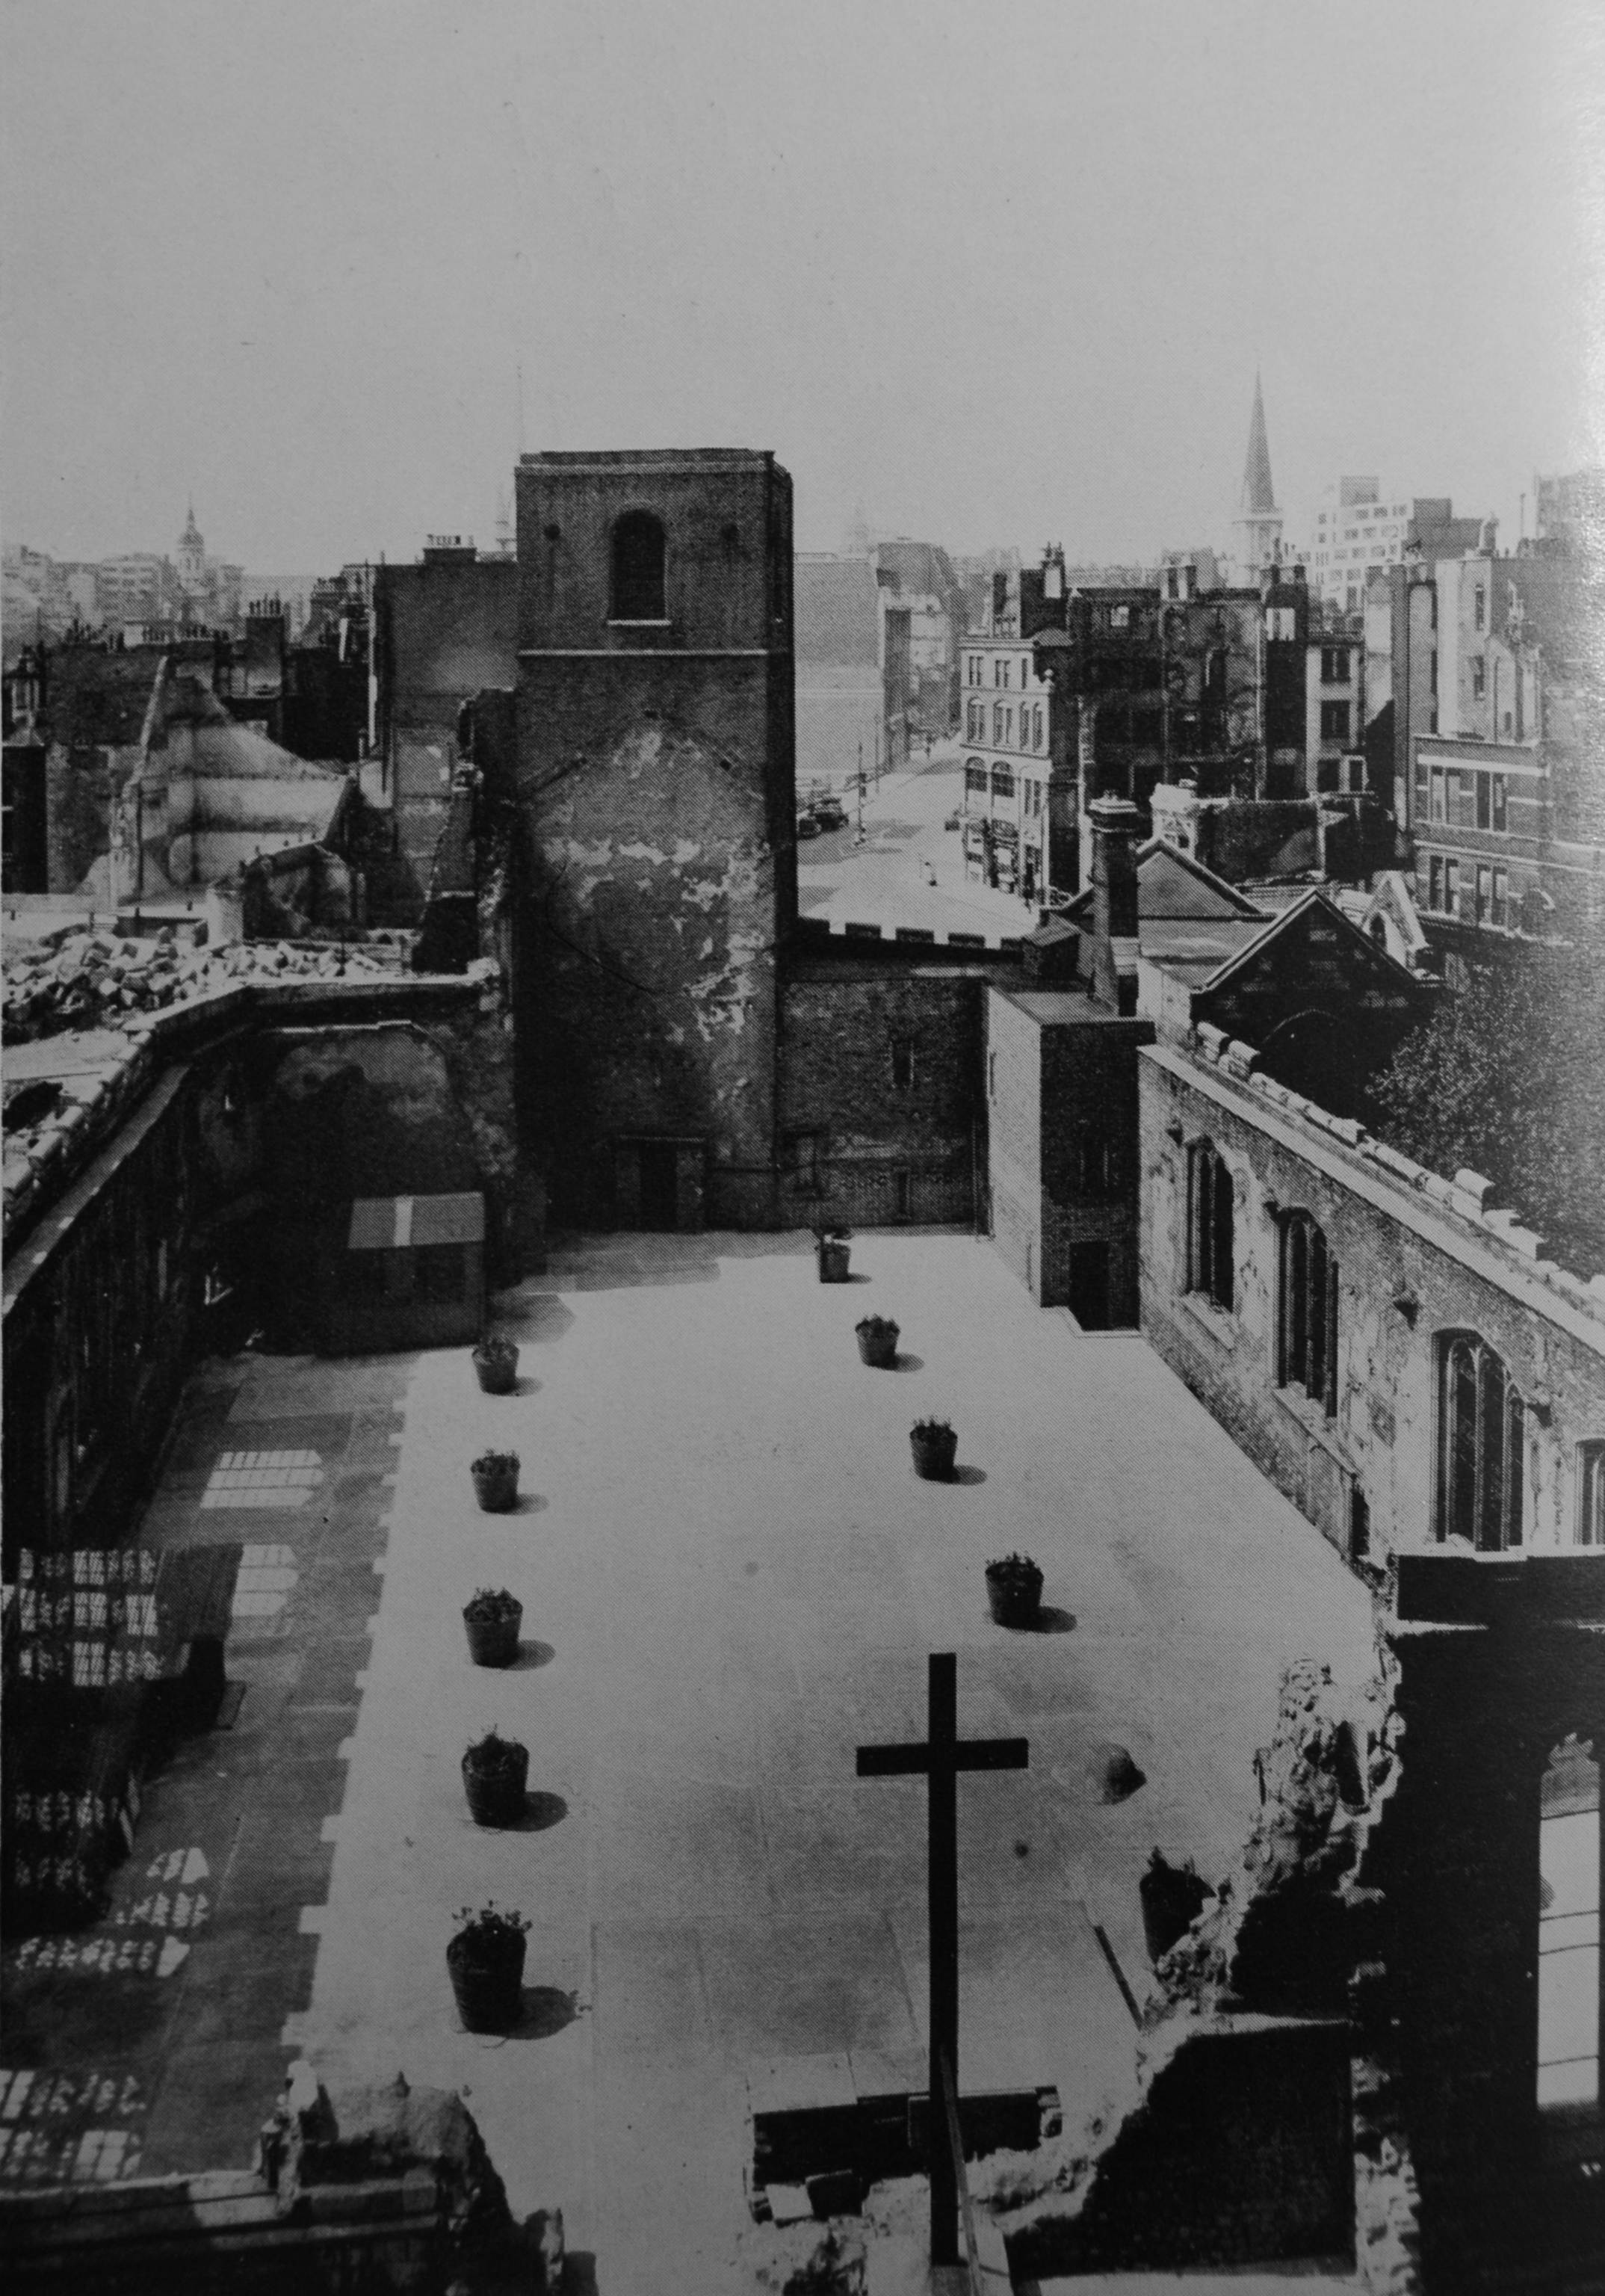
Smith Square suffered badly from bomb damage, the church was gutted by incendiary bombs and a high explosive bomb landed in the square also damaging the church and some of the surrounding buildings. The shelters in the basements of these buildings would have offered basic, but much needed protection from everything except for a direct hit.
Variations in style:

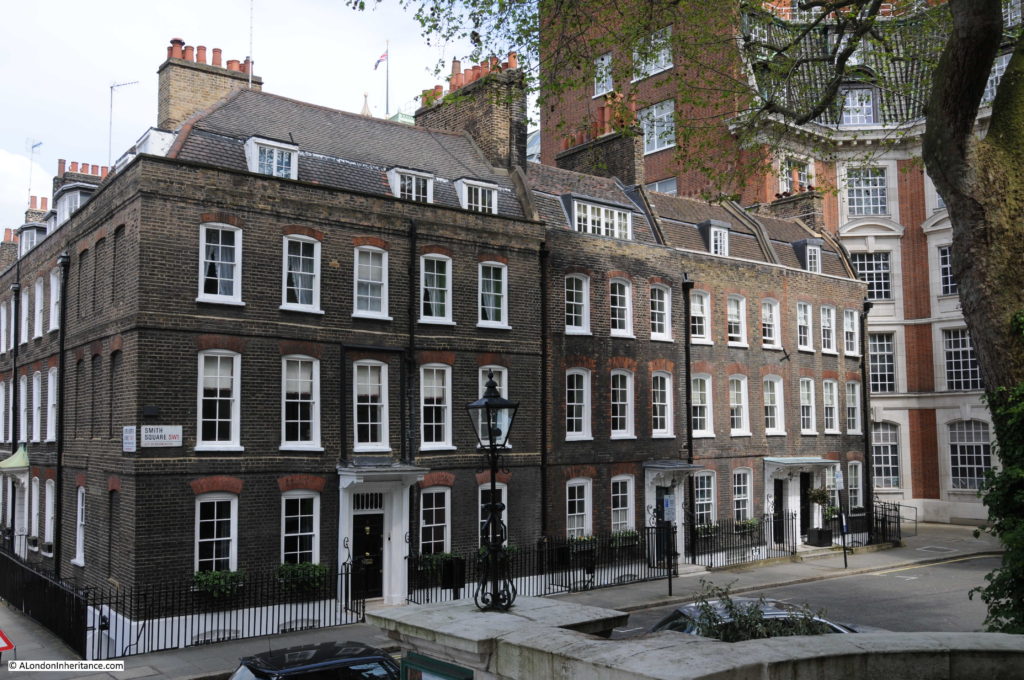
A plaque at the end of Lord North Street to W.T. Stead, a fascinating character who lived his last years here.
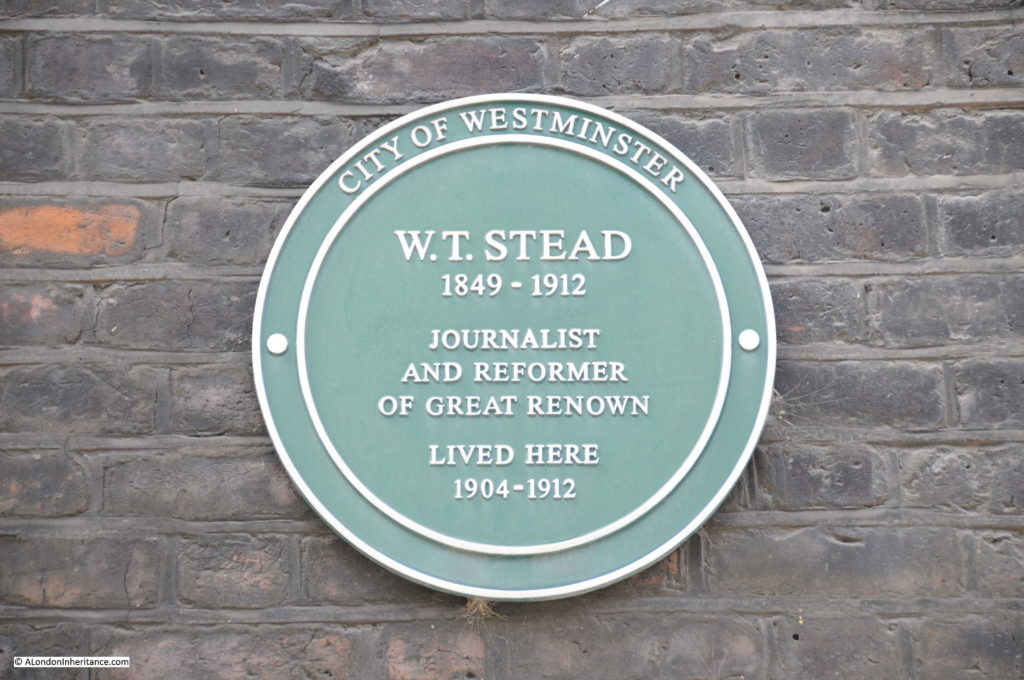
Stead was originally a journalist and newspaper publisher. His believe was that newspapers should be informative and entertaining and also an “engine for social reform” and pioneered a new form of journalism which led to the tabloid format of the 20th century. His expose of child prostitution in Victorian London was one of the most shocking newspaper articles of the time. He was a peace campaigner, attacking the Boer War and travelling widely to promote his ideas. In later years he developed an interest in spiritualism.
In 1912 he accepted an invitation to speak at the Men and Religion Forward Movement at Carnegie Hall in New York. He would probably have left his home here in Lord North Street to travel down to Southampton to catch the first sailing of the Titanic to attend the conference in New York.
He did not survive the sinking of the Titanic and accounts speak of Stead helping others into lifeboats and passing on his life jacket. His body was never recovered.
A fascinating man of his time, although some recent authors have been rather unsympathetic to Stead. For example, in “The Victorians”, A.N. Wilson writes:
“Stead, and the sort of journalism which he pioneered, was to provide for the lower-middle-class chapelgoers a marvelous substitute for the dramas of the Devils Theatre, the frivolous triumphs and disasters of the Devil’s Prayer Book. He was to redefine the world as a lurid back-drop for a new literary form, every bit as diverting as the three-decker novel from the Satanic circulating libraries.”
The real start of tabloid journalism!
The web site attackingthedevil,co,uk is a dedicated resource on W.T. Stead and is a highly recommended read.
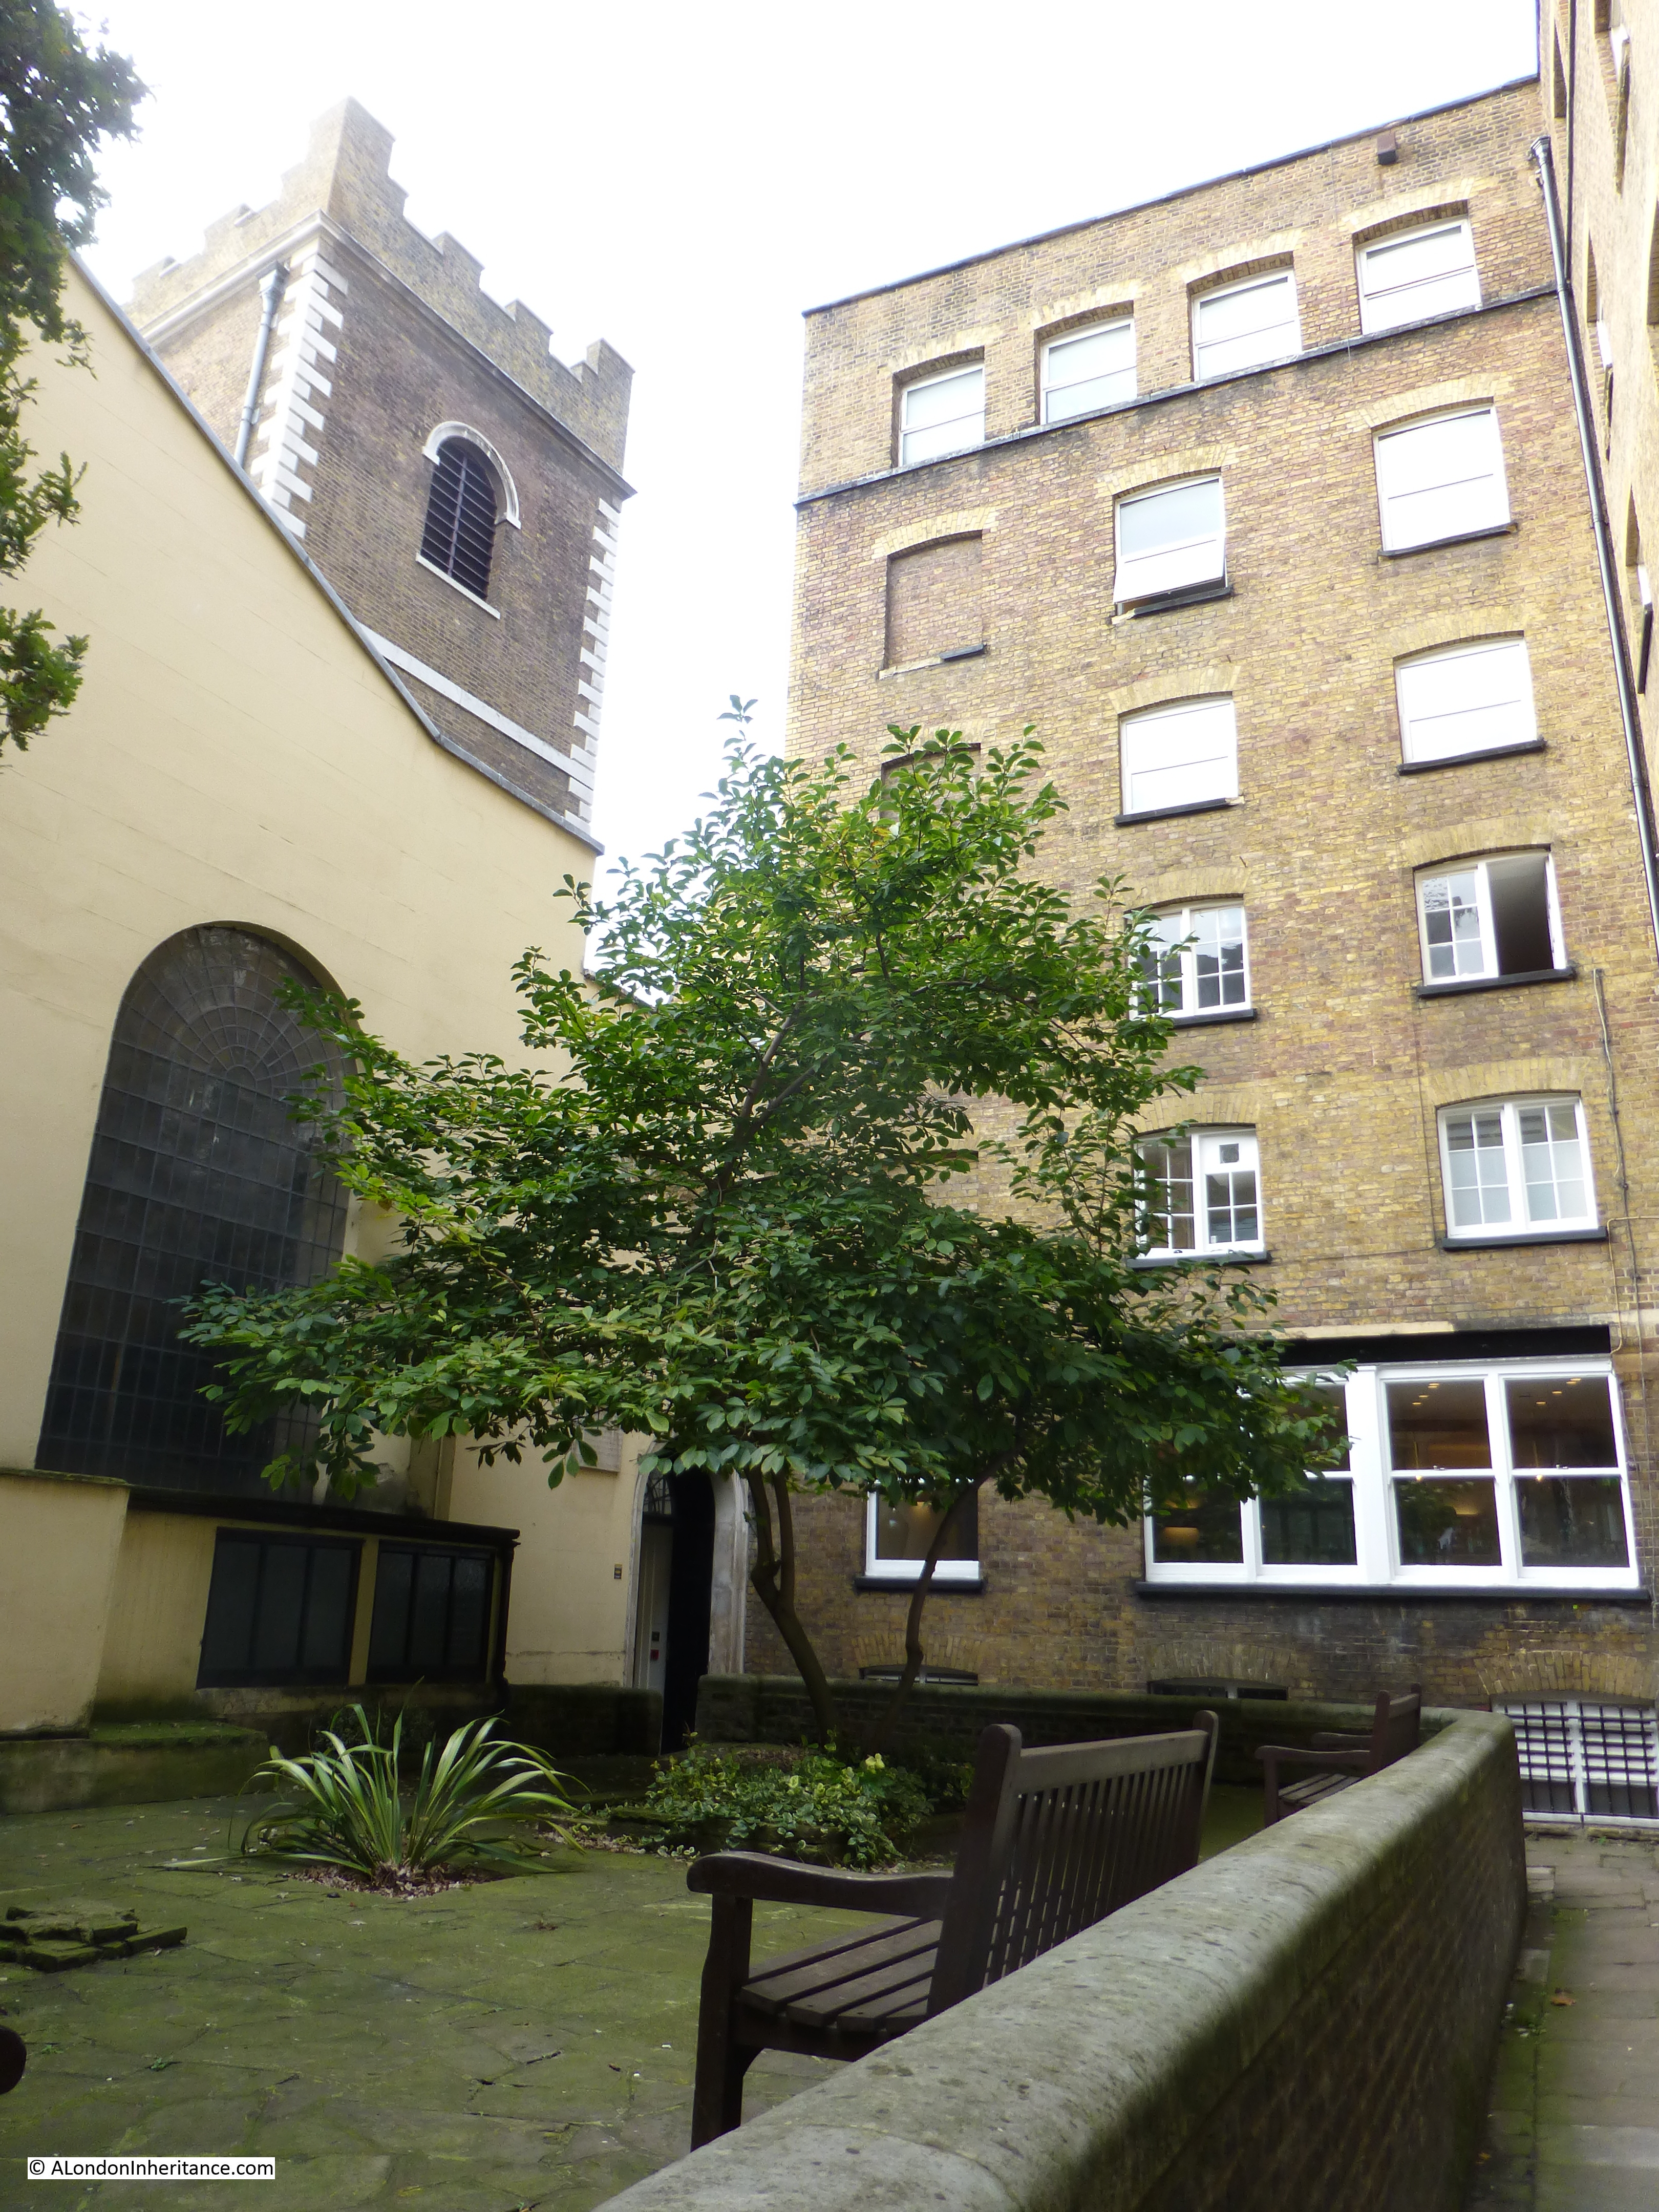
The view looking back down Lord North Street from the steps of the church. Stead’s house is on the left corner of Lord North Street.
The land around Smith Square was dominated from medieval times by the Abbey and Westminster Palace with vine yards, market gardens, orchards and building moving west from the Abbey and Palace complex. During the 17th century, part of the land between Millbank and Tufton Street was purchased by Simon Smith and his son Henry, and building commenced towards the end of the century.
Smith Square was formed around the church of St. John the Evangelist. This was one of the 50 new churches that had been identified by the Church Building Commissioners to meet the needs of an expanding London and growing population. Land was bought by the Church Building Commissioners and the church was built between 1714 and 1728.
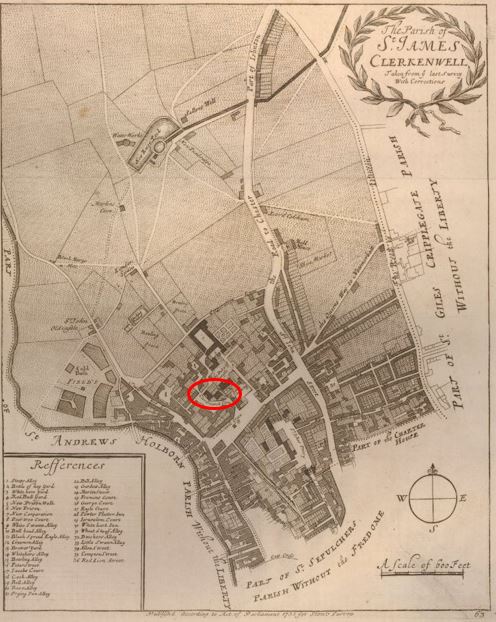
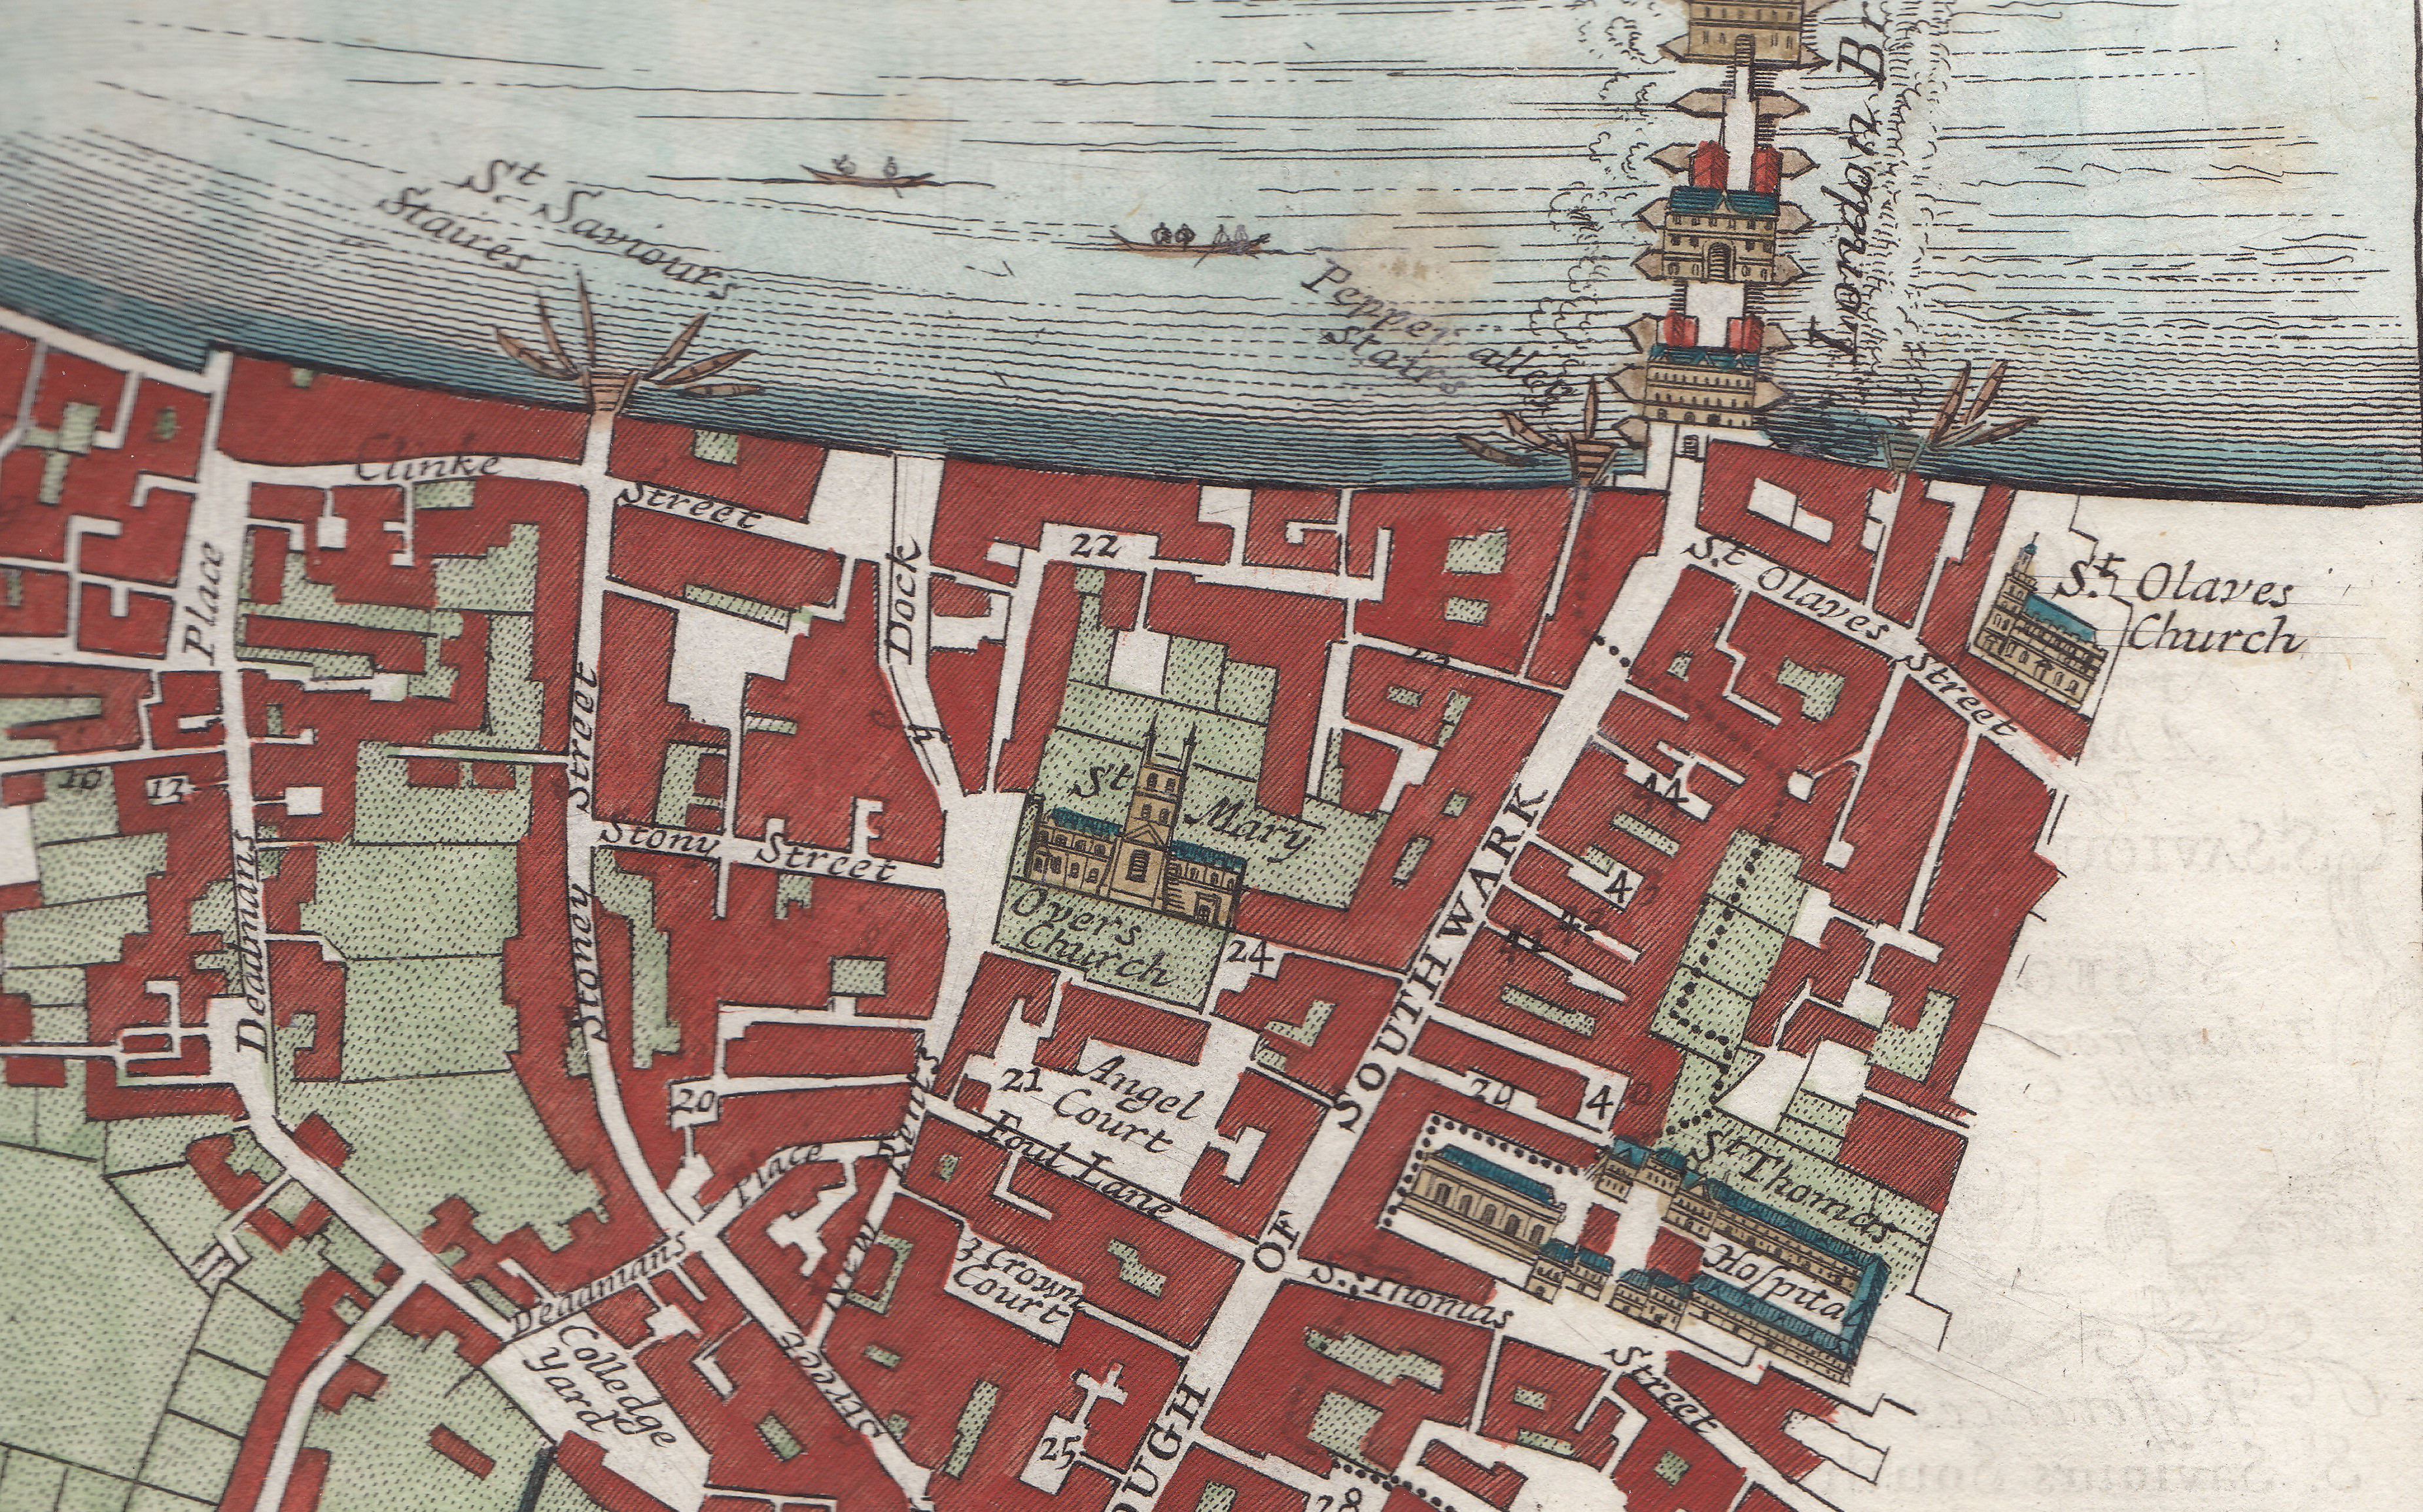
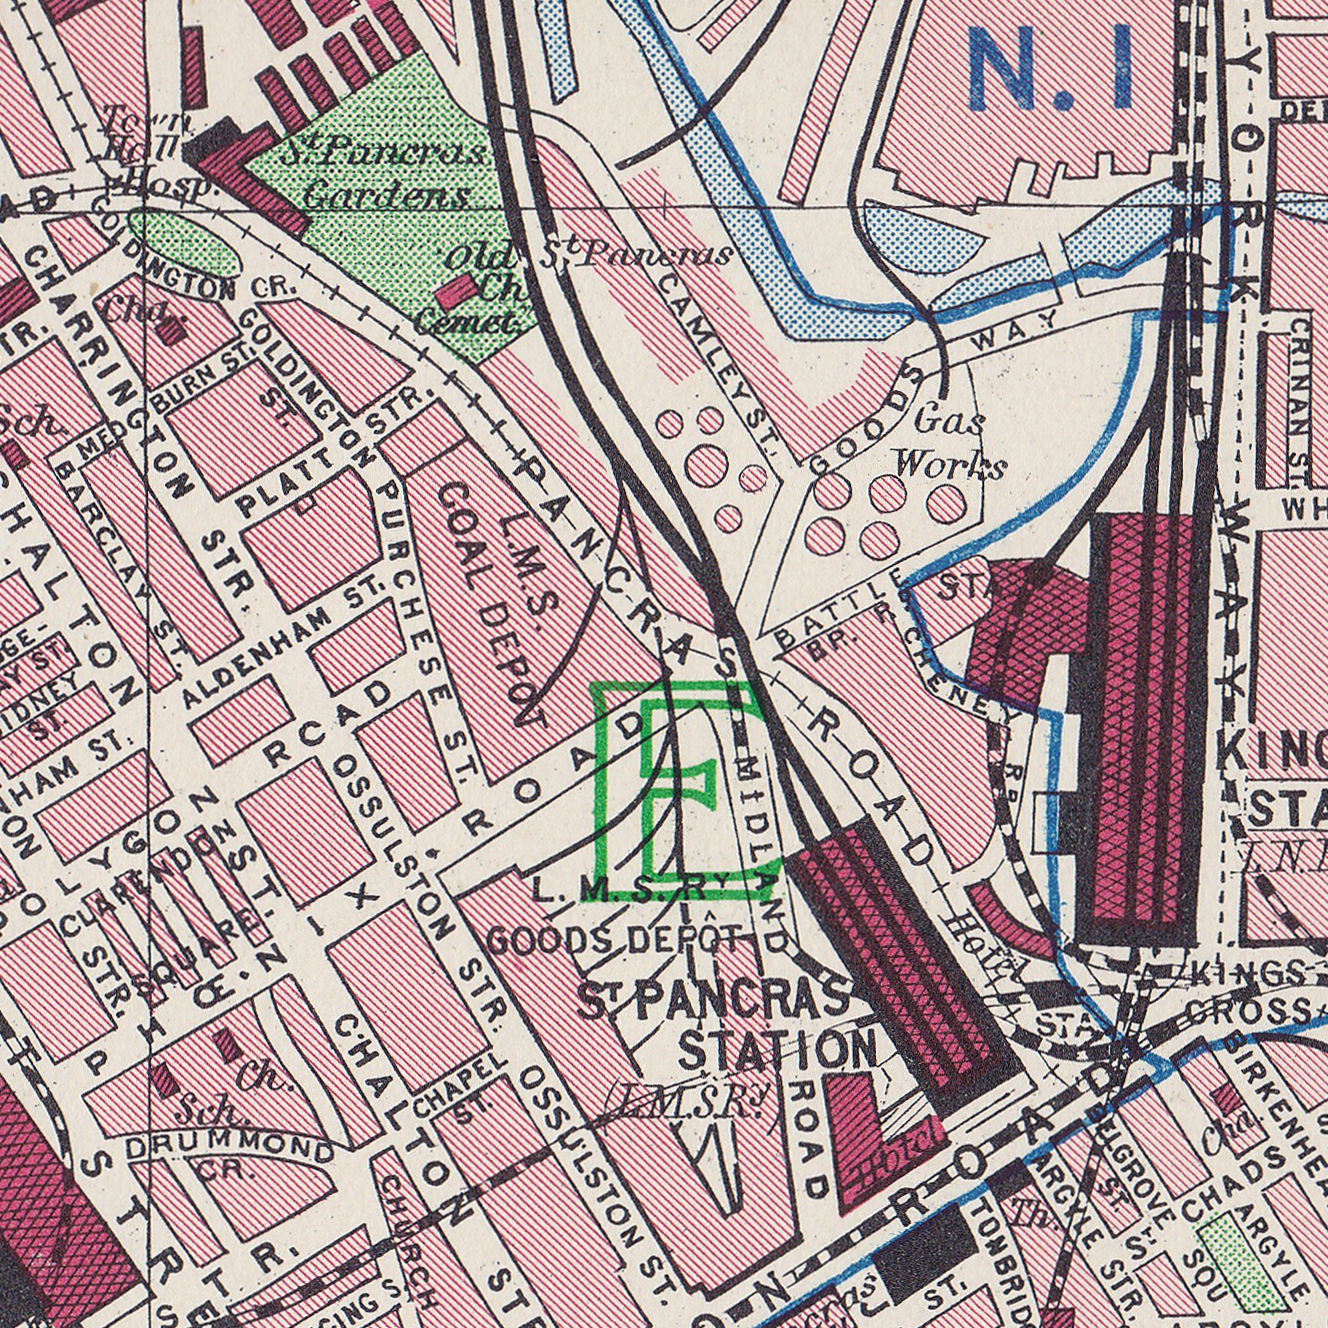
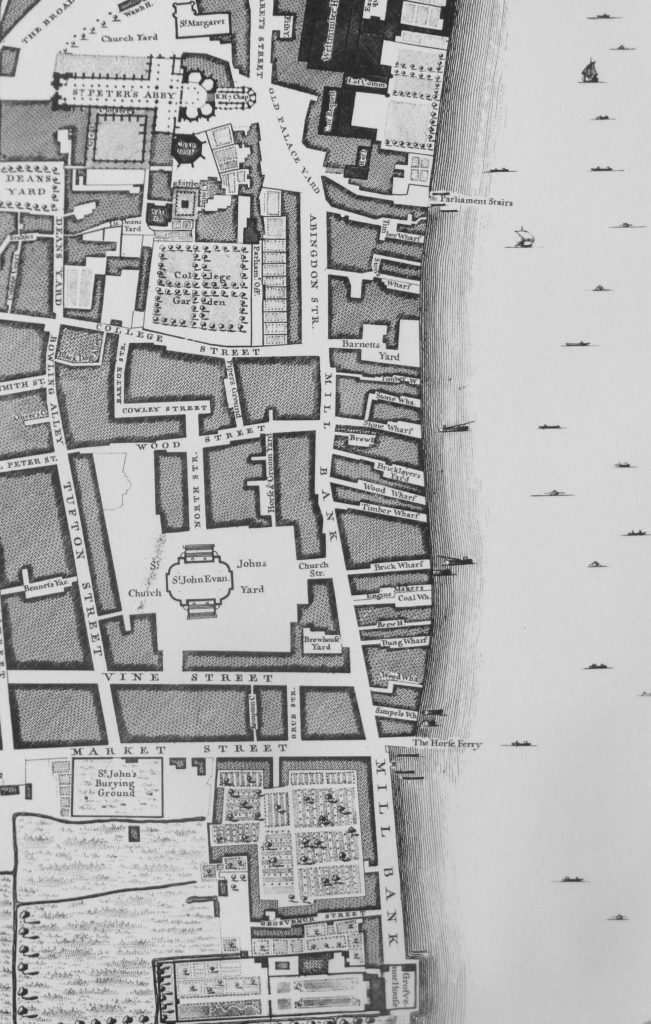
The church was originally at the centre of a much larger square with a considerable amount of space between the church and the closest buildings. The extract below from John Rocque’s map of 1746 shows the newly built streets and the church at the centre of a large space.
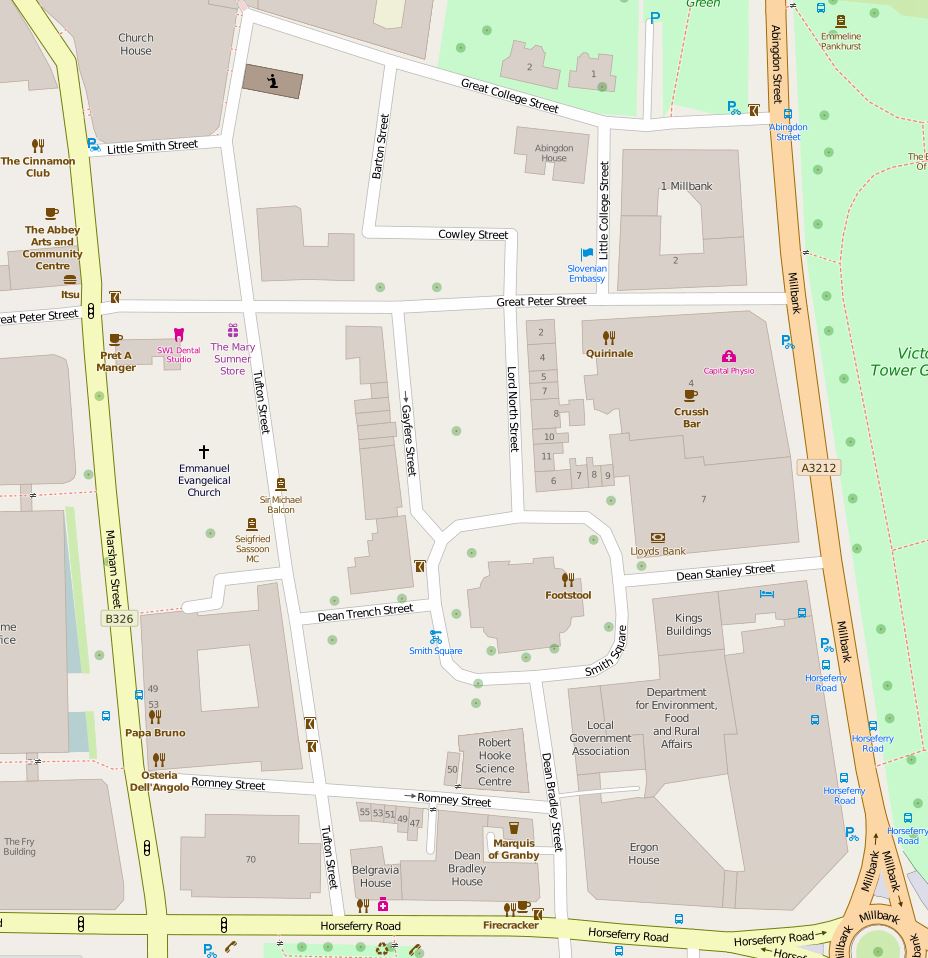
The following map extract shows the core area around Smith Square today. The area is still bounded by Tufton Street and Millbank (to the left and right) with College Street to the top of the map and Market Street at the bottom (now named Horseferry Road). Much of Vine Street has disappeared with the remaining section now named Romney Street. The large open space to the top left of the church has since been built over with Gayfere Street connecting Smith Square to Great Peter Street. Church Street now runs longer from MIllbank to the square and has been renamed Dean Stanley Street. Horse and Groom Yard to the top right of the church has been built over.
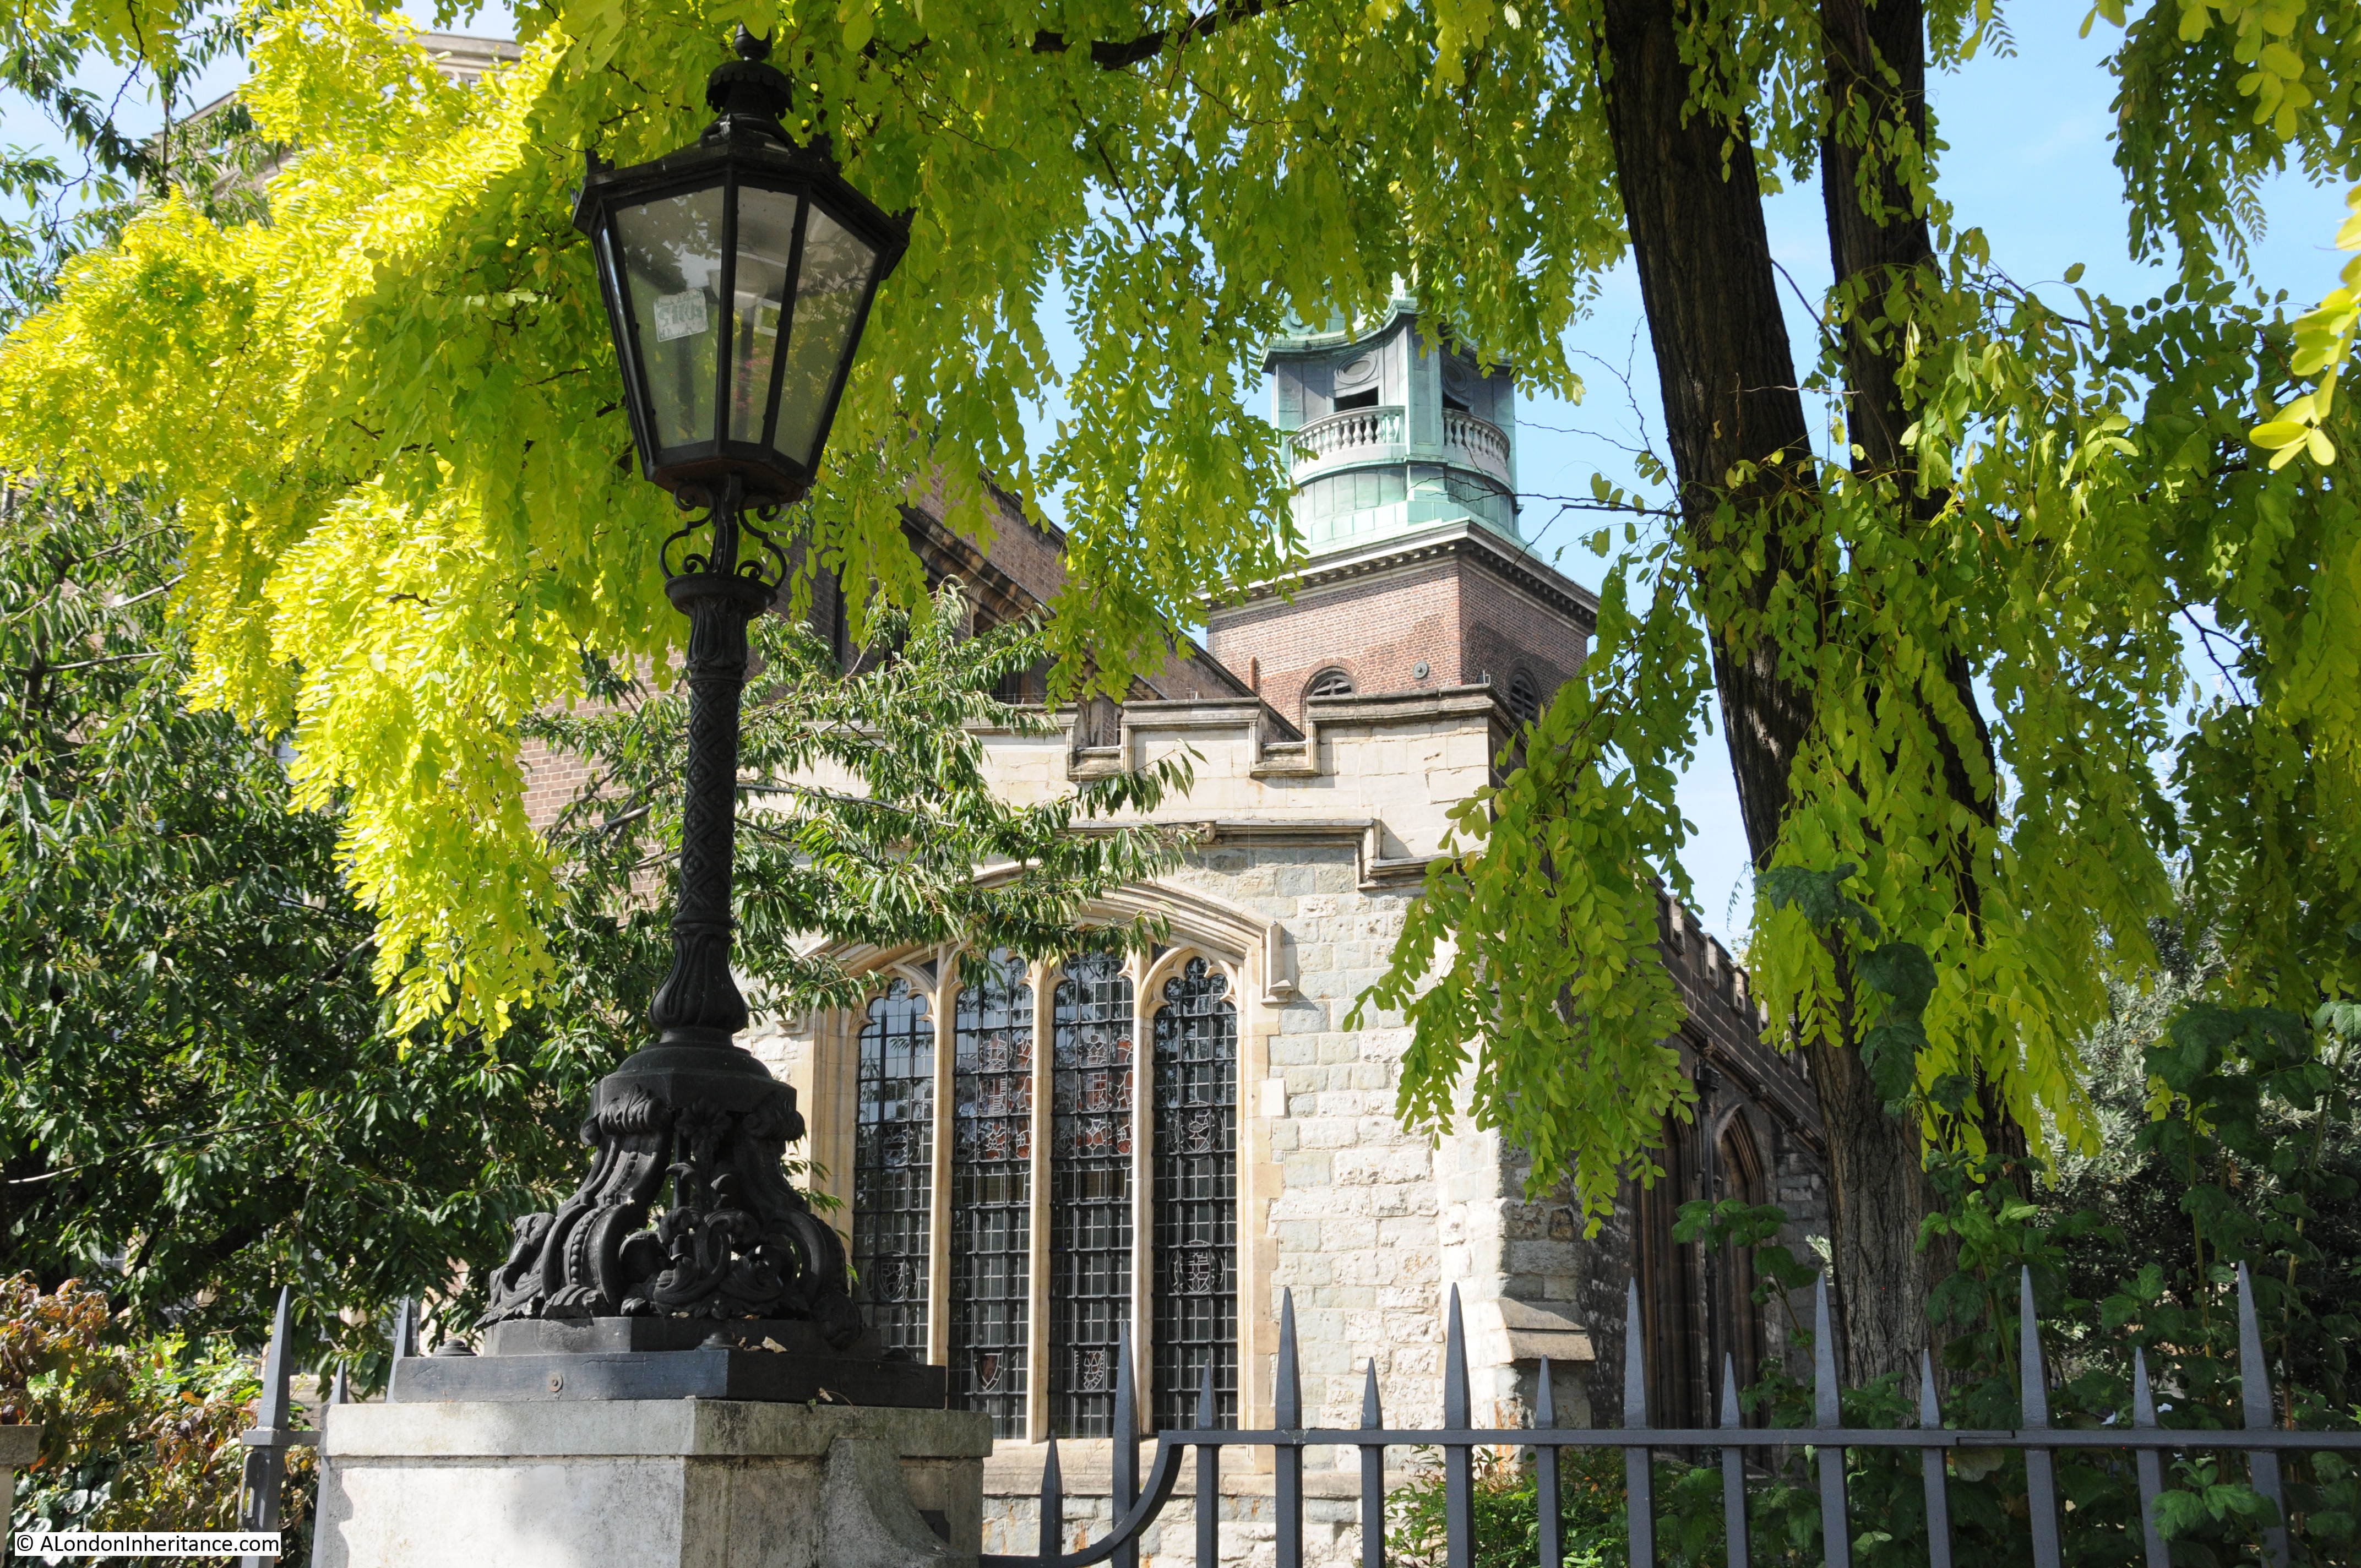
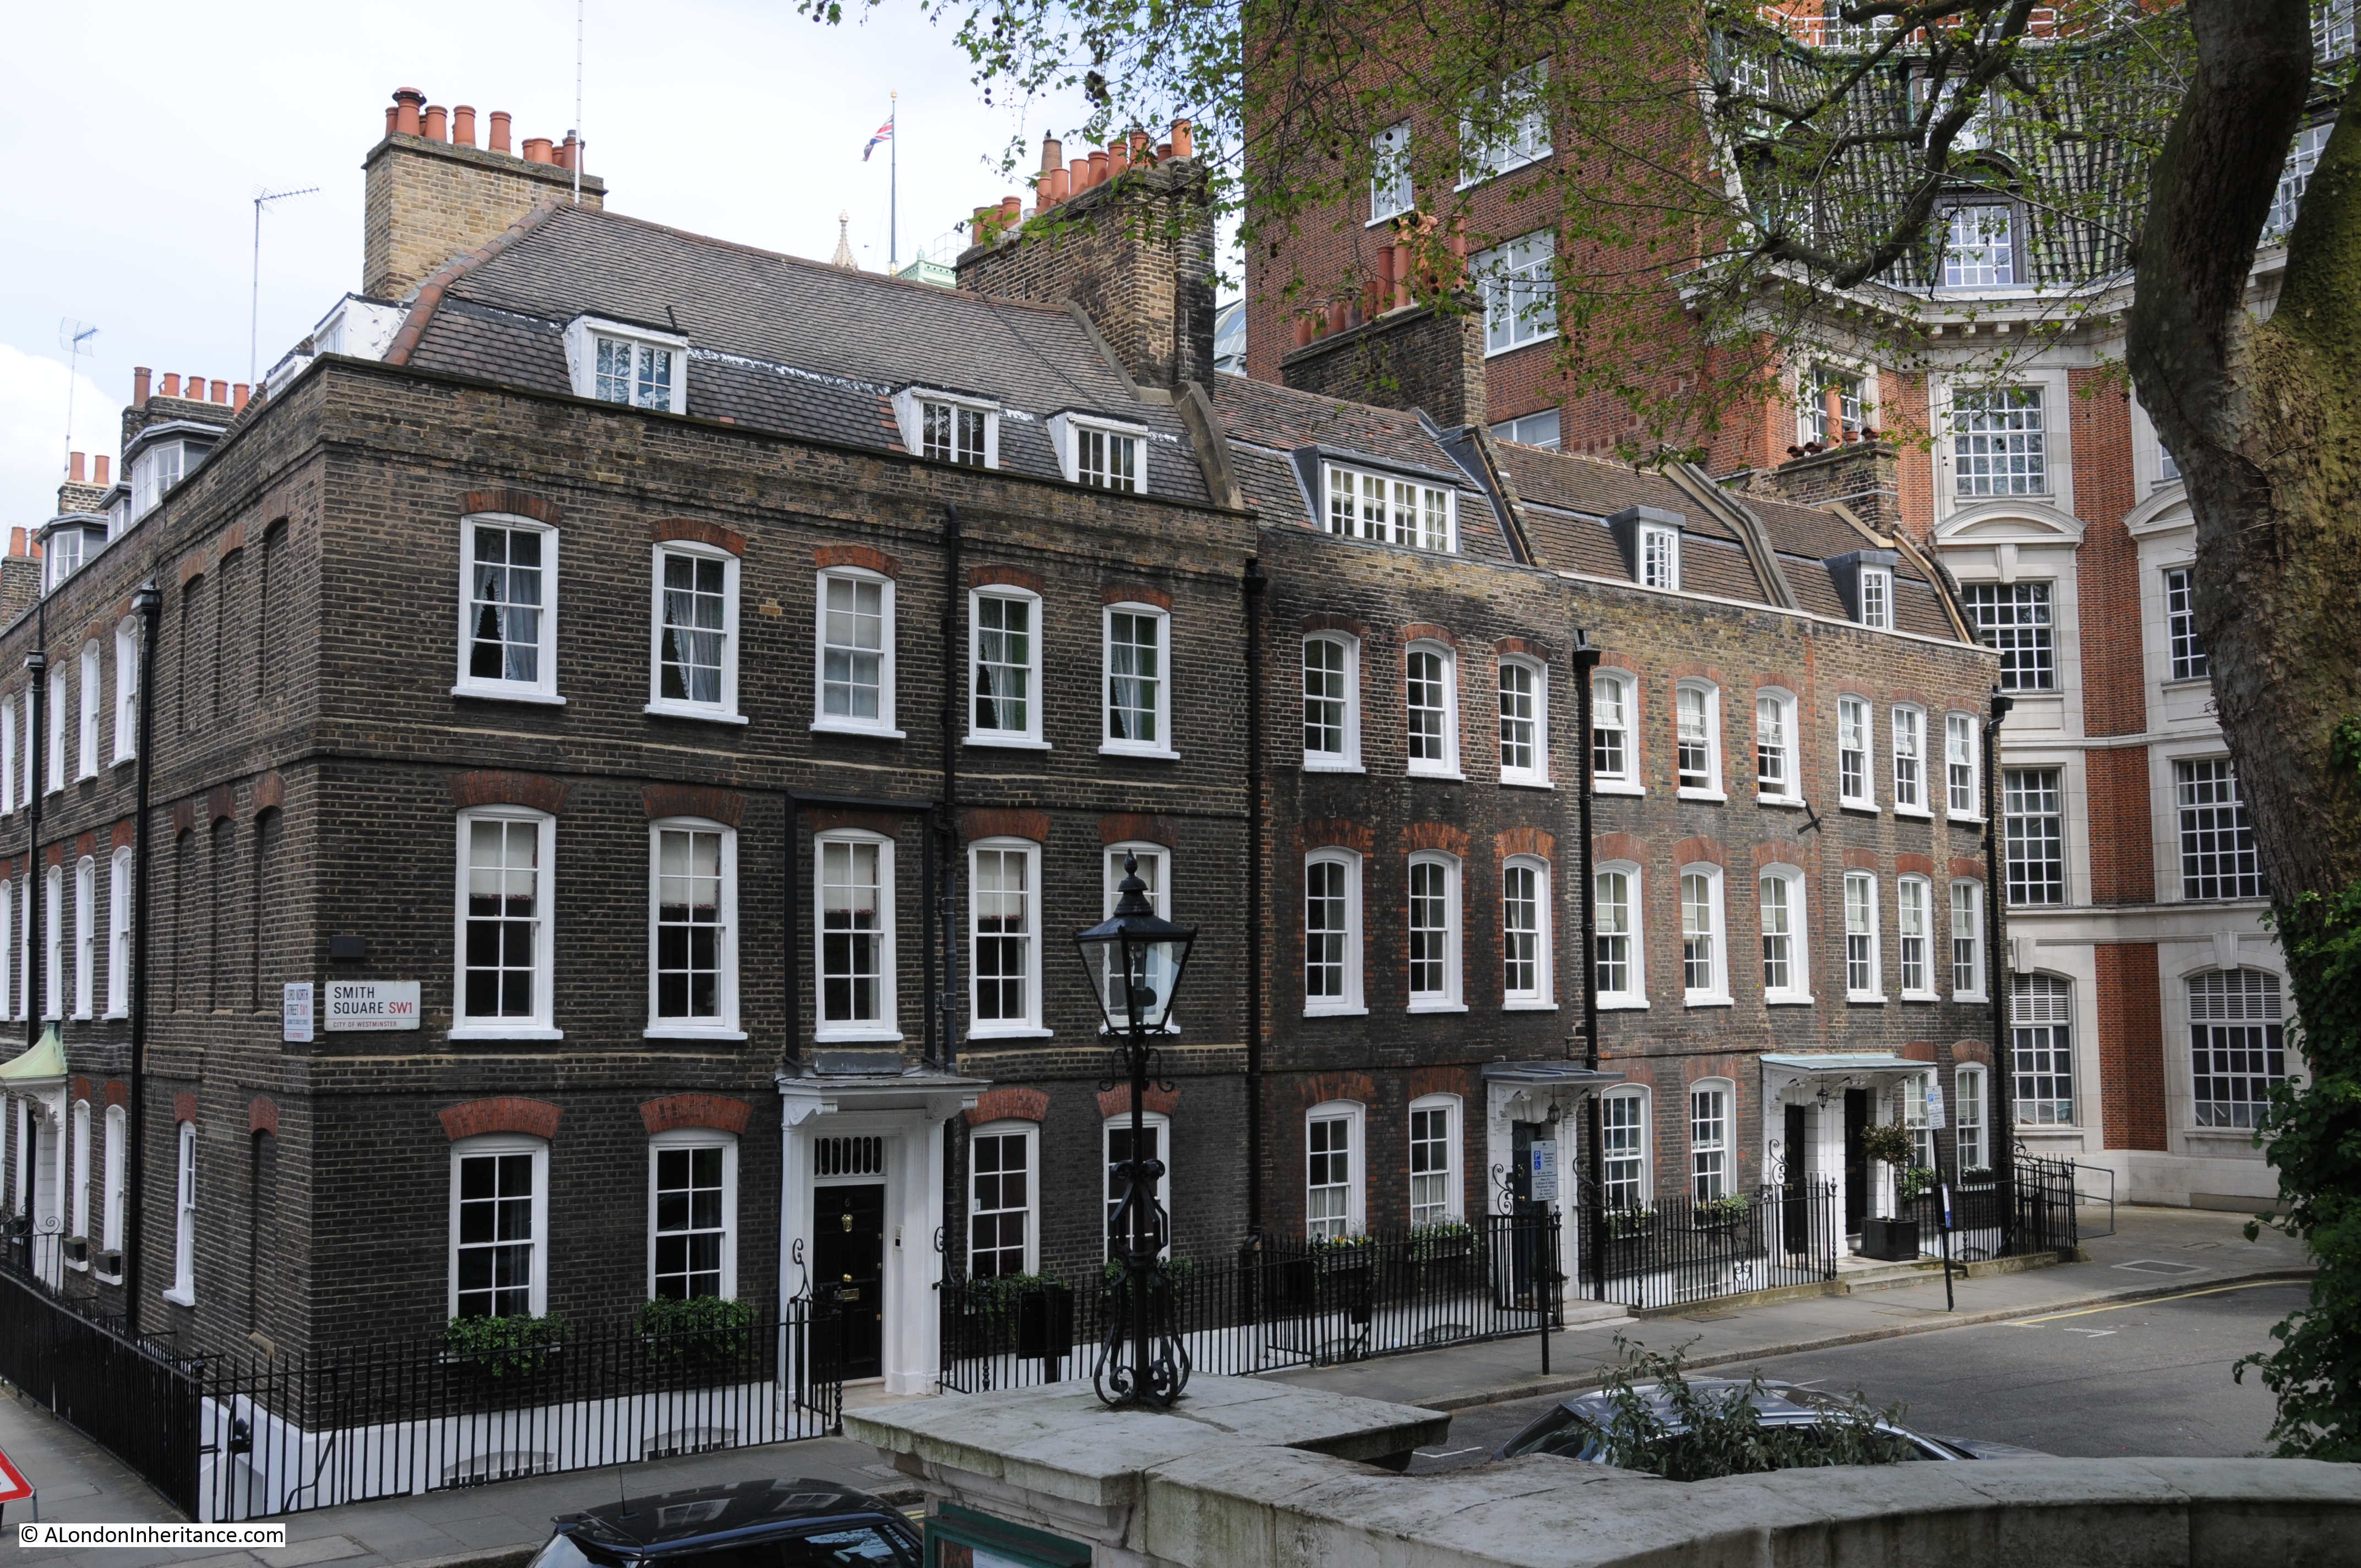
View from the church steps showing original houses along Smith Square.
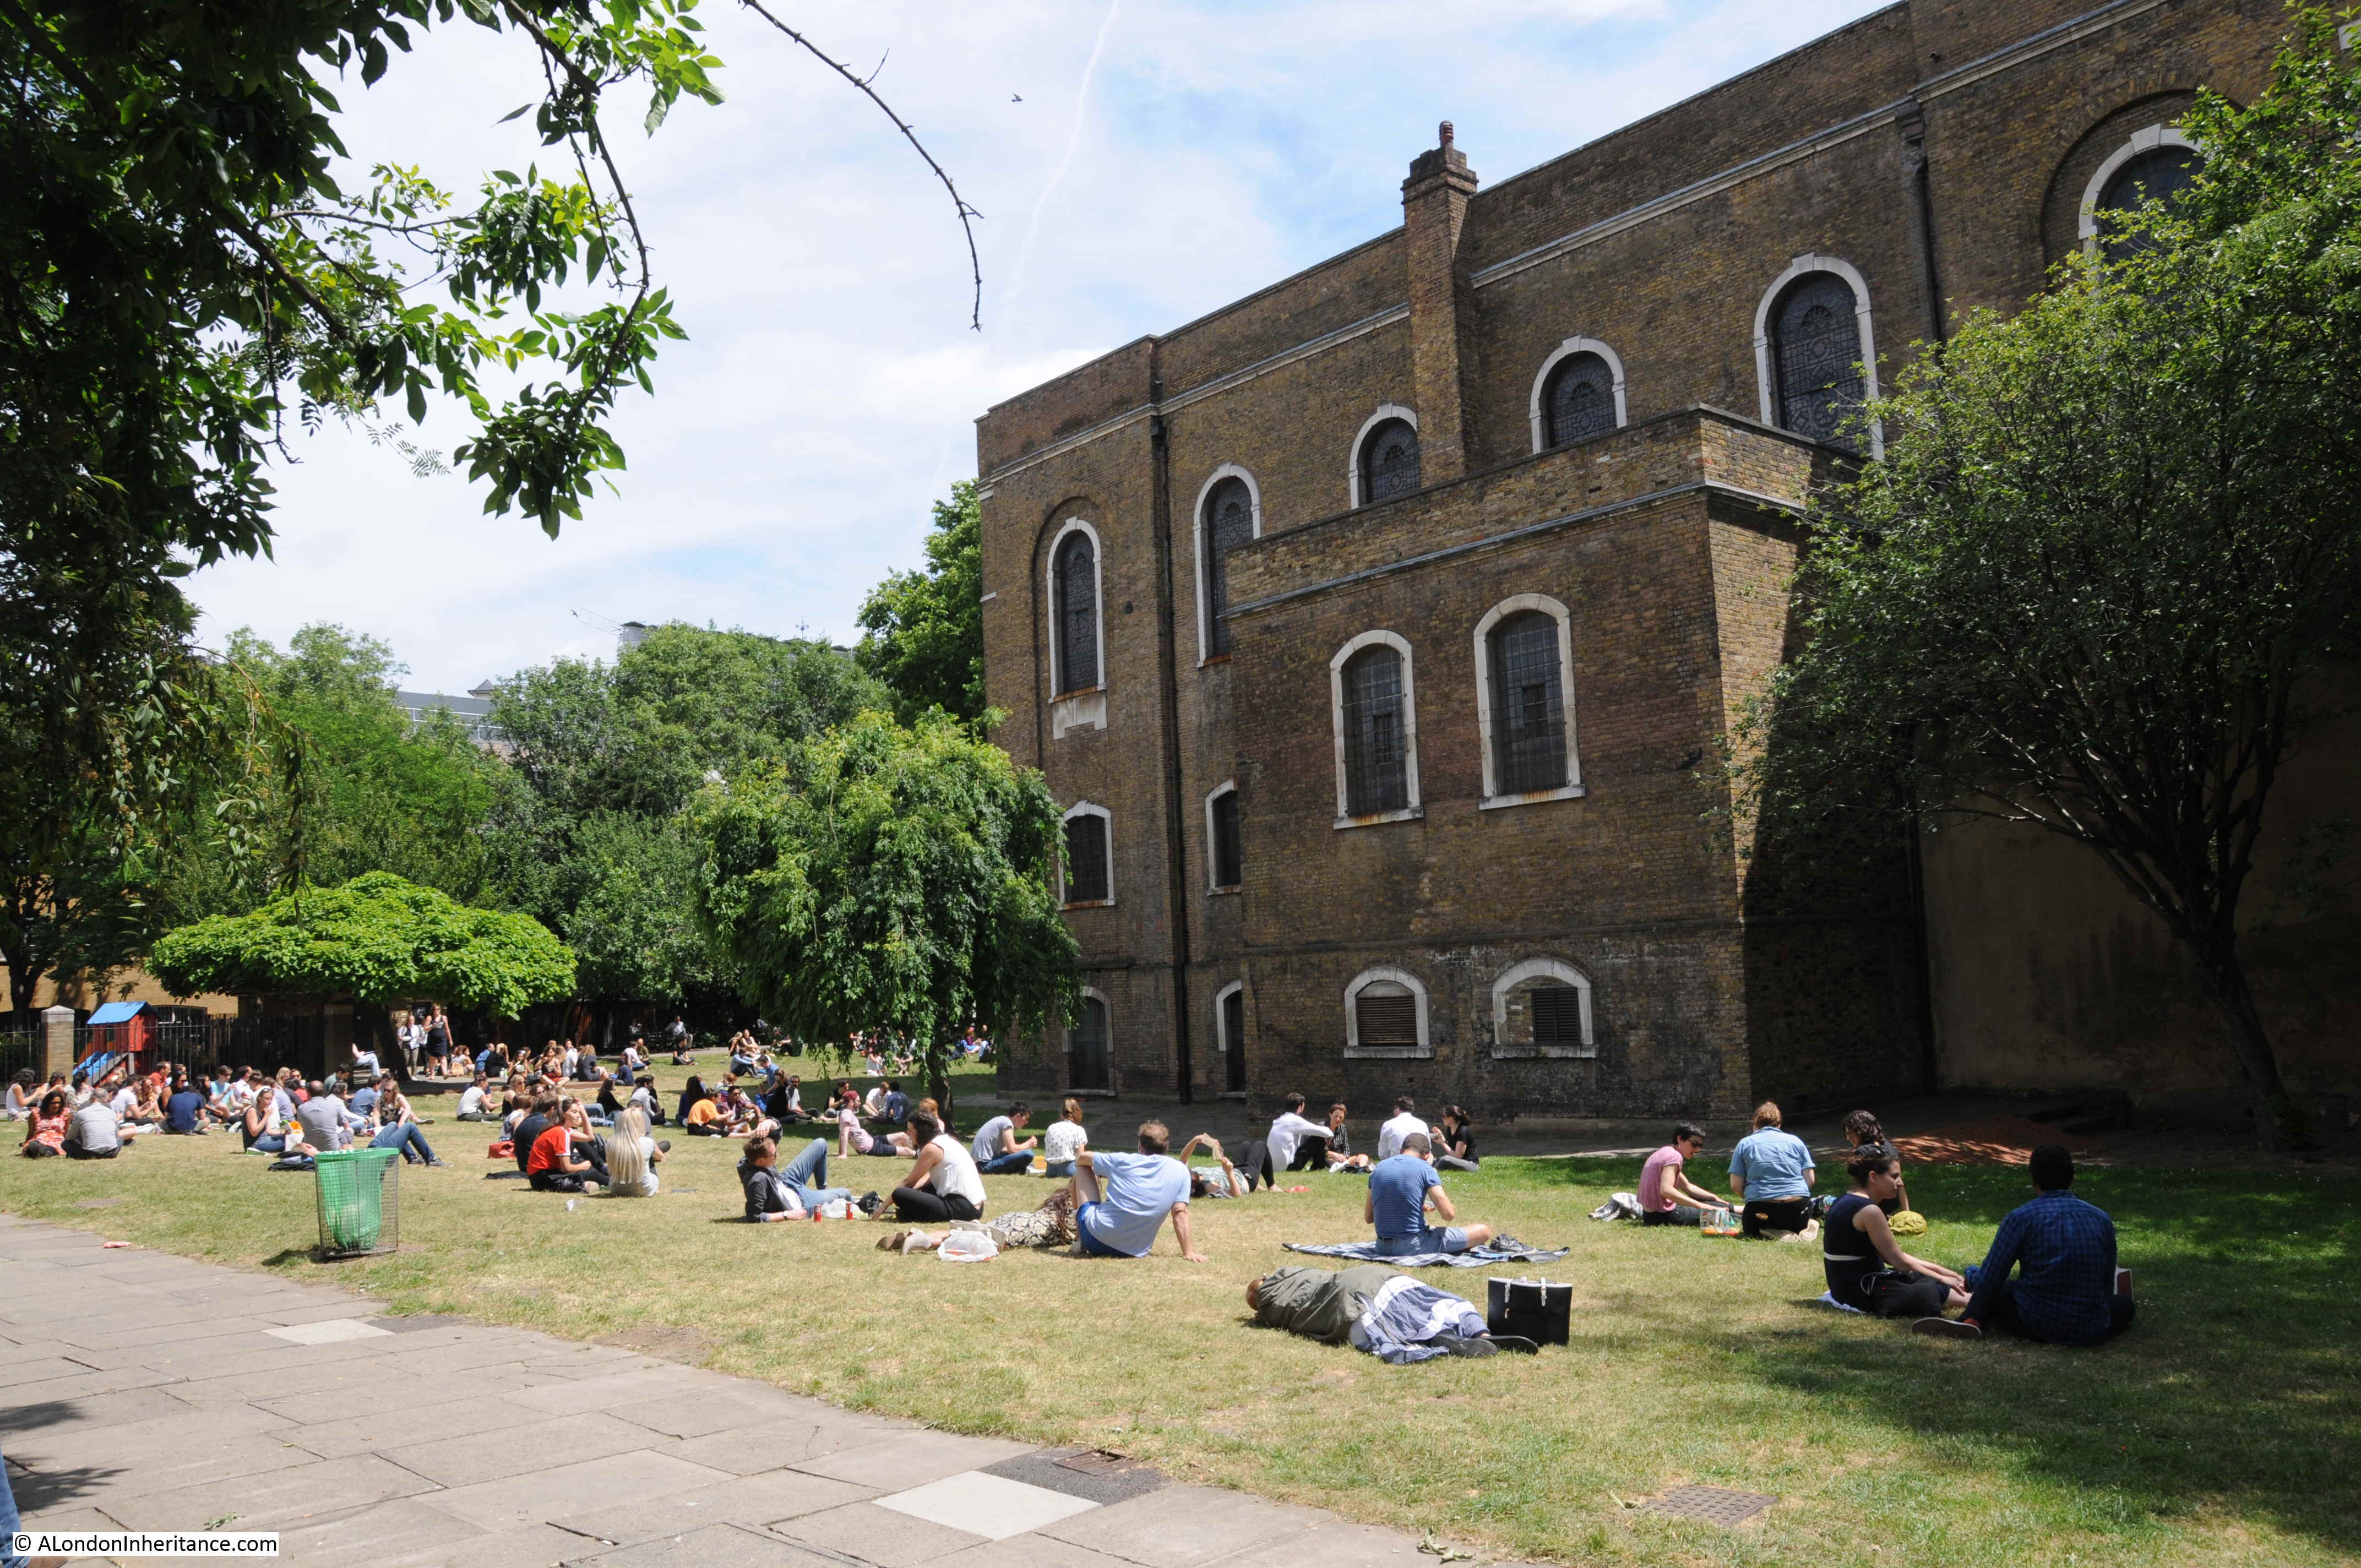
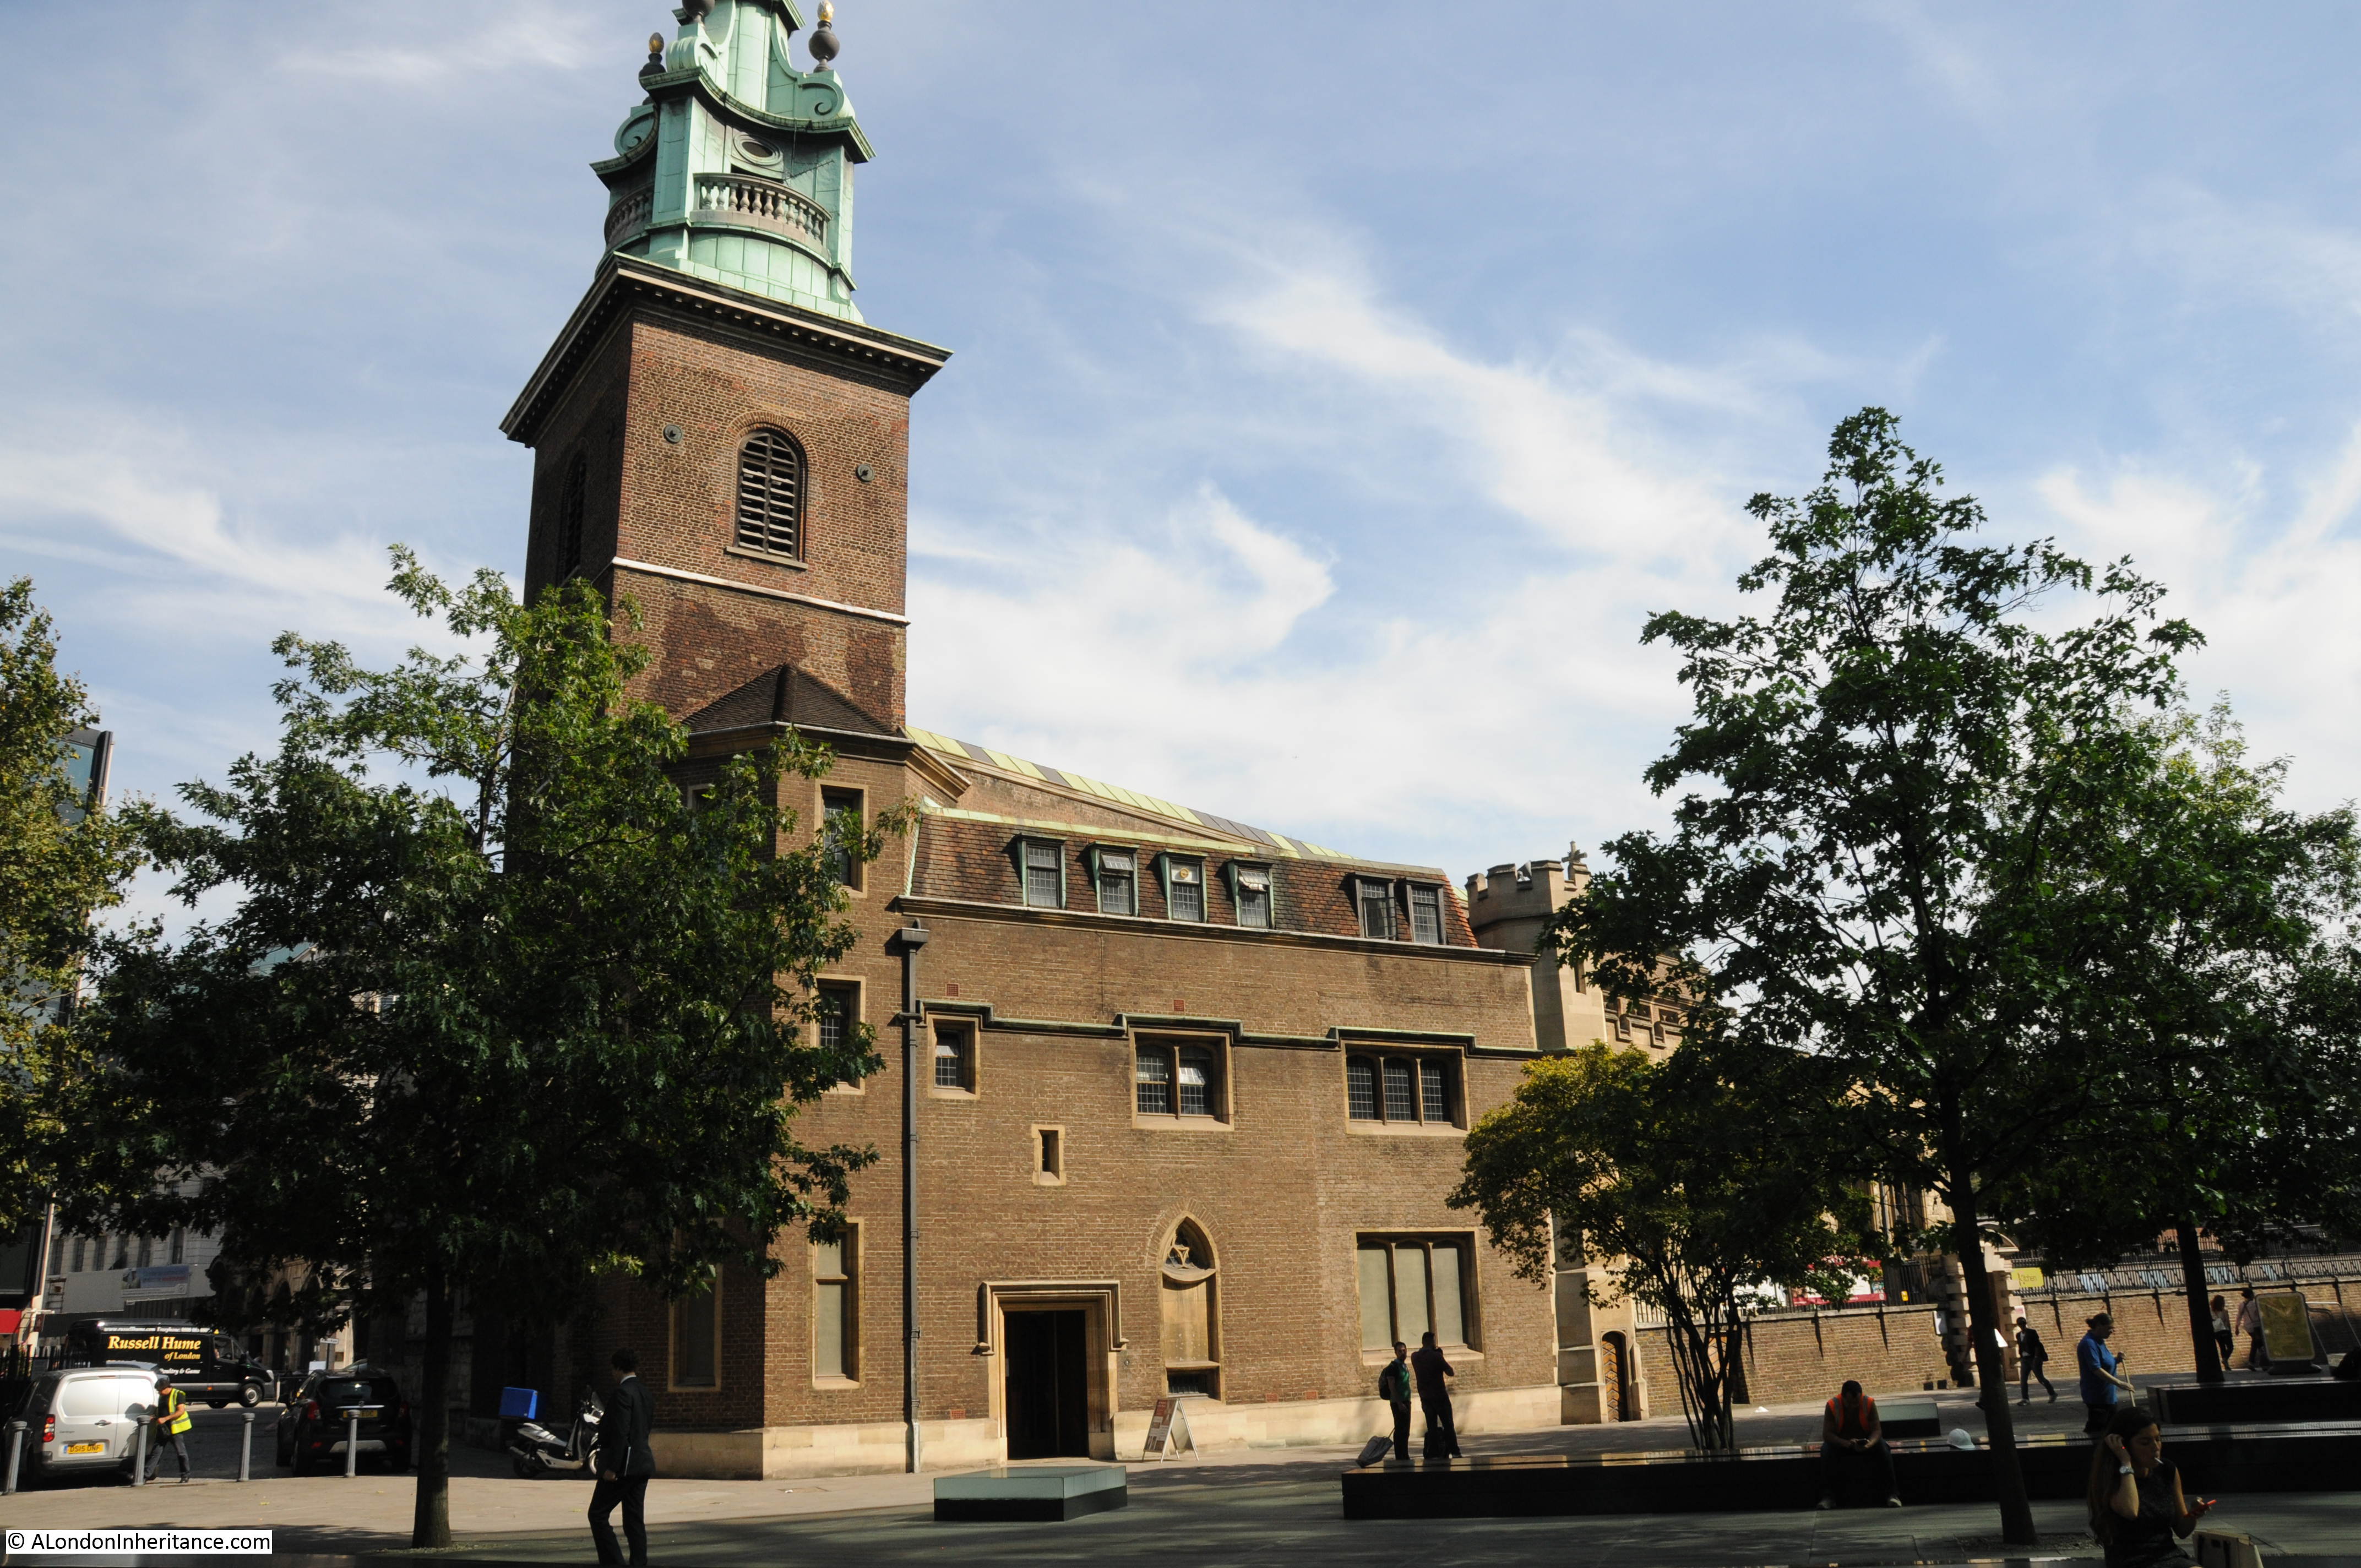
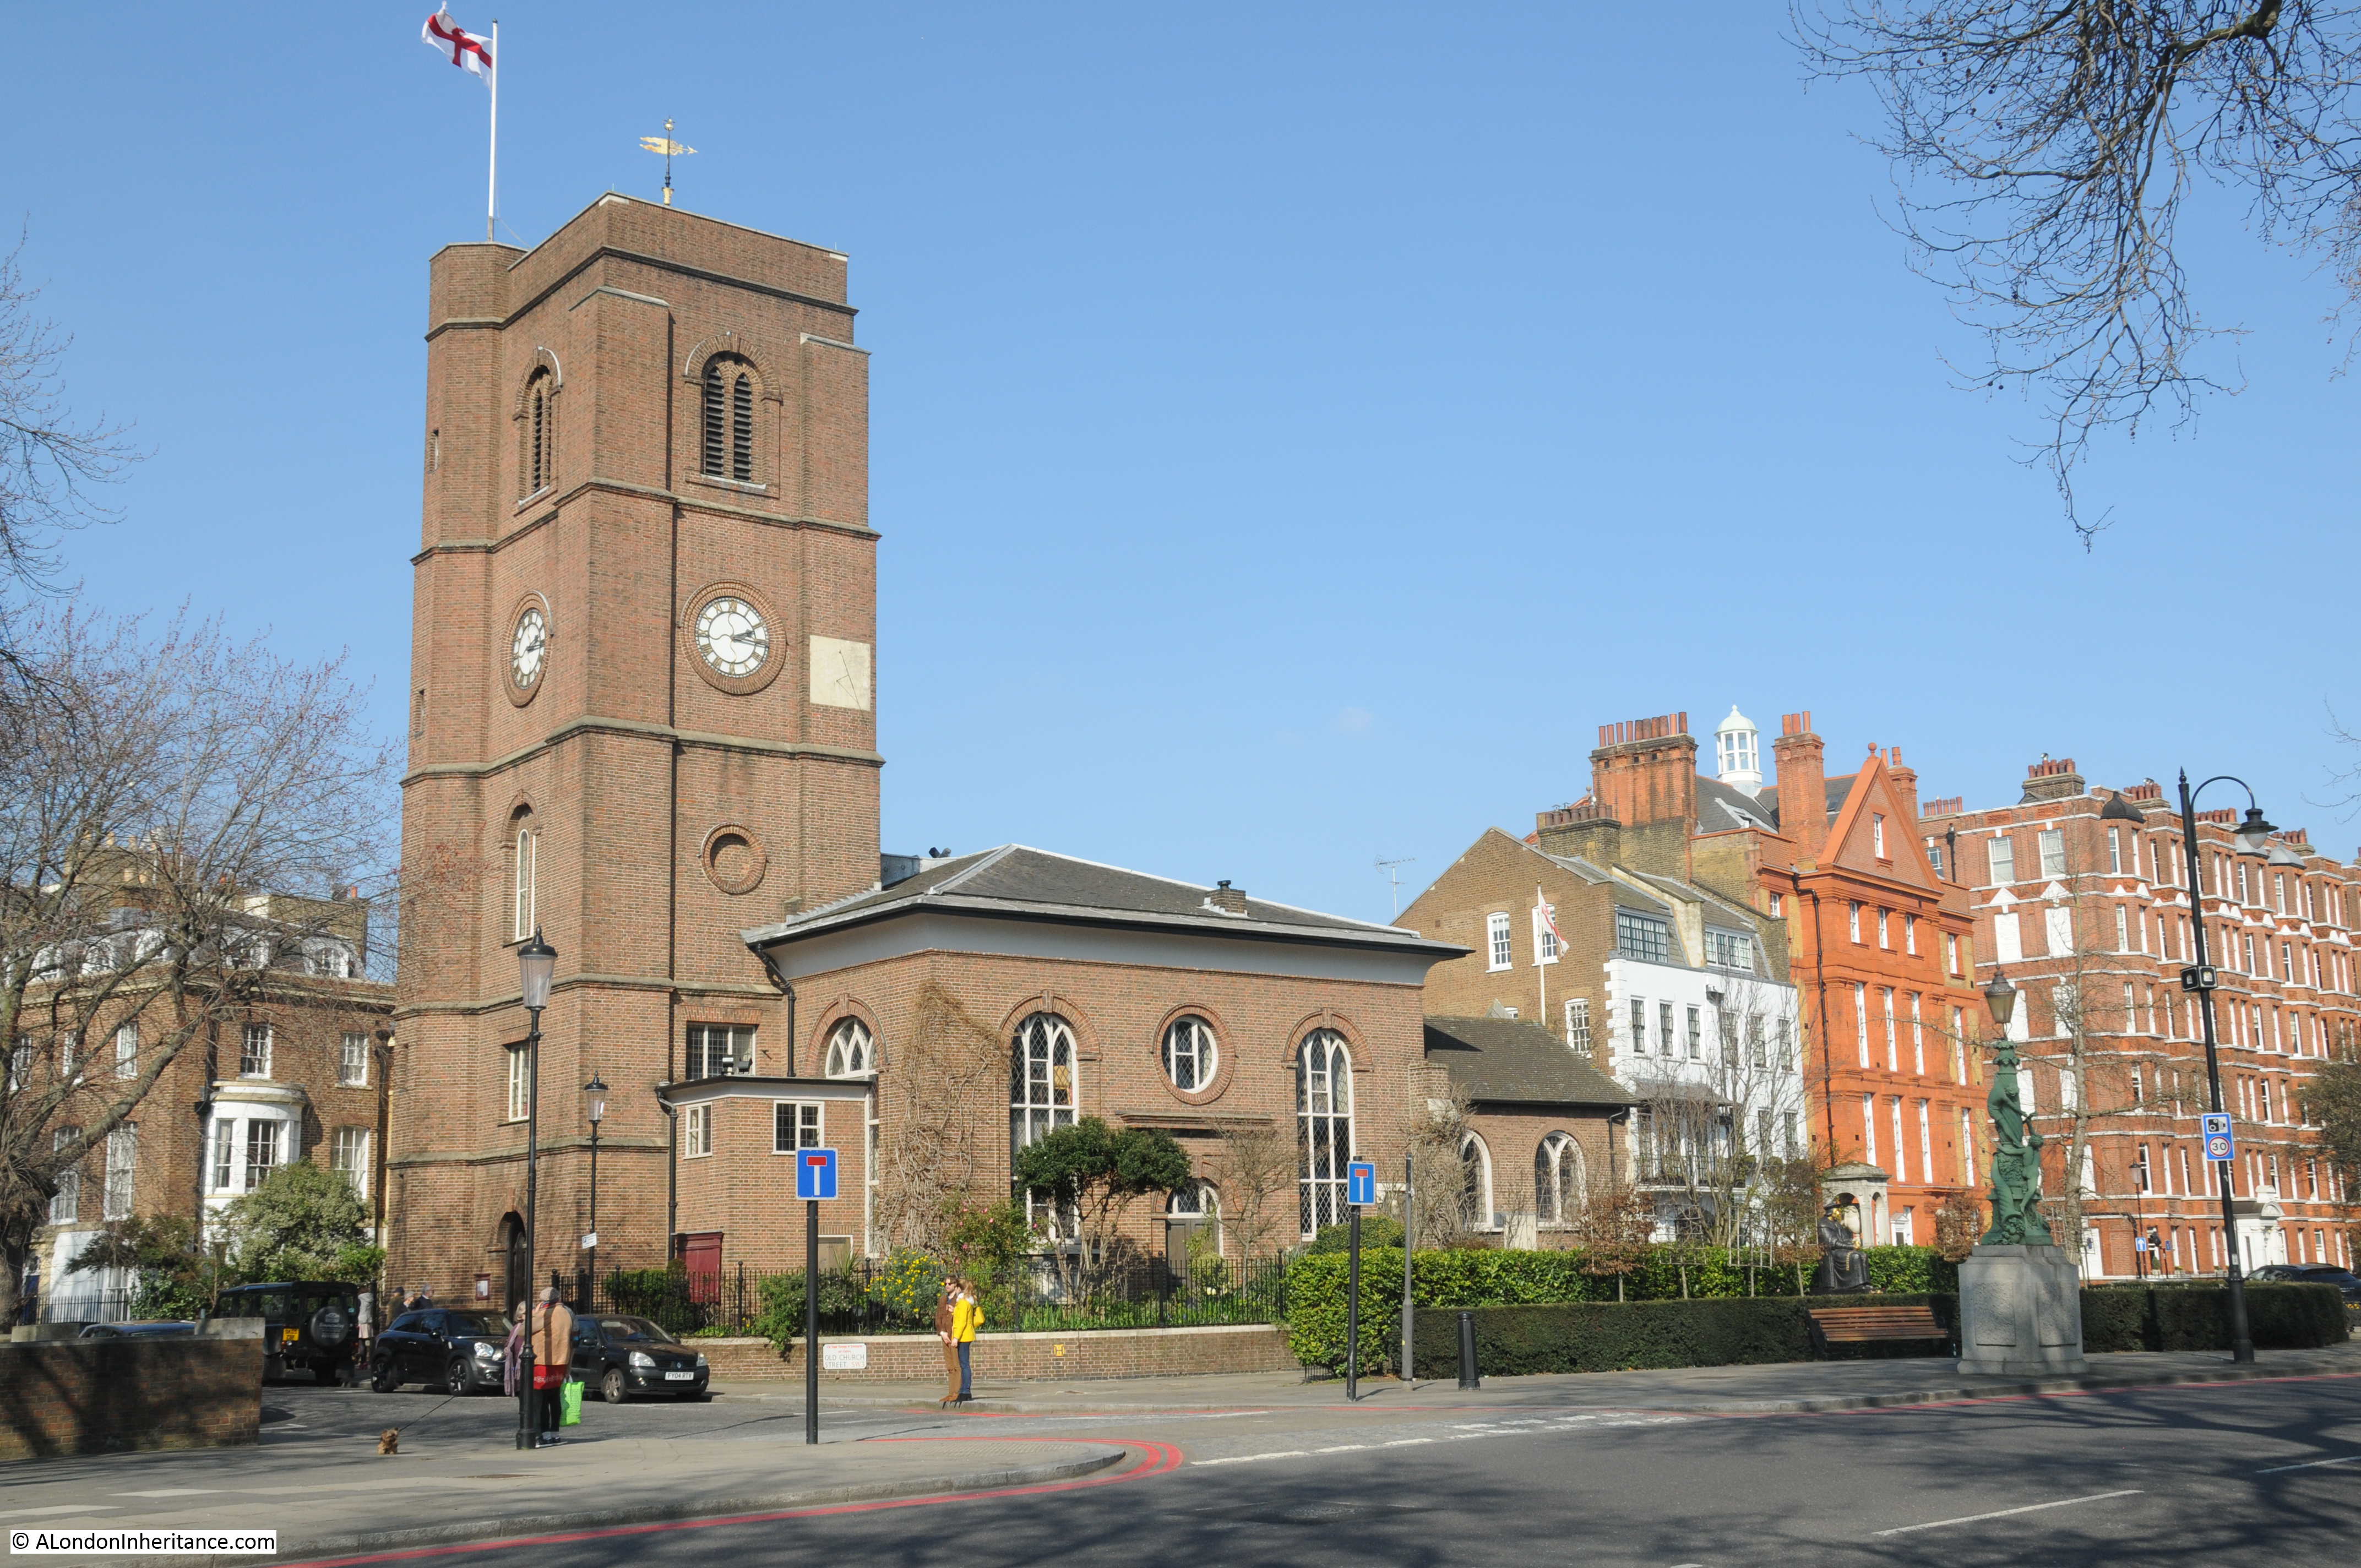
The church from the edge of the square.
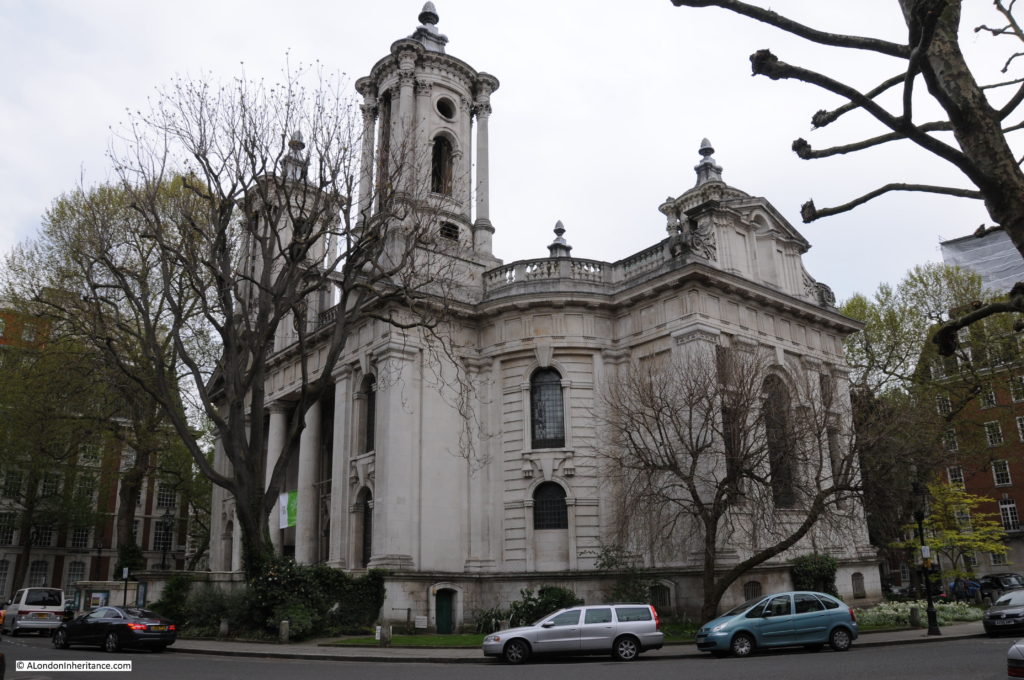
The church was designed by the architect Thomas Archer and was one of the few of the “50 churches” that were completed. It was also the most expensive, costing £40,875 to complete.
There are four identical short towers on each corner of the church. These have led to the story that the church was designed after Queen Anne’s footstool as when asked what the church should look like, she kicked over a footstool and said “Go, build me a church like that”. Another myth is that the towers were added to ensure an equal pressure on the marshy ground of the area which caused a number of problems during construction. The towers were though part of Archer’s original design and not added for any other reason.
In 1928 the church was the location for Emmeline Pankhurst’s funeral, despite having earlier been the target of a Suffragette bomb plot.
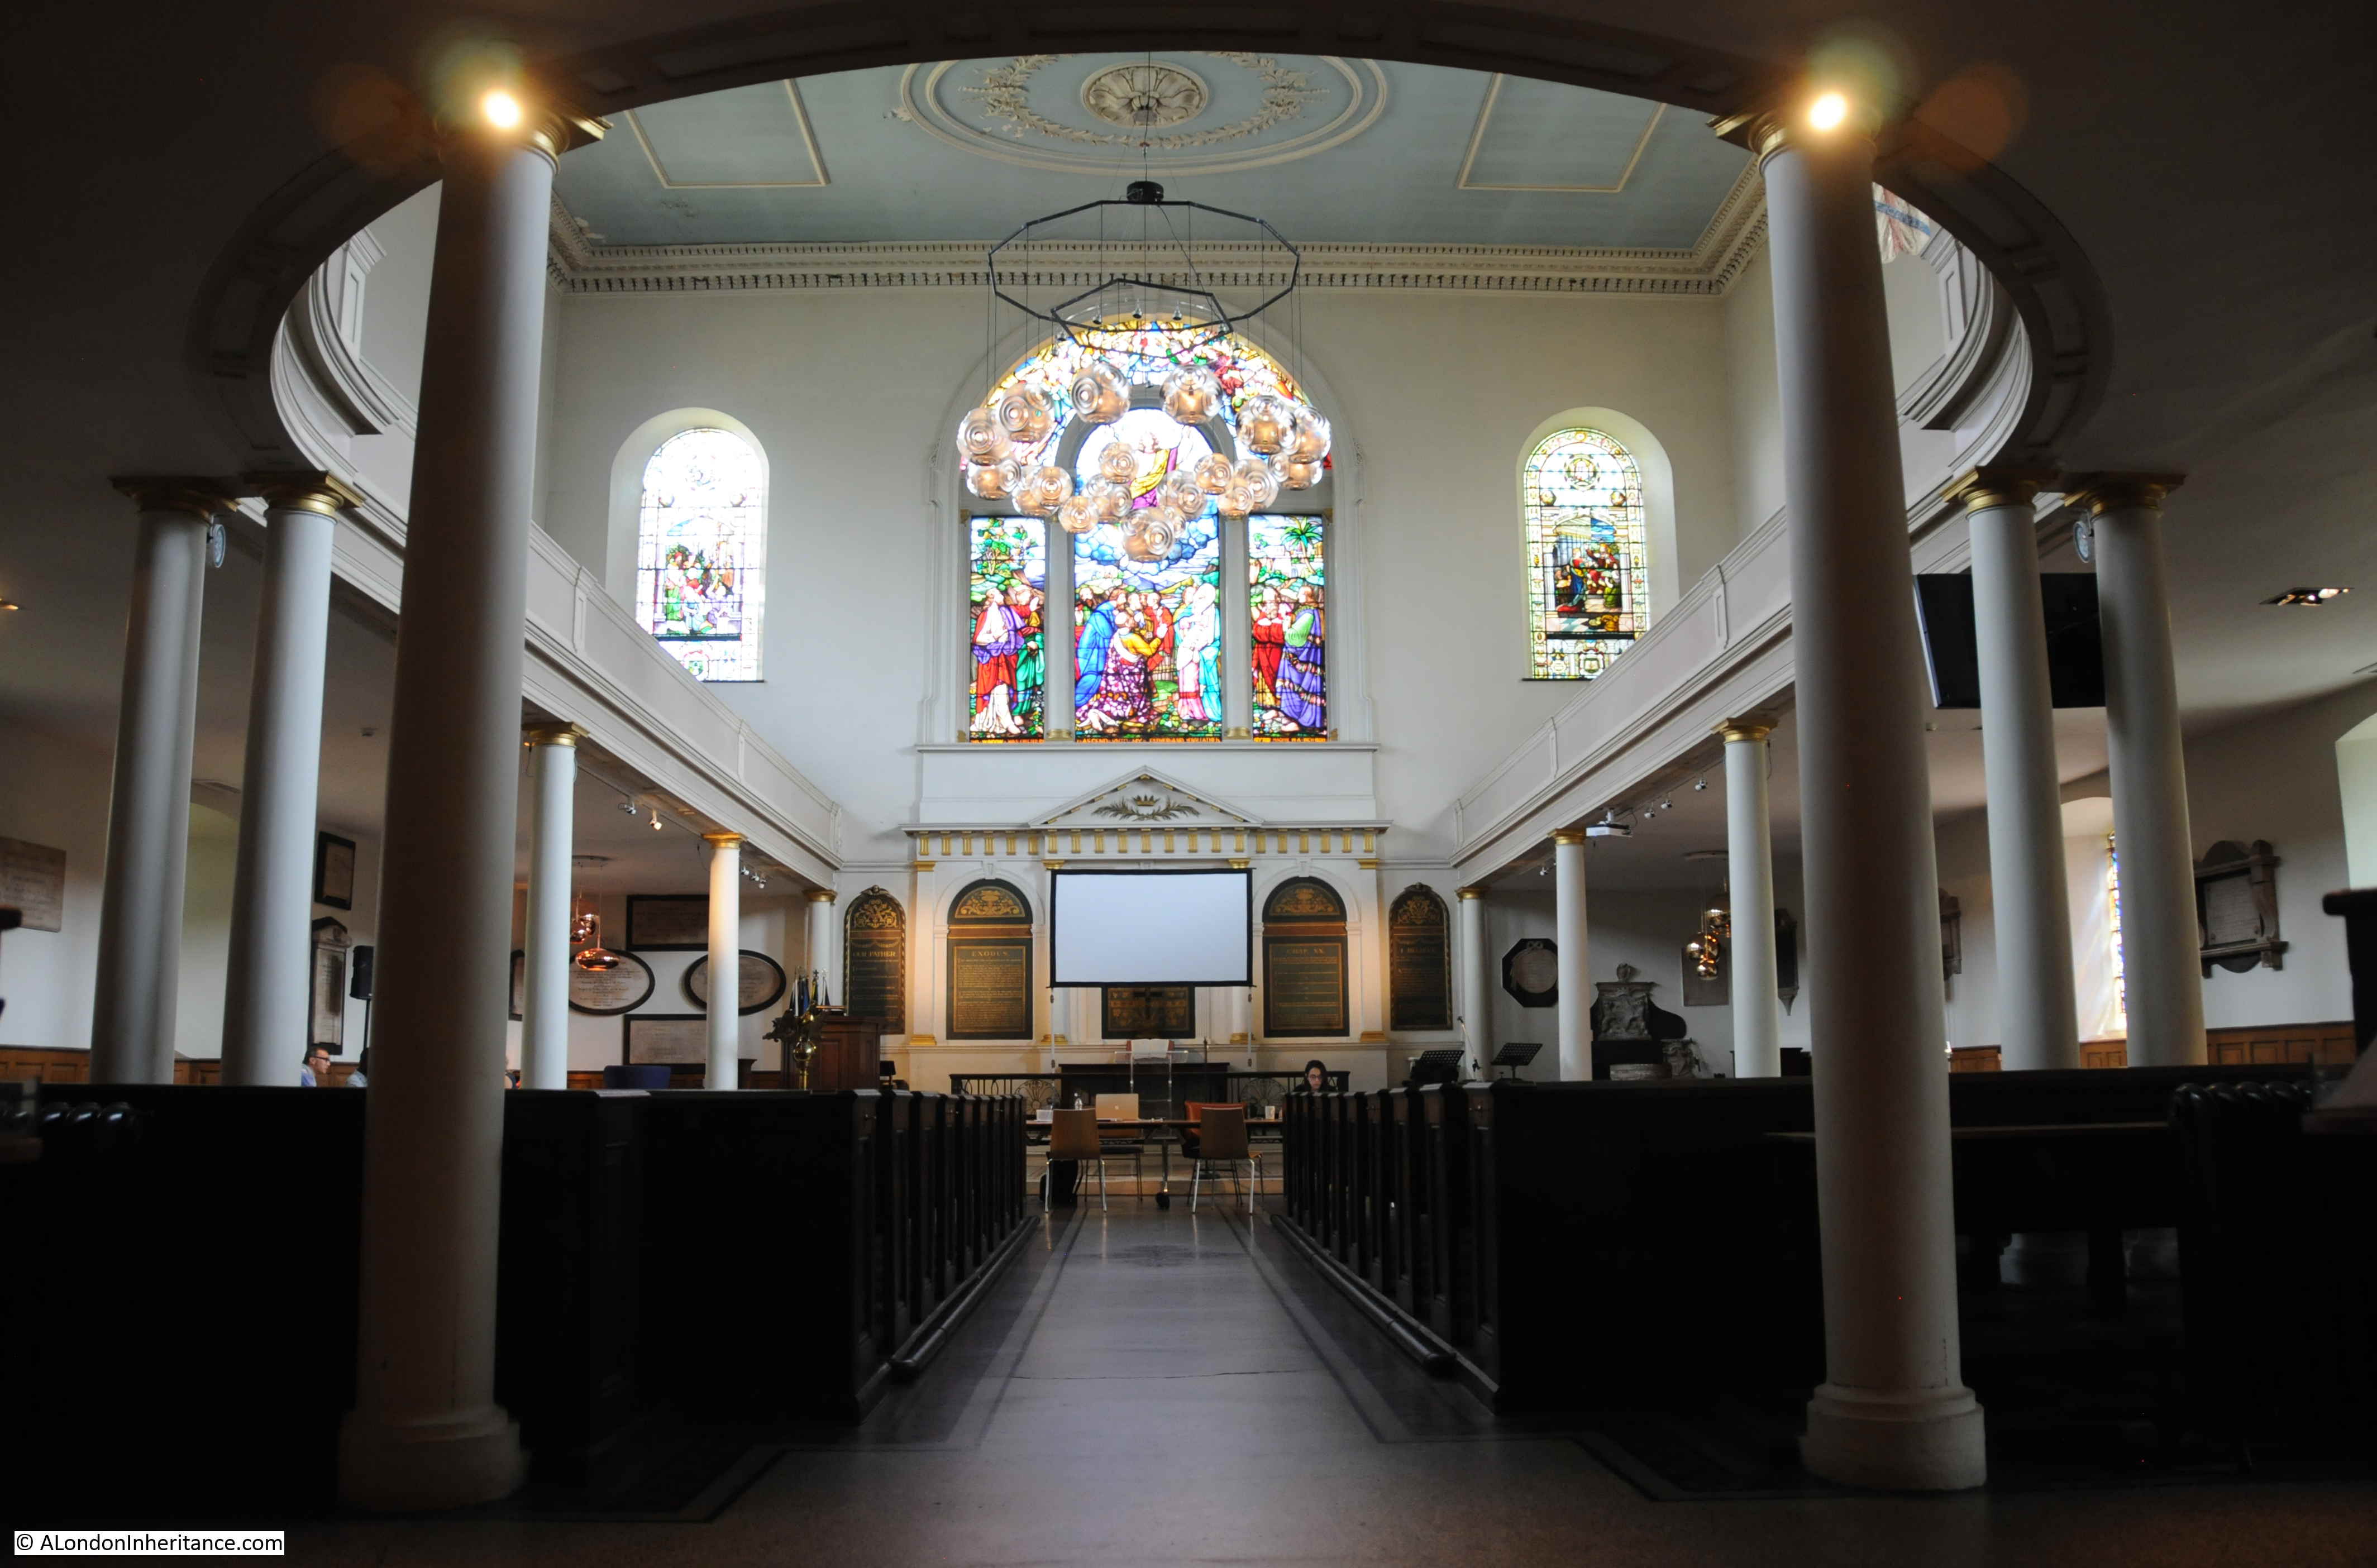
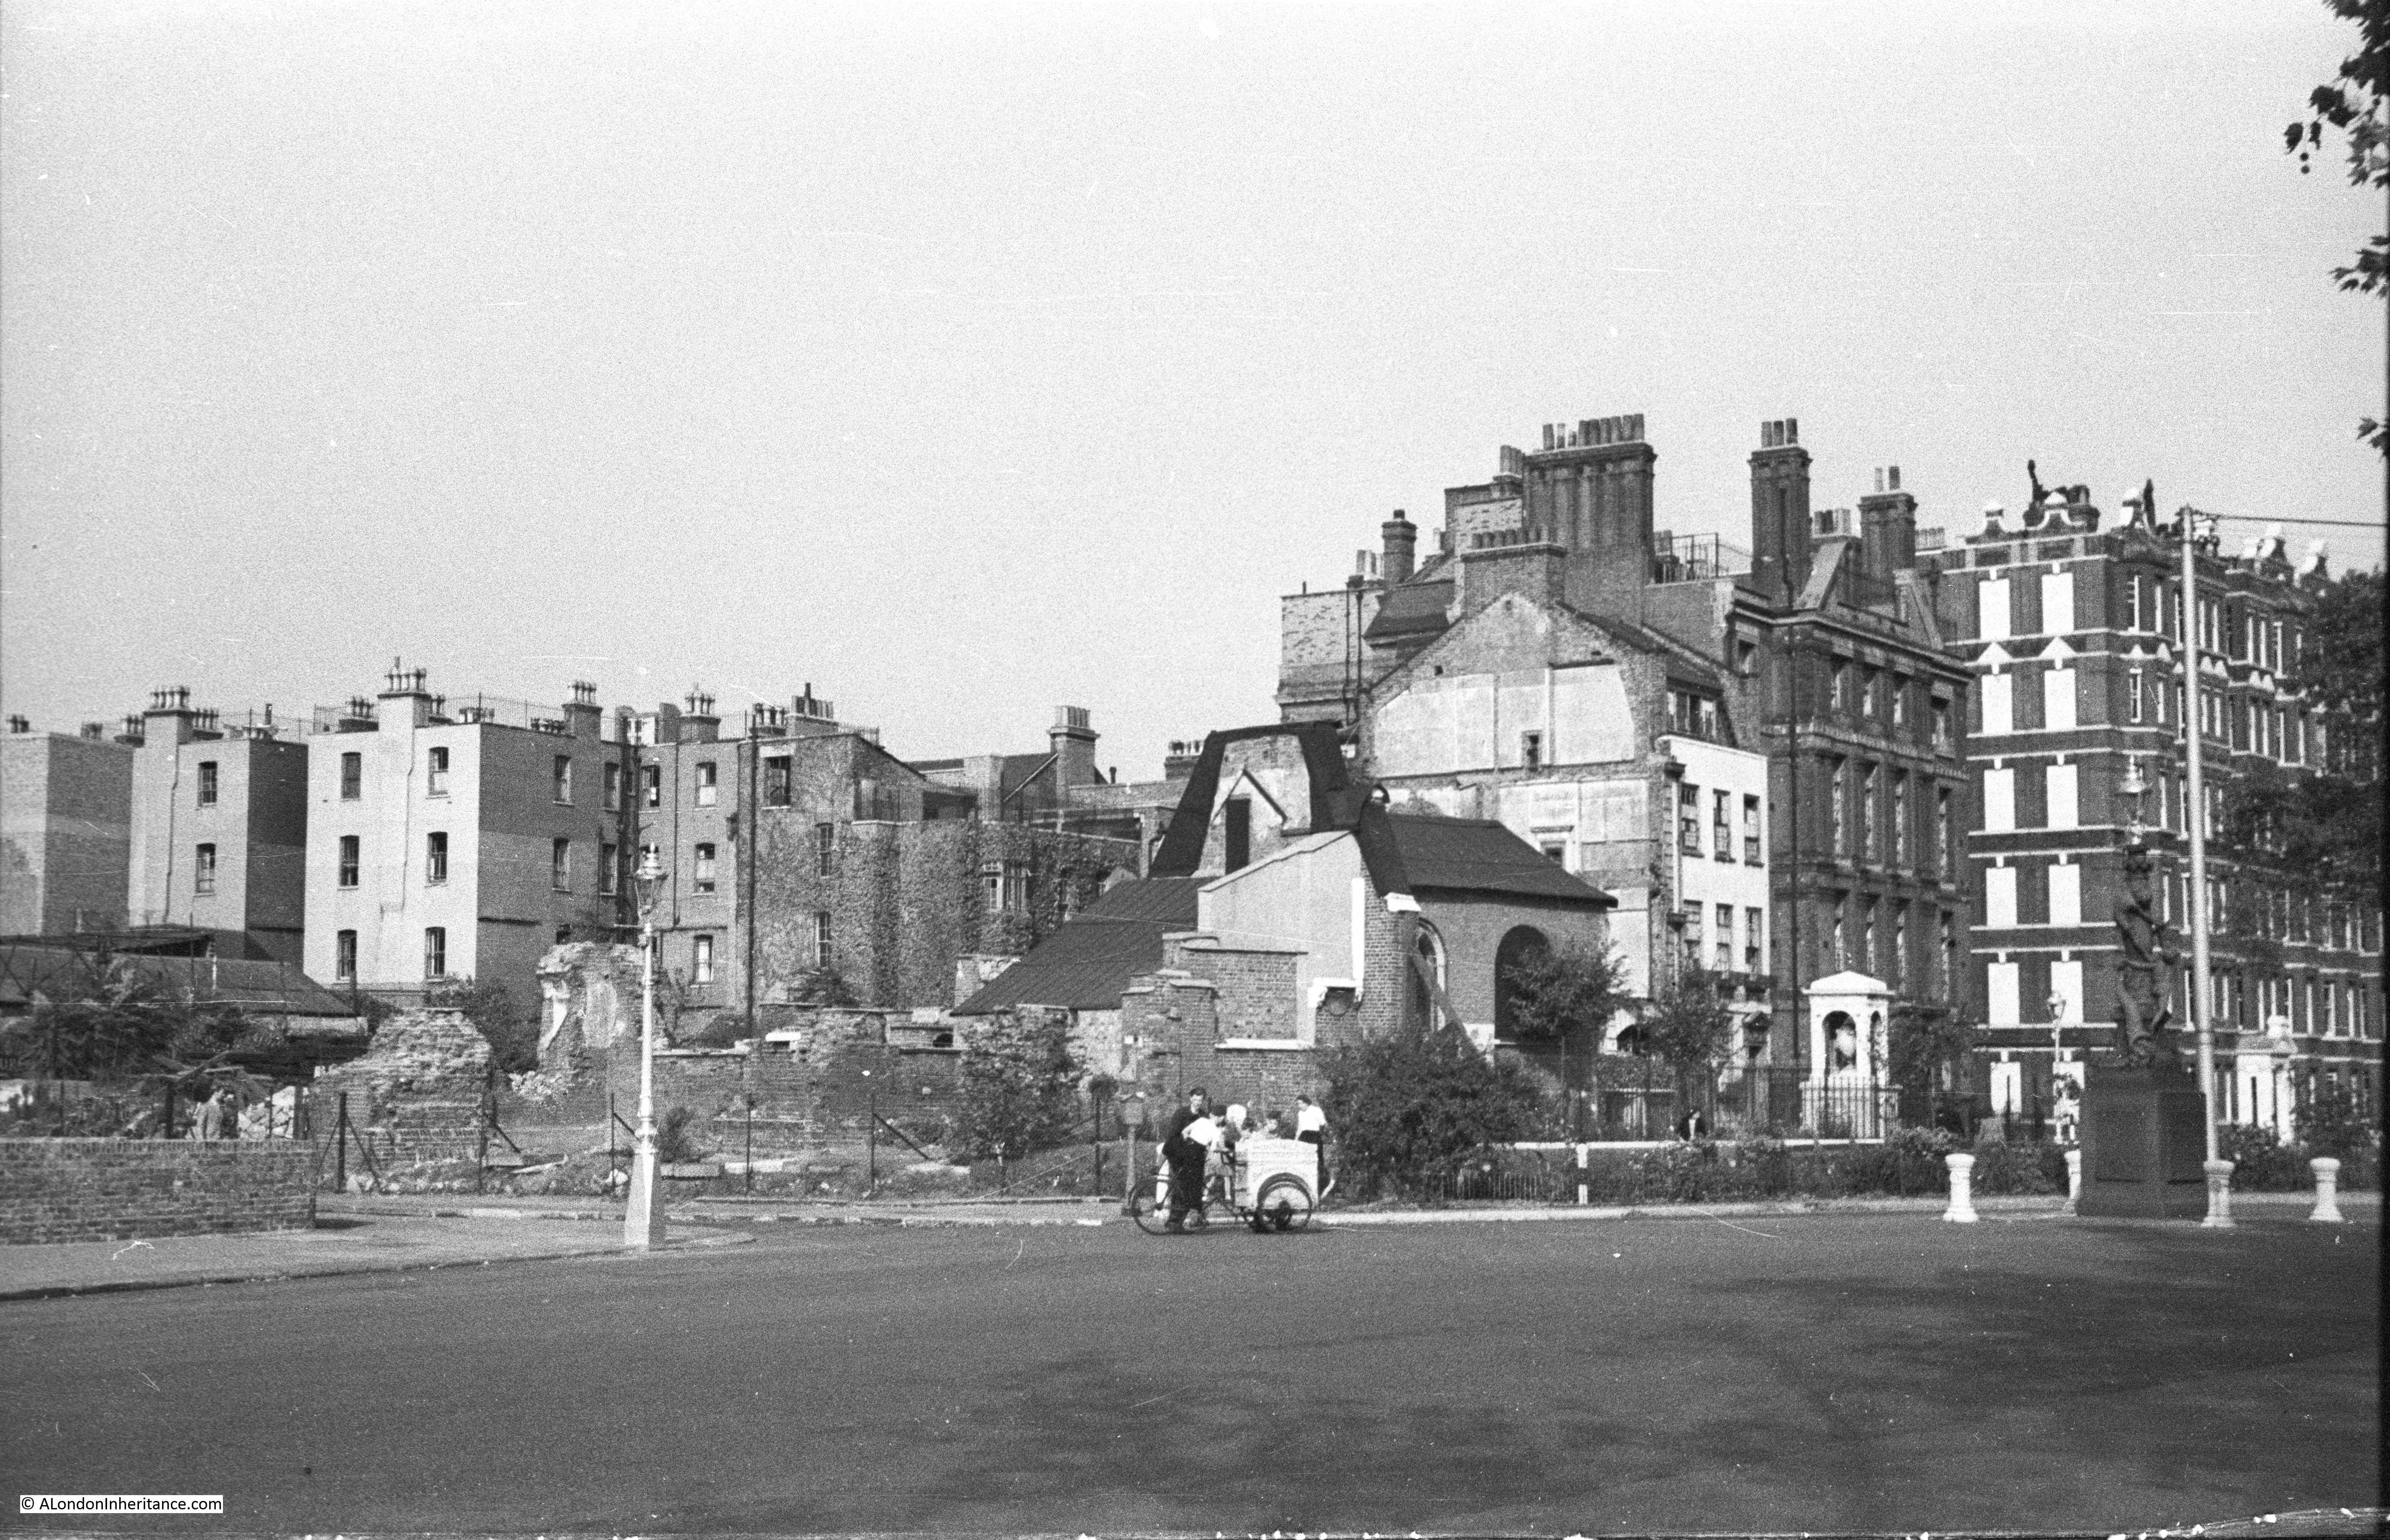
Following the considerable destruction of the church during the war, it was eventually rebuilt but as a music venue rather than as a church, a role that the building continues to this day.
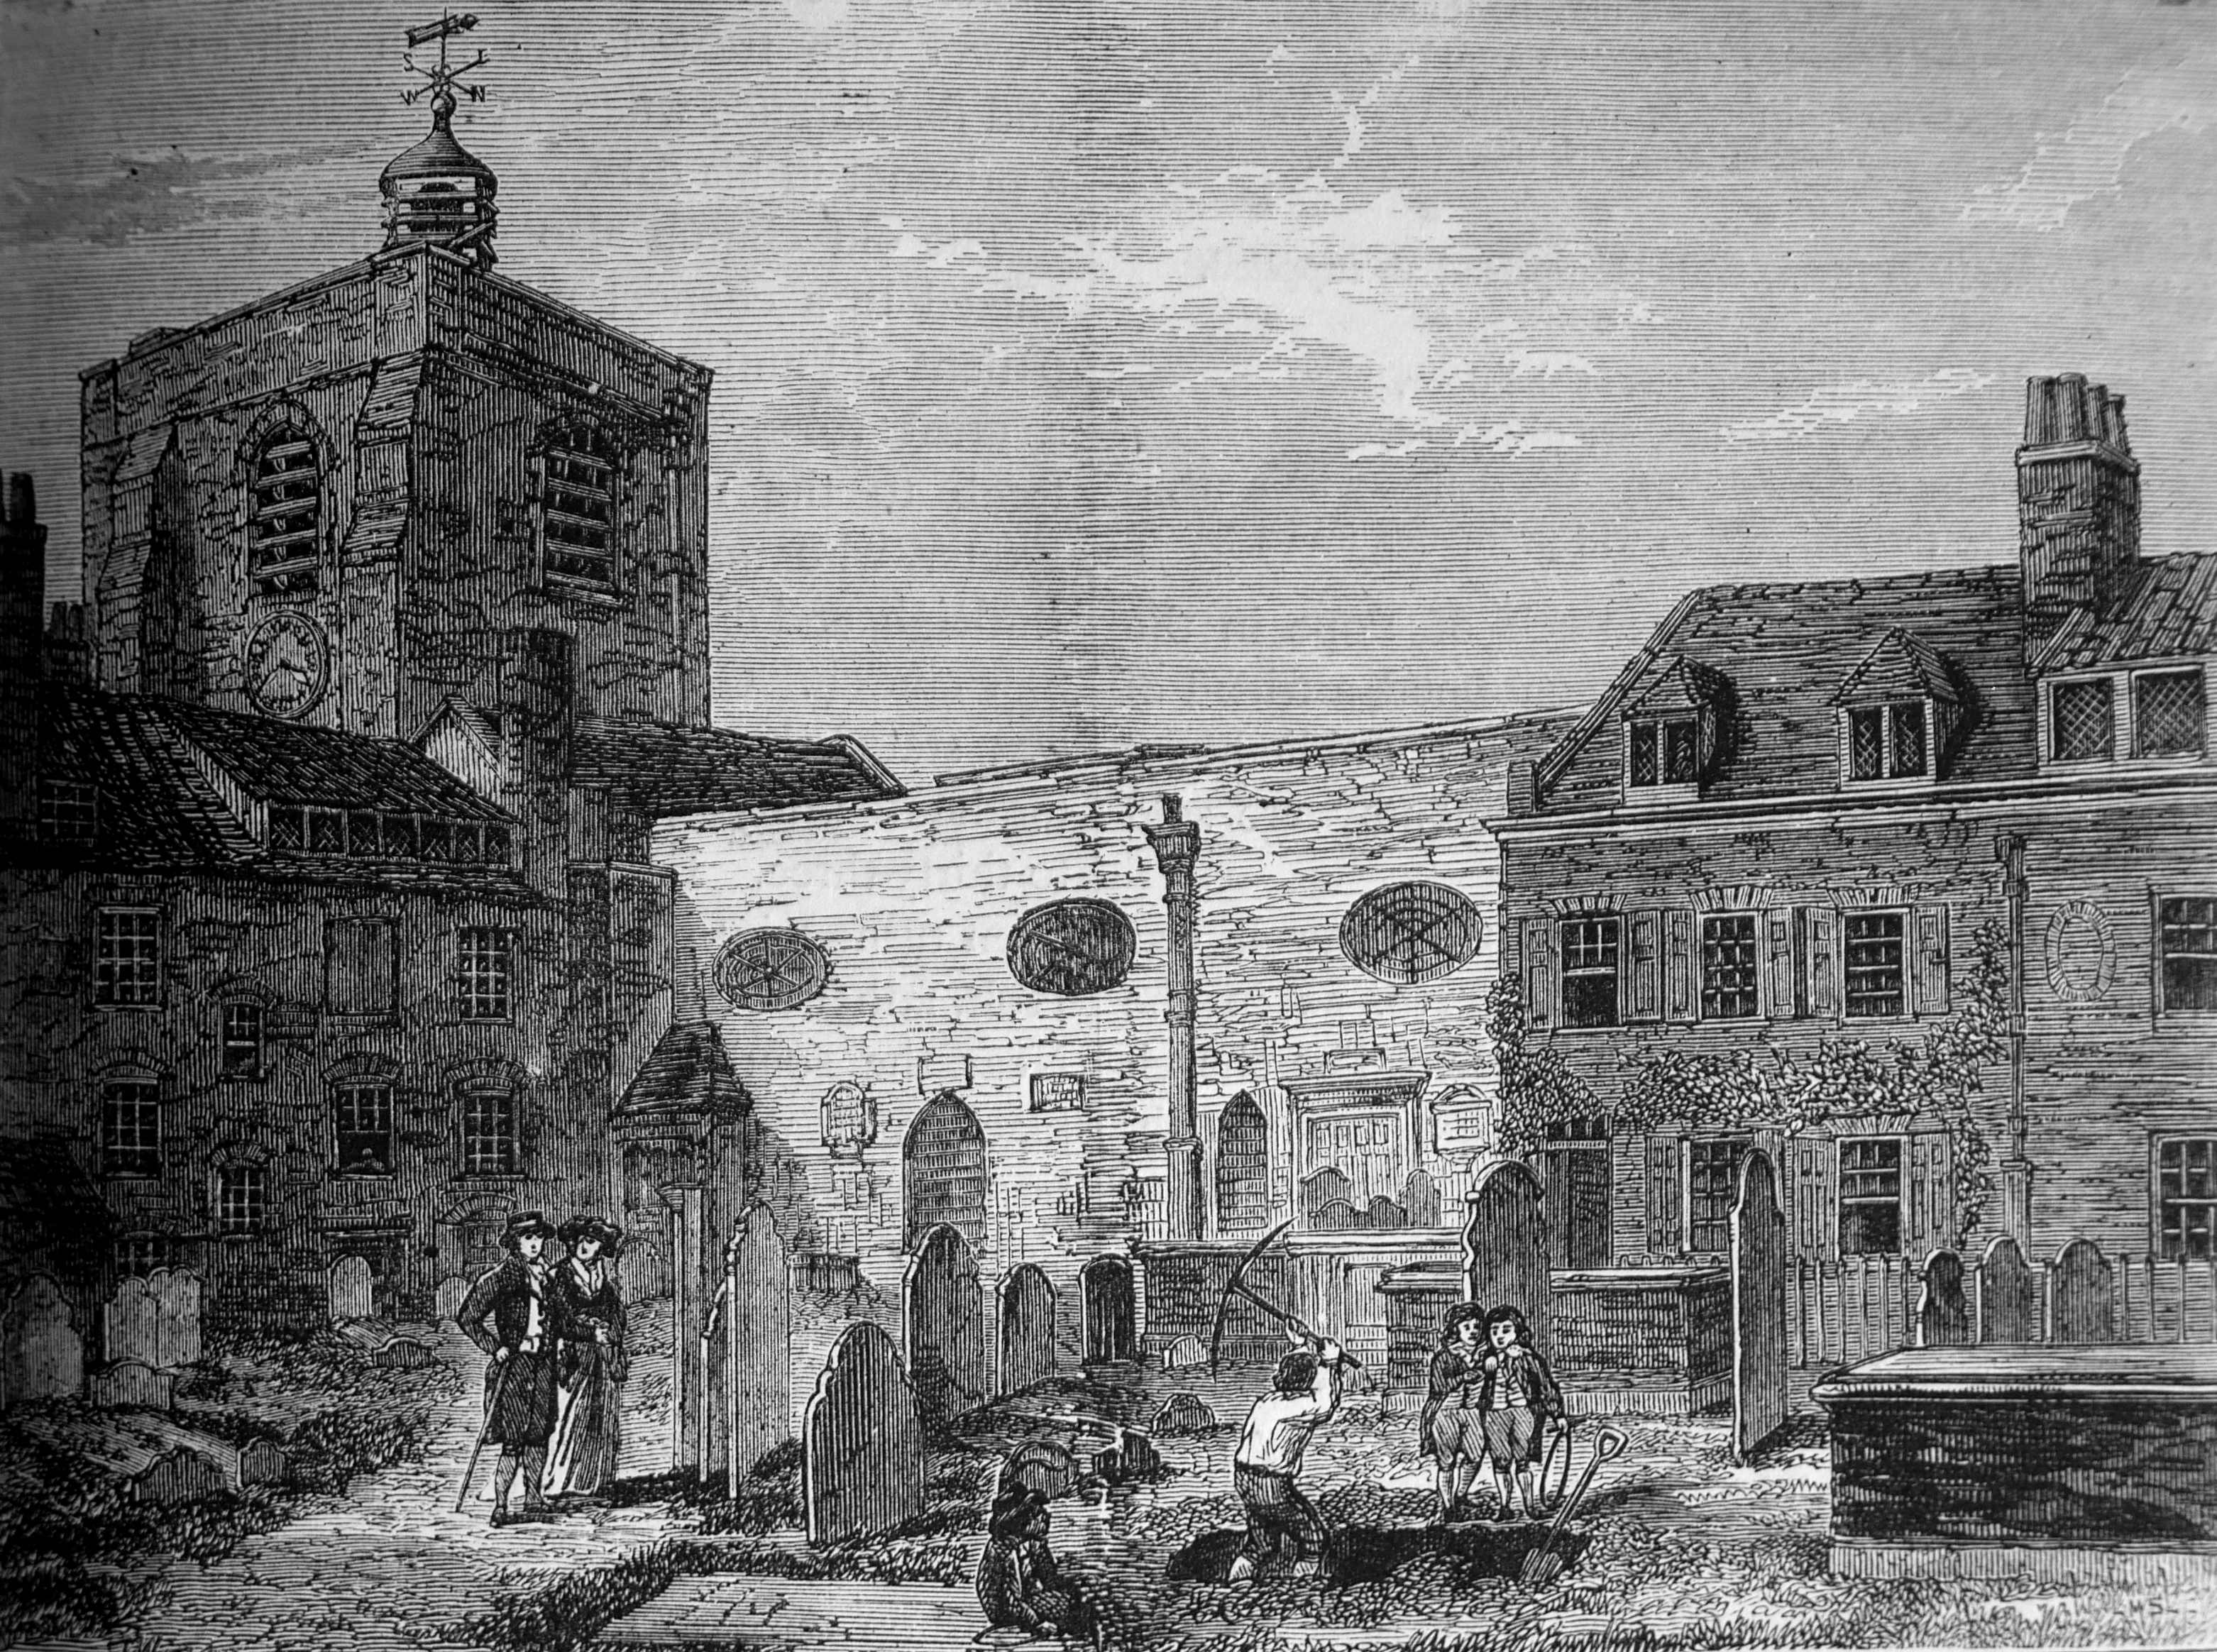
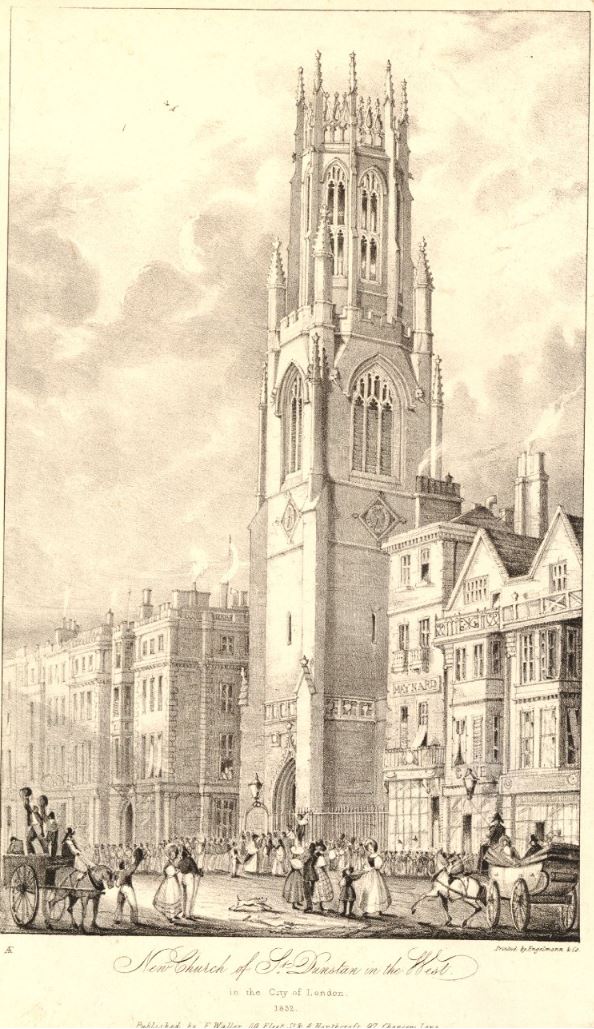
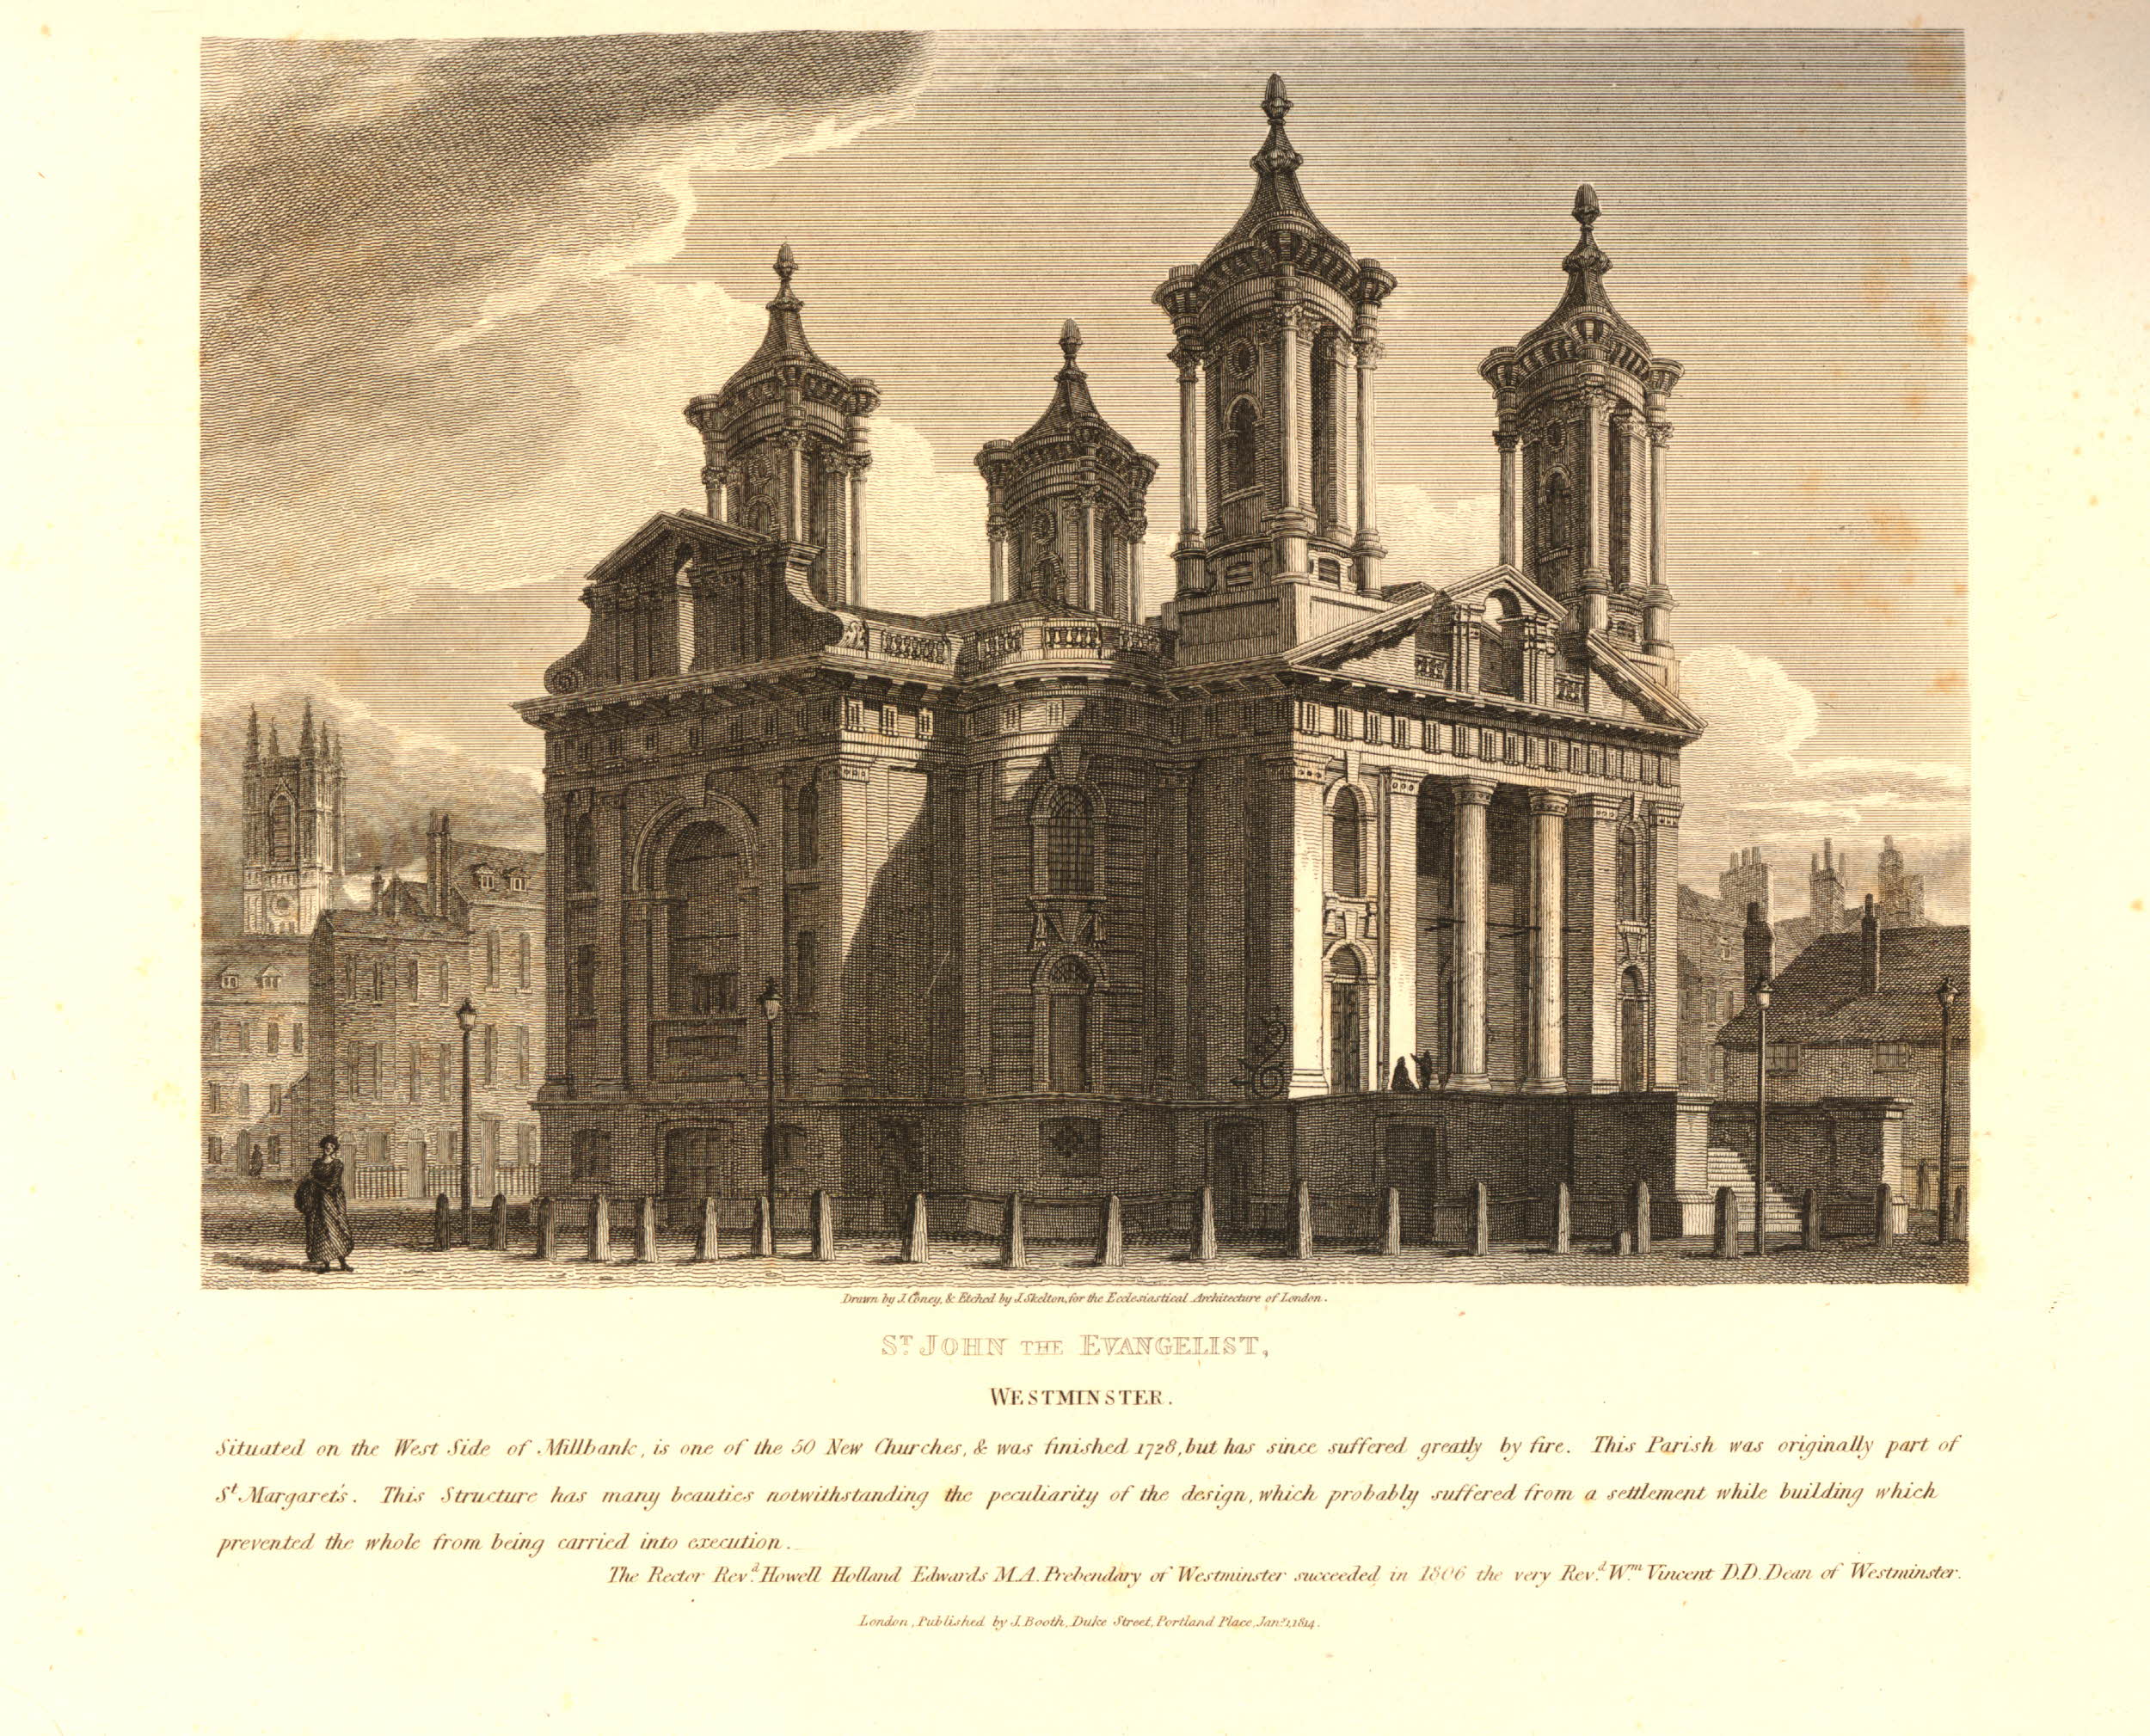
A print of St. John’s, Smith Square from 1814. The text below the print states “Situated on the West Side of Millbank, is one of the 50 New Churches & was finished 1728, but has since suffered greatly by fire. This Parish was originally part of St. Margret’s. This structure has many beauties notwithstanding the peculiarity of the design, which probably suffered from a settlement while building which prevented the whole from being carried into execution.” The fire that the text refers to was a major fire in 1742 that caused significant damage to the church.

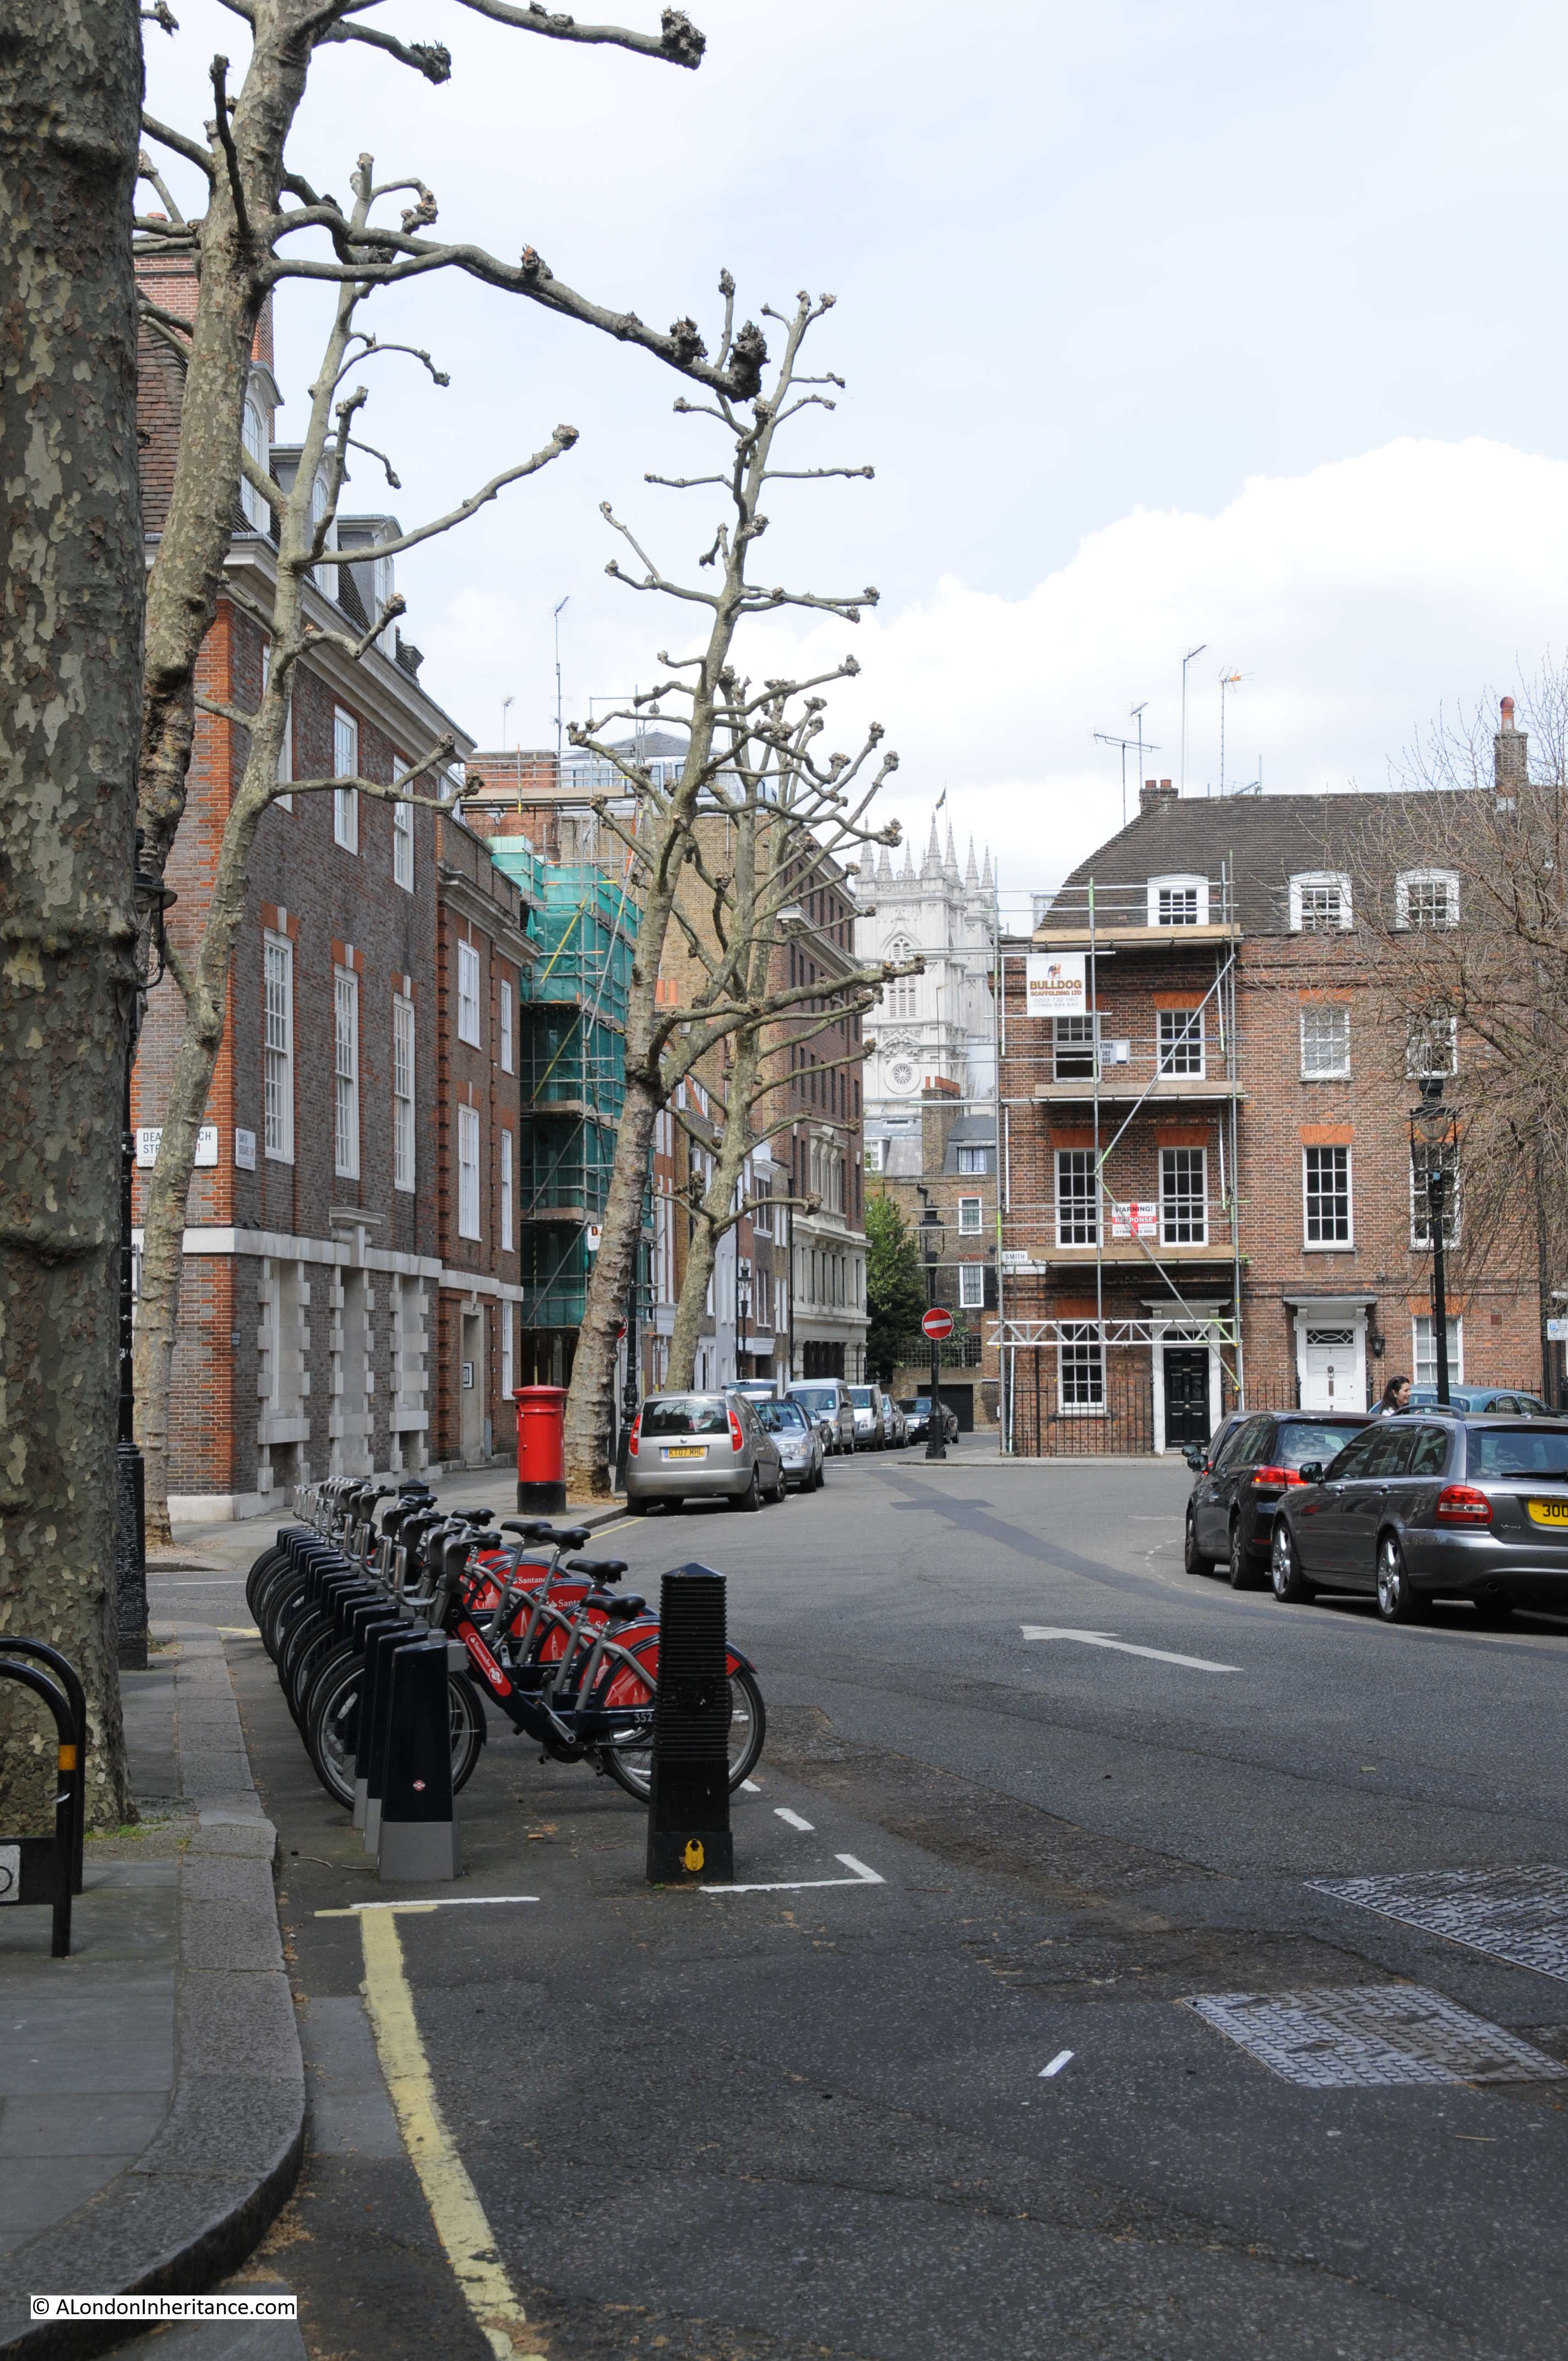
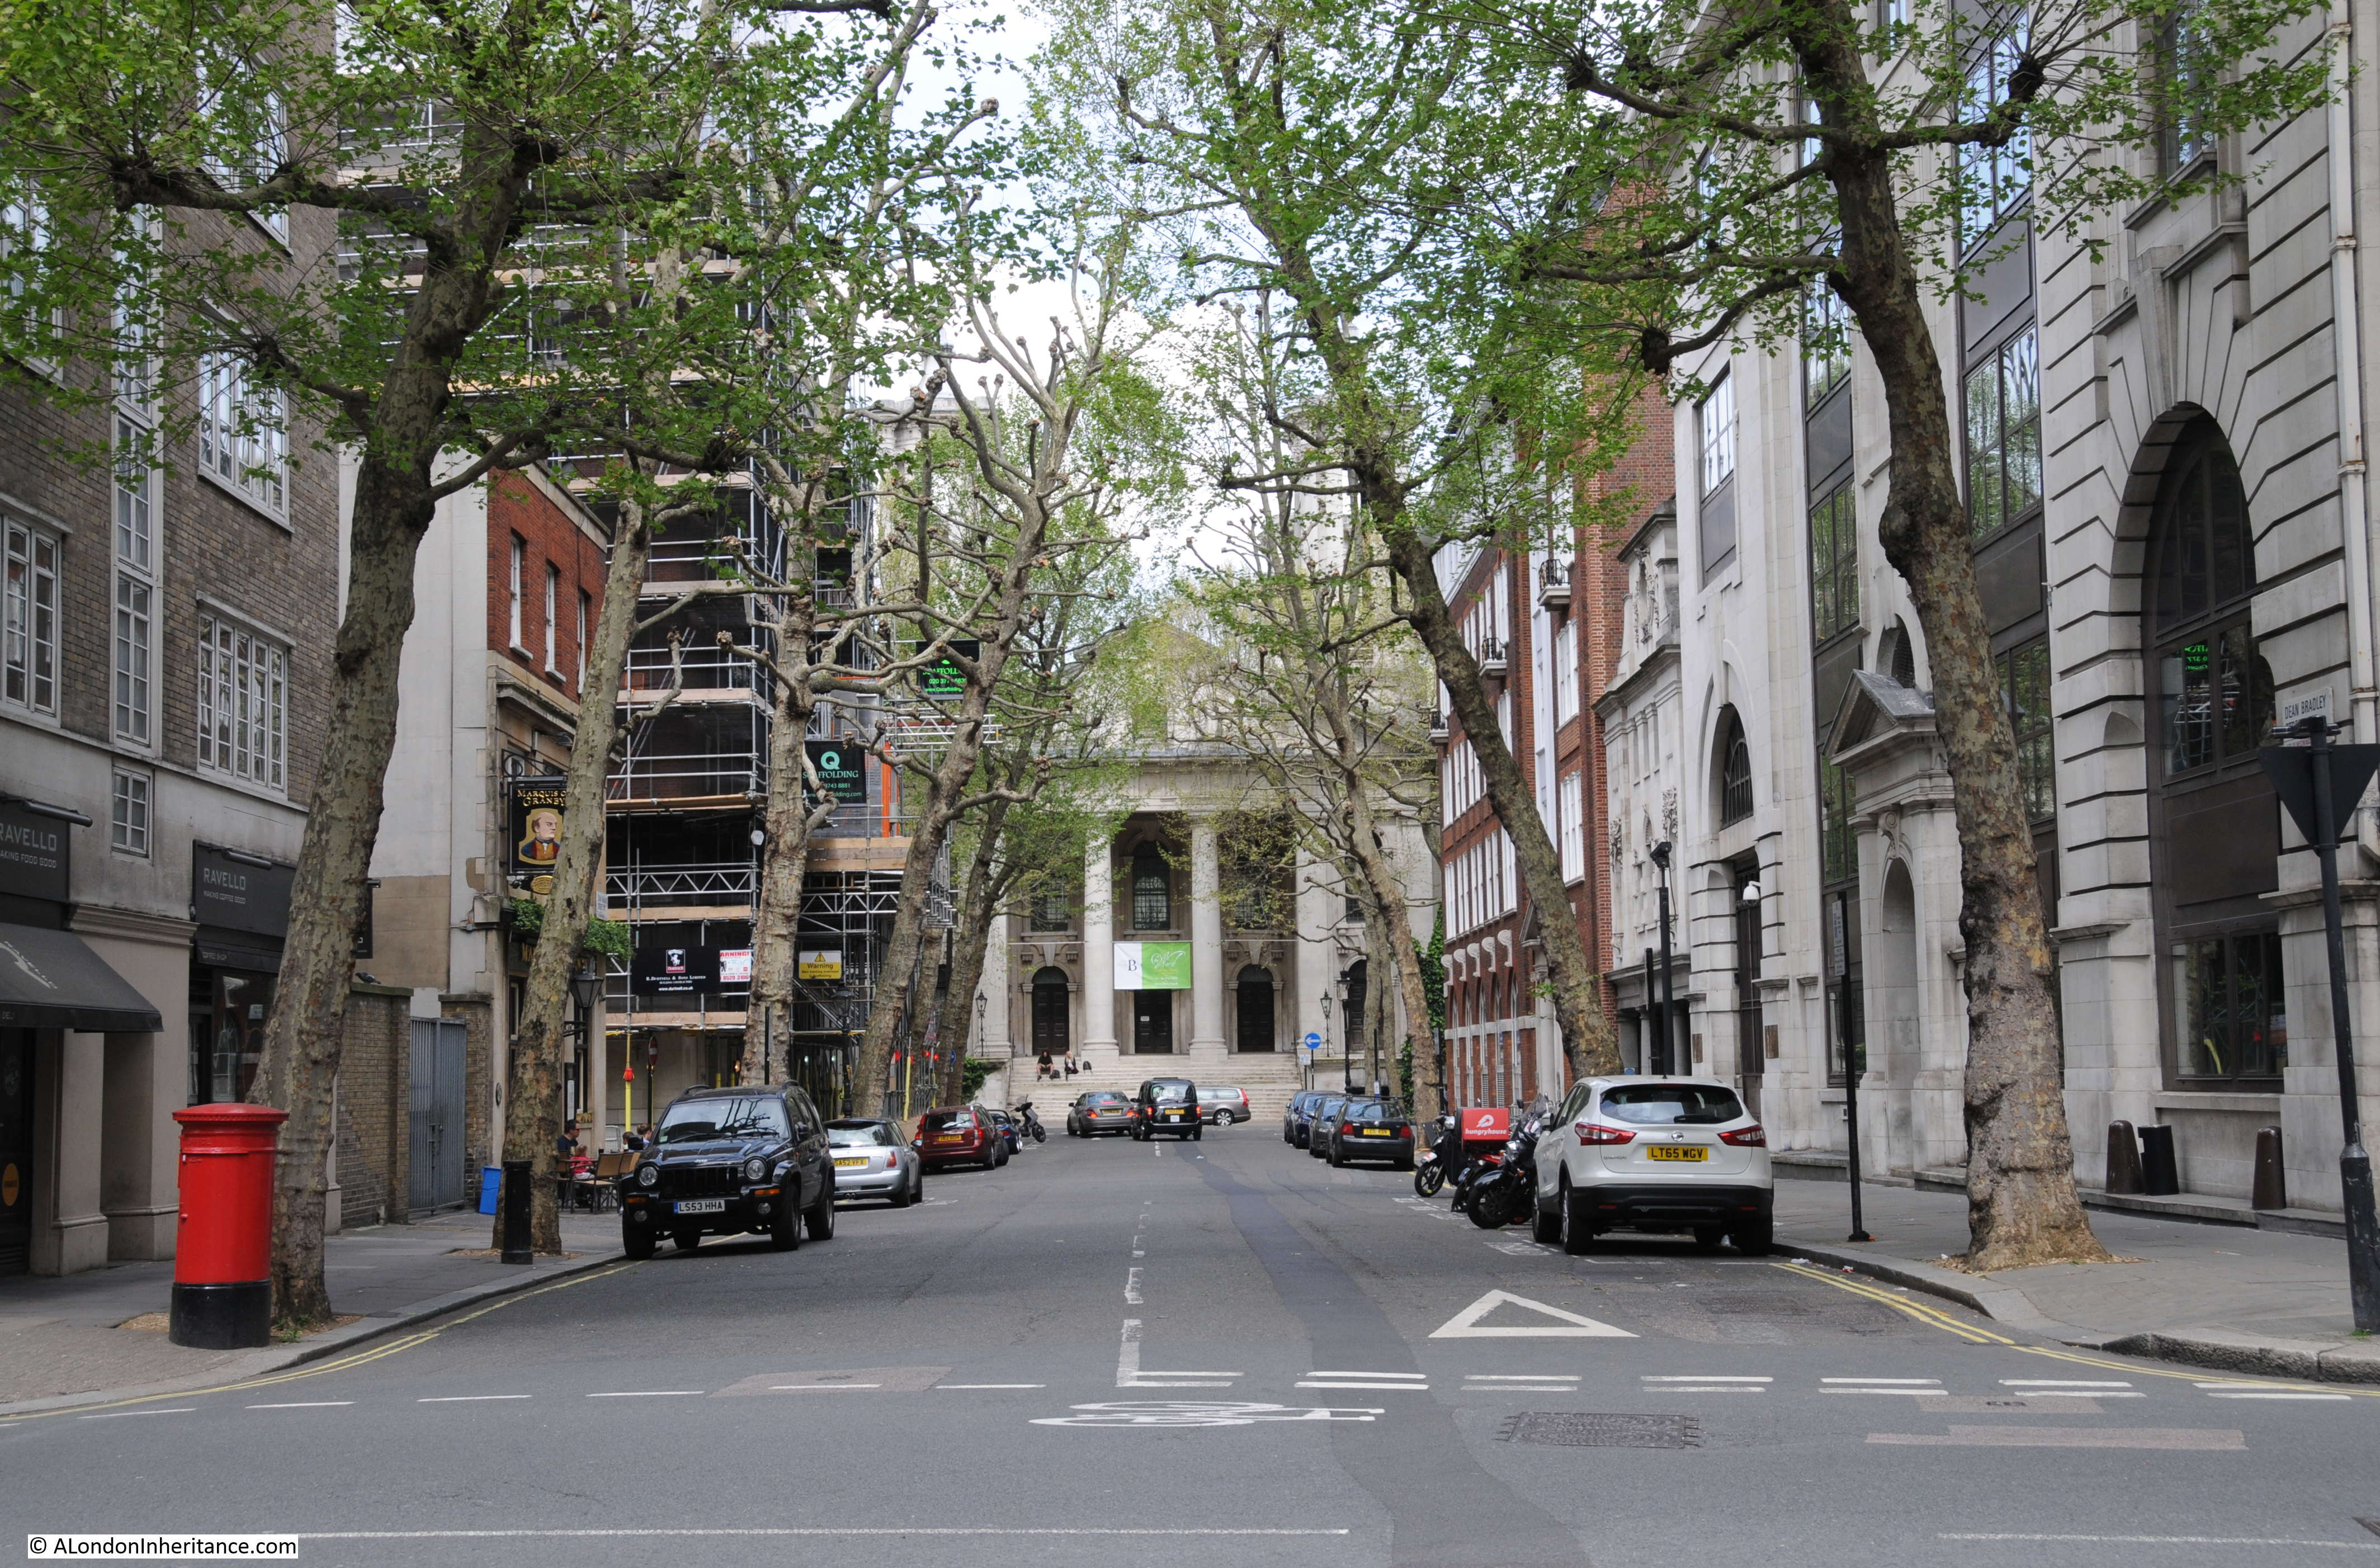
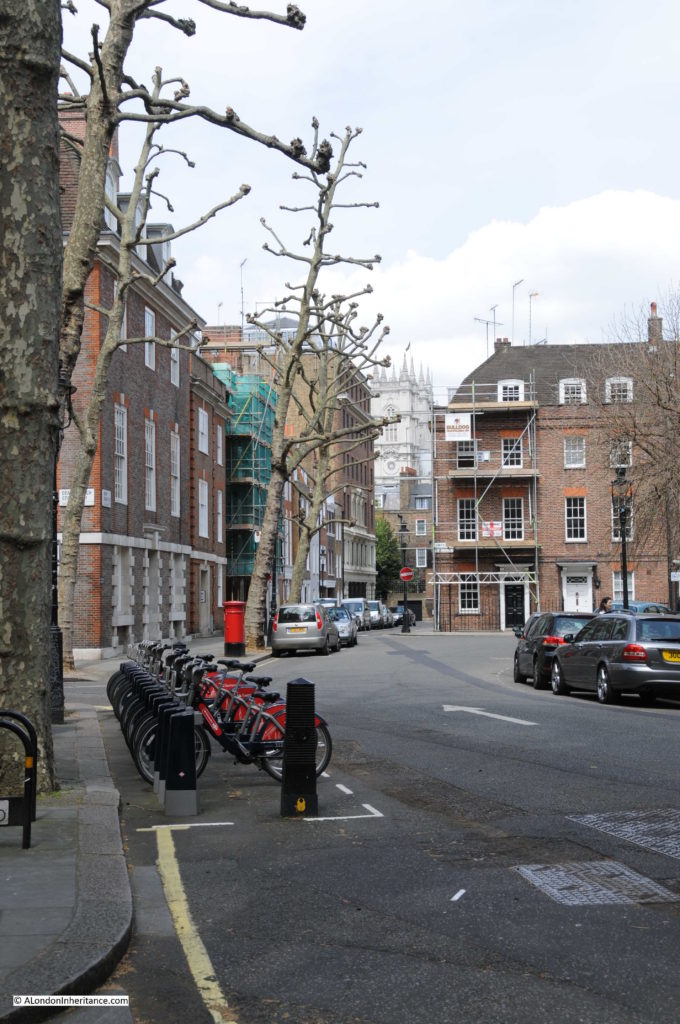
Looking up from Smith Square, along Gayfere Street to the towers of Westminster Abbey. A high explosive bomb fell in the road to the right of the red letter box during the war causing considerable damage to the surrounding buildings.
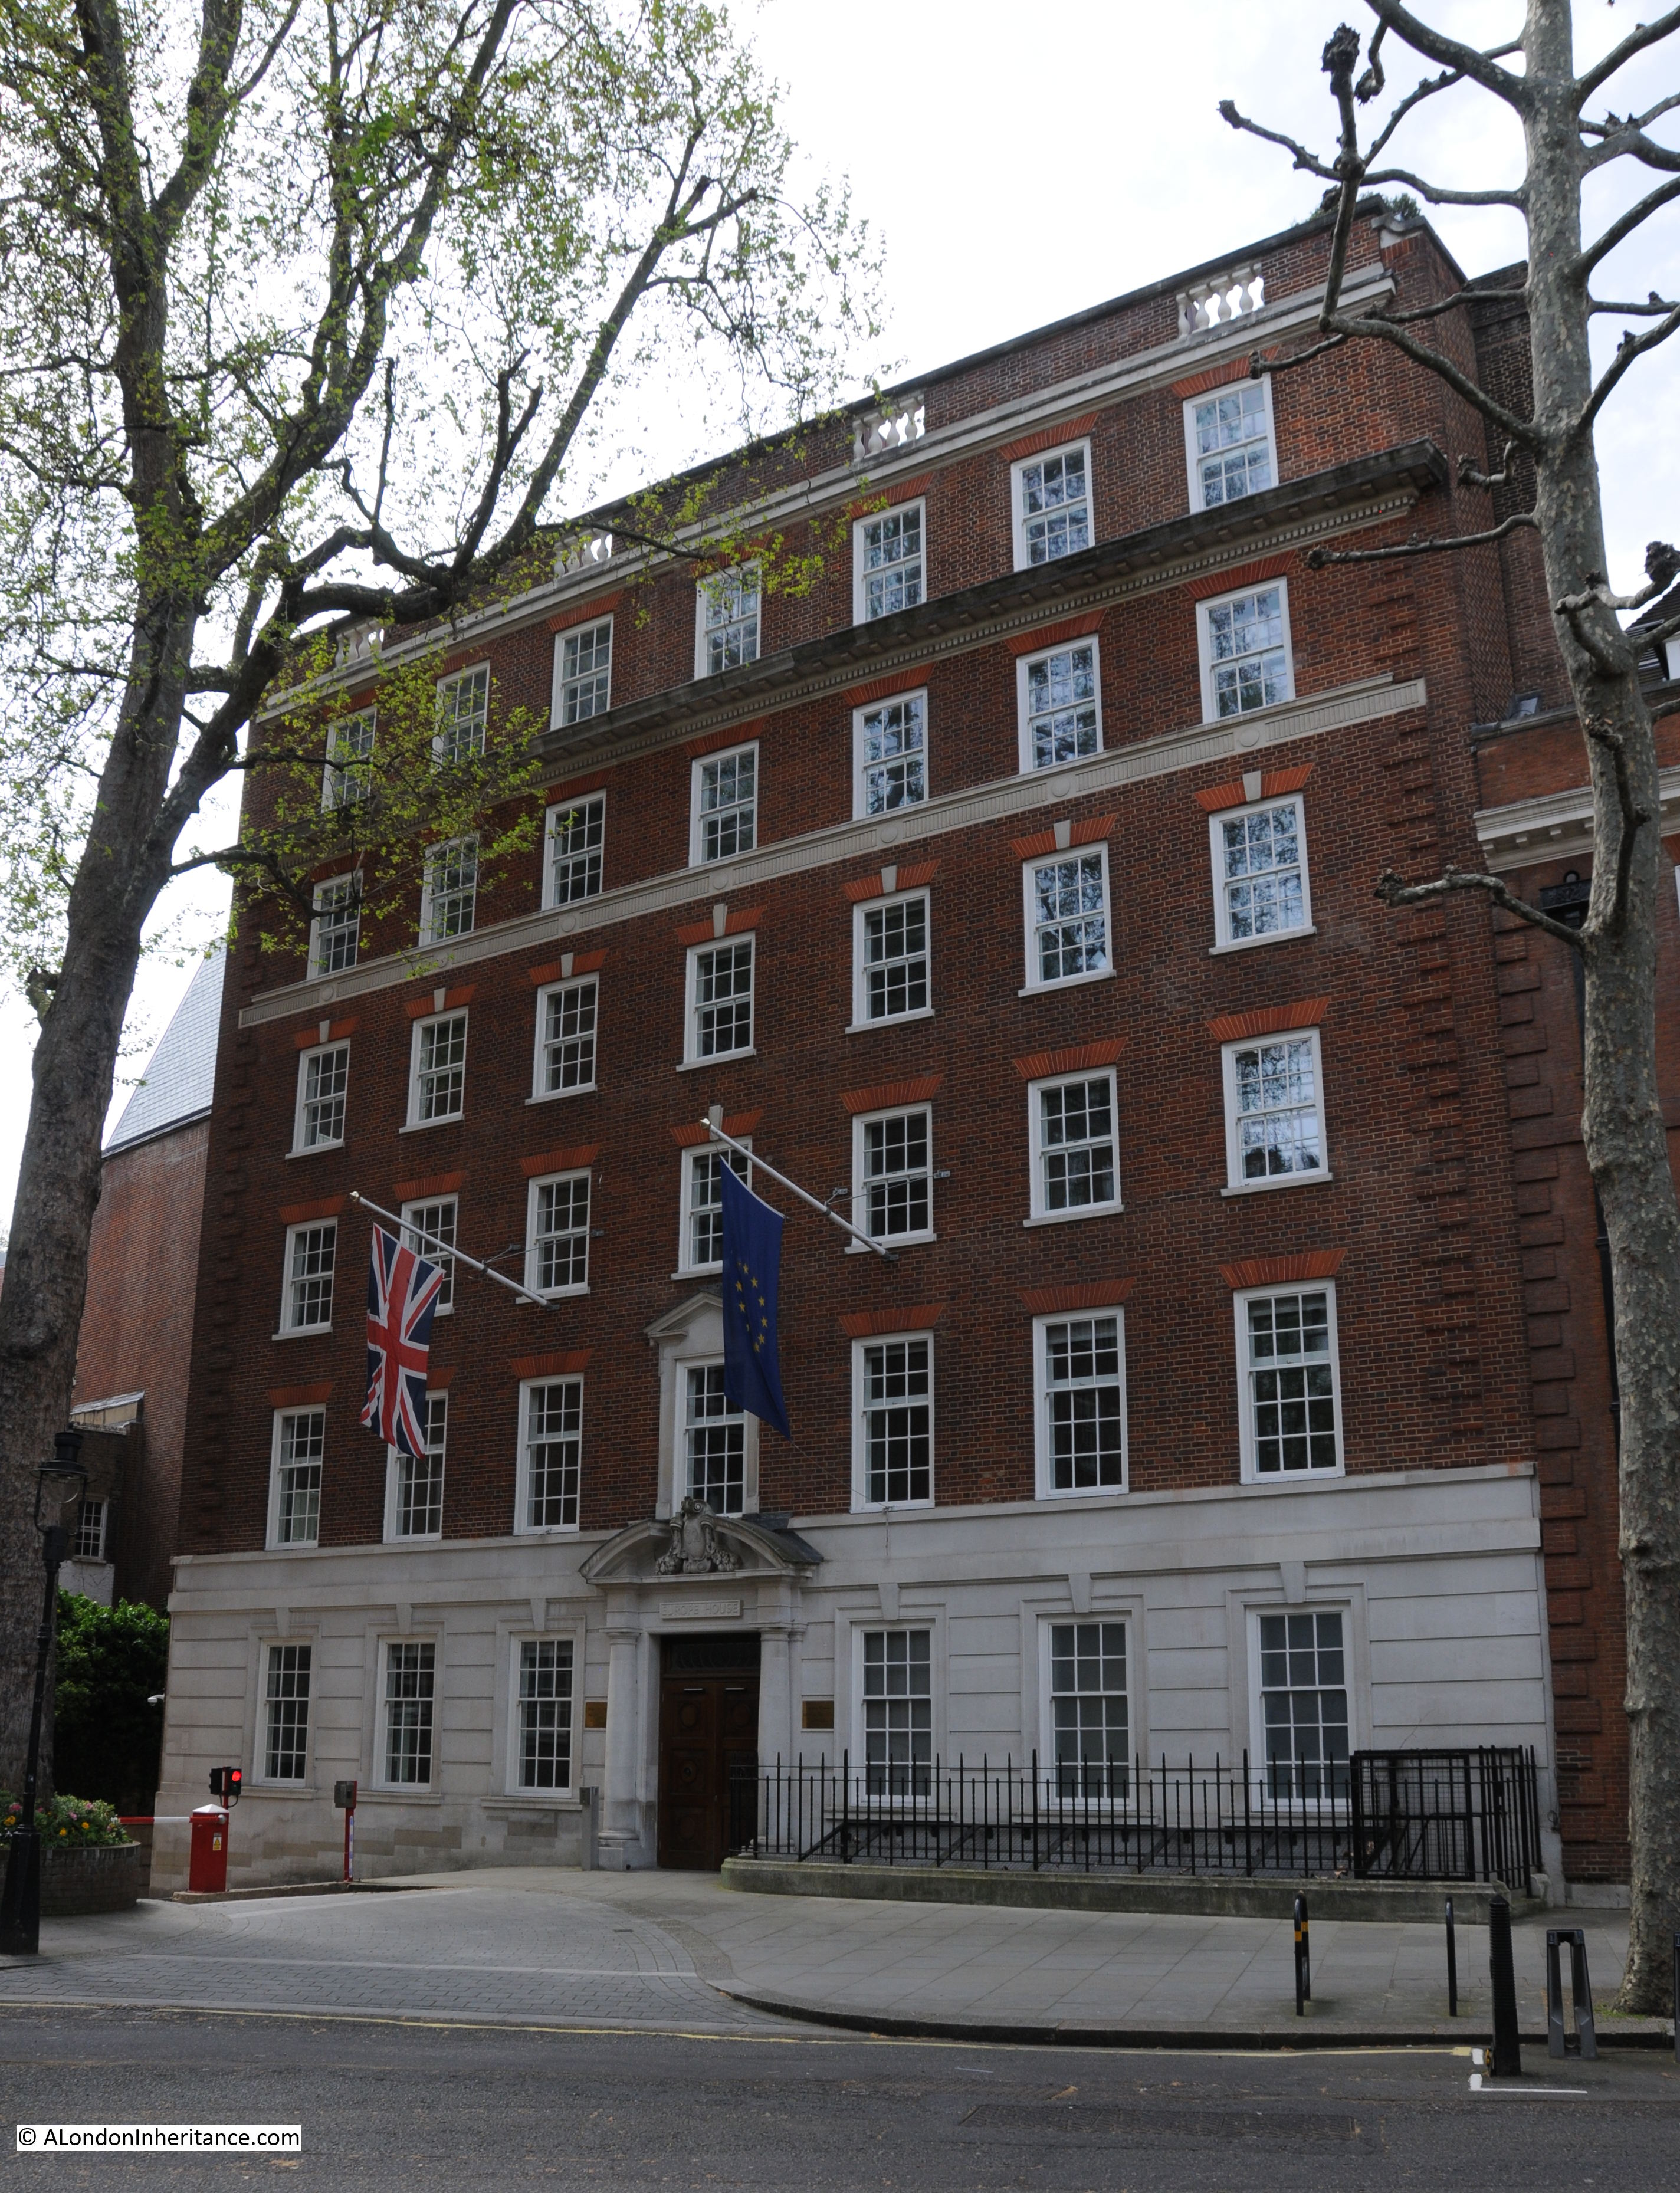
In the 1980s during the time when Margaret Thatcher was Prime Minster, Smith Square was often in the news due to the Conservative Party Central Office being located here at number 32. The Conservative Party moved here in the mid 1950s, moving out in 2004.
The building today is, perhaps ironically, the Information Office of the European Parliament.

Smith Square has had a long association with politicians. The Conservative MP Rab Butler lived in Smith Square as did the Labour MP Oswald Mosley who went on to leave Labour and set up the British Union of Fascists in 1932. Harold Wilson lived in Lord North Street during the early 1970s.
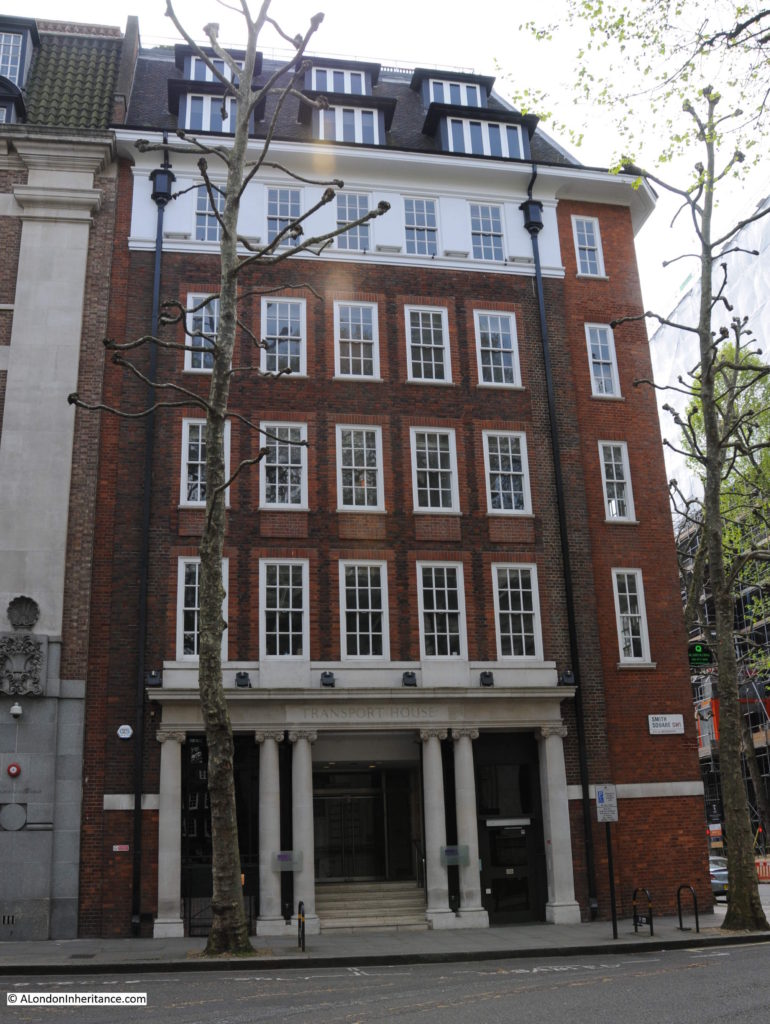
Another building (the photo below – Transport House) in Smith Square was also home to the Transport and General Workers Union as well as the Labour Party.
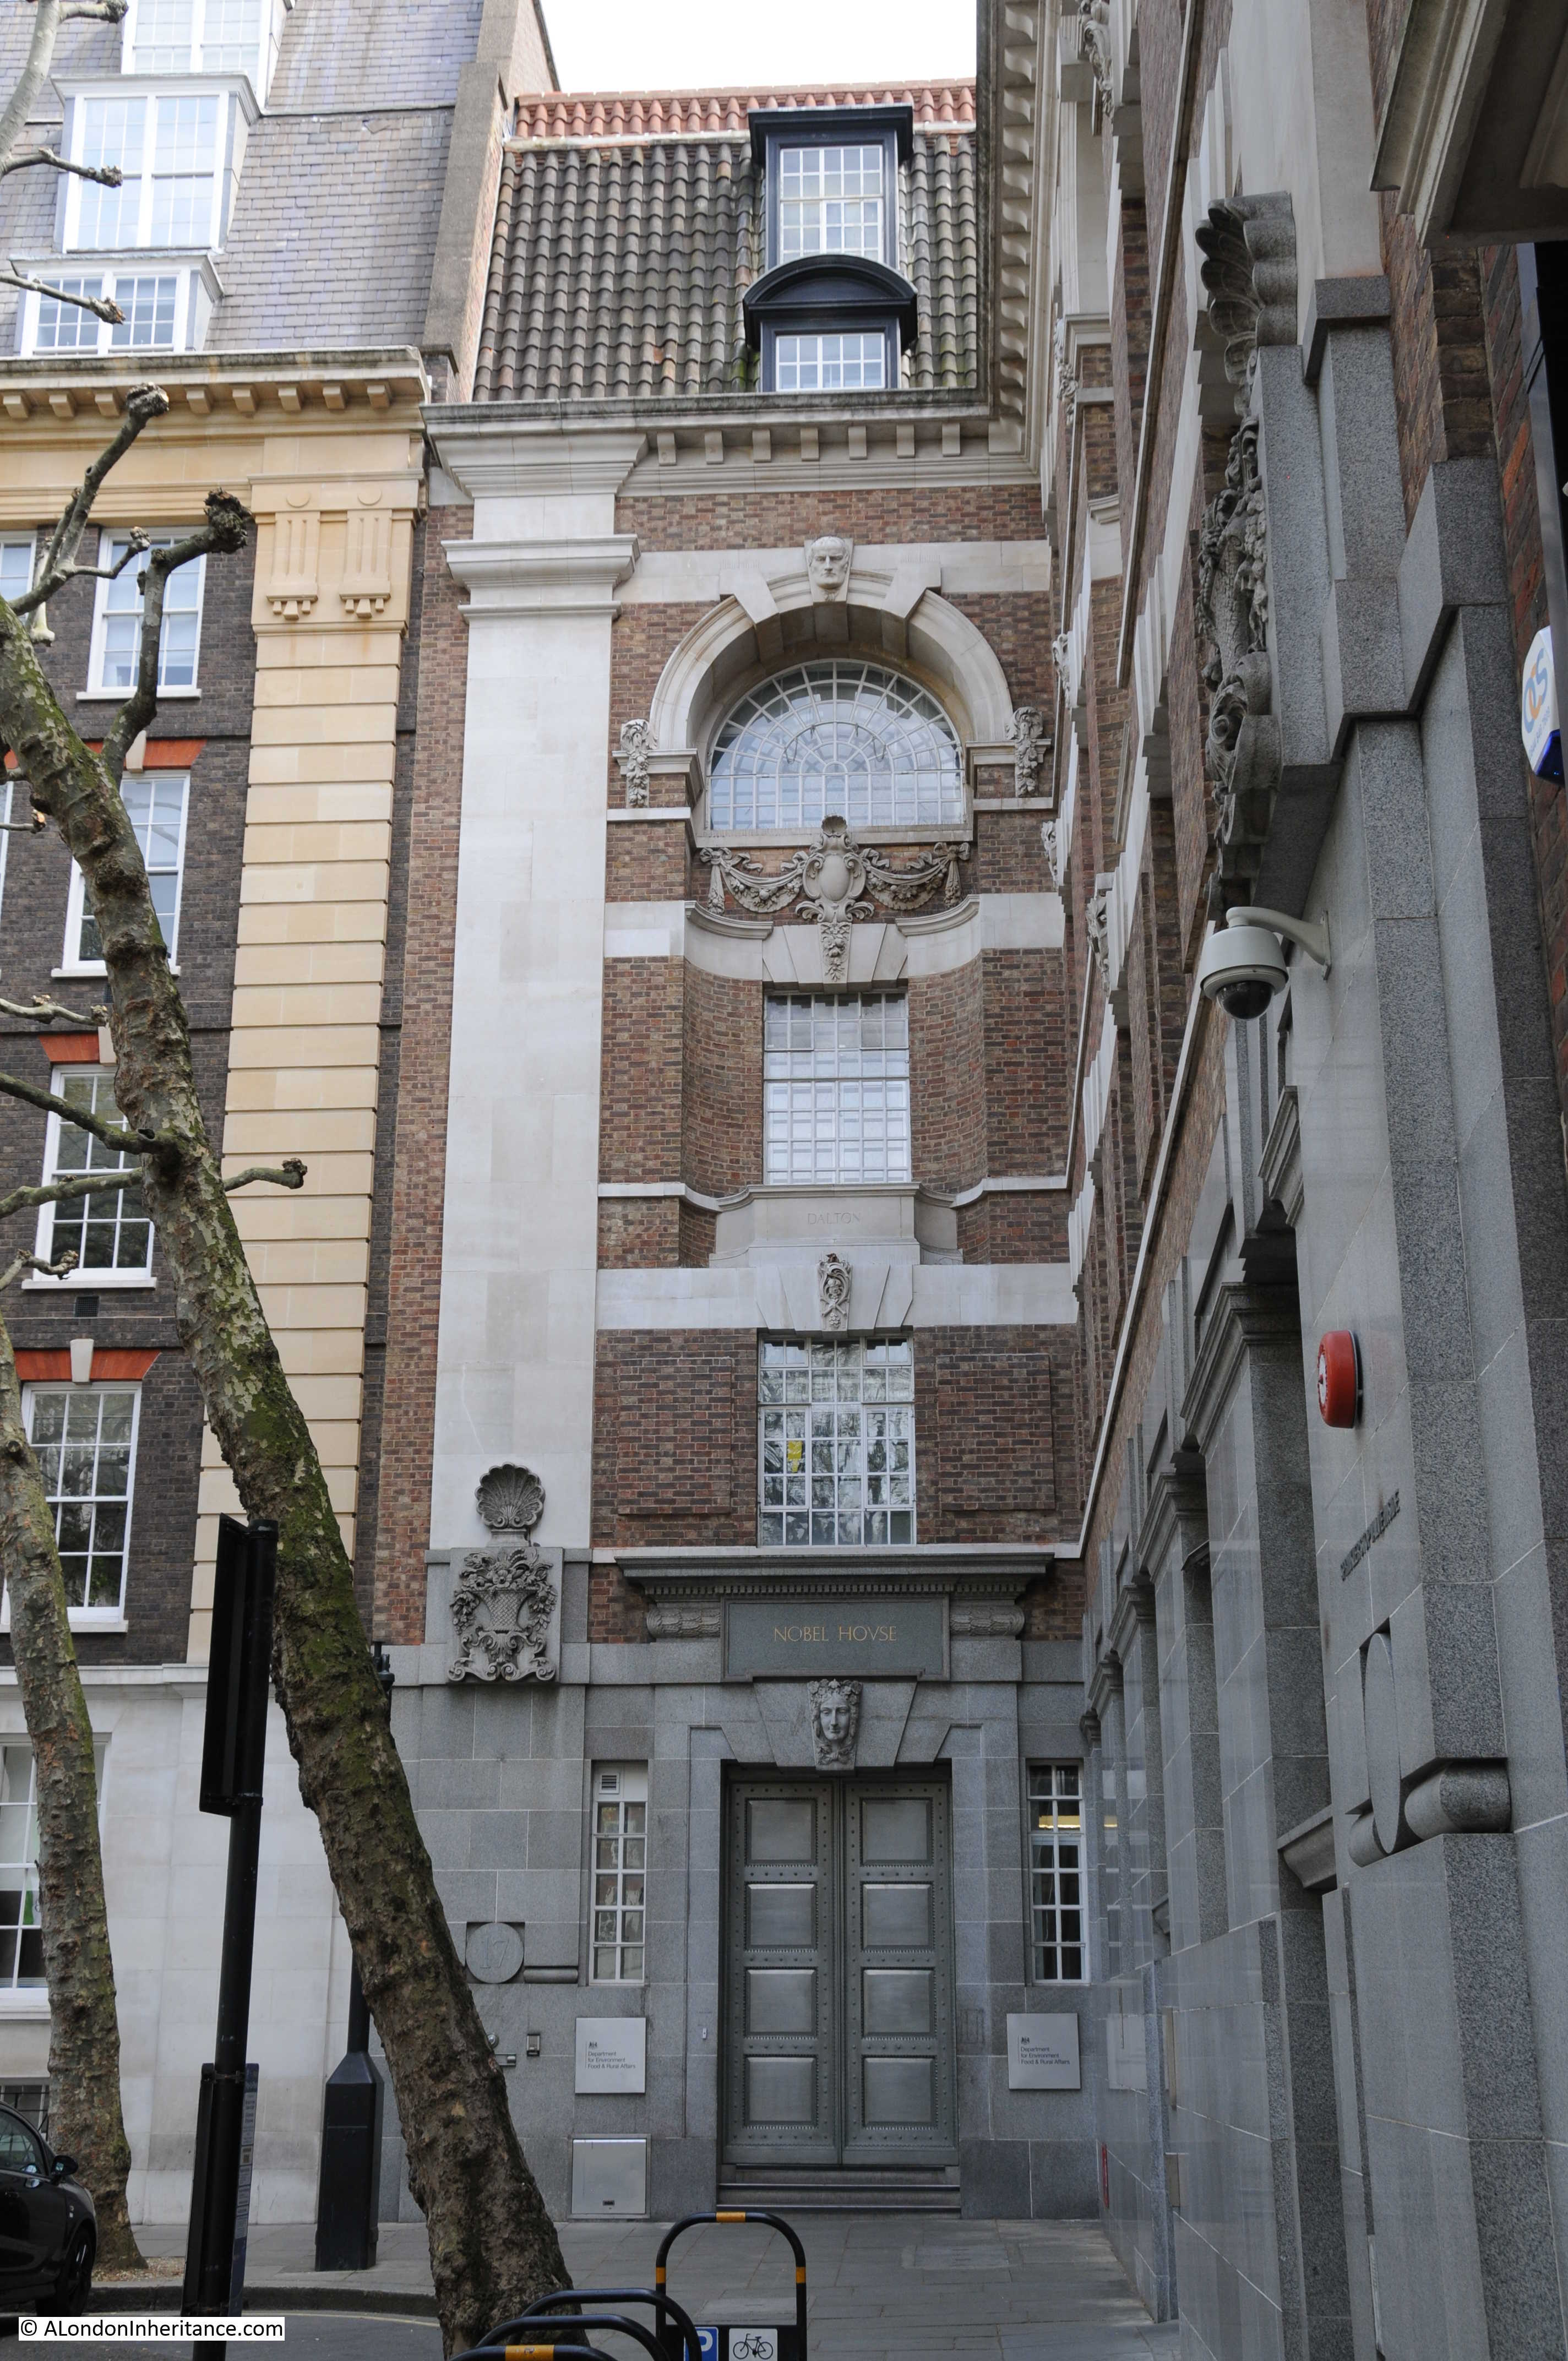
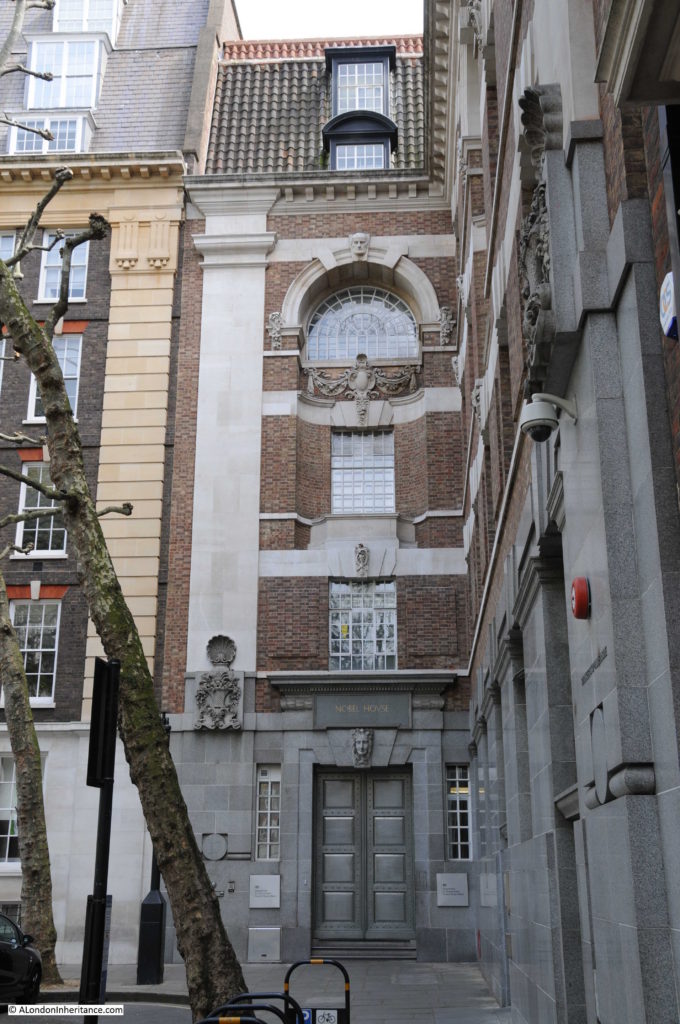
There is a rather strange building at one corner of Smith Square. A small part of the old ICI building, Nobel House, the bulk of which is on Millbank and extends to this corner of Smith Square and rather than blend in with Smith Square, the building has used exactly the same decoration as the main frontage of Nobel House on Millbank.
If you look up at the building along Millbank and part of Horseferry Road, the building is decorated with the faces of scientists on the keystone above the window with the name of the scientist across the balcony below. (See my original post covering Noble House). The corner of the building in Smith Square has:
- John Dalton (1766 to 1844), a chemist, physicist and meteorologist, who was responsible for a wide range of scientific discoveries, and it was his work on Atomic Theory that was his major legacy, and;
- Marcellin Berthelot (1827 – 1907), a French chemist who demonstrated that organic substances could be synthetically produced rather than being dependent on some form of “vital spark” over which there was no human control.
The corner entrance to Nobel House in Smith Square with Dalton above the door and Berthelot to the right.
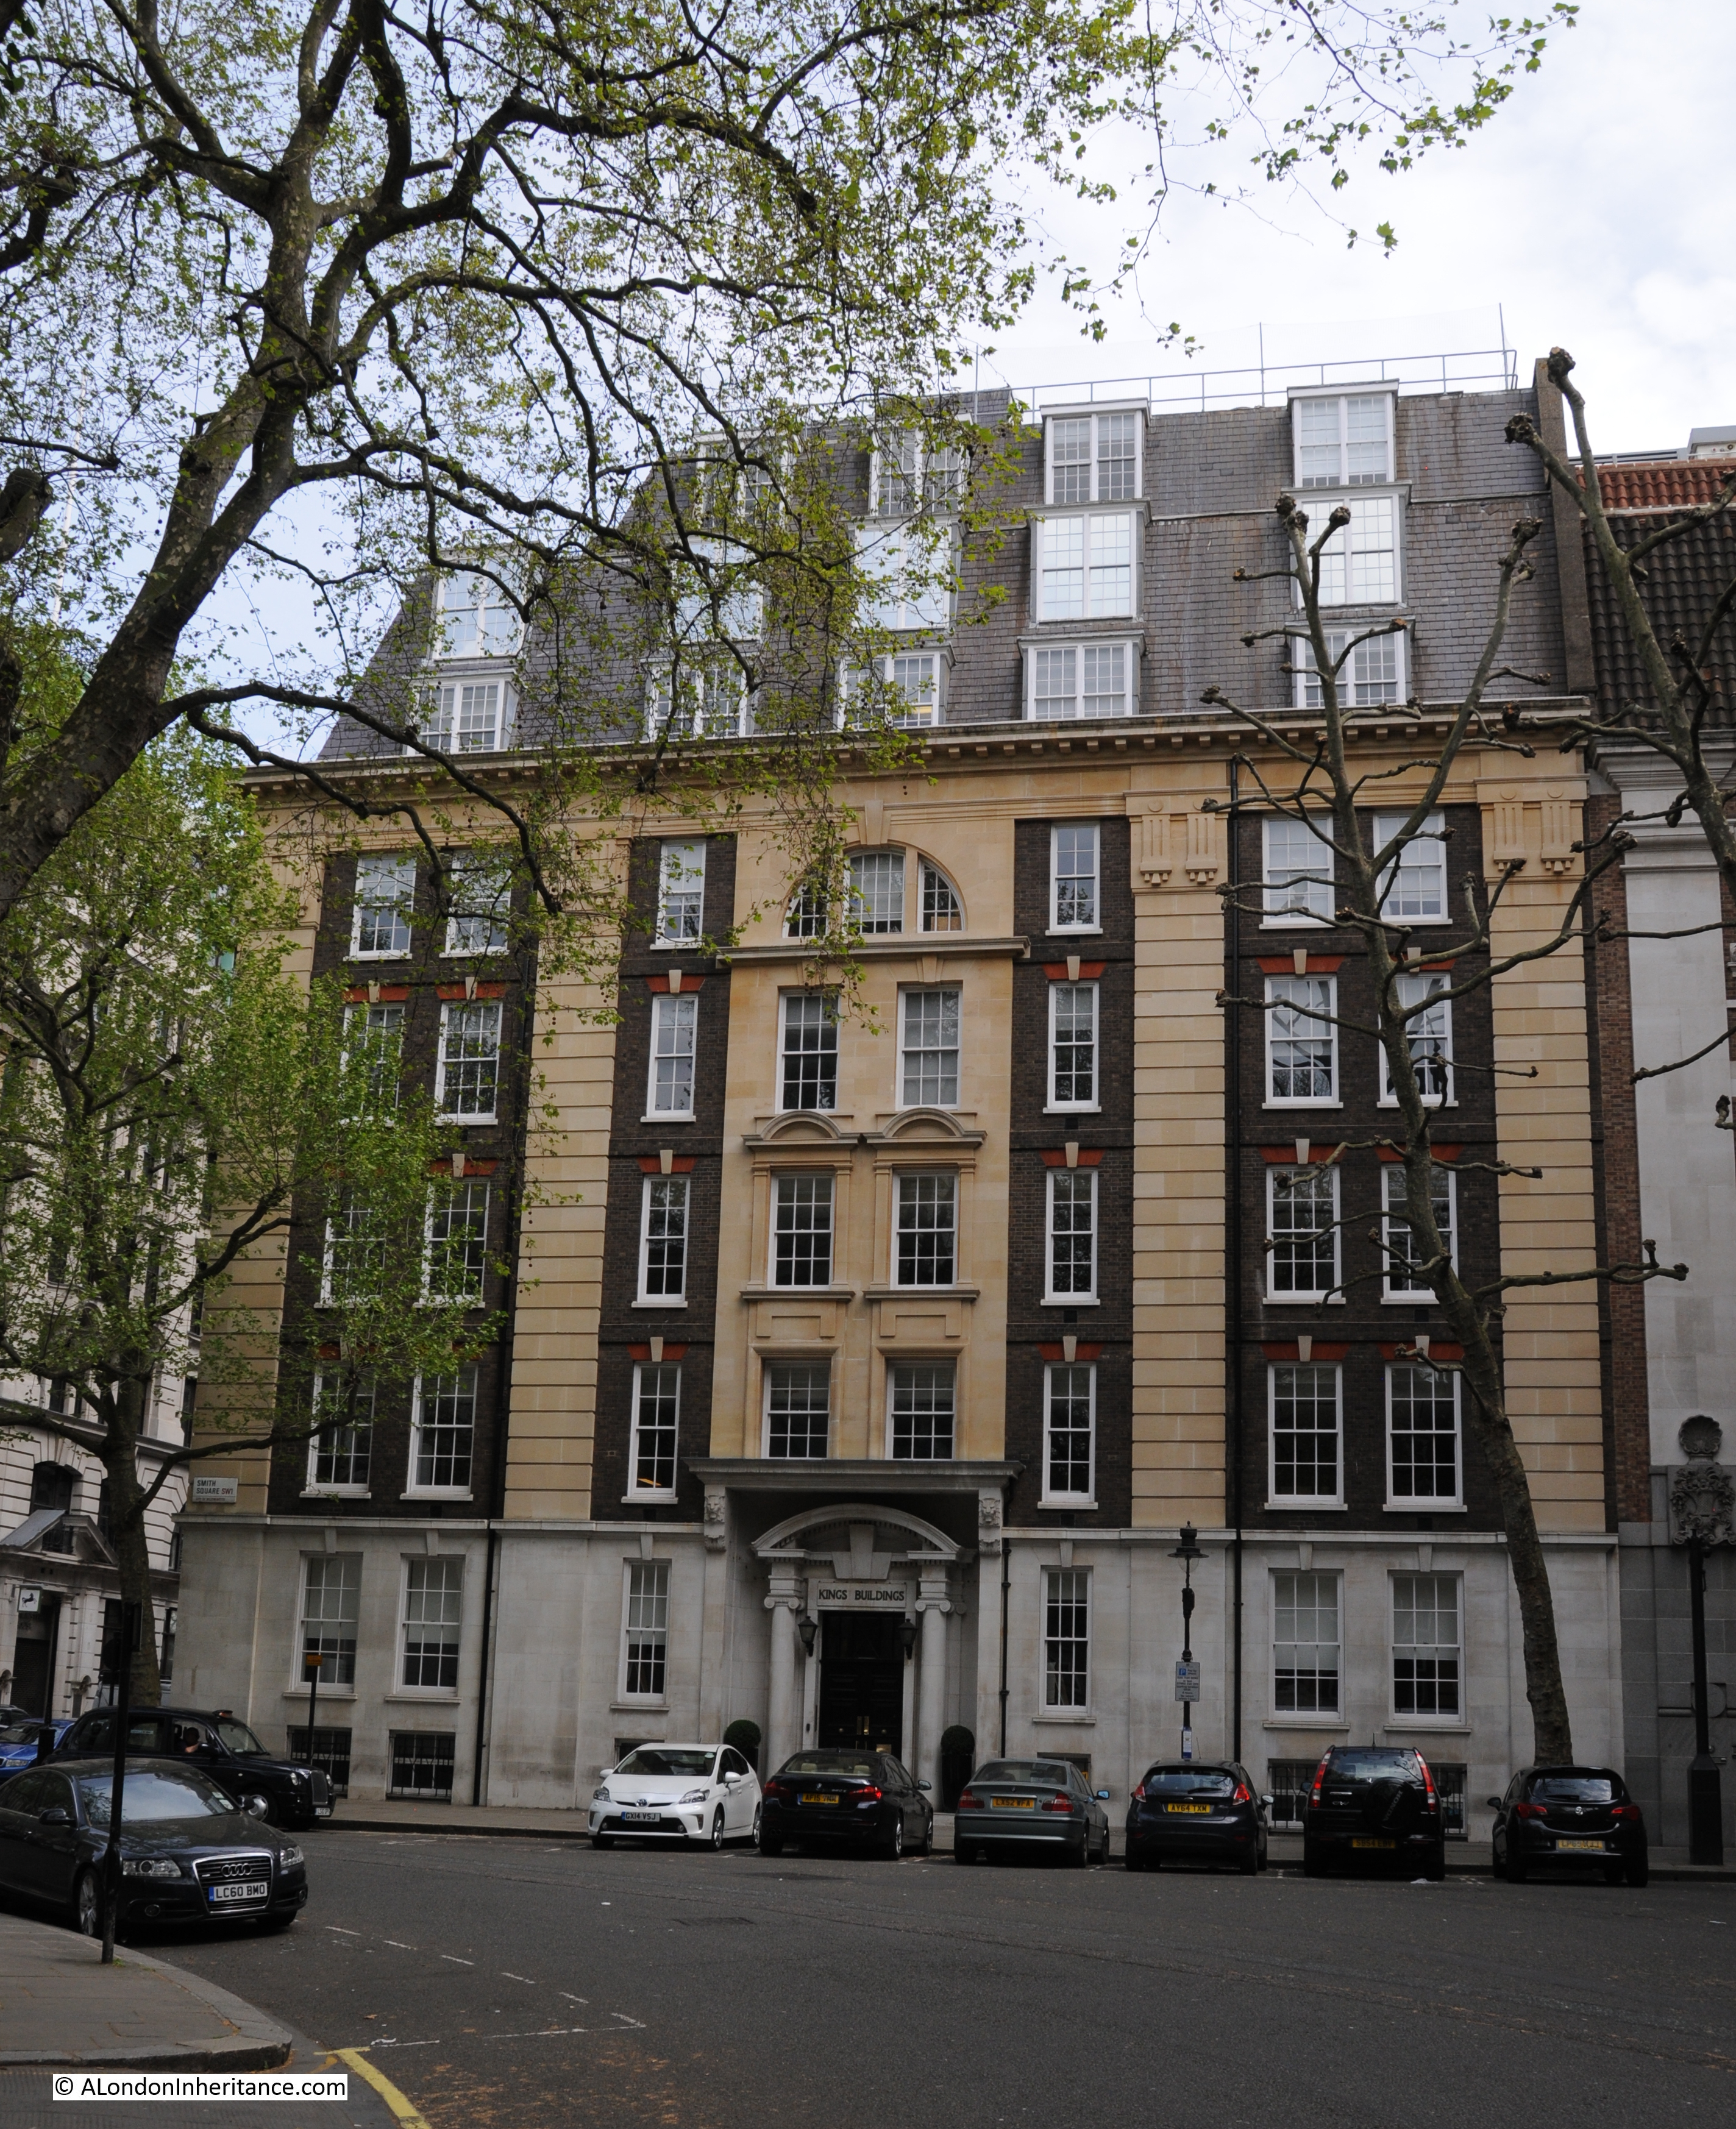
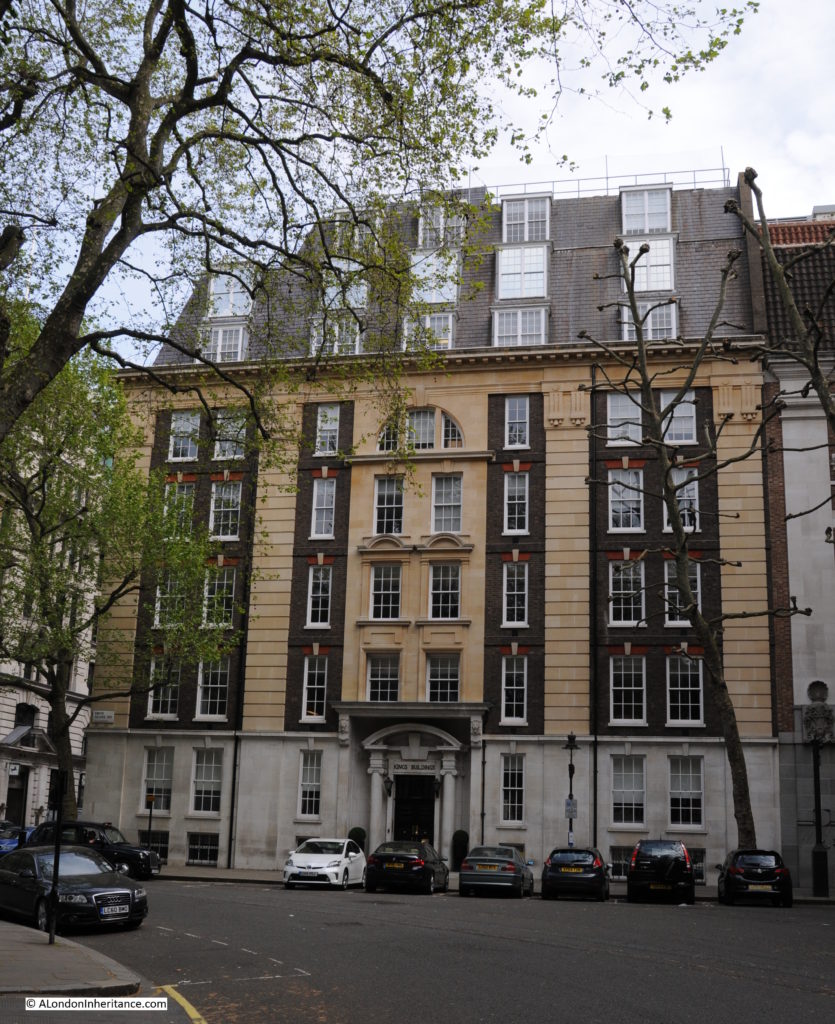
In the first decades of the 20th century, some of the original buildings around Smith Square were demolished to make way for new office blocks resulting in a range of building styles around the square.
If you leave Smith Square by Dean Bradley Street (named after George Bradley, who was Dean of Westminster from 1881 to 1902) and walk down to Horseferry Road, the view down Dean Bradley Street provides another view of the church.

The streets around Smith Square are fascinating. A short walk down Horseferry Road is this building on the corner of Tufton Street. There is an old plaque on the building at ground level.
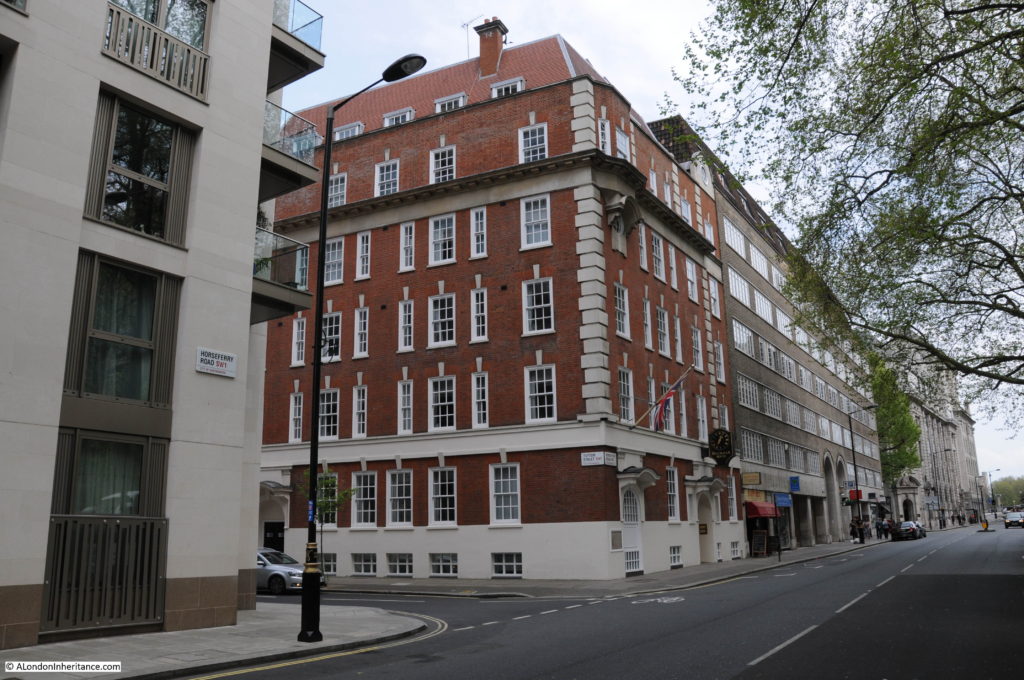
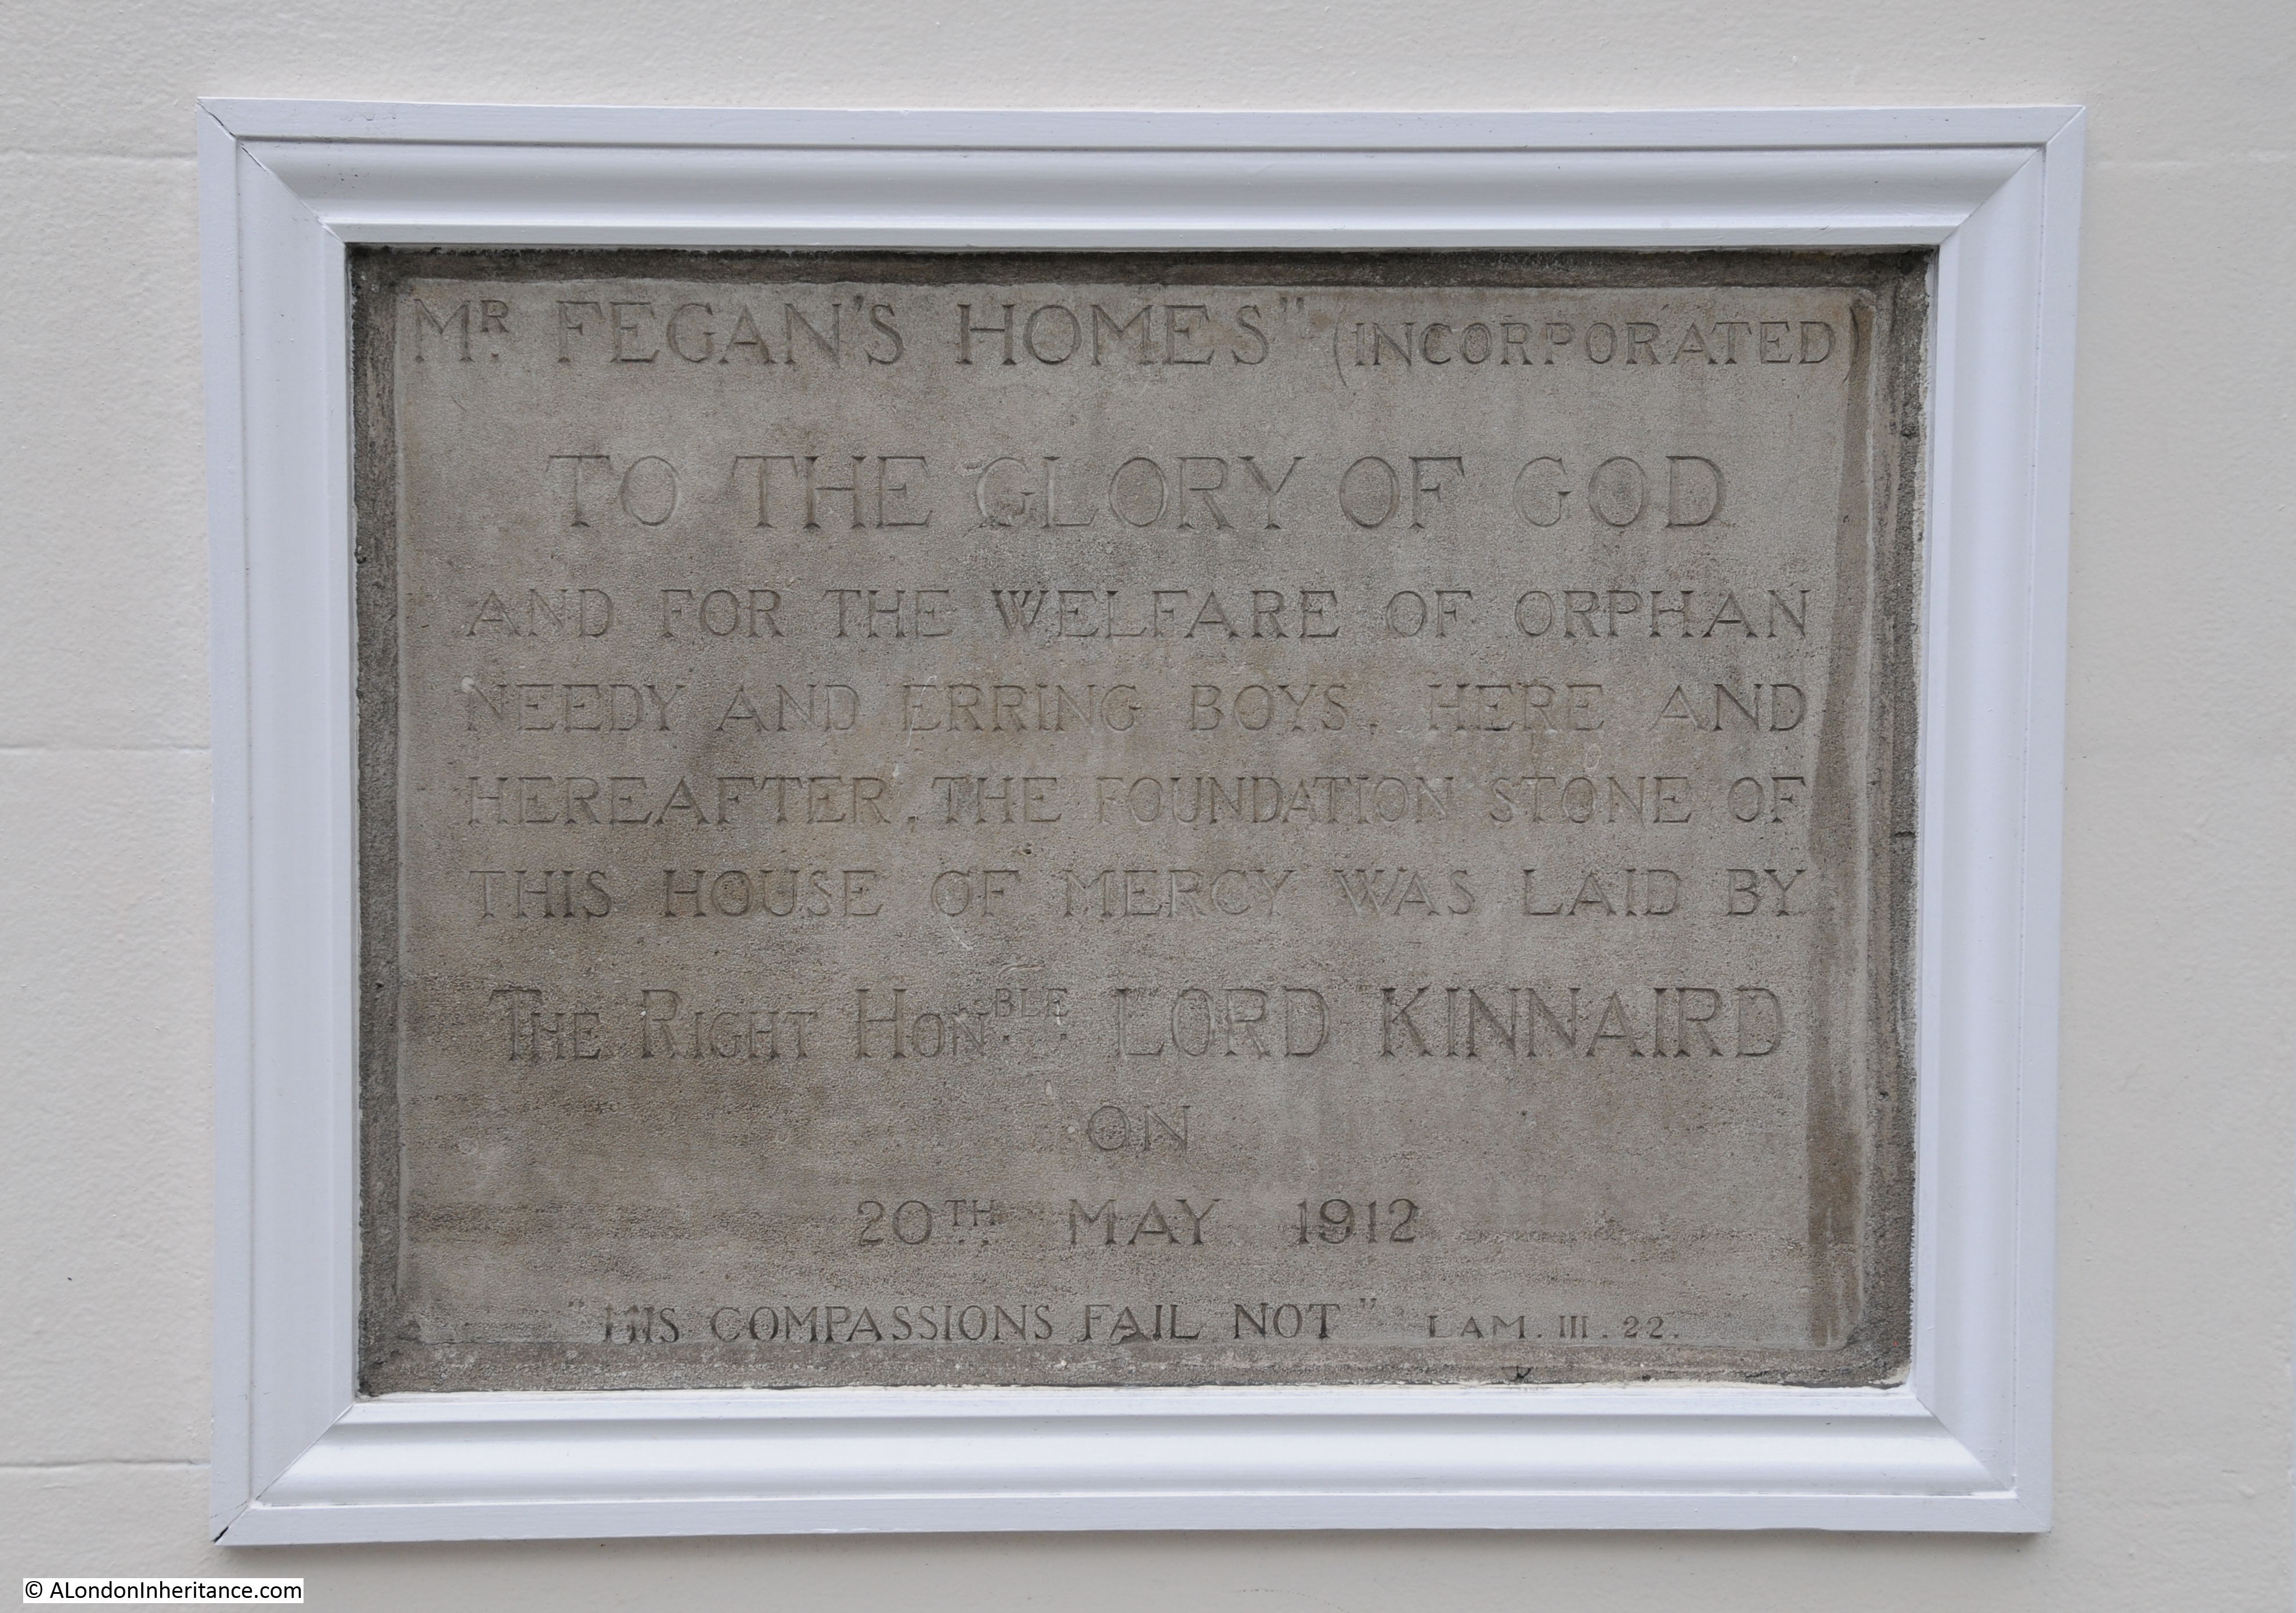
The plaque is the foundation stone for one of Mr Fegan’s Homes.

Mr Fegan was James William Condell Fegan who was born in Southampton in 1852 and moved to London with his family in 1865. He worked in the office of a firm of brokers and in the evening taught at a Ragged School. His experience at the Ragged School of the very poor conditions of many of the children who did not benefit from the school led Fegan to set up a home where children could come and learn in the evening and be given shelter overnight.
Fegan’s homes quickly developed with homes being opened at Deptford, Greenwich, Ramsgate and Southwark. As well as providing education and shelter for children in London, he also supported the emigration of children to Canada where he believed they would have a much better future.
The building in Horseferry Road was built for Fegan when the Southwark building had been outgrown and the new building housed the General Offices, an Enquiry and Advisory Bureau and a reception for new arrivals along with a Working Lads Hostel.
Fegan’s Homes also had a number of properties based in the country to prepare children for living and working in Canada.
Fegan’s Homes have all closed, however Fegans continues to exist as a Christian charity supporting children and their families
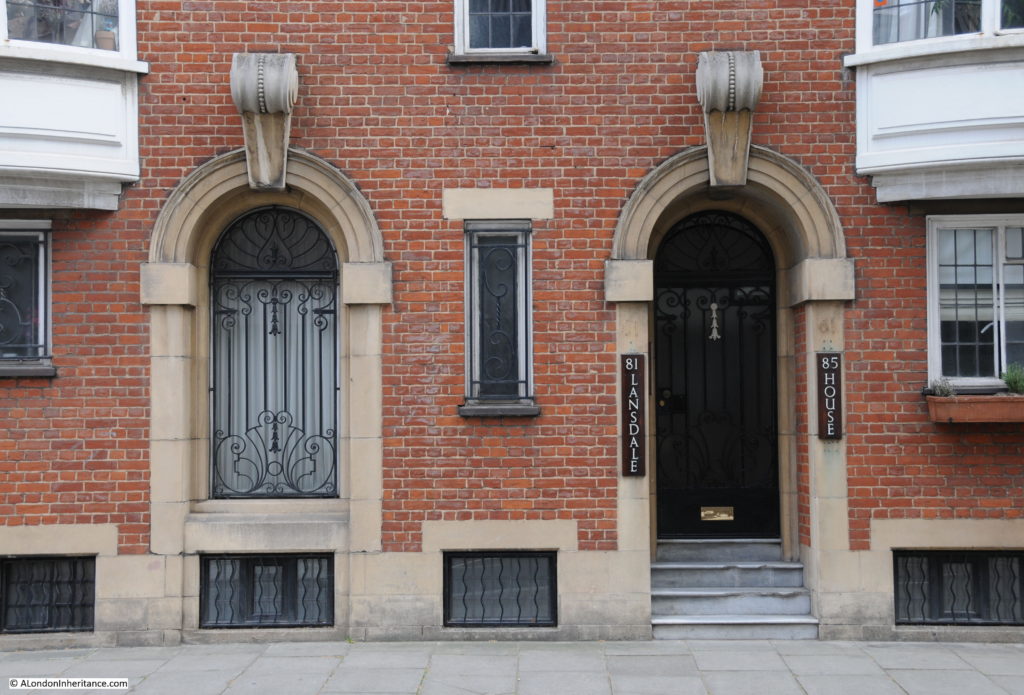
Tufton Street has some interesting architectural features. Lansdale House with a second door surround, but with no door, built to provide symmetry to the overall building.
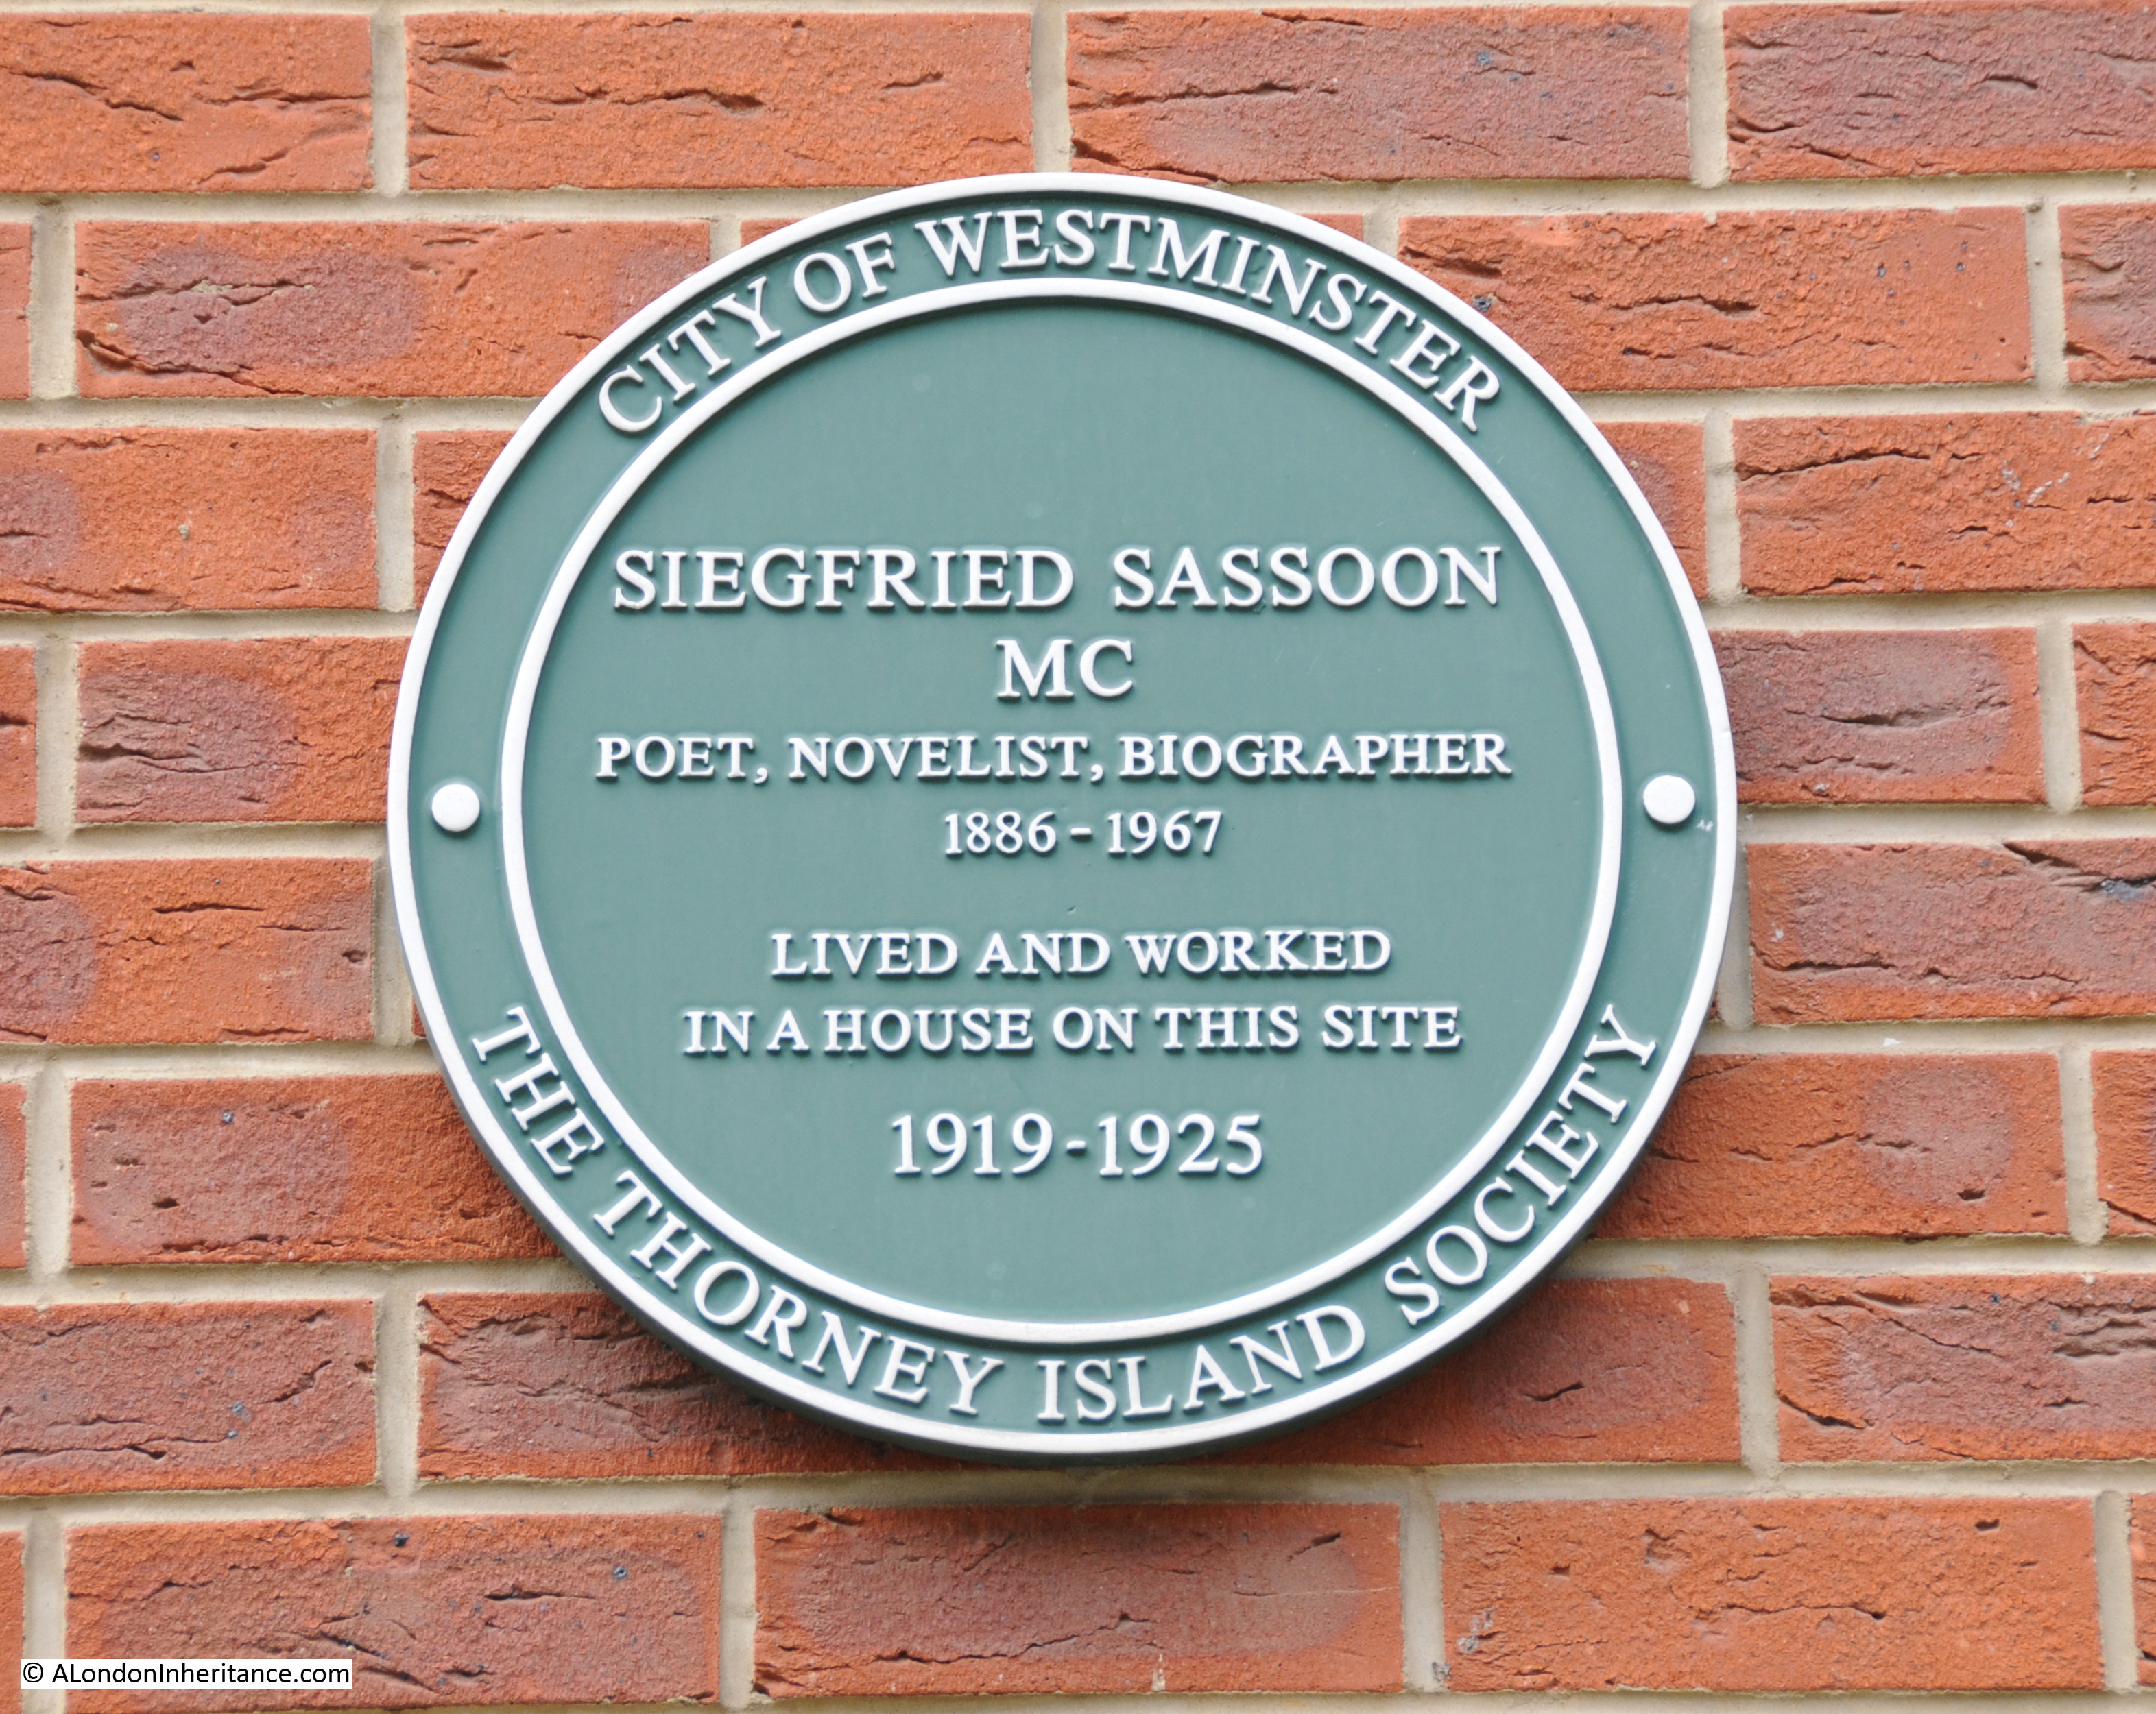
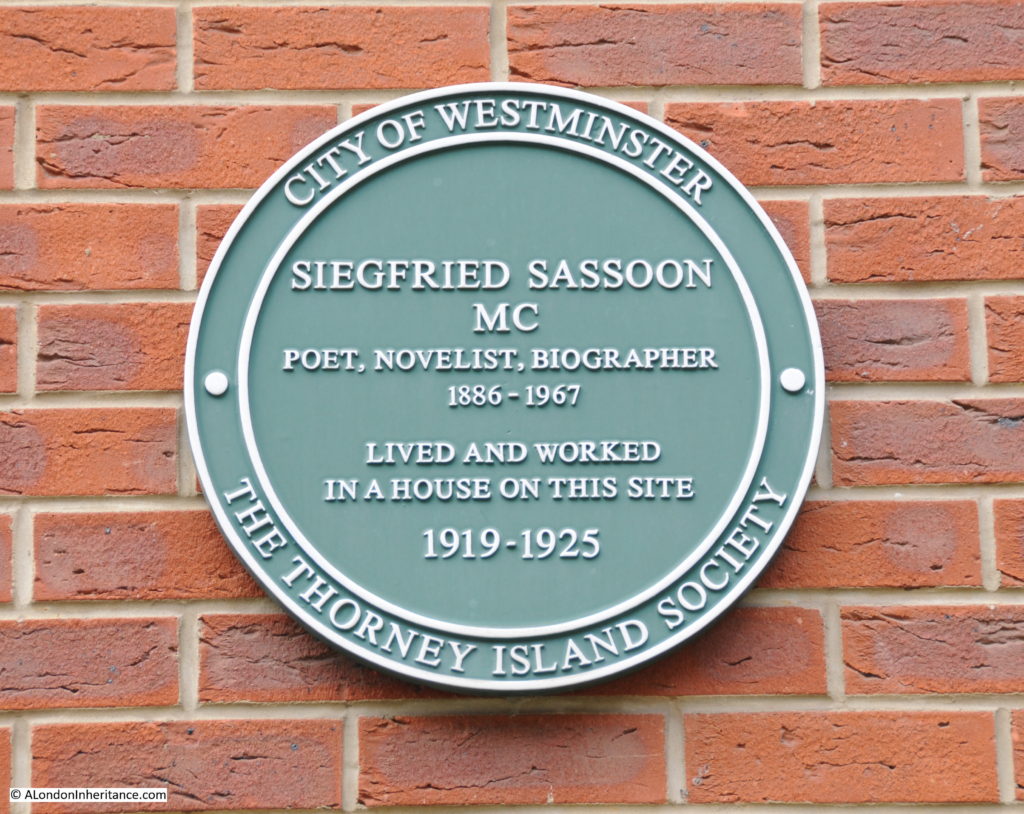
Plaque in Tufton Street to Siegfried Sassoon (one of the First World War poets):
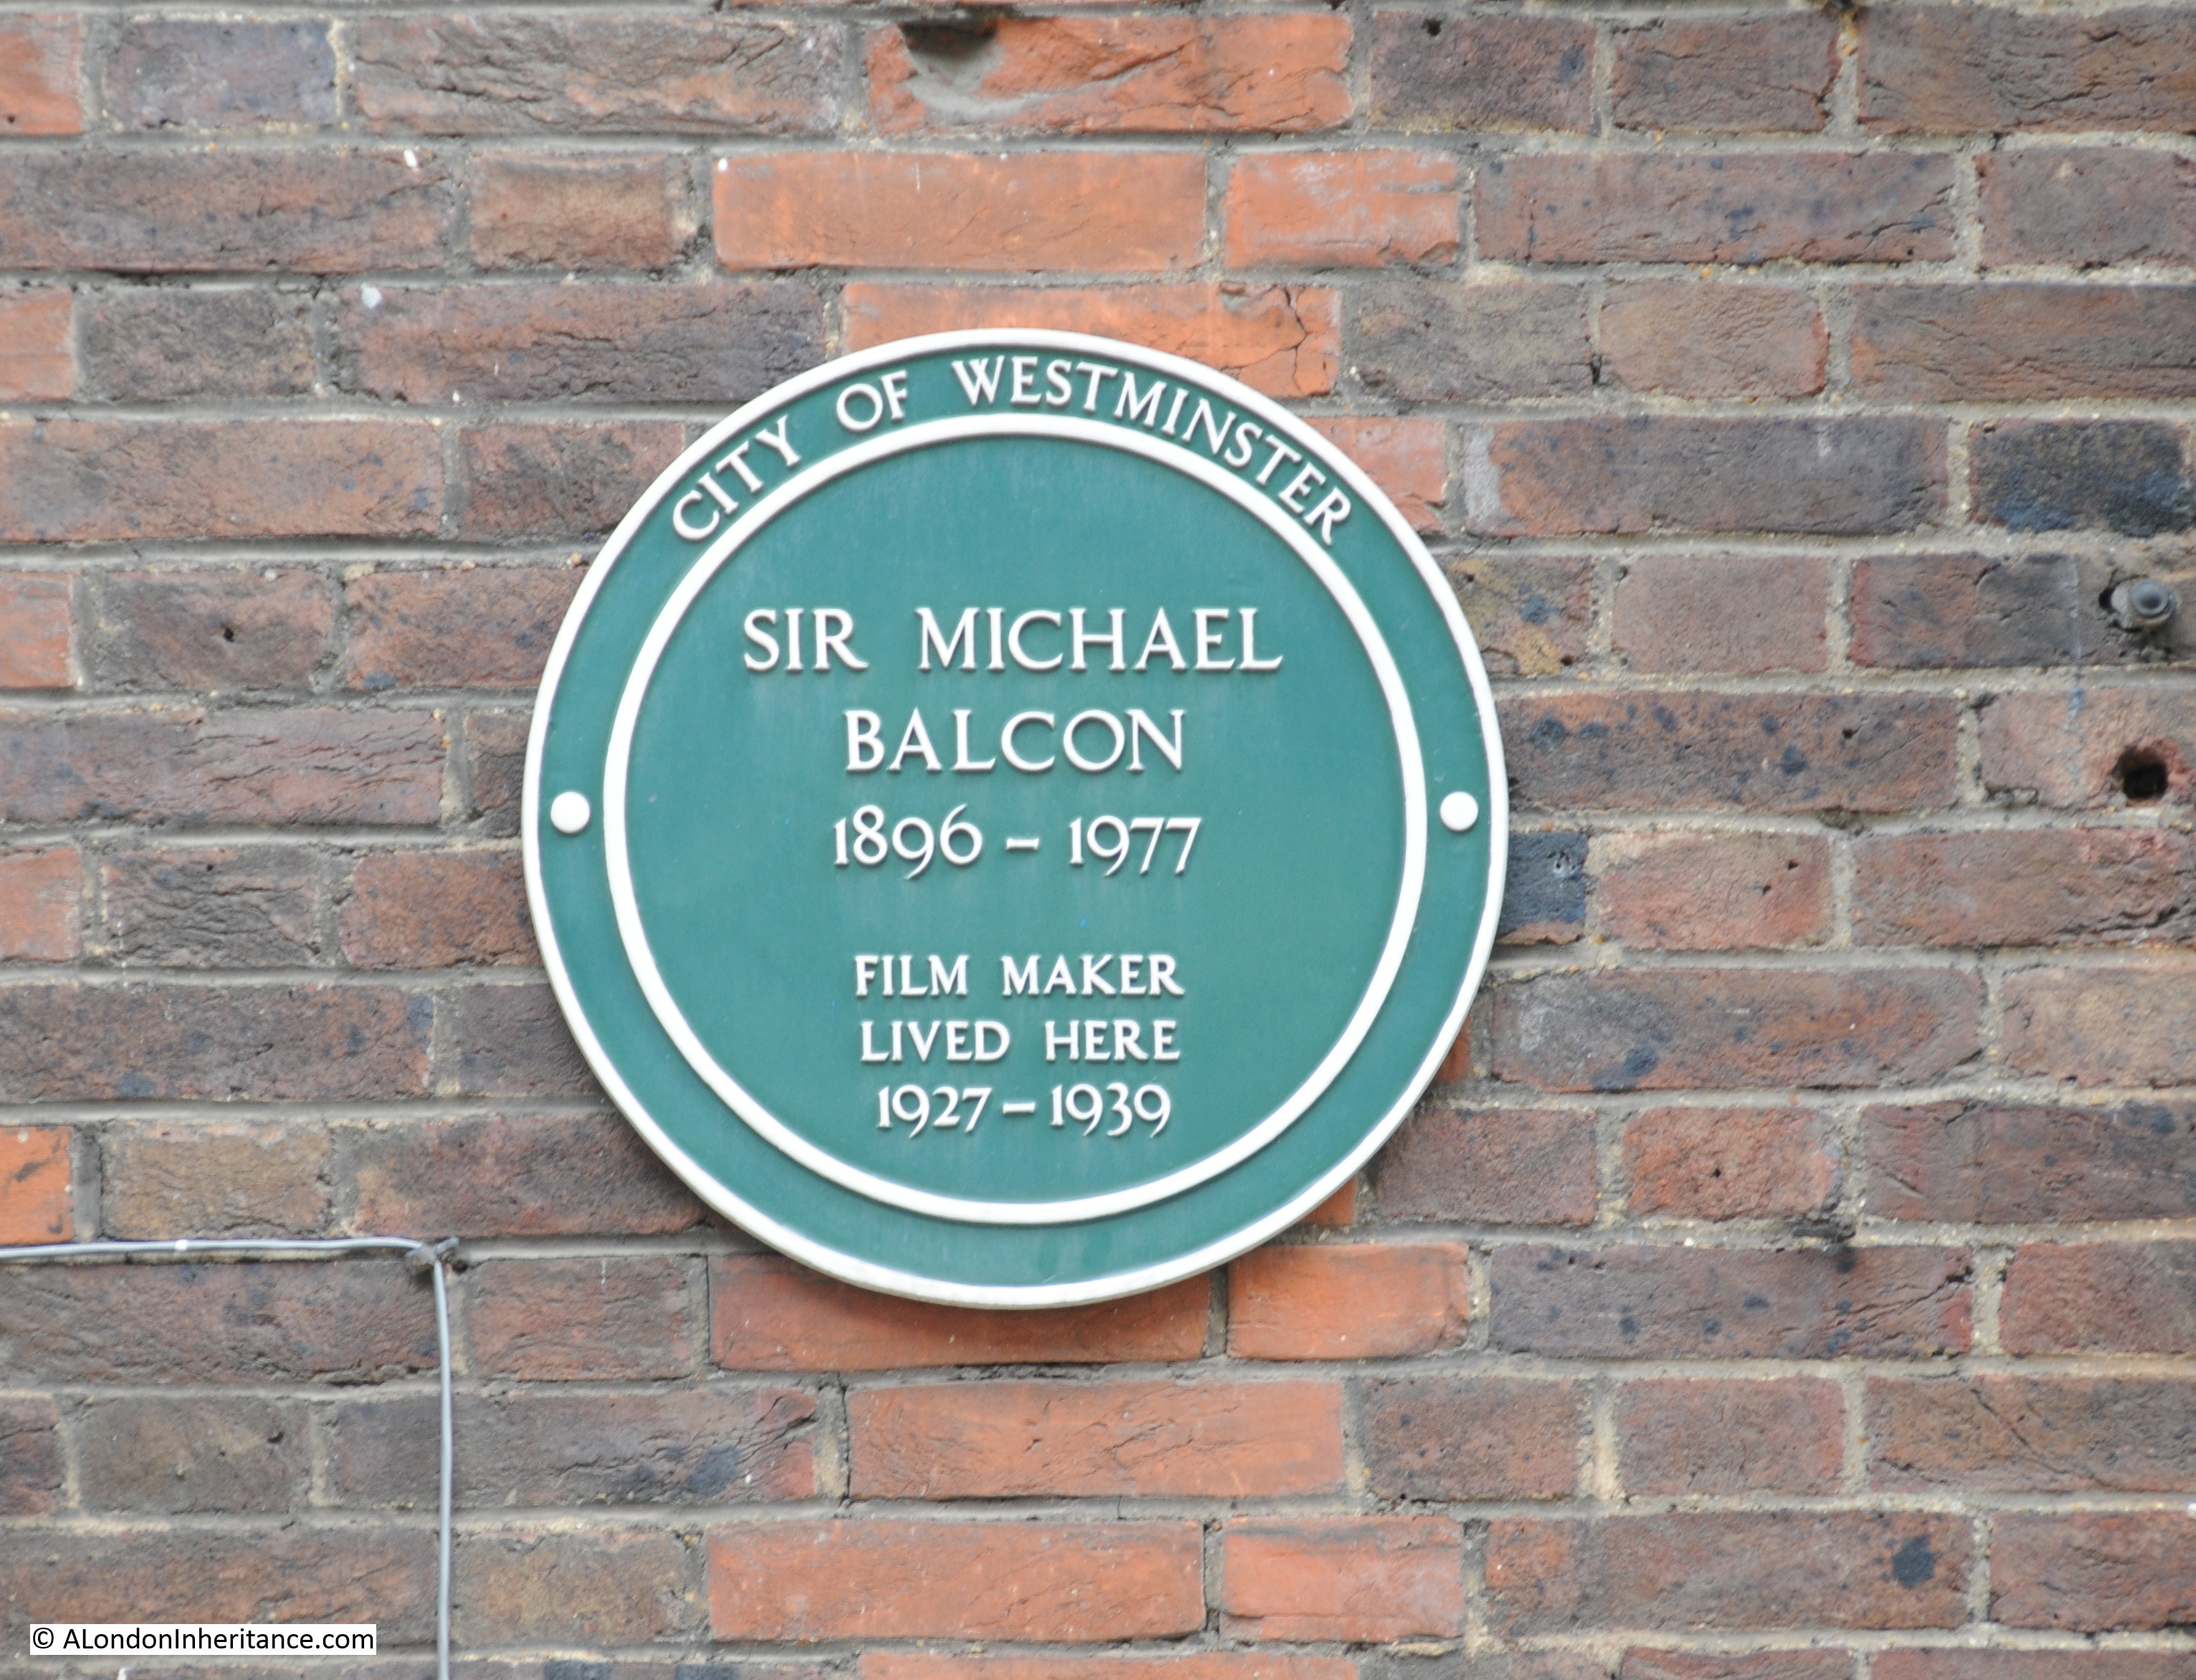
And another plaque on Tufton Street to Sir Michael Balcon who was a prolific British film producer. Just a few of the films he produced include The 39 Steps (produced when he was living here in Tufton Street), Passport to Pimlico and The Lavender Hill Mob.

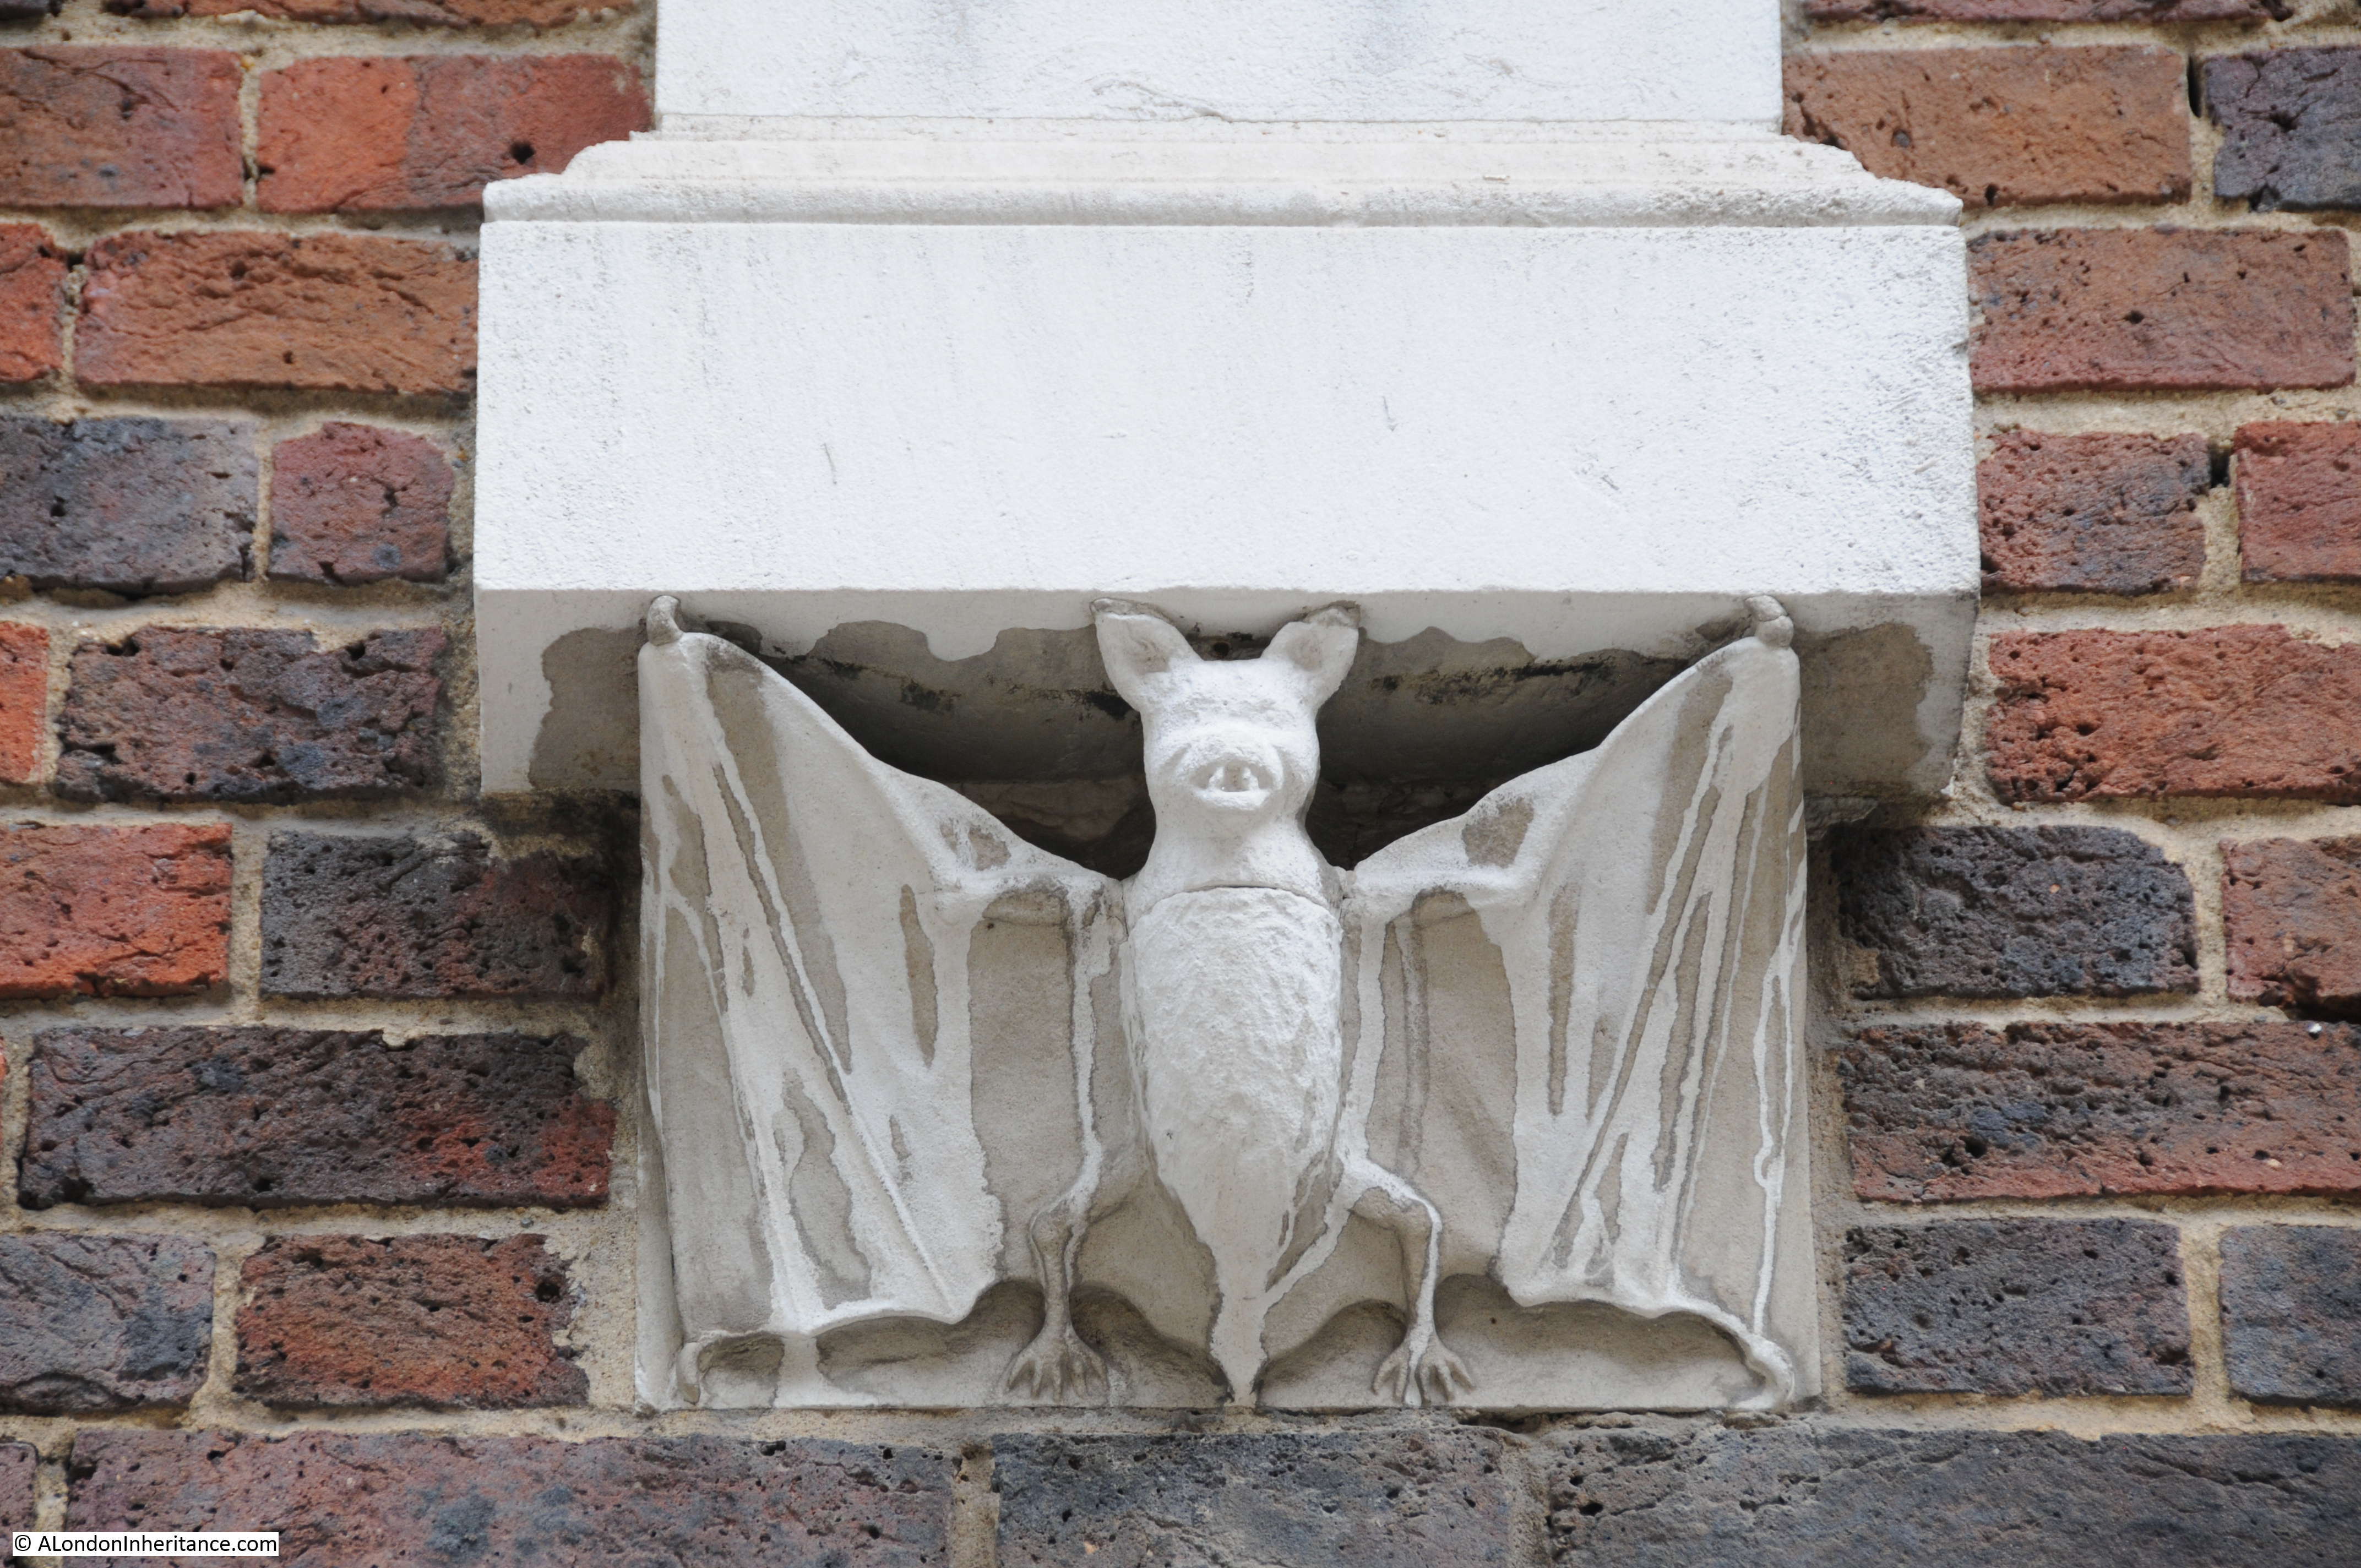
The architecture of Sir Michael Balcon’s house in Tufton Street is fascinating:
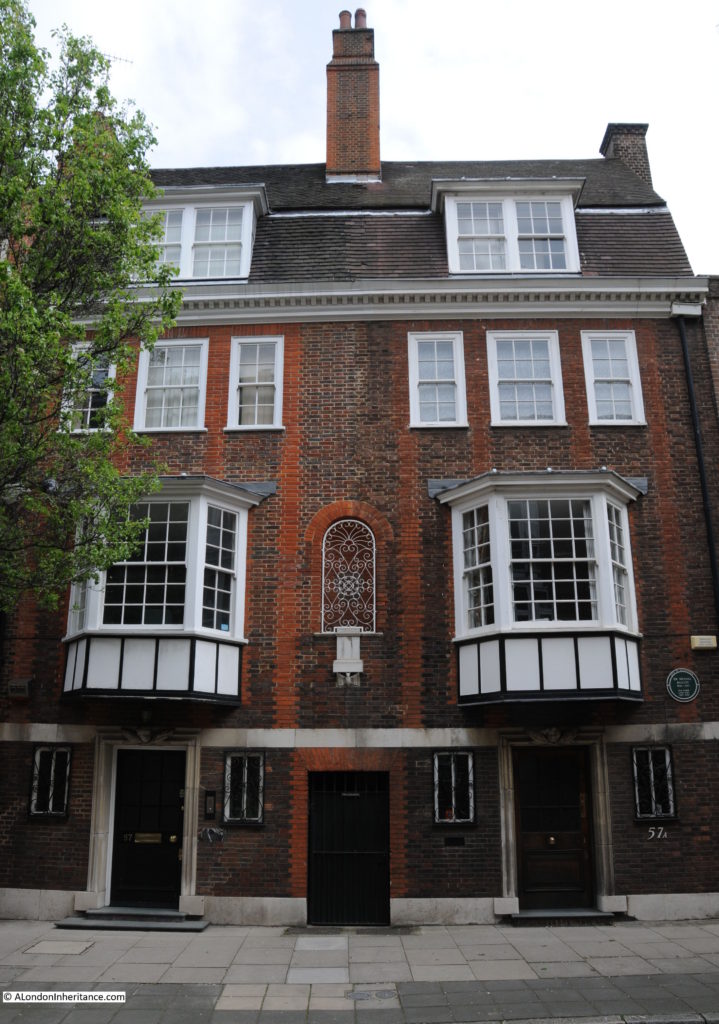
The Tradesmen Entrance in the centre flanked by two entrance doors to two separate parts of the overall building.
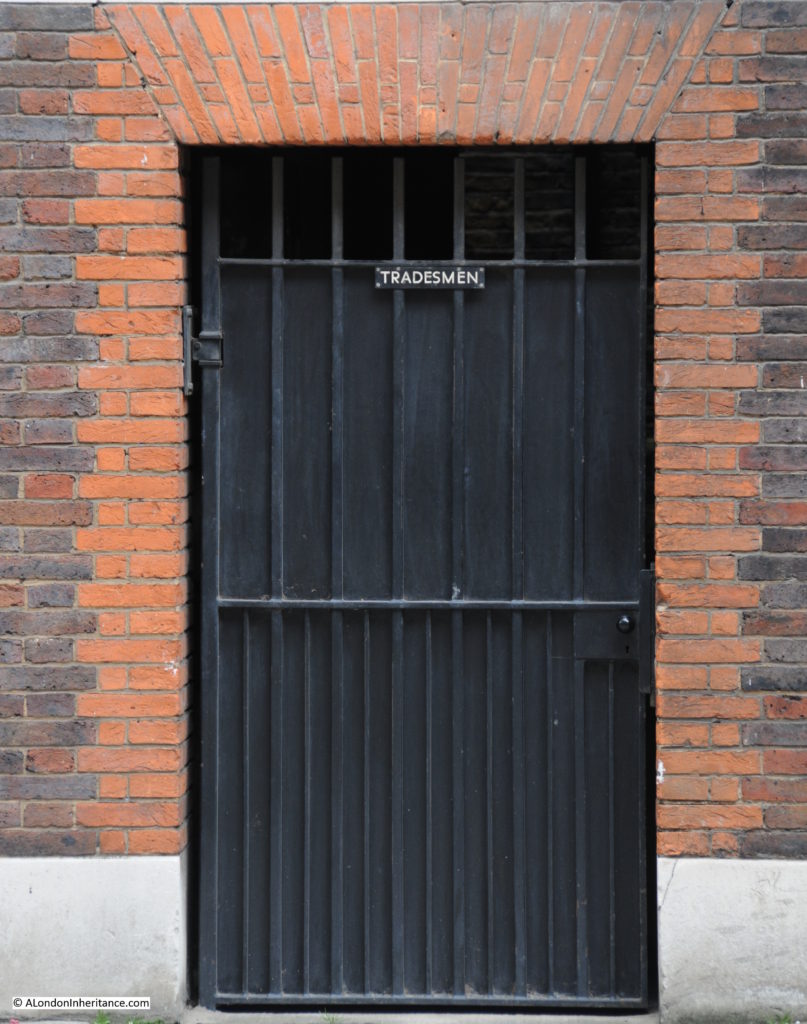
Above the Tradesmen Entrance is a niche covered by an ornate metal grille which looks like it should have a statue within. At the bottom of the niche is this rather beautifully carved bat. I have never seen one of these before and to find one in the centre of Westminster was an interesting find.

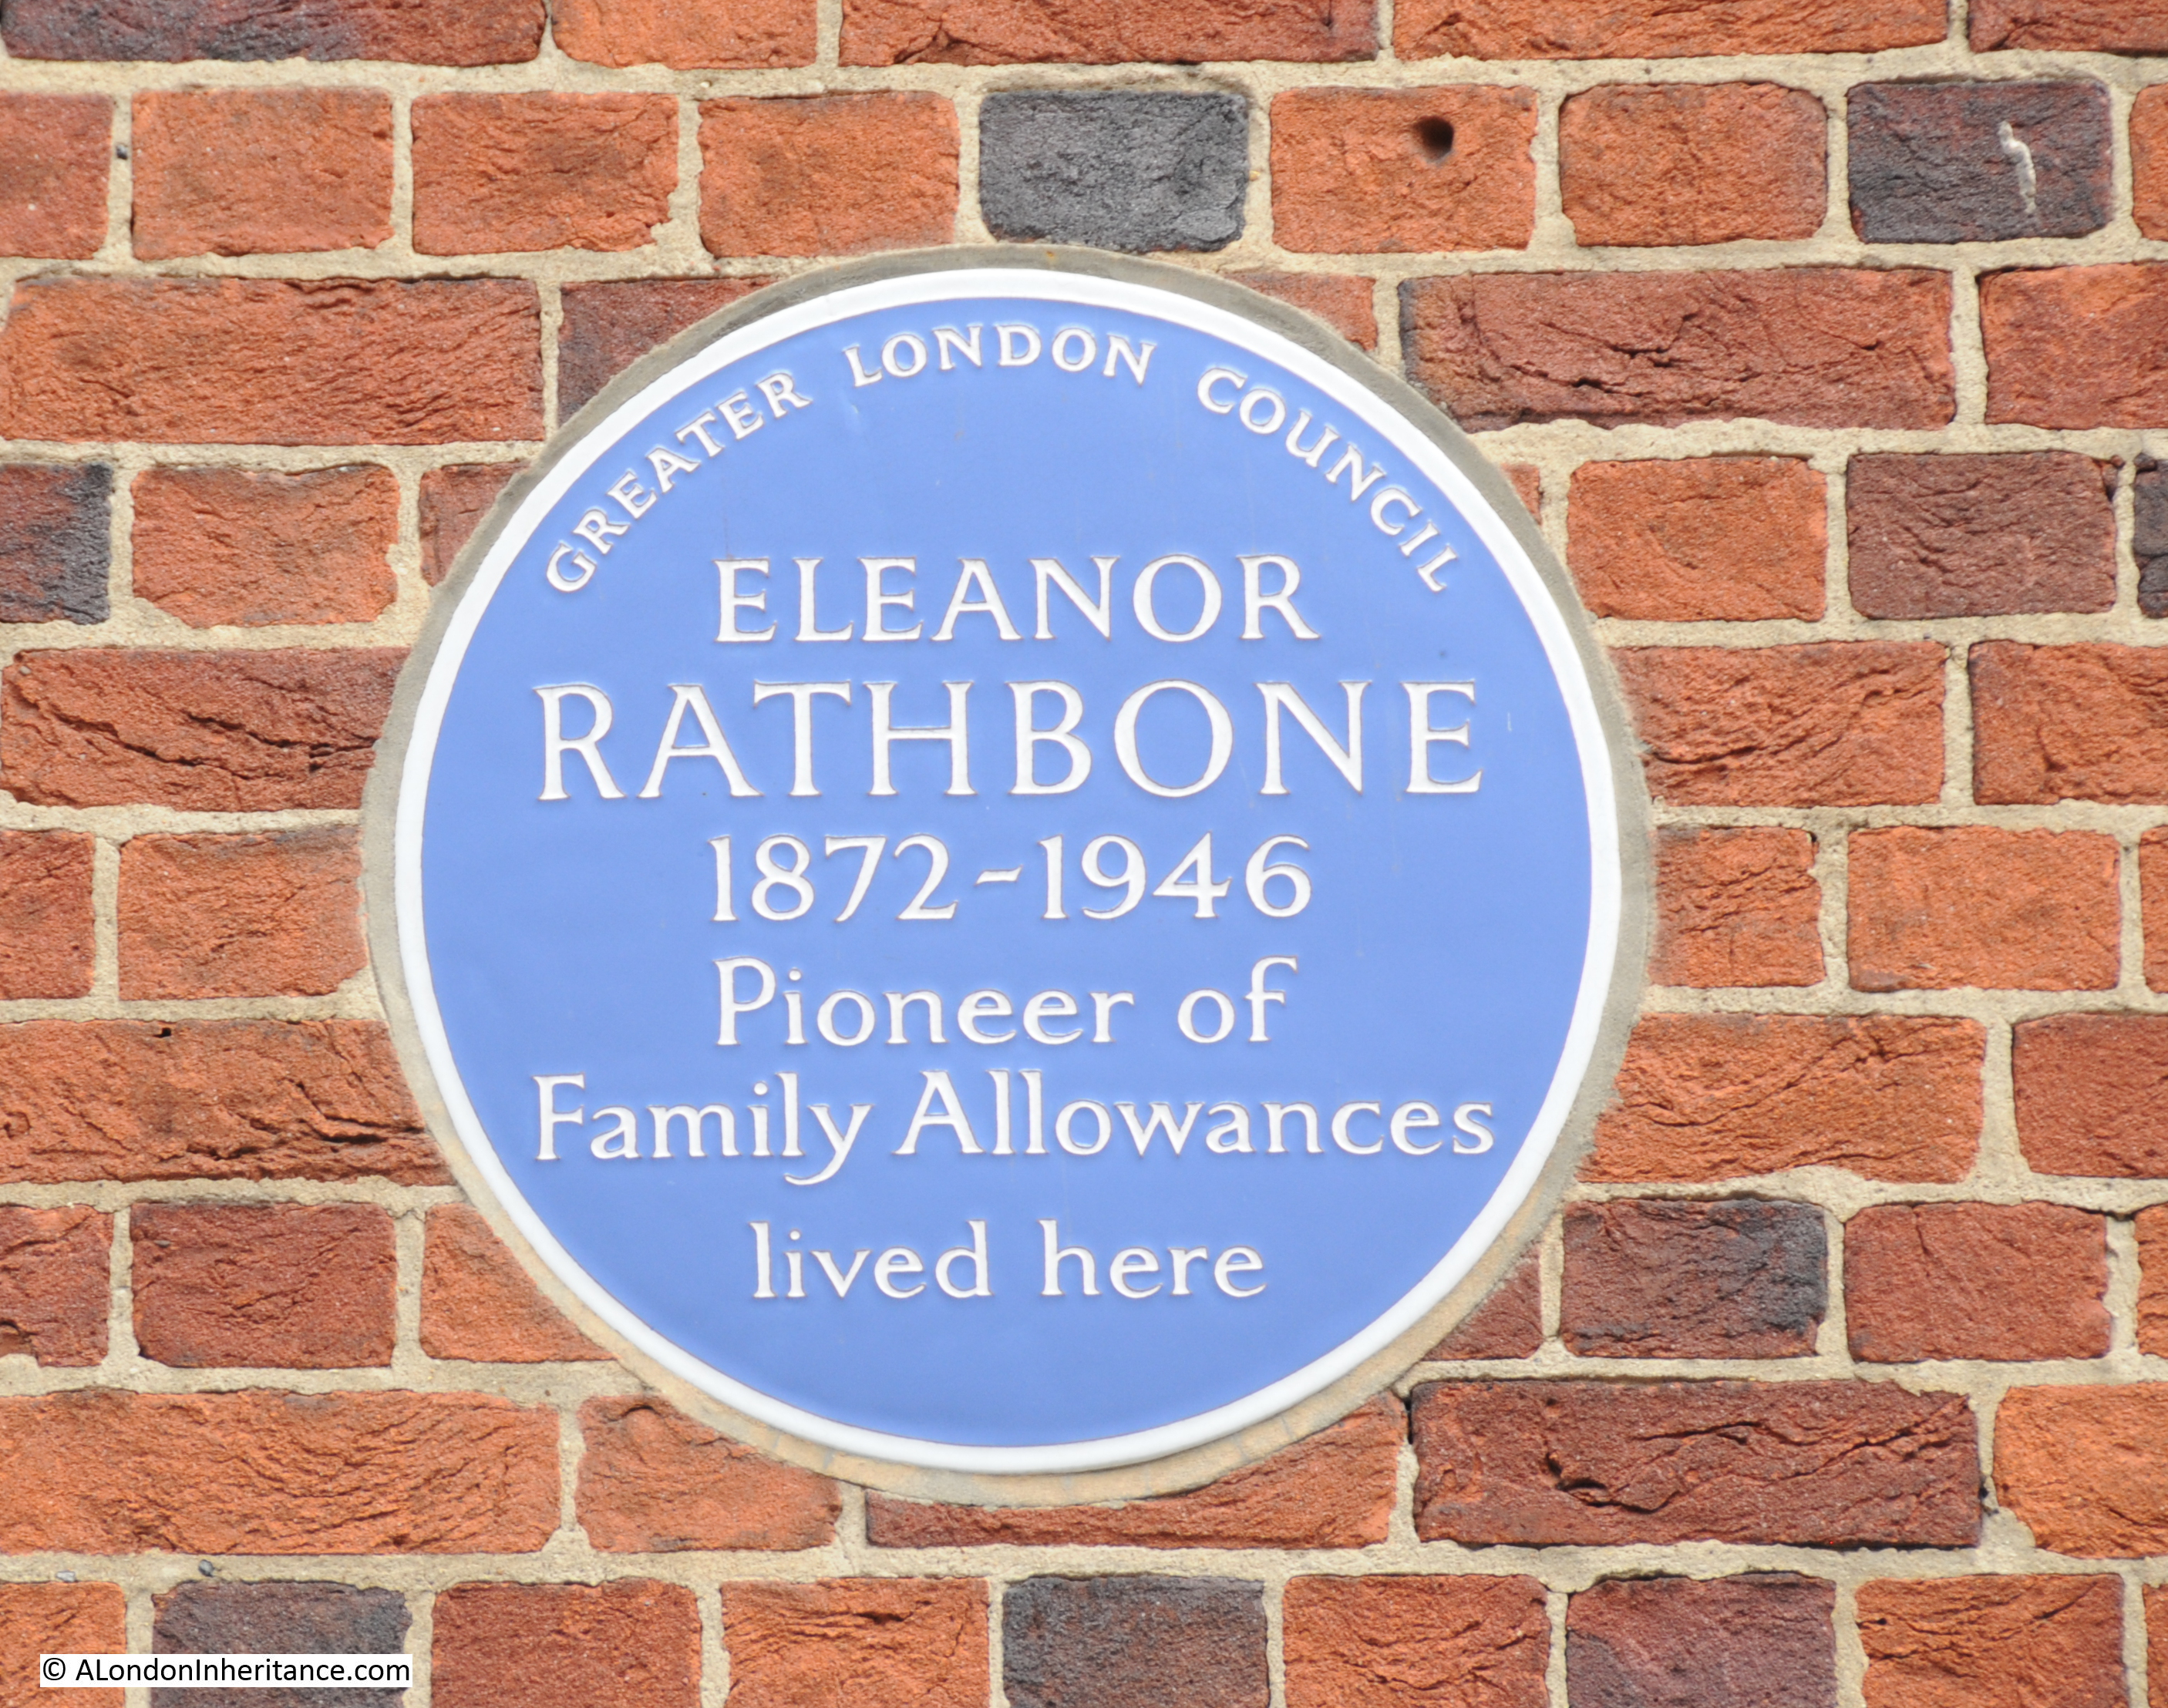
I have always found plaques such as the blue and green ones found around Smith Square both frustrating and tantalising. They provide a very brief glimpse of a single aspect of a life. Take the following plaque to Eleanor Rathbone in Tufton Street:

Eleanor Rathbone was the daughter of the philanthropist and politician William Rathbone and a member of a wealthy and nonconformist shipping family.
Her first public roles were as a reformer and feminist in Liverpool, and she was the first woman to be elected to Liverpool City Council. Rathbone was a constant campaigner for family allowances, having published The Case for Family Allowance in 1940 and just lived to see the start of their introduction in 1945, however there were many other aspects to her life.
She was an MP for the Combined English Universities. This was one of the constituencies that did not represent a physical location, but for this position the representation was for the graduates of English Universities other than Oxford, Cambridge and London which had their own MPs.
She was a campaigner for Women’s Suffrage and the impact of war on the dependents of soldiers. She also recognised the danger that Hitler and the rise of the Nazi Party presented, early in the 1930s. In her role as an MP she was an outspoken critic of appeasement with Germany and supported Winston Churchill when he was also warning about the rise of Nazi Germany.
Rathbone denounced the Munich Agreement in 1938 much to Neville Chamberlains displeasure and pressured the Government to take dissident Germans and Austrians along with Jews fleeing from the rise of the Nazis. She also set-up the Parliamentary Committee on Refugees and during the war campaigned for the Government to publish the growing evidence of the holocaust.
Up to 1940, Rathbone lived in Romney Street (just further back along Tufton Street), however this house was badly bombed in 1940 and the building in Tufton Street with the plaque is where she moved to after bombing damaged her Romney Street house.
A remarkable woman. Rathbone moved to Highgate in April 1945 but died suddenly in January 1946.
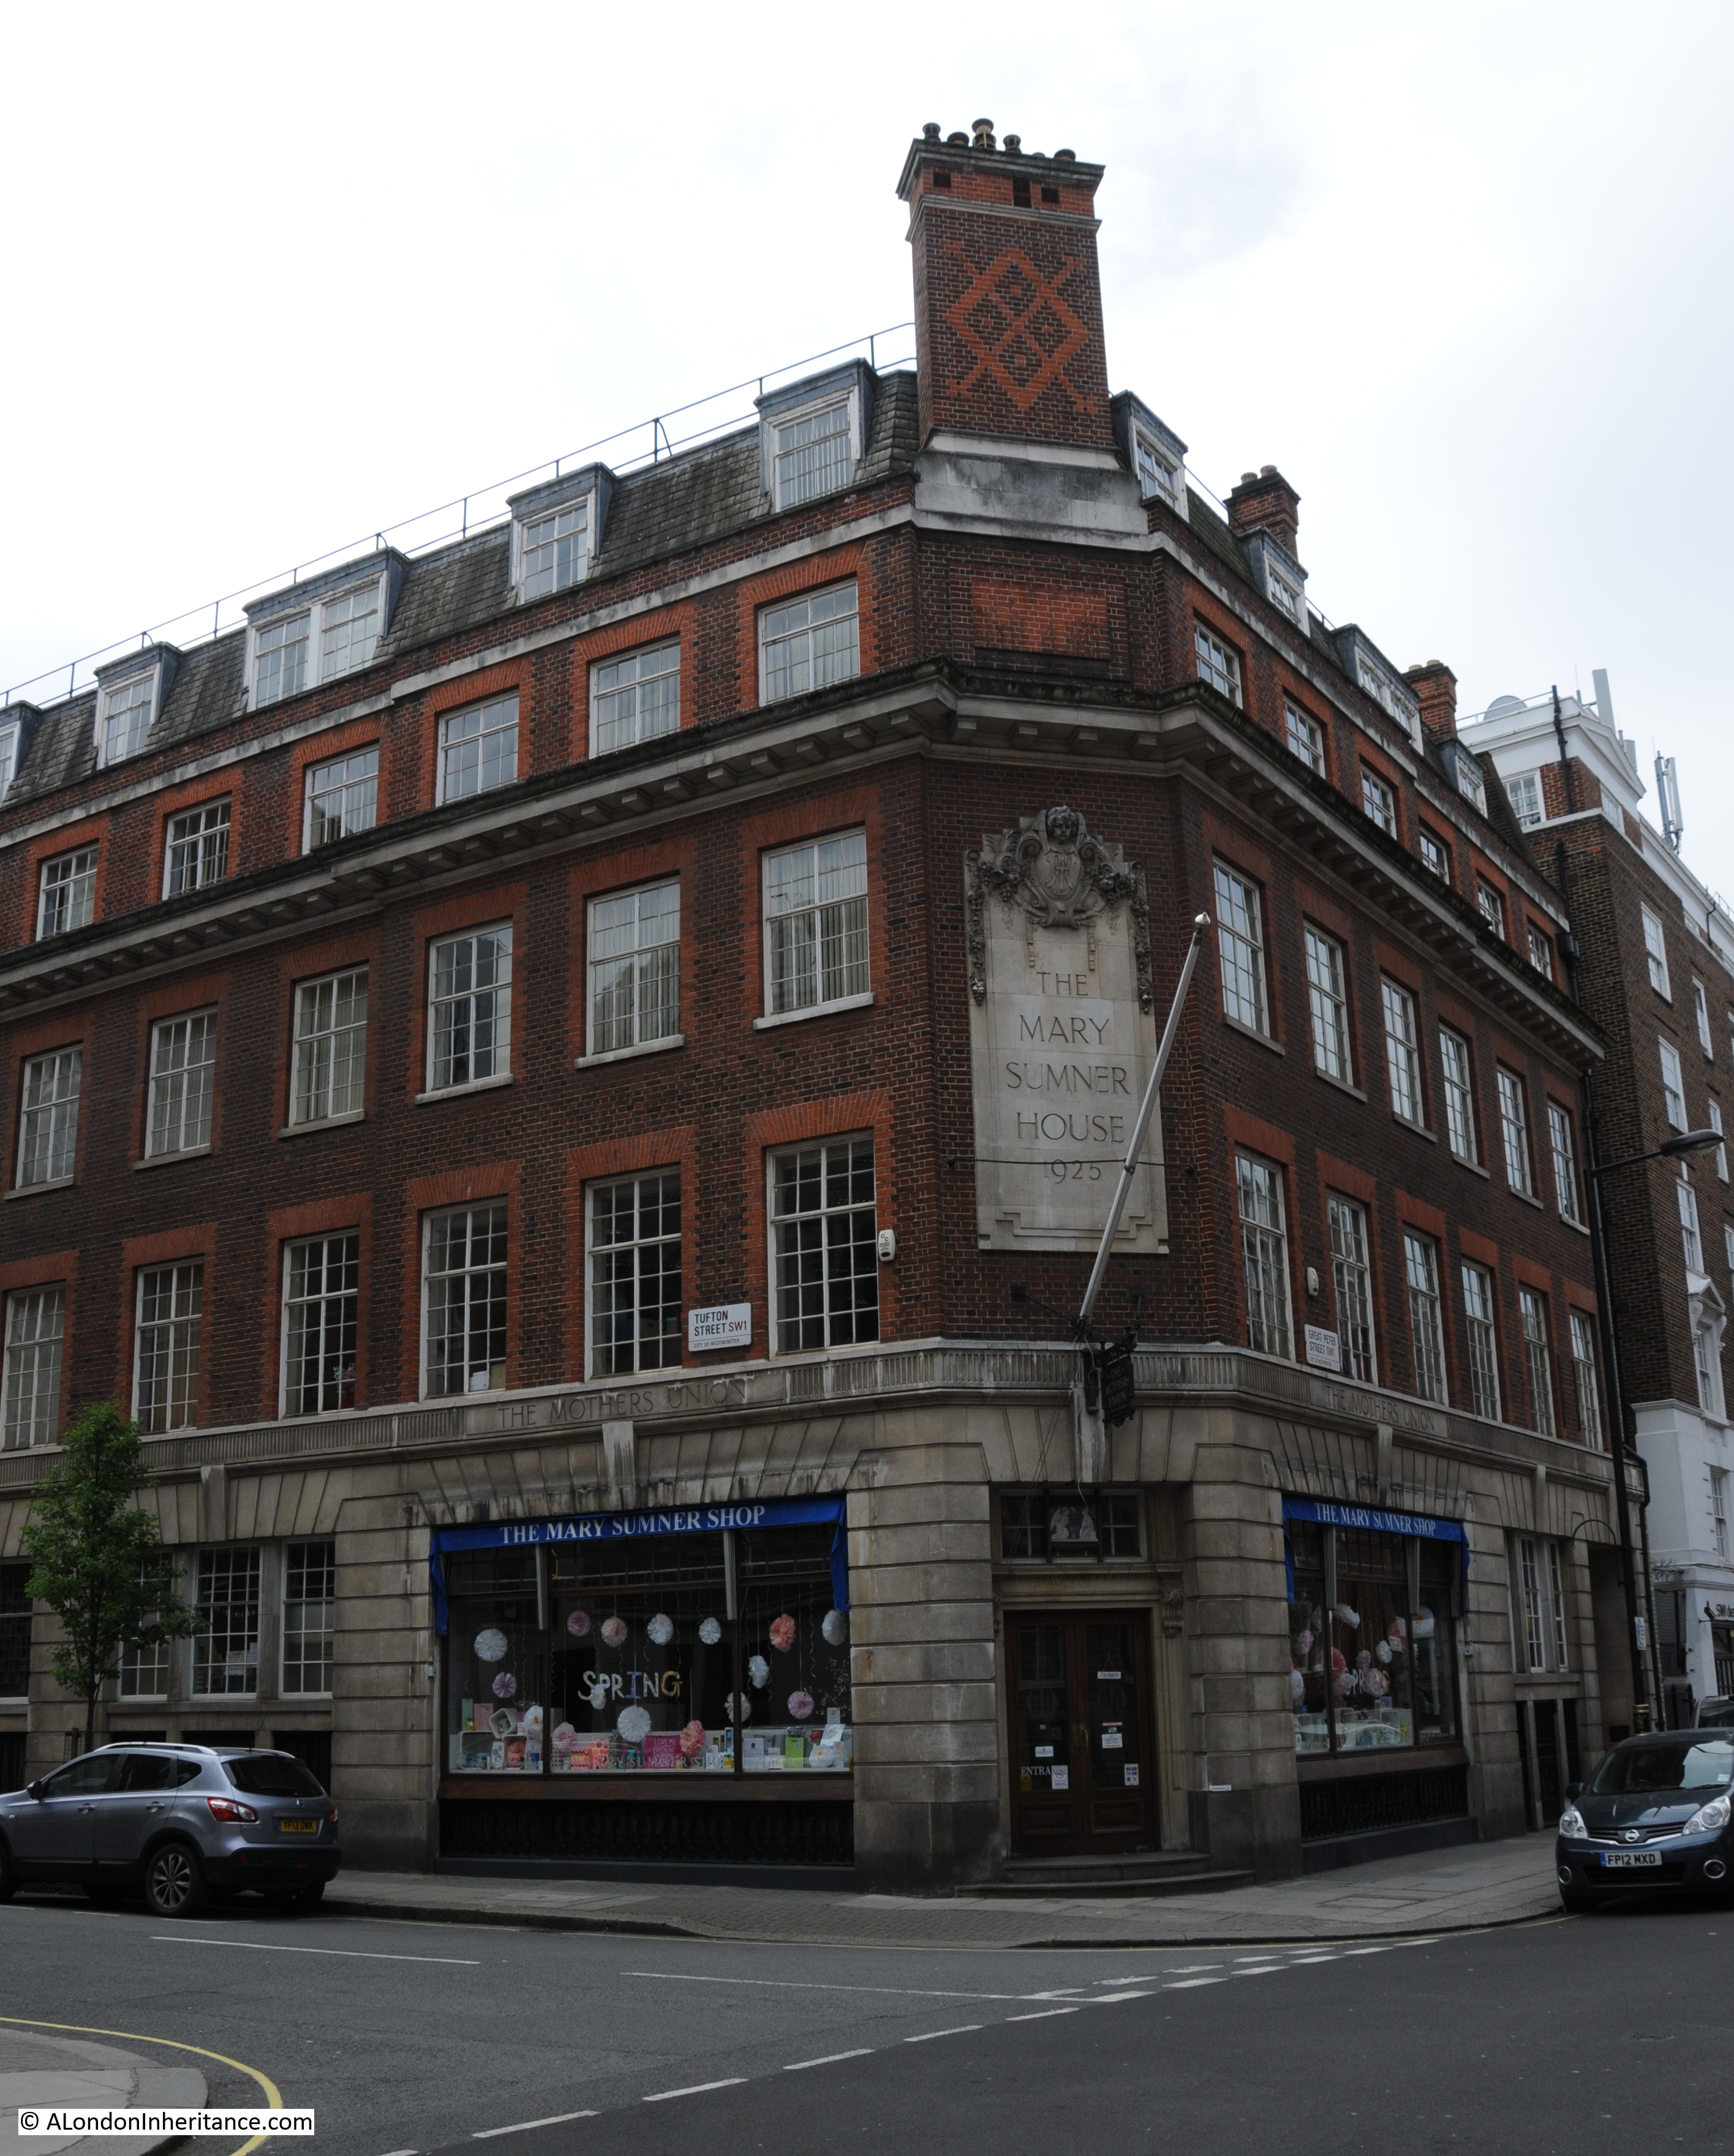
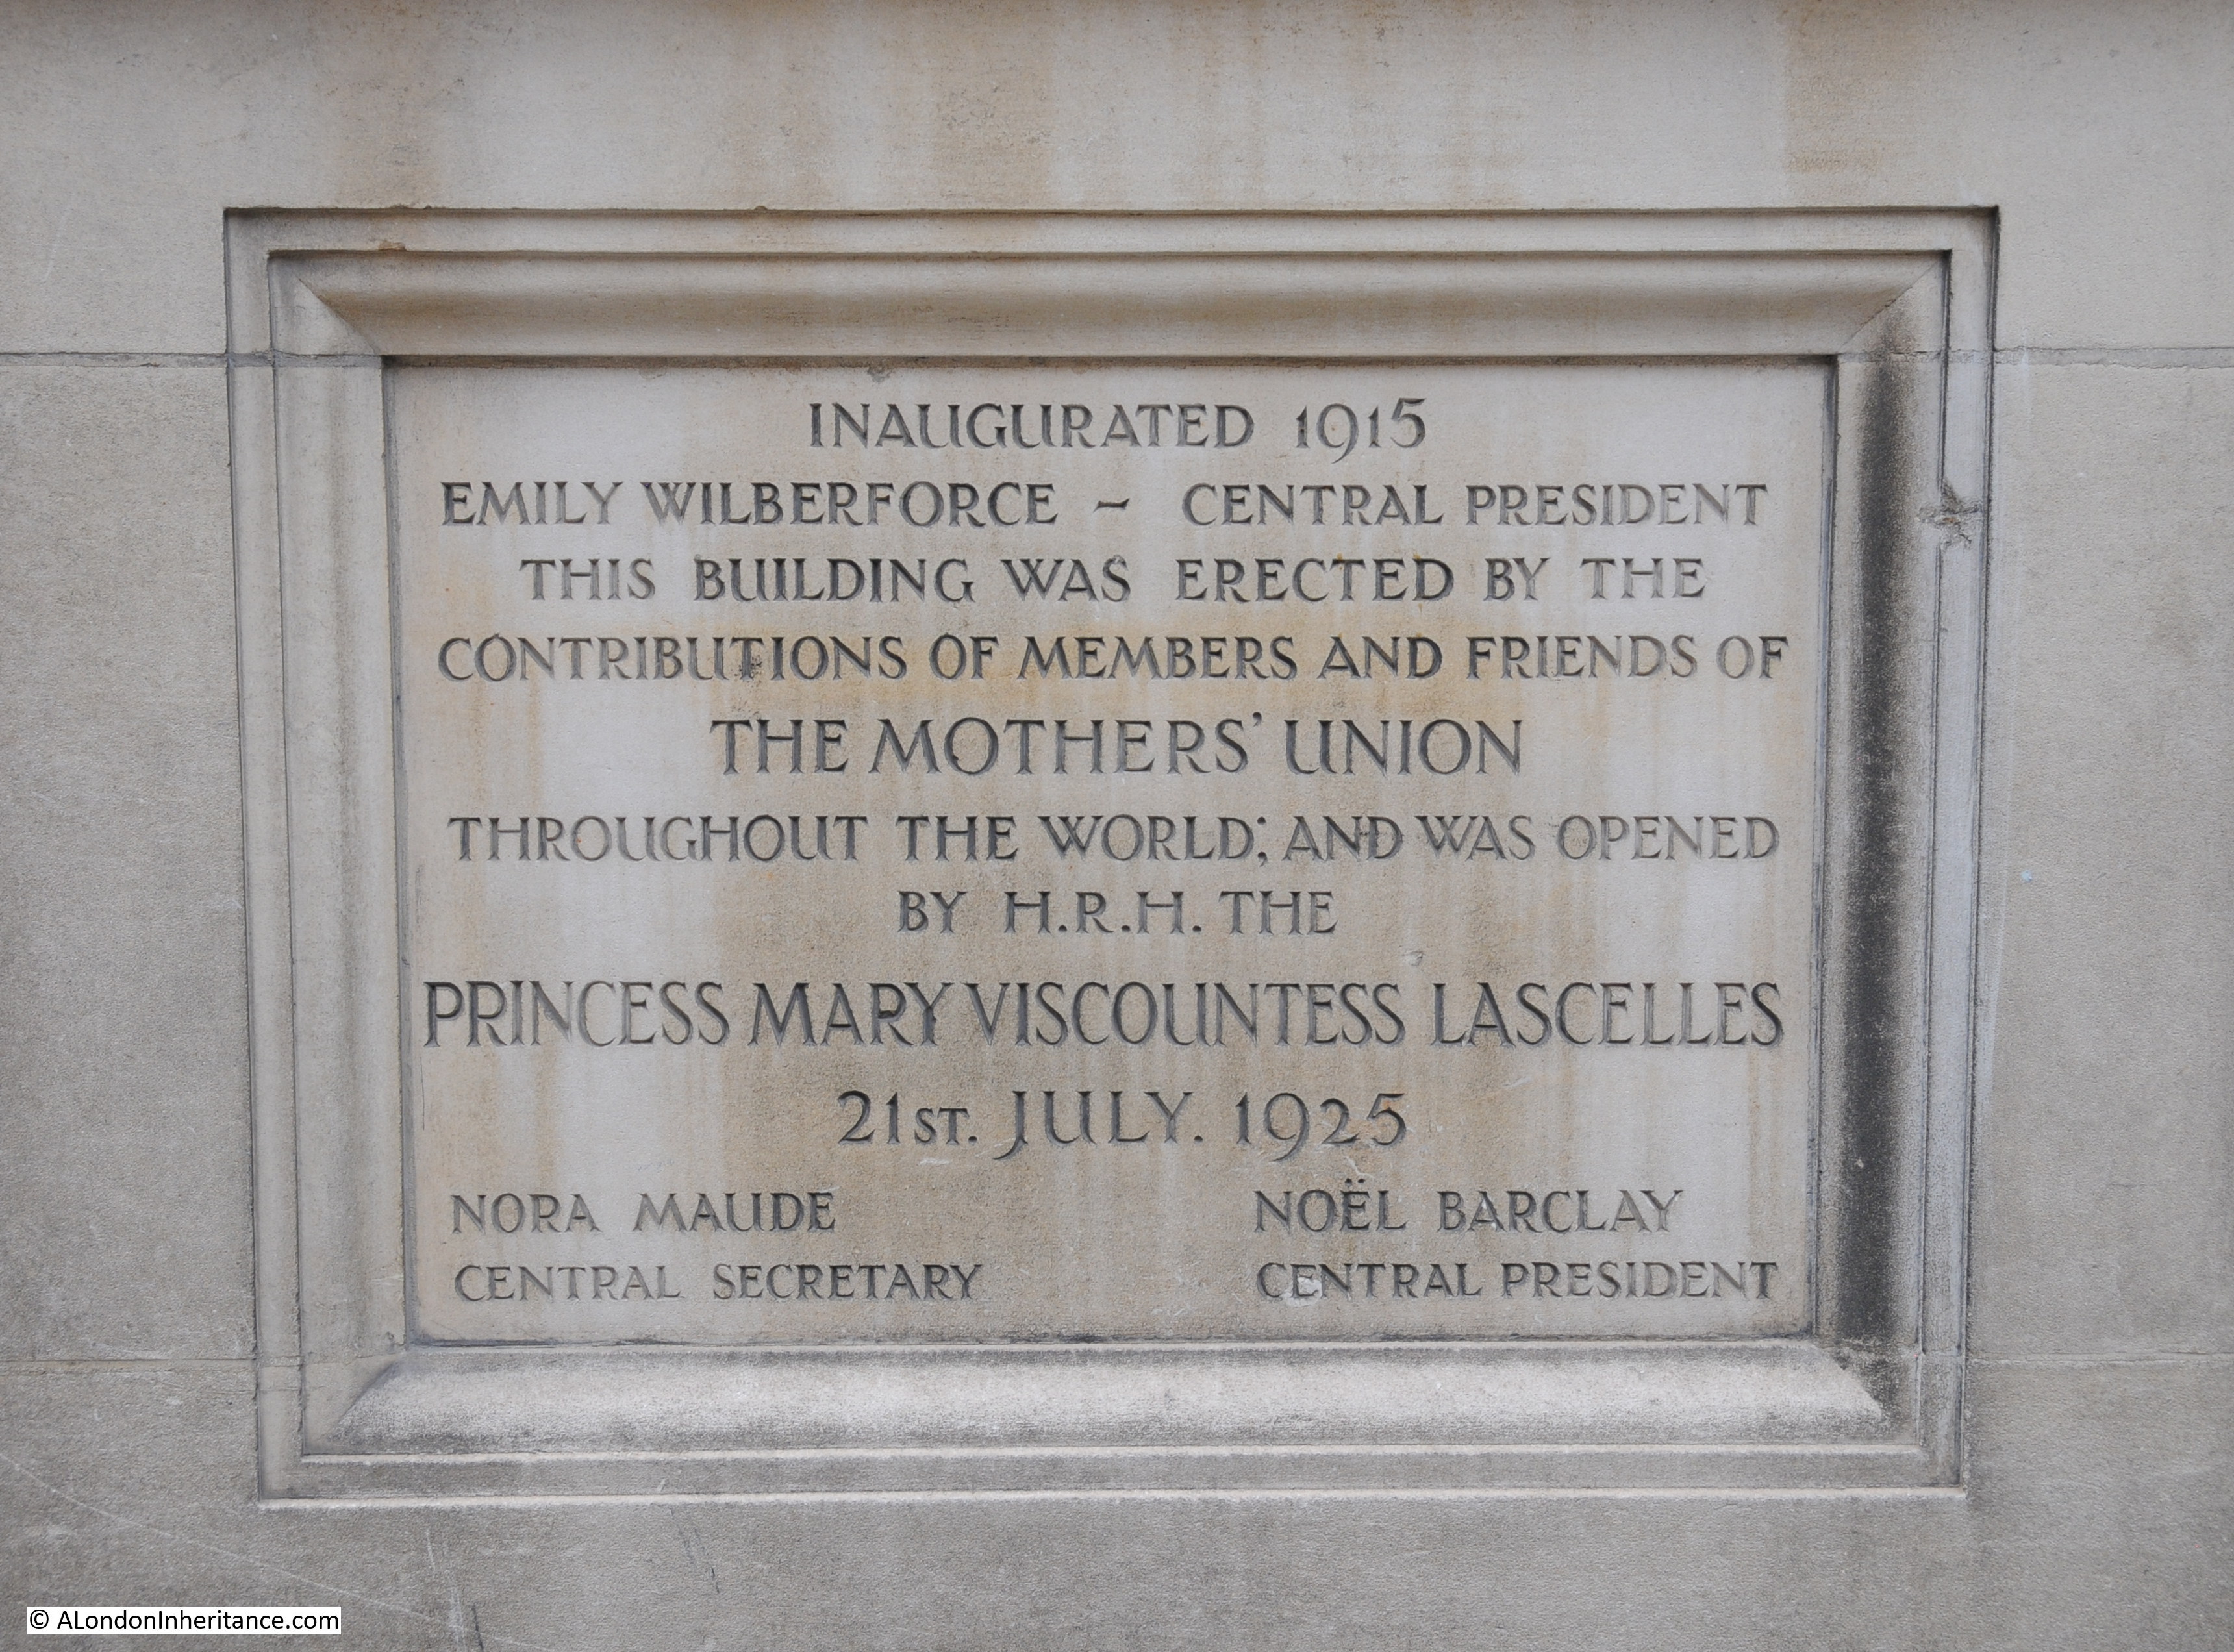
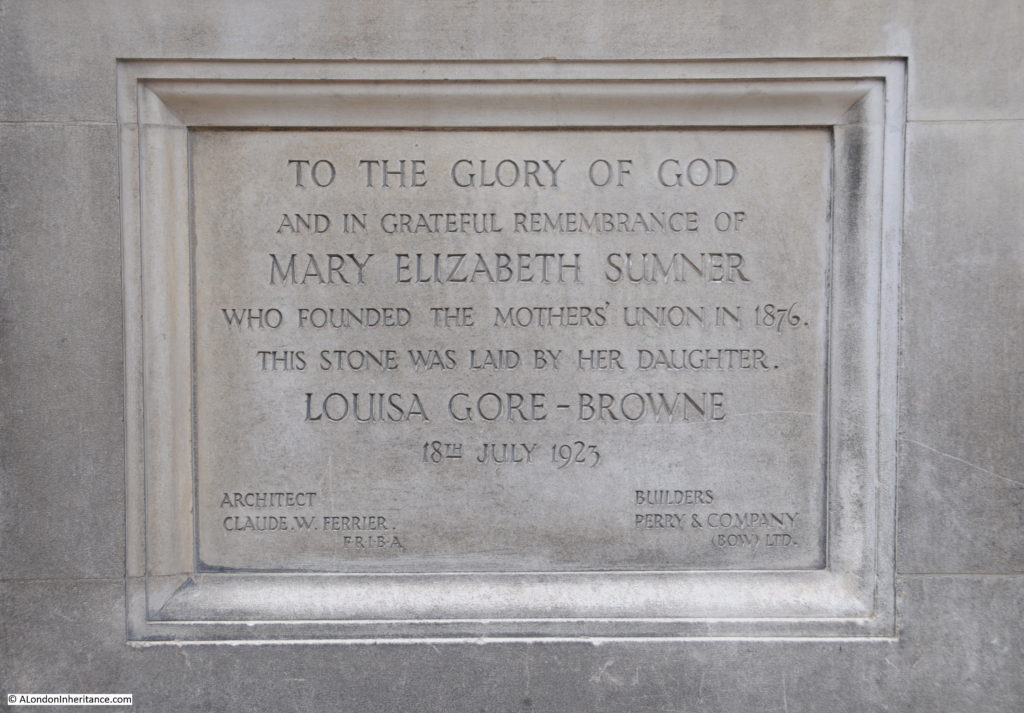
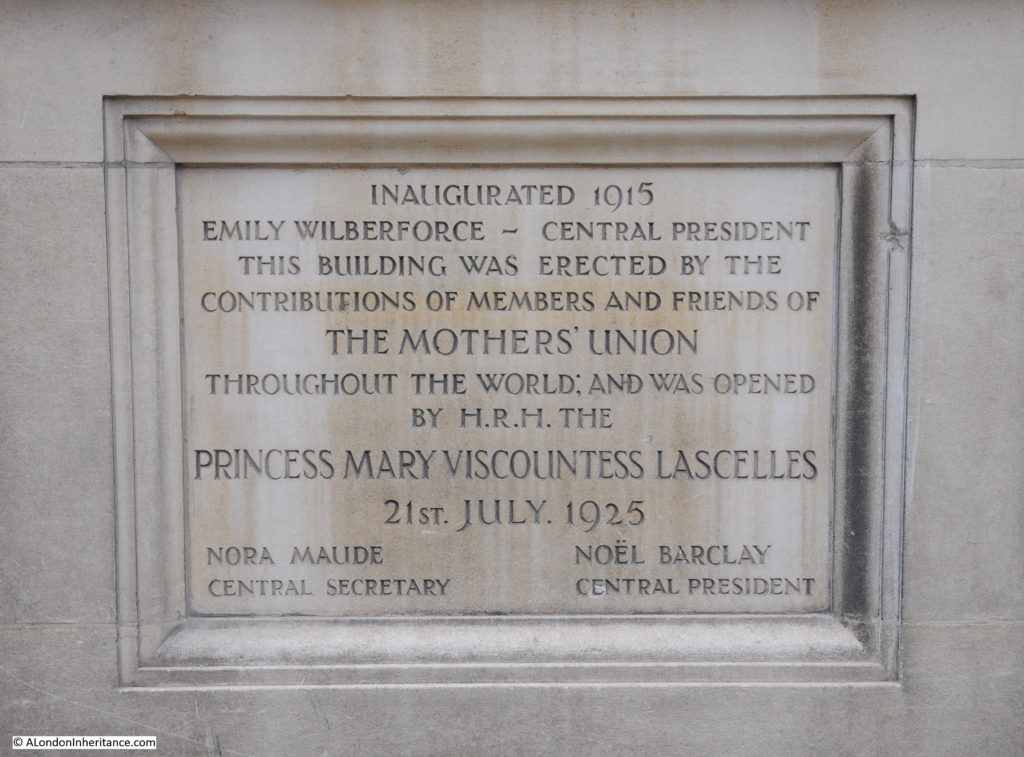
At the end of Tufton Street at the junction with Great Peter Street is Mary Sumner House.

Mary Sumner was the founder of the Mothers Union, originally a group of mothers in the village of Old Alresford near Winchester formed by Mary in 1876. For the first nine years the group remained local but after a speech at the 1885 National Church Congress the concept of the Mothers Union grew rapidly across both the UK and the Commonwealth. By the end of the 19th century, the Mothers Union had 169,000 members.
Mary Sumner died in 1921 and is buried with her husband George (who held a number of posts in the church at Winchester) in the graveyard of Winchester Cathedral.
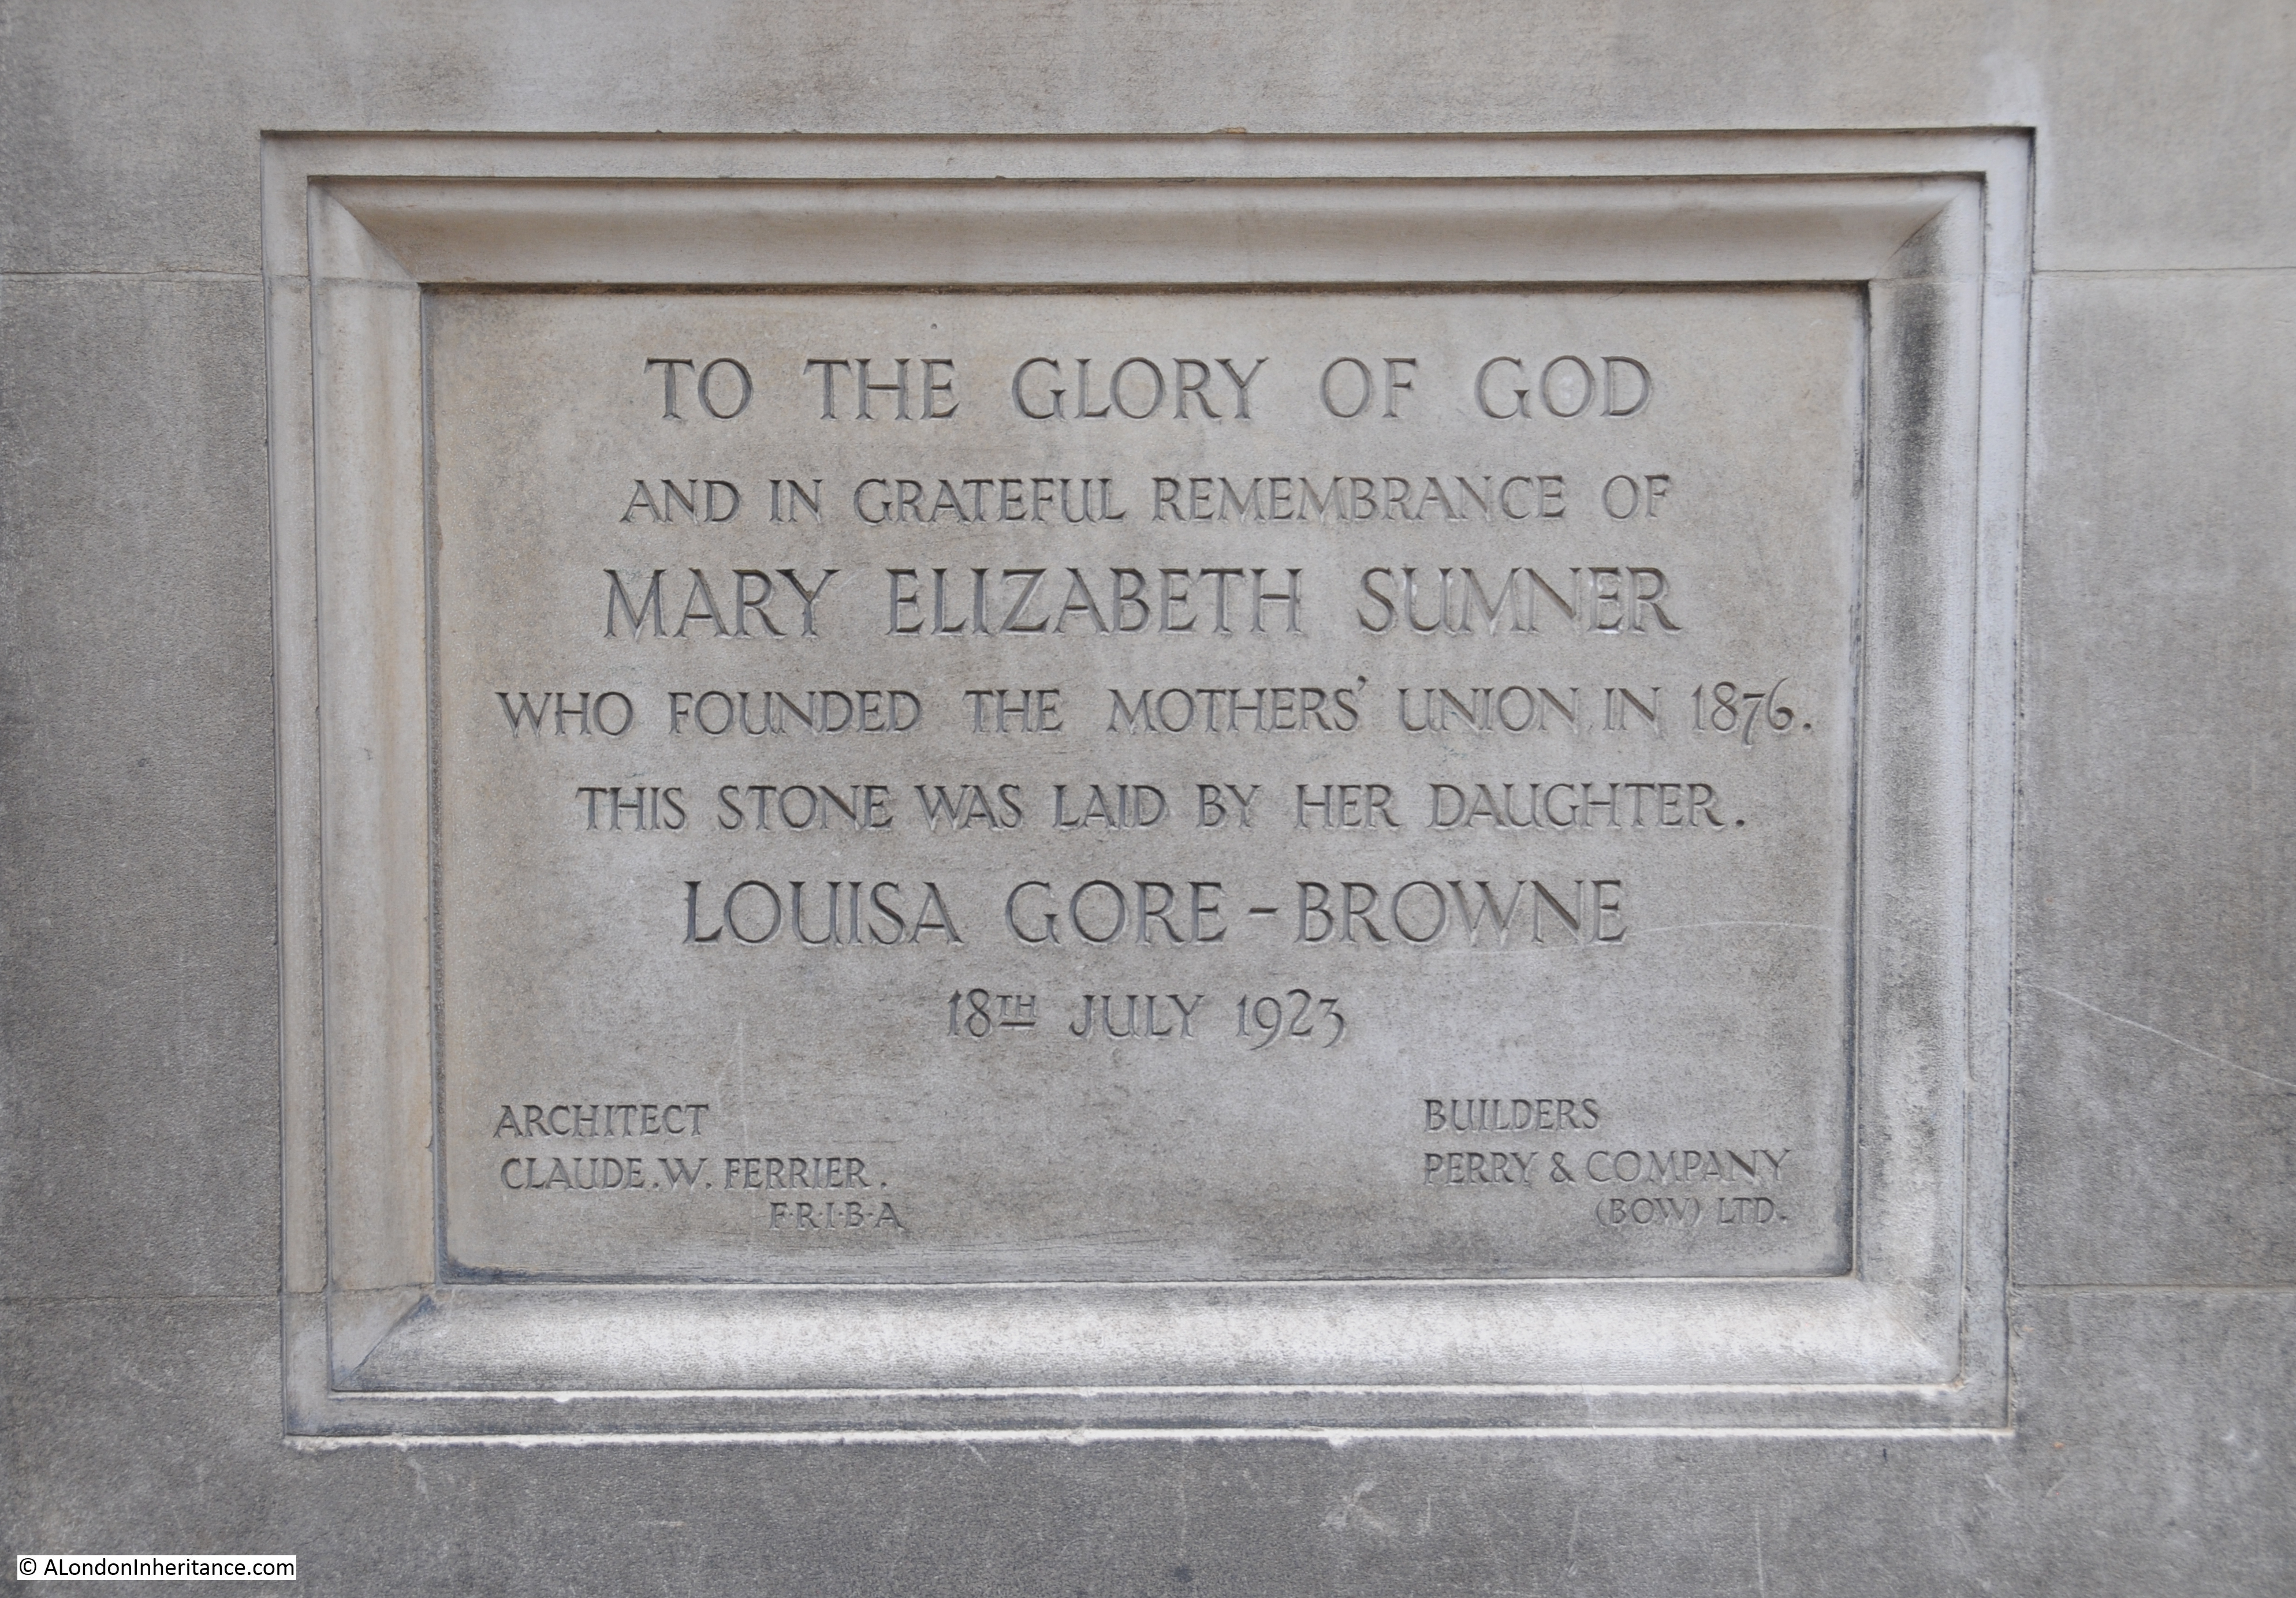
The foundation stone of Mary Sumner House, laid by her daughter in 1923.
A short distance down Great Peter Street we can turn into Gayfere Street and head back to Smith Square to complete this quick walk around Smith Square and the local streets.
Original two storey houses along Gayfere Street.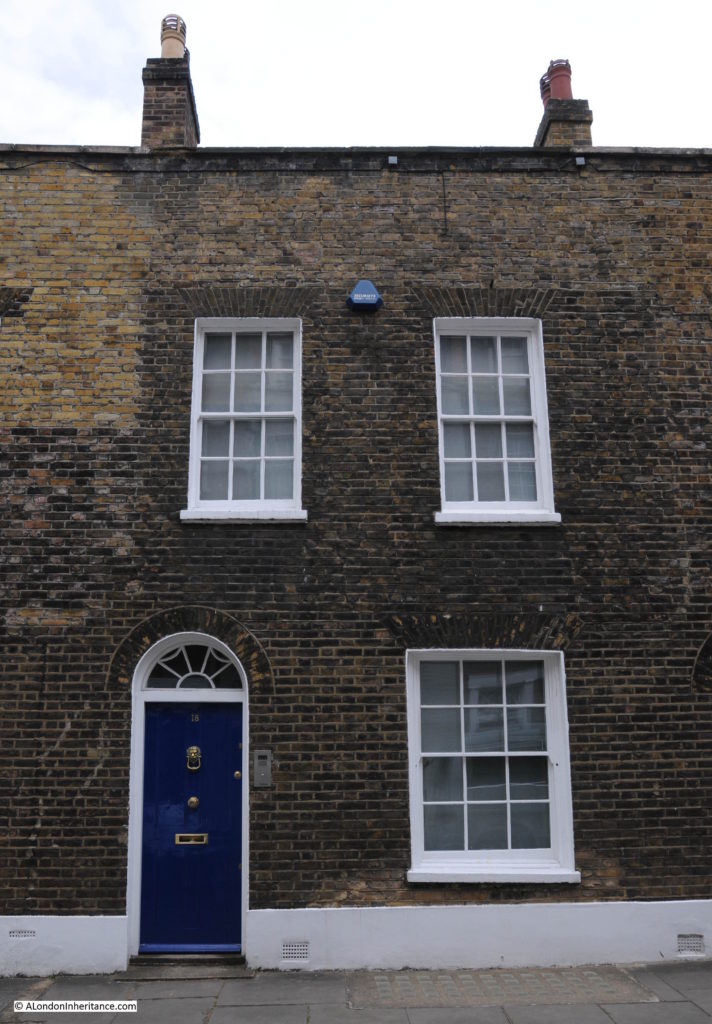
A short walk around Smith Square and a couple of the surrounding streets, but a fascinating history and architecture. There is mush else I can add, however I apologise for my usual problem of doing justice to a subject within the constraints of a weekly post.
I walked around the area on a Saturday afternoon and the streets were very quiet, they are not that much busier during a week day so avoid the crowds around Parliament Square and much of the rest of Westminster and explore the streets around Smith Square.
alondoninheritance.com