Coalhouse Fort on the River Thames at East Tilbury is a short distance further towards the Thames estuary from Tilbury Fort, the subject of my last post.
As with Tilbury Fort, the purpose of Coalhouse Fort was to protect London and the towns and industries along the river’s edge from any naval force that attempted to penetrate the river.
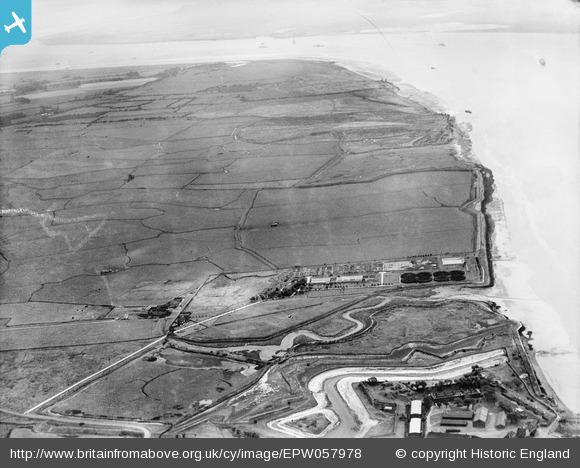
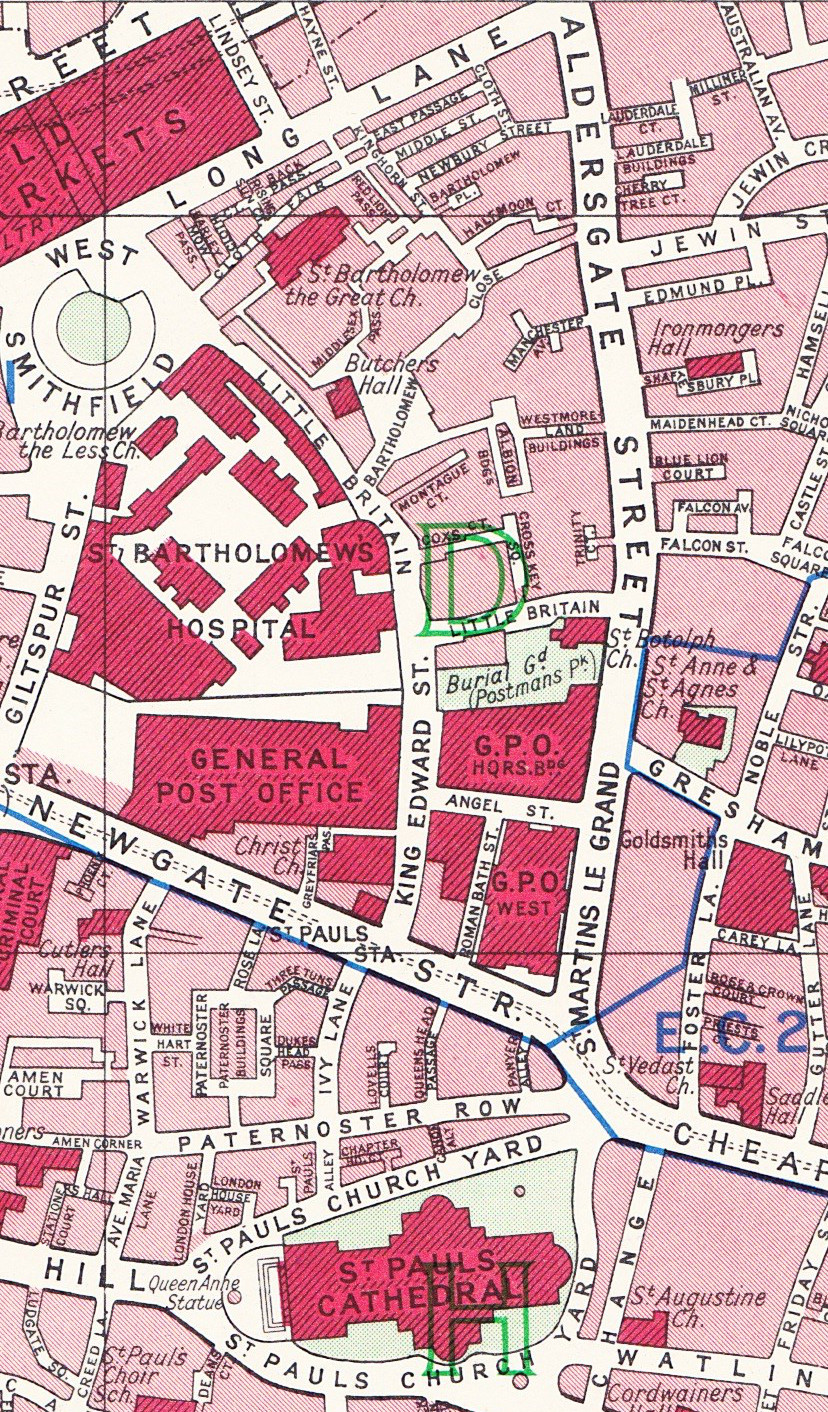
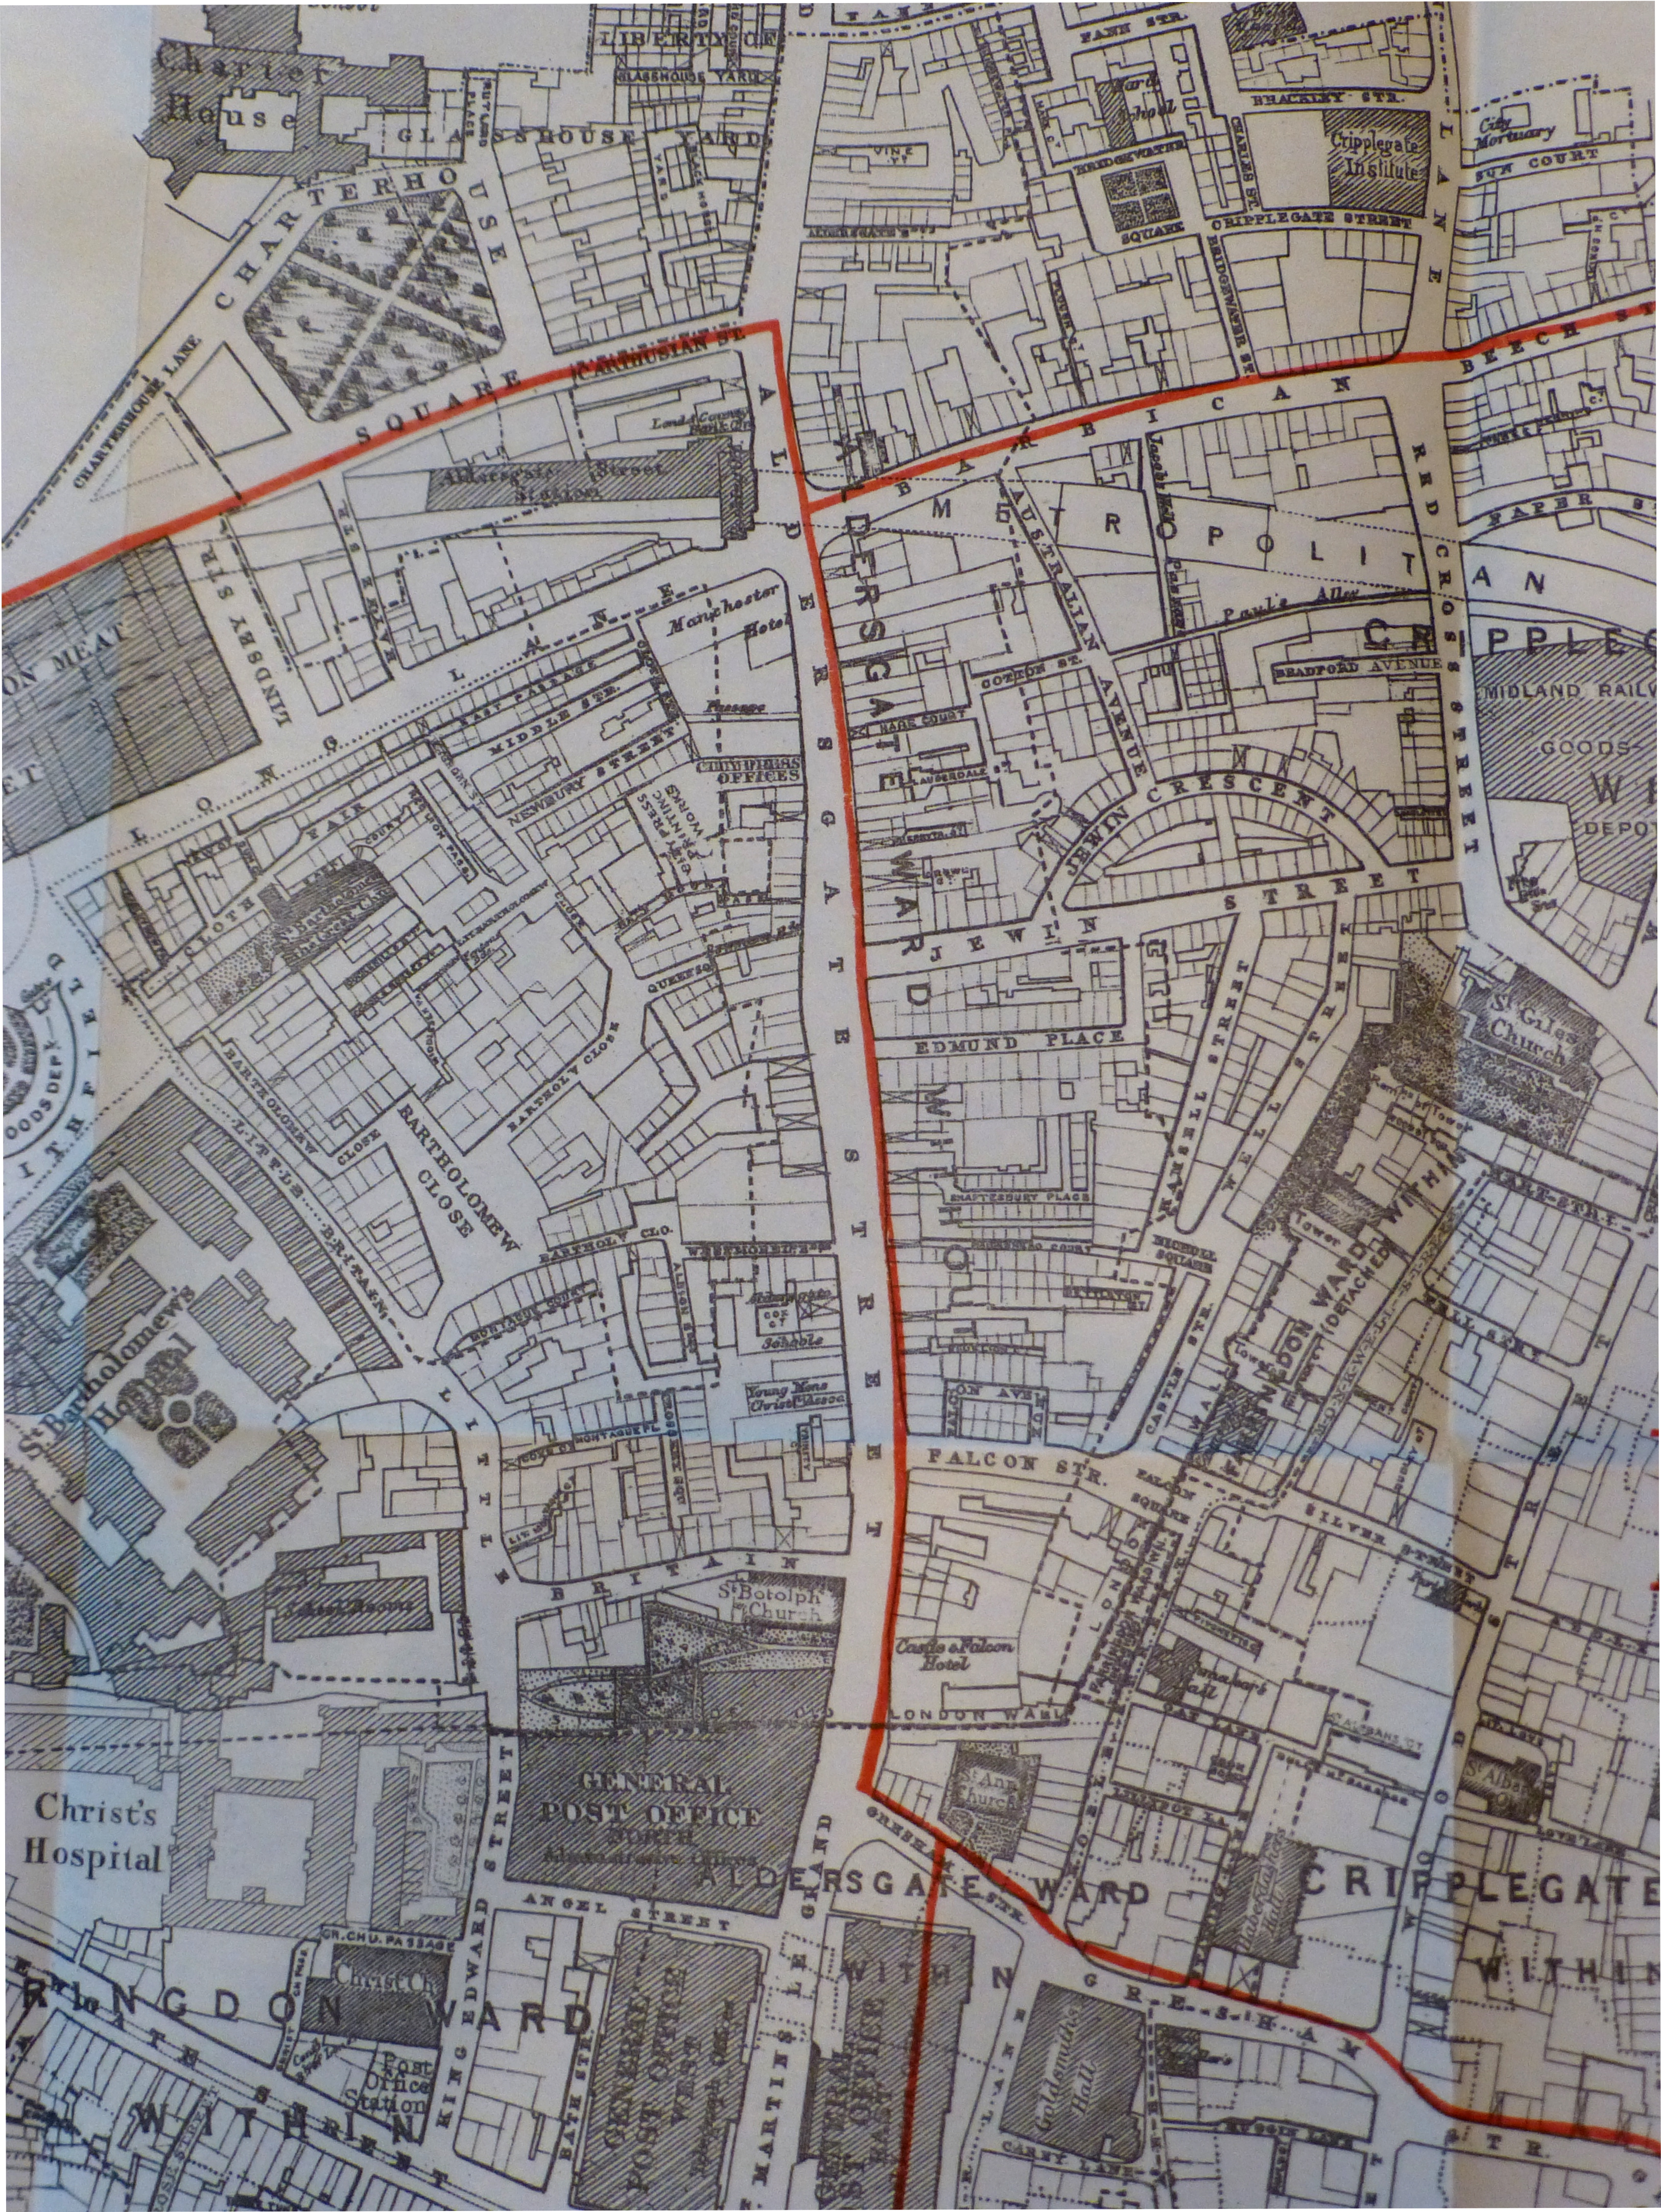
The location of Coalhouse Fort can be seen in the following map. A key location on a bend in the river enabling any attacking force to be shelled on the approach and as it rounds the bend in the river. Two forts on the opposite bank of the river at Cliffe and Shornemead would also have engaged with any attacking force and if they managed to pass through this part of the river, they would then come into the range of Tilbury Fort.
This level of defence highlights the fear that the River Thames could have provided easy access to London, and shows how well London was protected.
As with Tilbury Fort, the origins of Coalhouse Fort are with one of Henry VIII’s blockhouses, constructed in five locations along the Thames following the break with Rome and fears of invasion from Catholic Europe. Unlike Tilbury Fort, Coalhouse was not upgraded or used during the time of the Armada and it fell into disuse.
The original fort was not utilised during the time of the Dutch Admiral, de Ruyter’s incursion into the River Thames and there are local traditions that during this raid the church at East Tilbury was damaged by cannon fire from the Dutch fleet.
Due to continuing threats of war with France during the late 18th century, new fortifications were planned at East Tilbury and building work finally commenced in 1799. A semi-circular defensive structure was built which could support cannon and behind this were constructed the buildings to house supplies and barracks for those manning the fort.
No attack was forthcoming and after the end of the Napoleonic Wars in 1815, the fort was again abandoned.
Ongoing tensions with France during the 19th century resulted in a plan for significant upgrades at East Tilbury. The original fort was demolished in 1861 and the new fort was constructed at a cost of £130,000.
It is this fort which is still substantially in existence today.
Unlike Tilbury Fort, Coalhouse Fort today is run by a volunteer group, the Coalhouse Fort Project who run occasional open days and are gradually restoring the fort and attempting to stop further decay.
Coalhouse Fort is found at the end of the road that passes through East Tilbury and the original site of the factory and village created by the Bata Shoe Company. (The history of Bata in East Tilbury and the factory / village Bata created is fascinating and there is a website dedicated to the history of the East Tilbury site which can be found here)
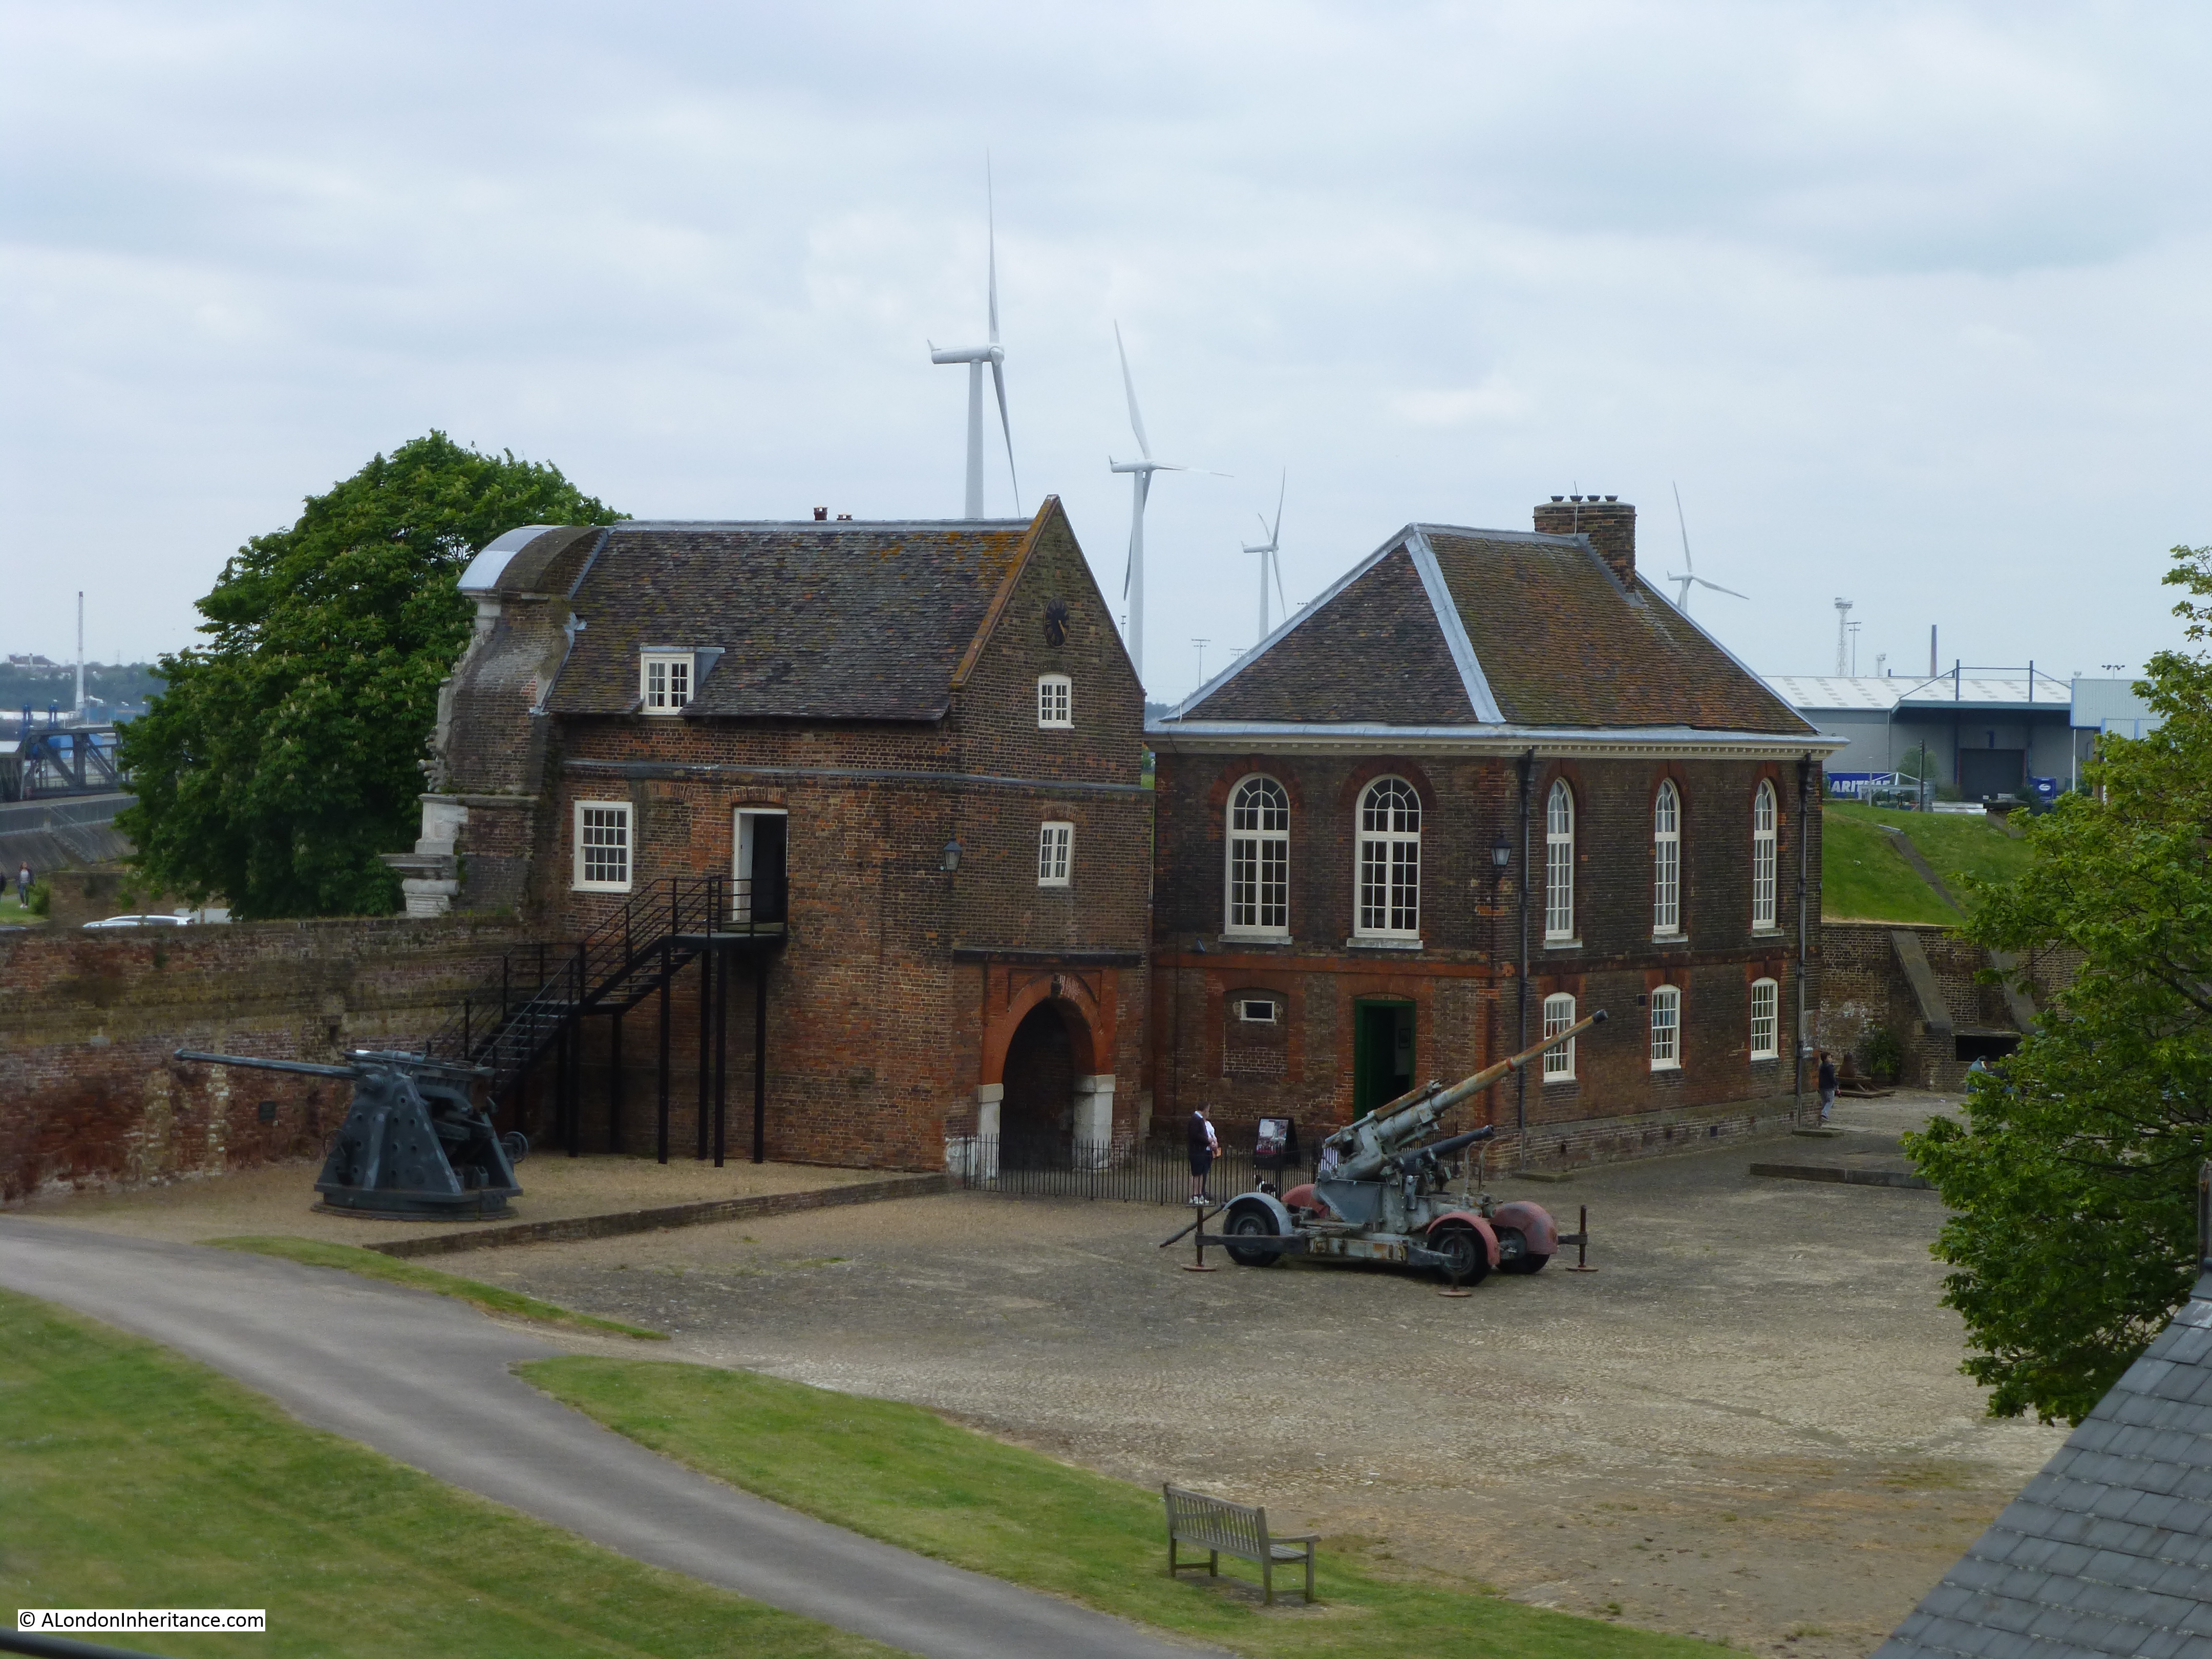
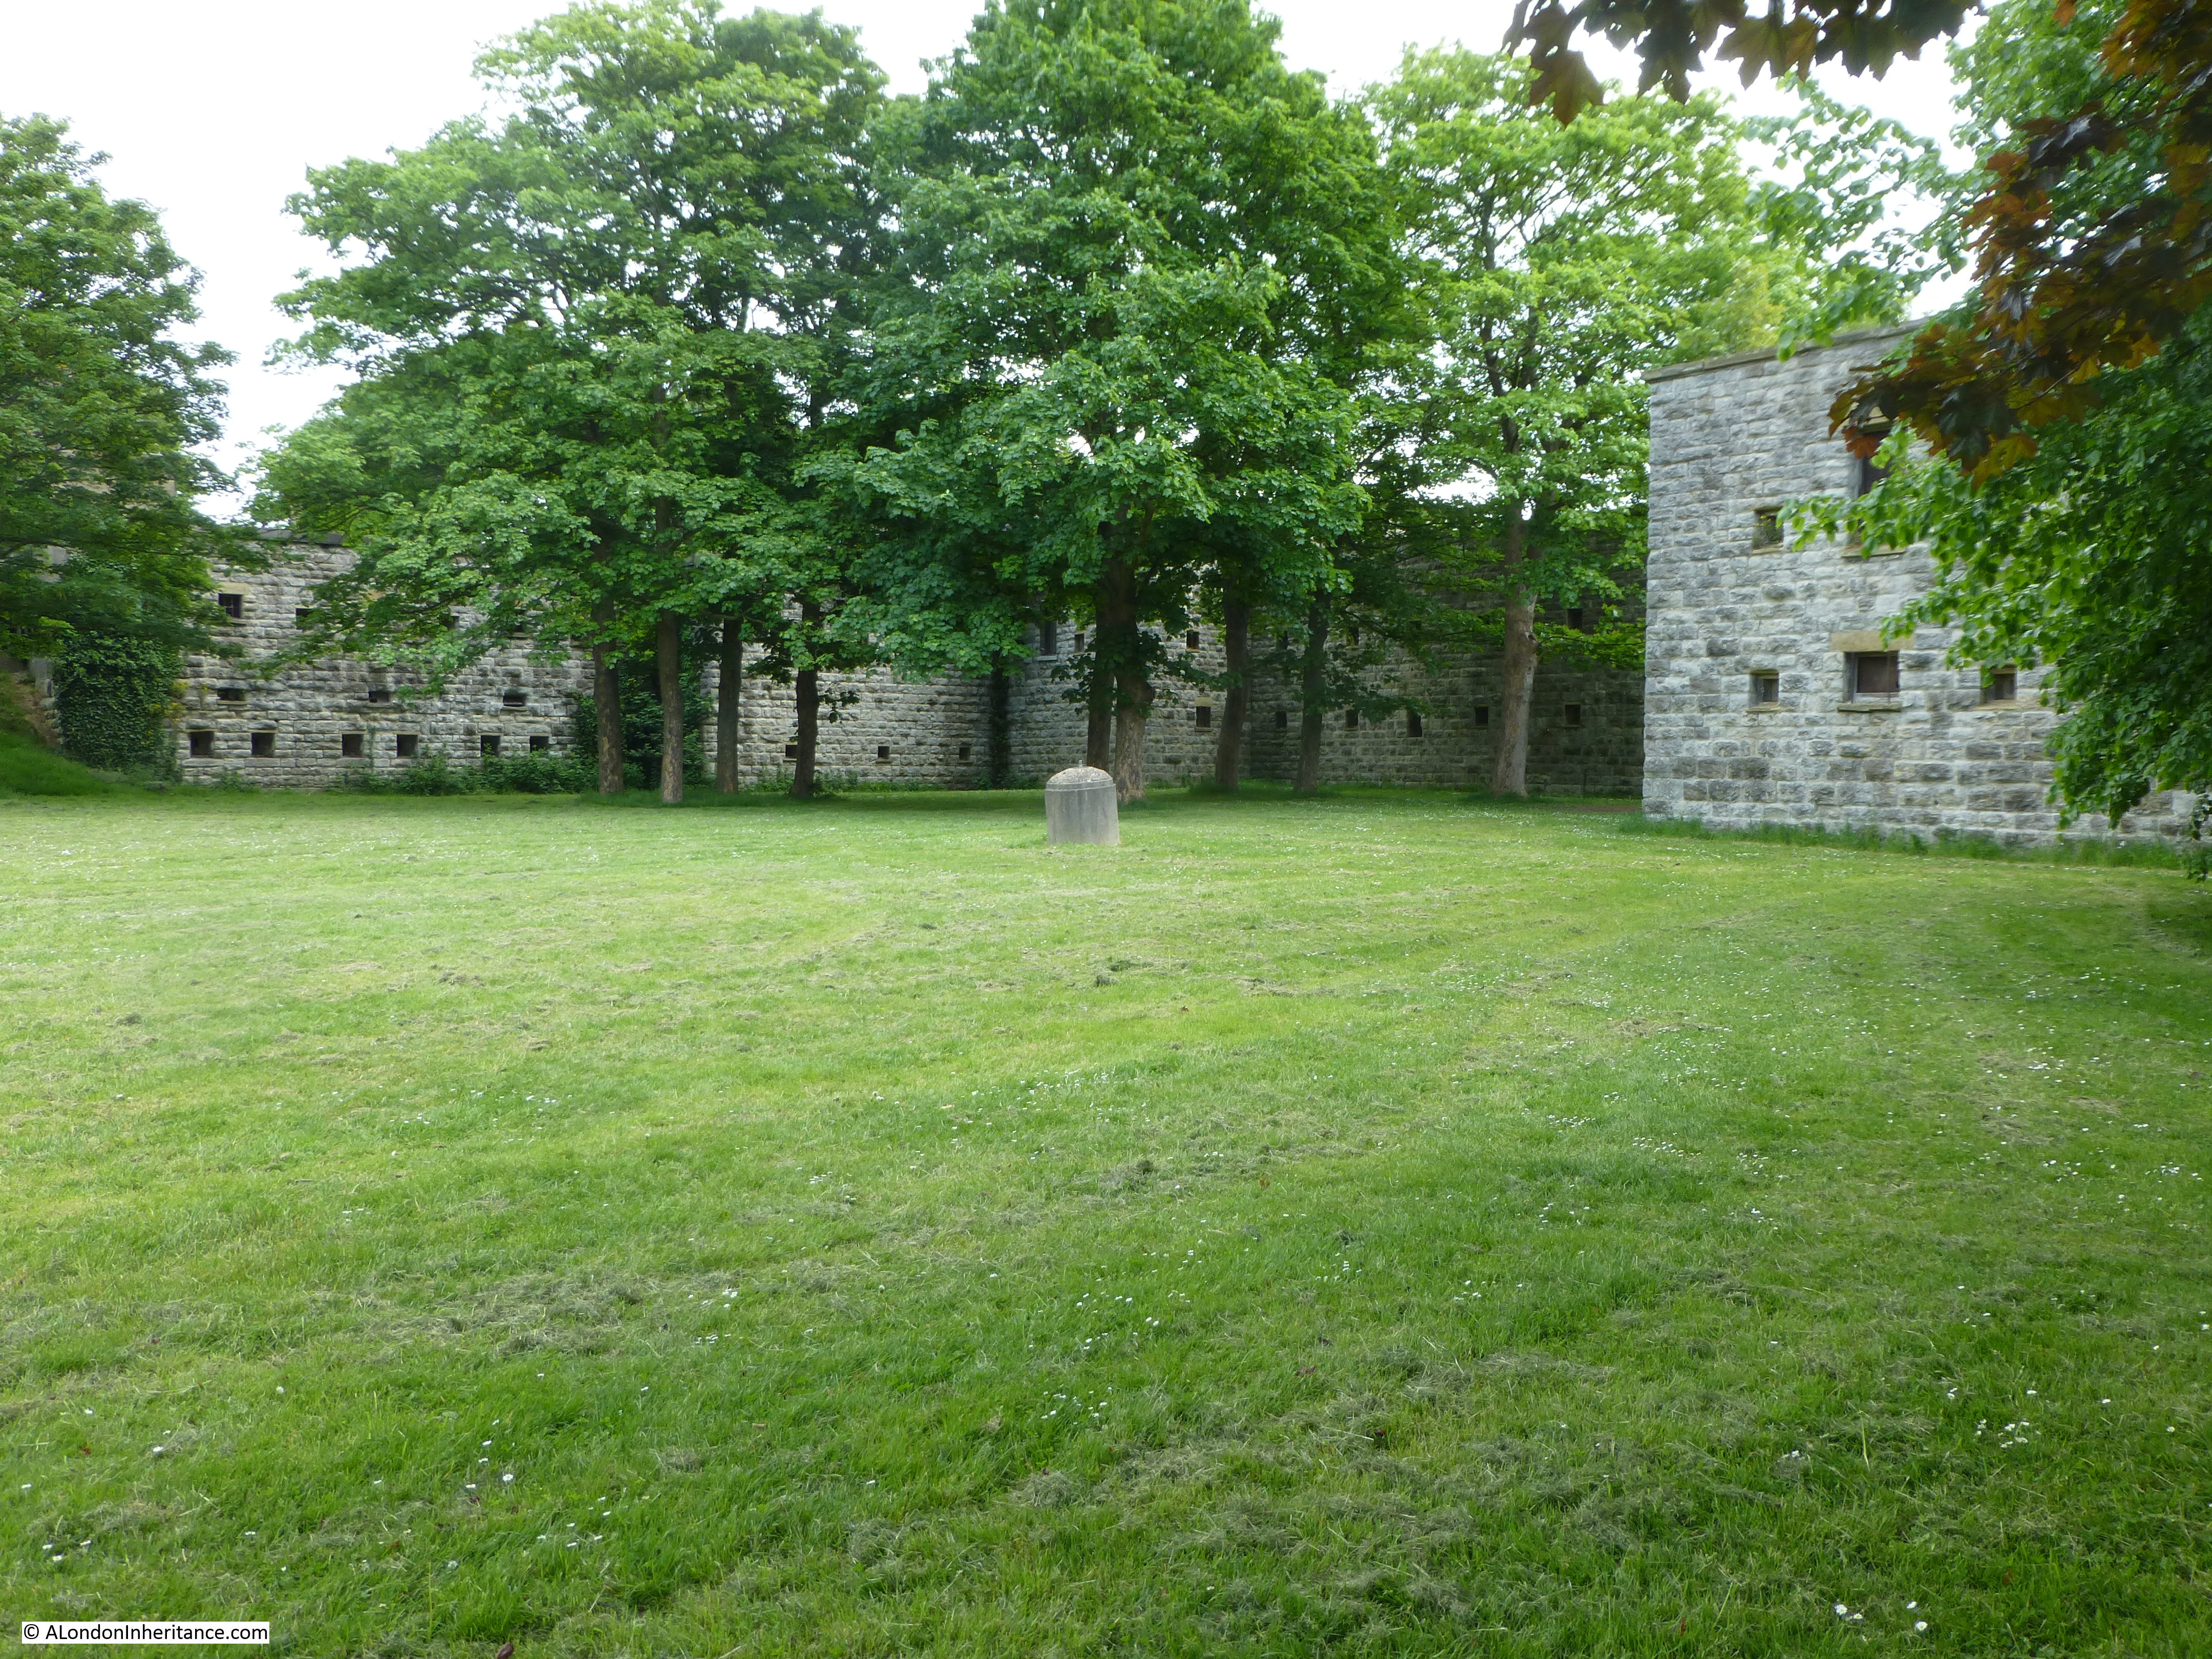
On arrival, the solid construction of the fort is clearly visible, now surrounded by landscaped parklands. The fort was constructed to be defendable from land based attack as well as to attack enemy shipping on the Thames.
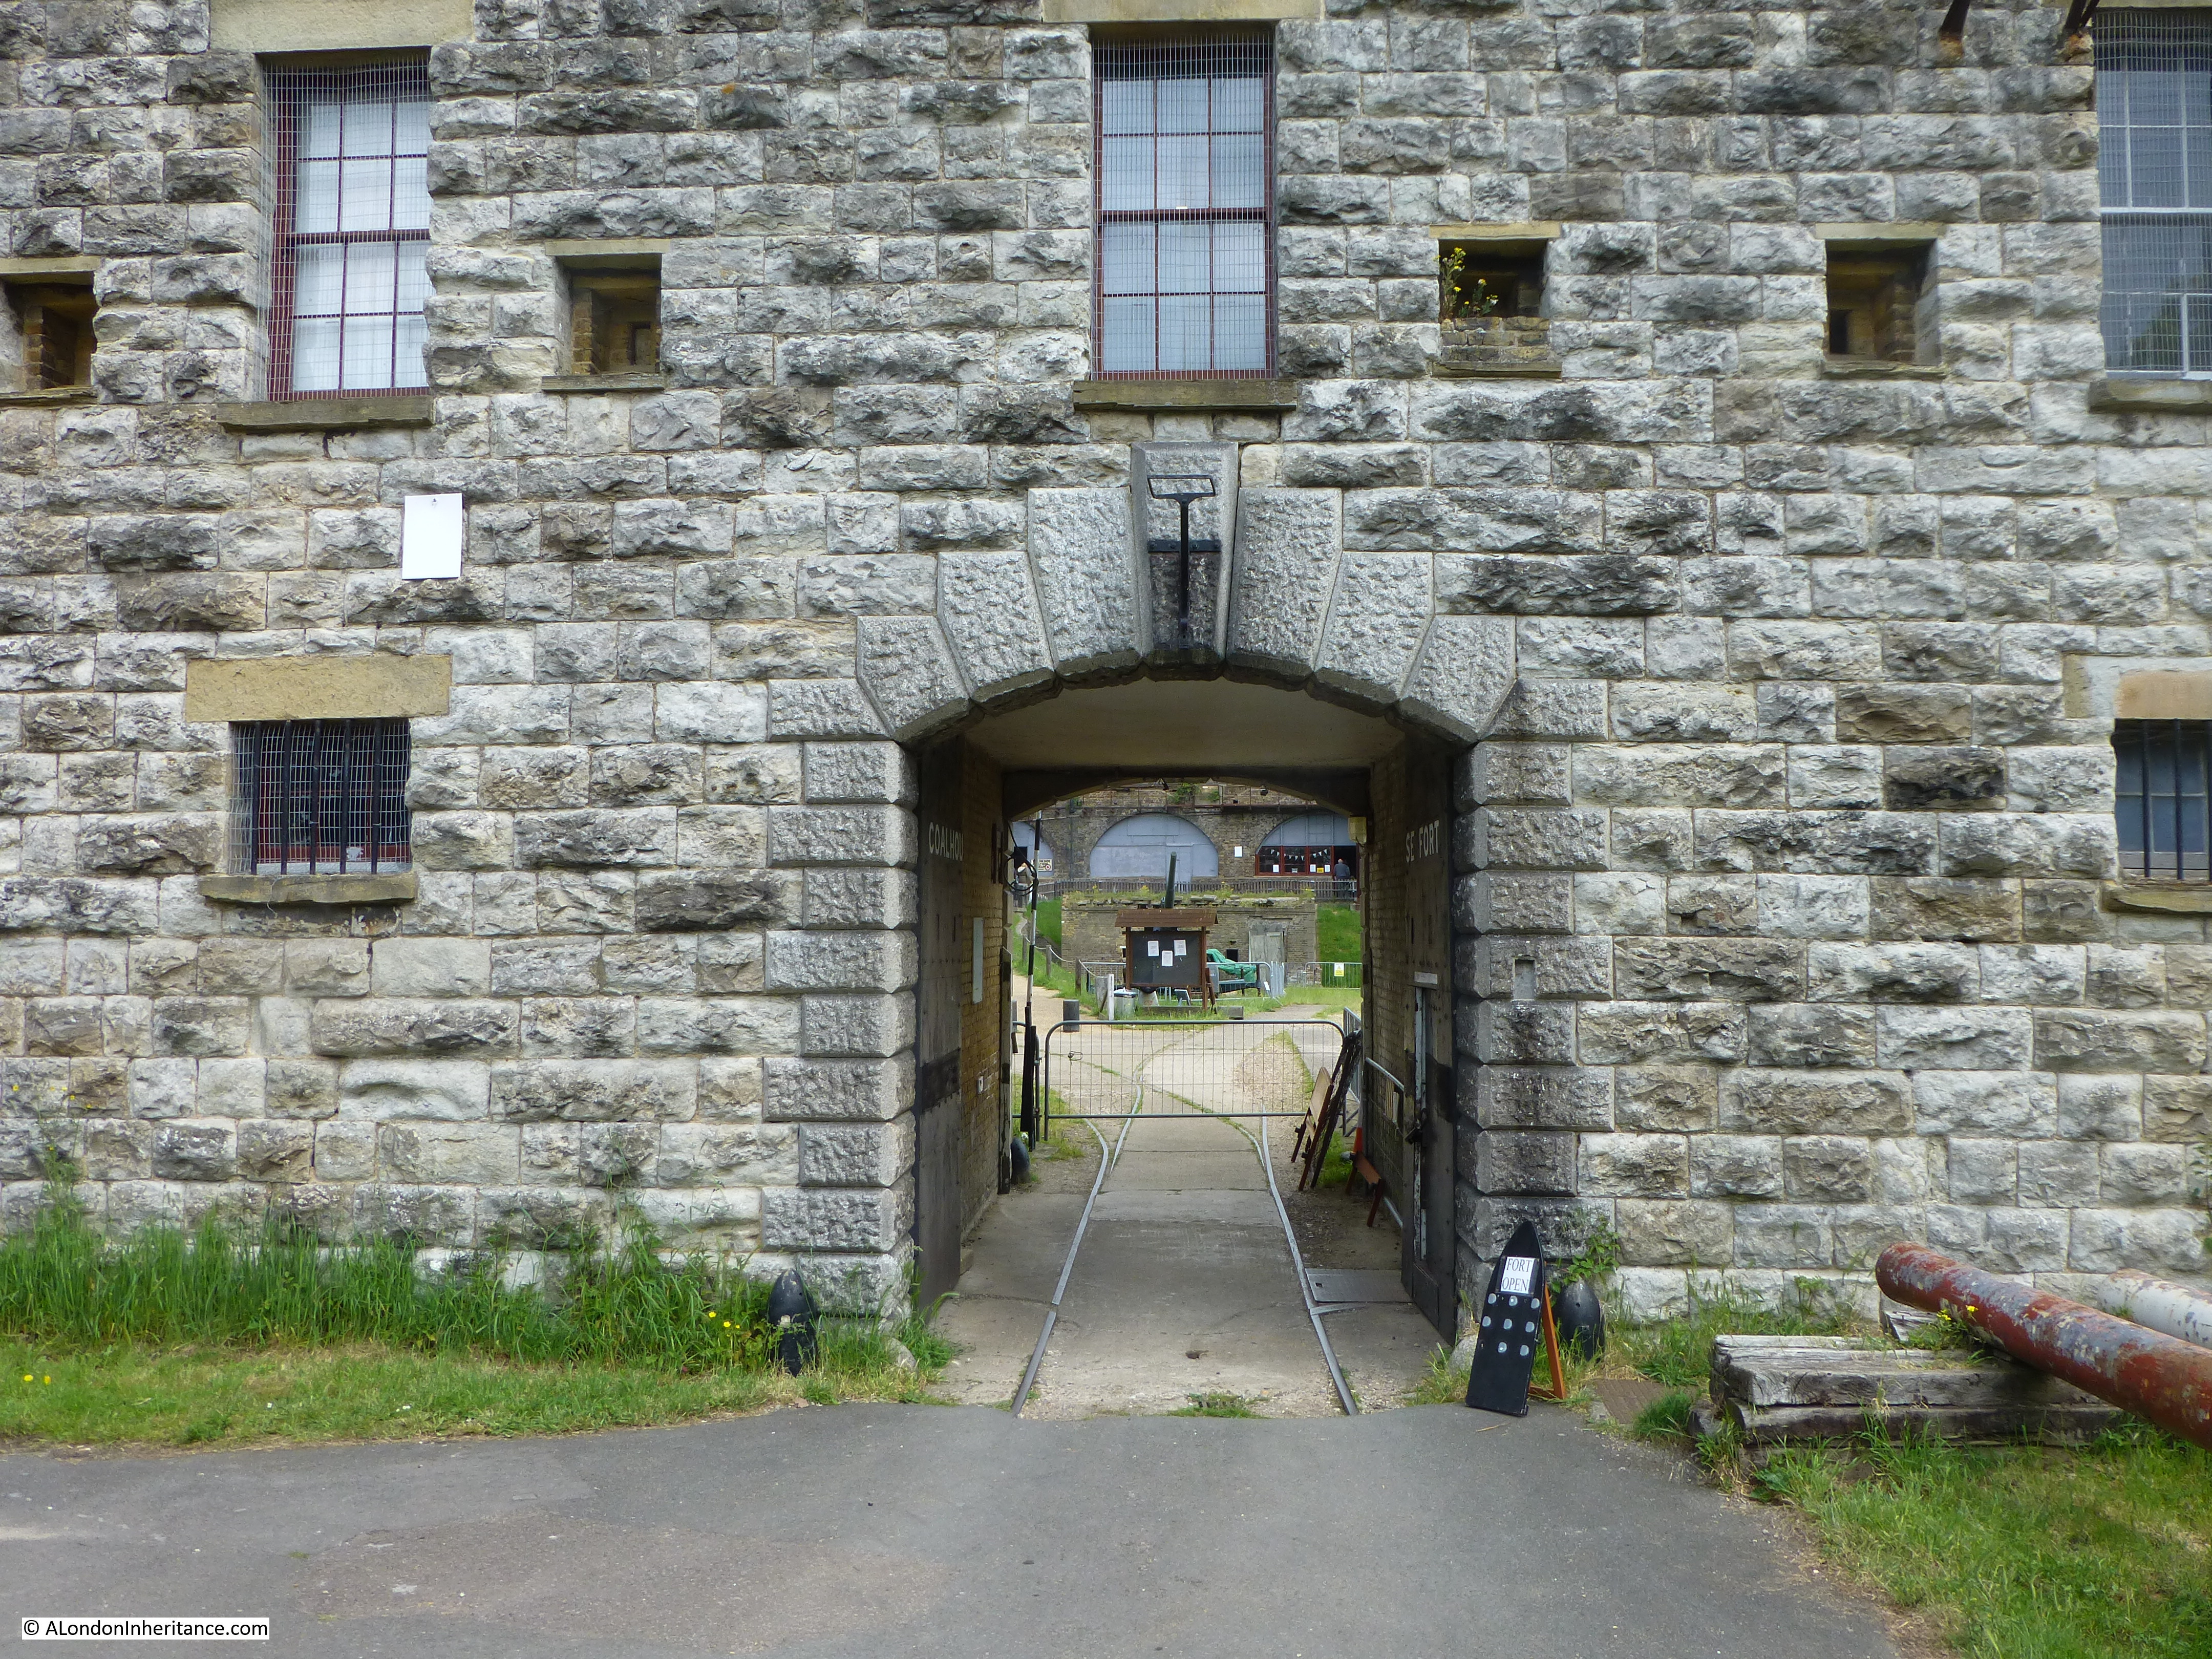
The entrance gate to the fort:
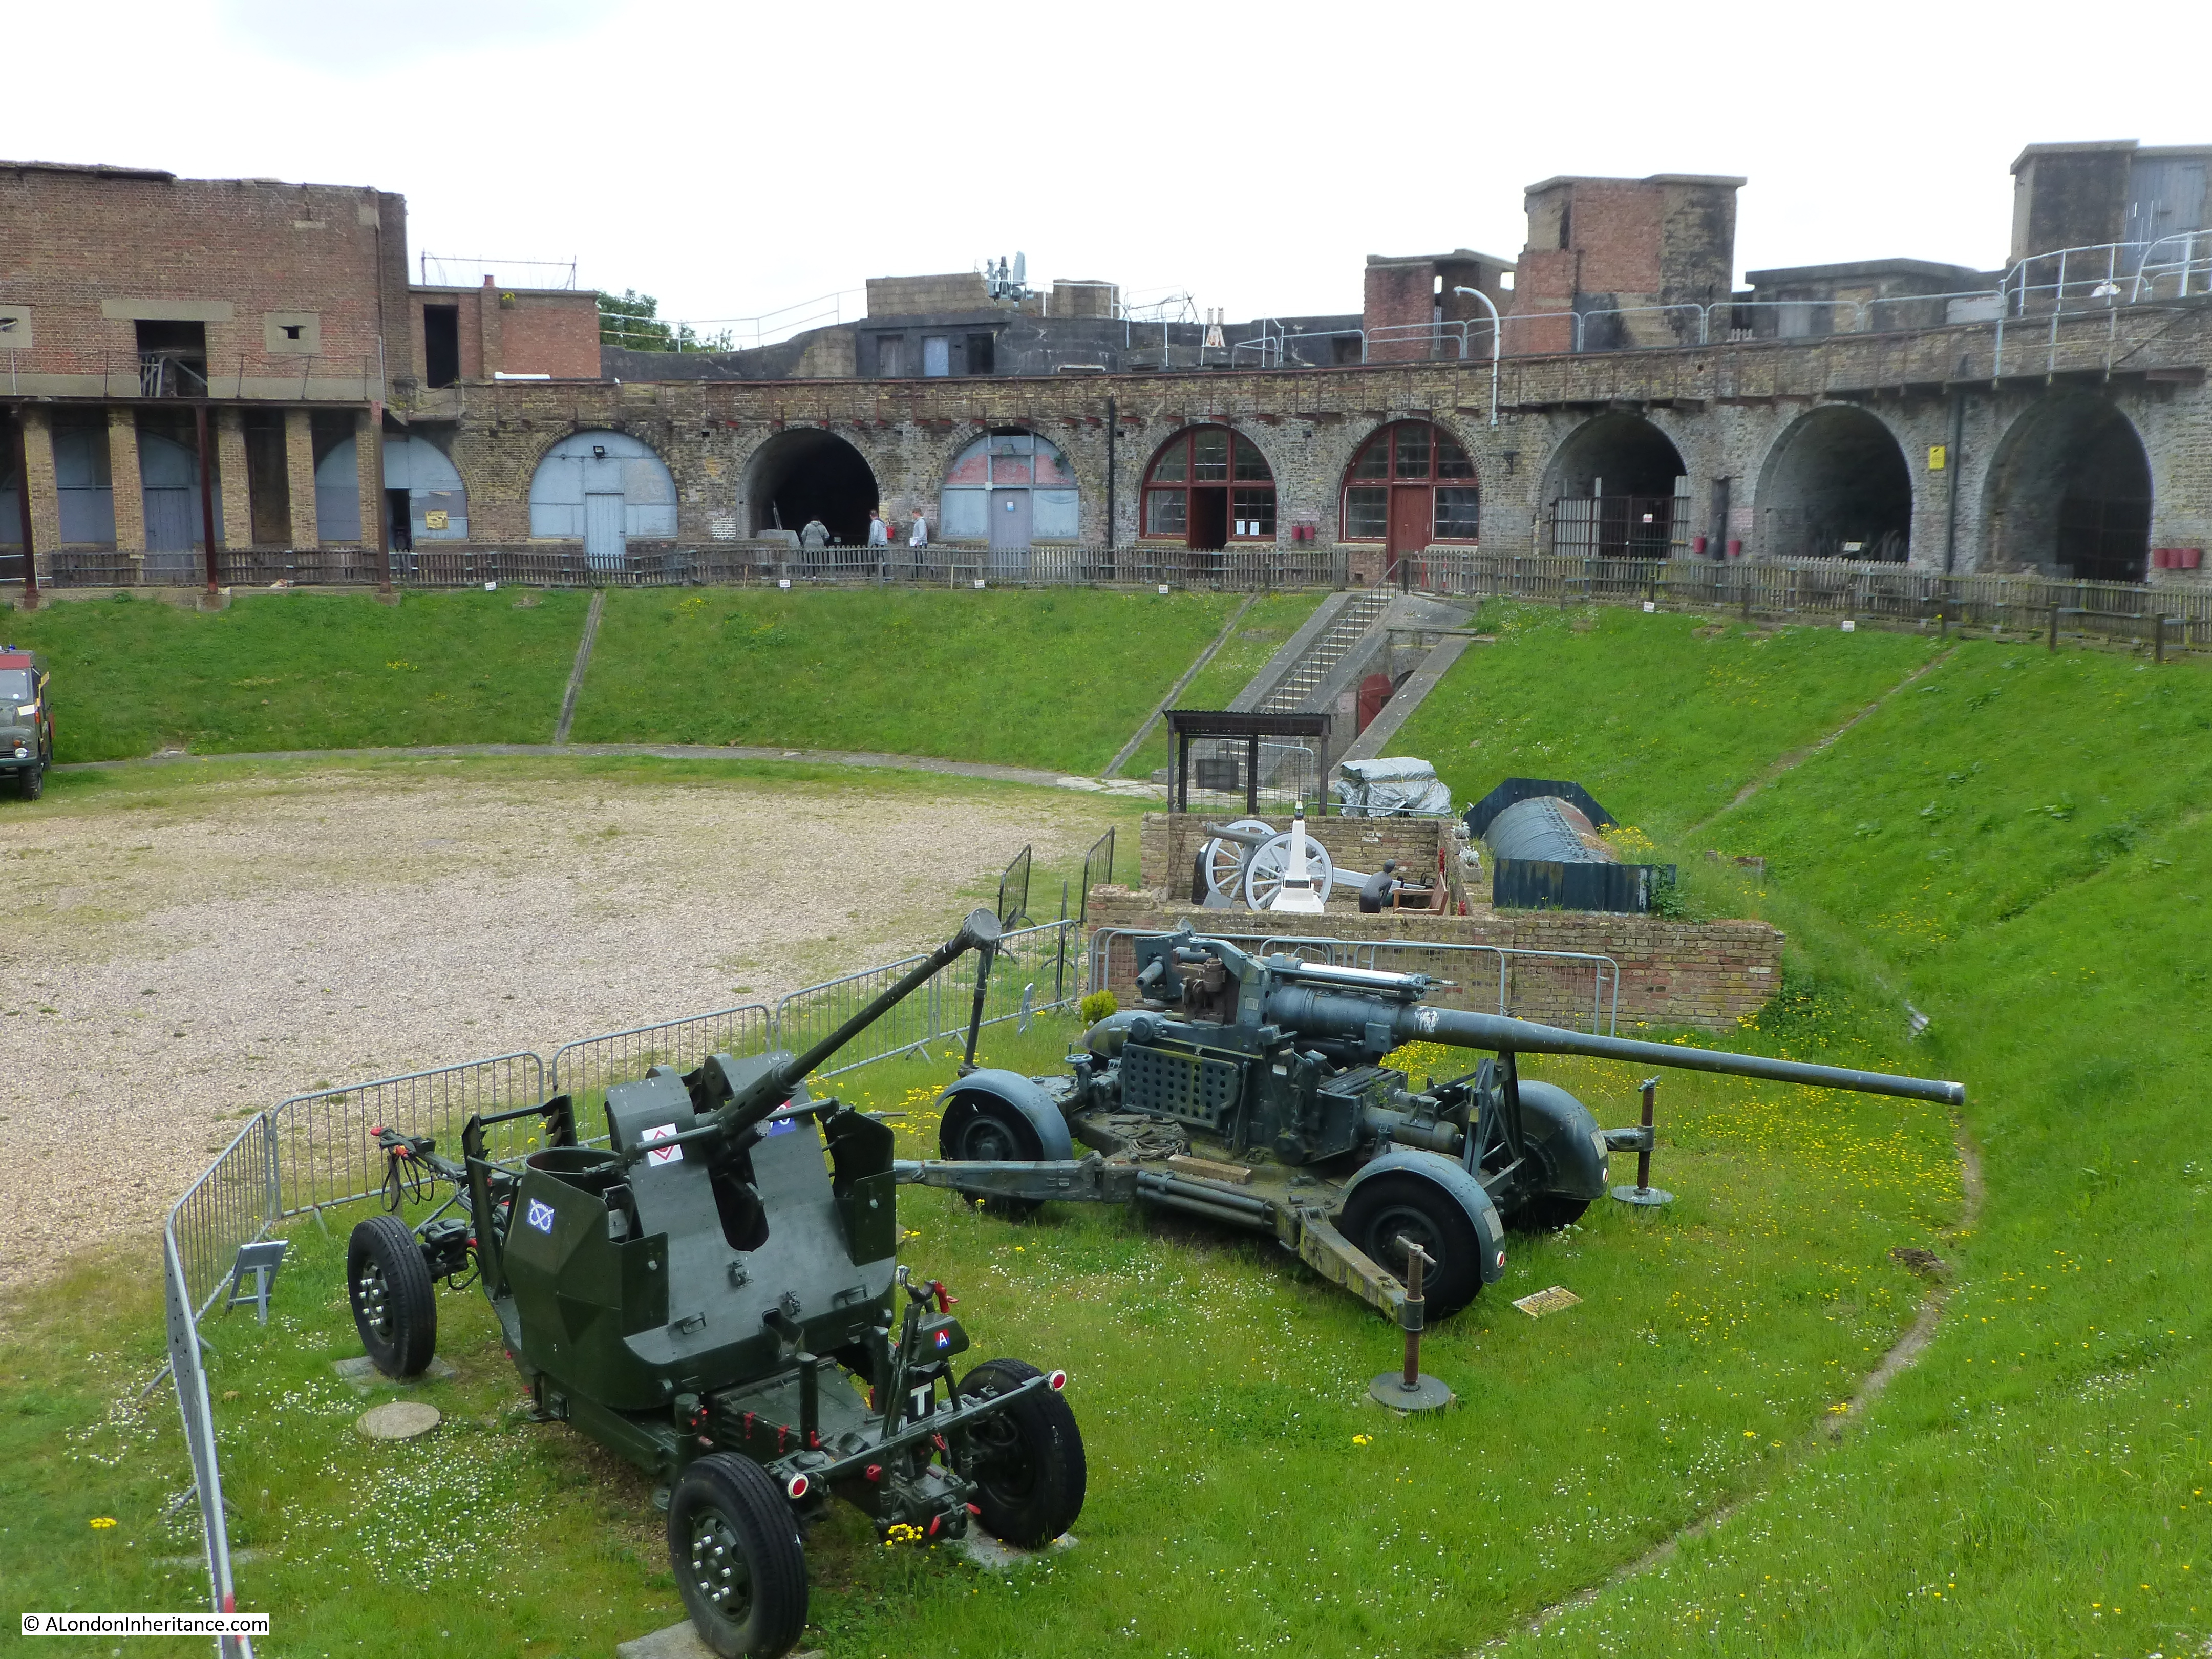
Once inside the fort, the archways ringed around the river facing side of the fort can be seen, these are the gun casements, each originally housing an 11 inch gun (with some 1877 upgrades to 12.5 inch guns), with above the casements, space for a range of 9 inch guns on the roof.
These had a range of 3.1 miles with the whole fort capable of firing many rounds per minute at any attacking force coming up the Thames.
The later brickwork buildings along the top are from the 20th century.
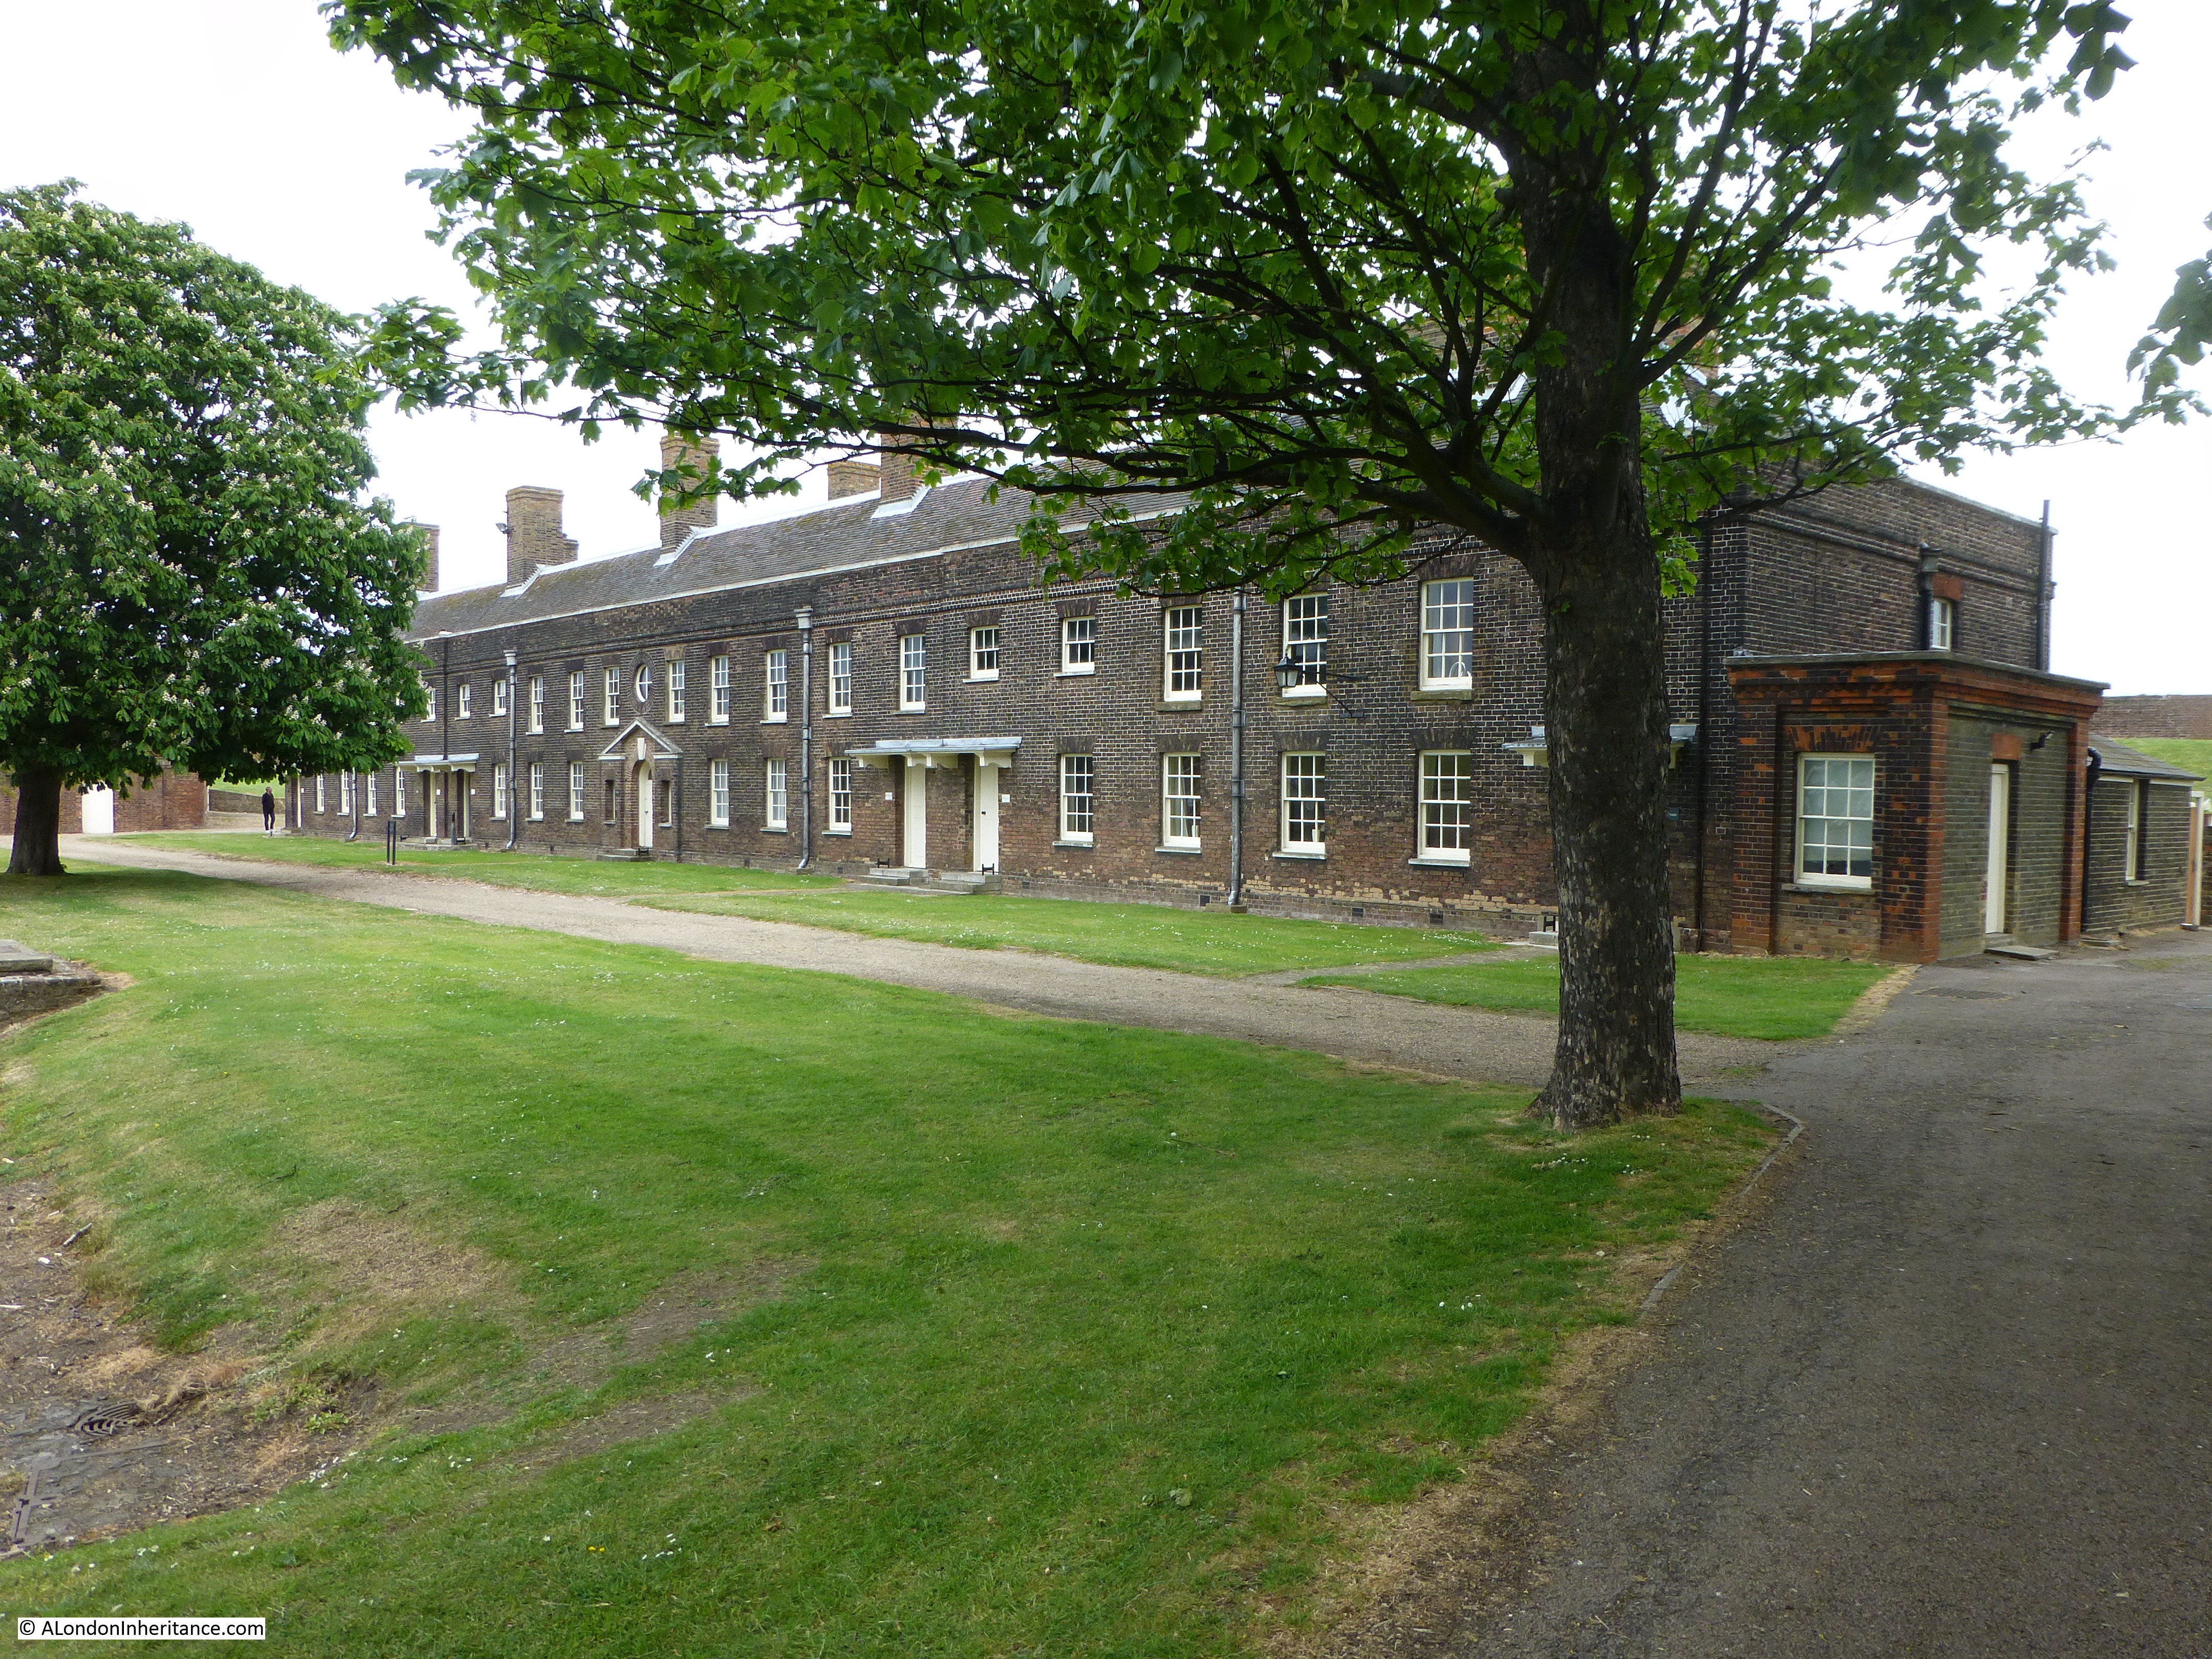
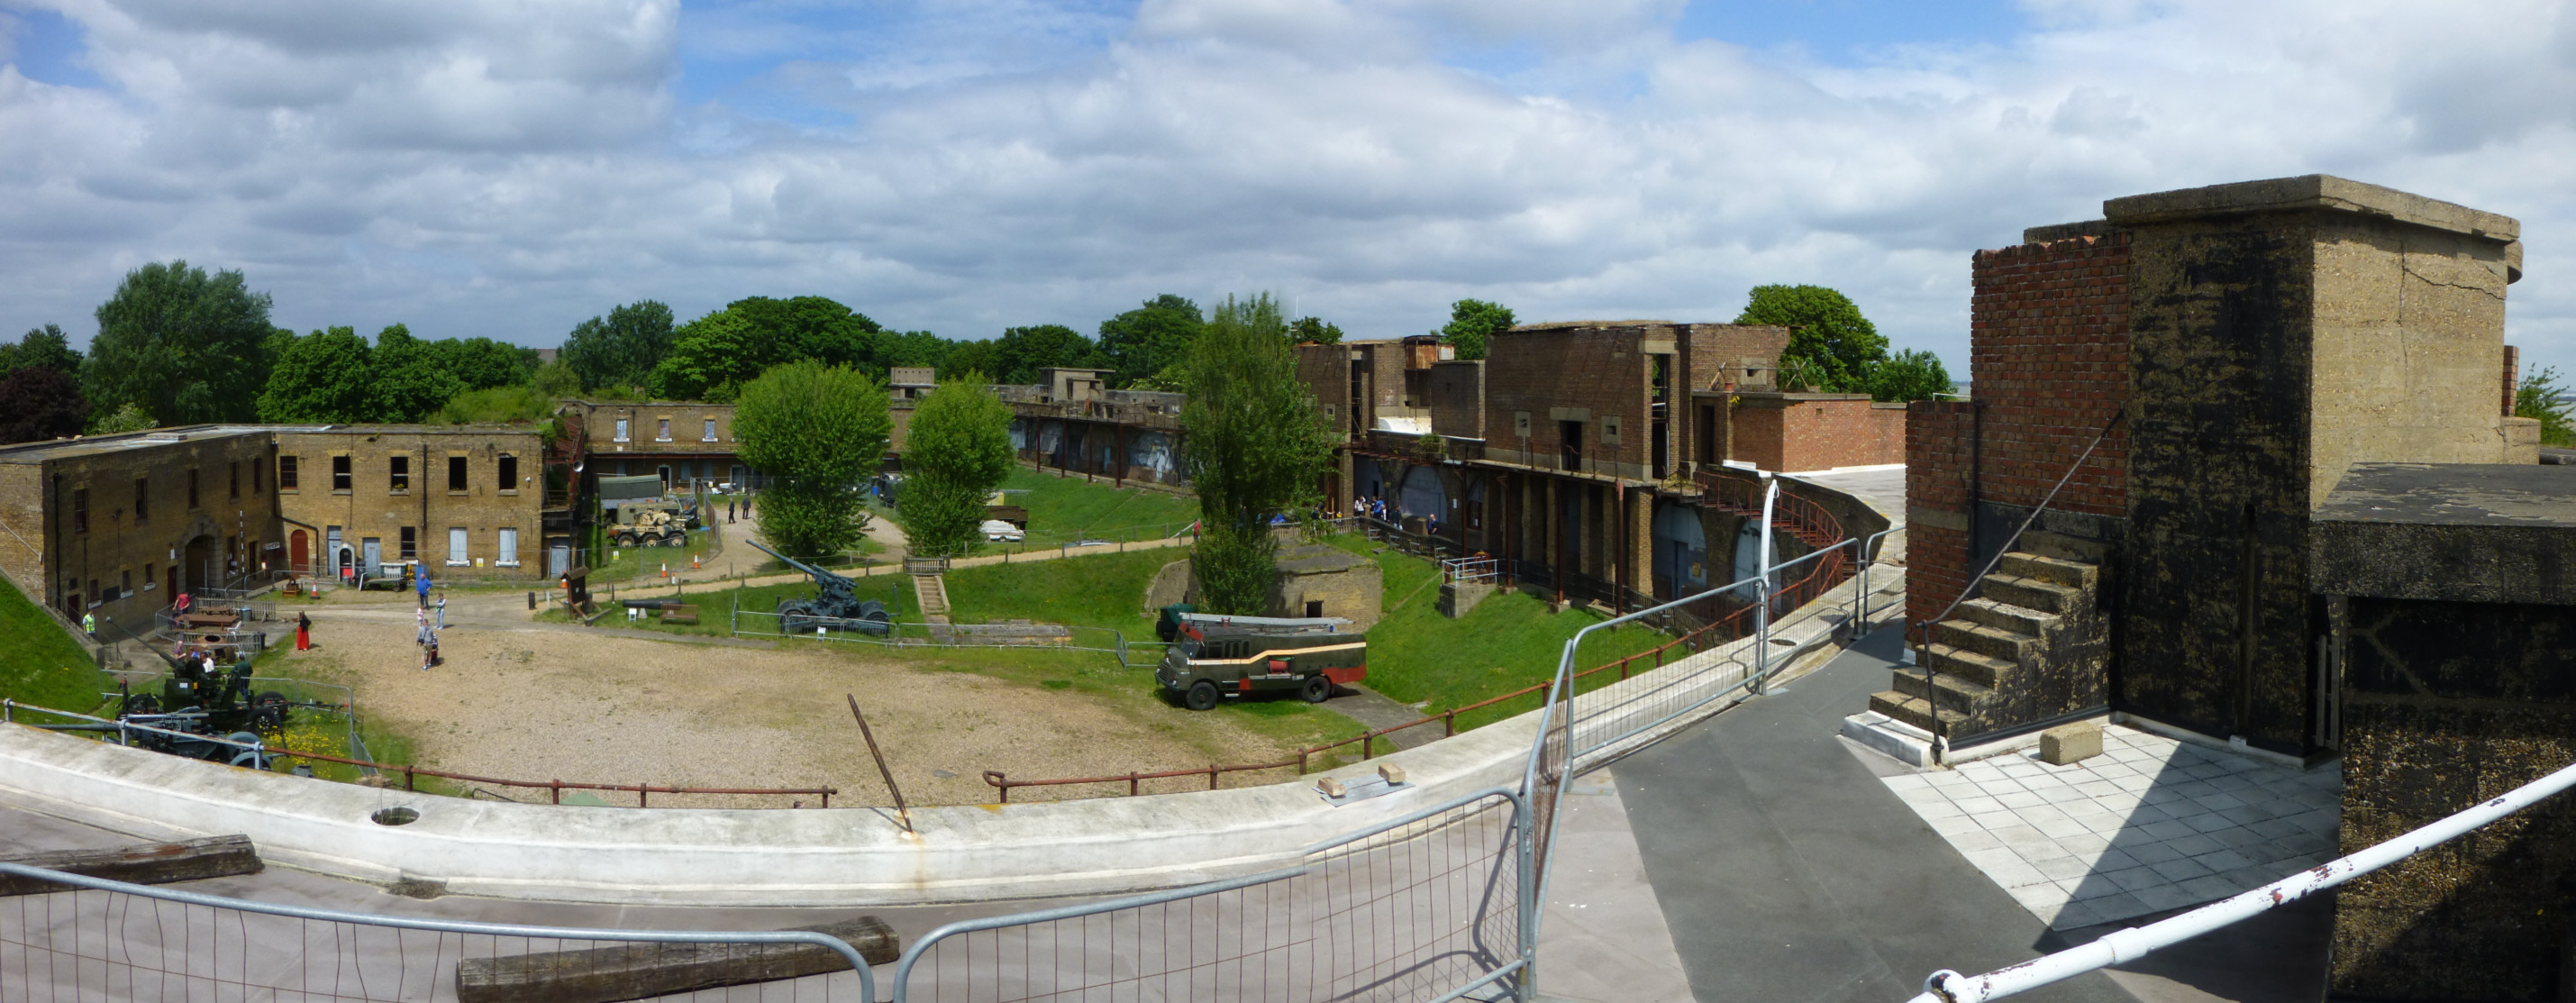
The view of the fort from the roof. The Gatehouse is on the left, with the barracks for those manning the fort to the left and at the far end of the photo:
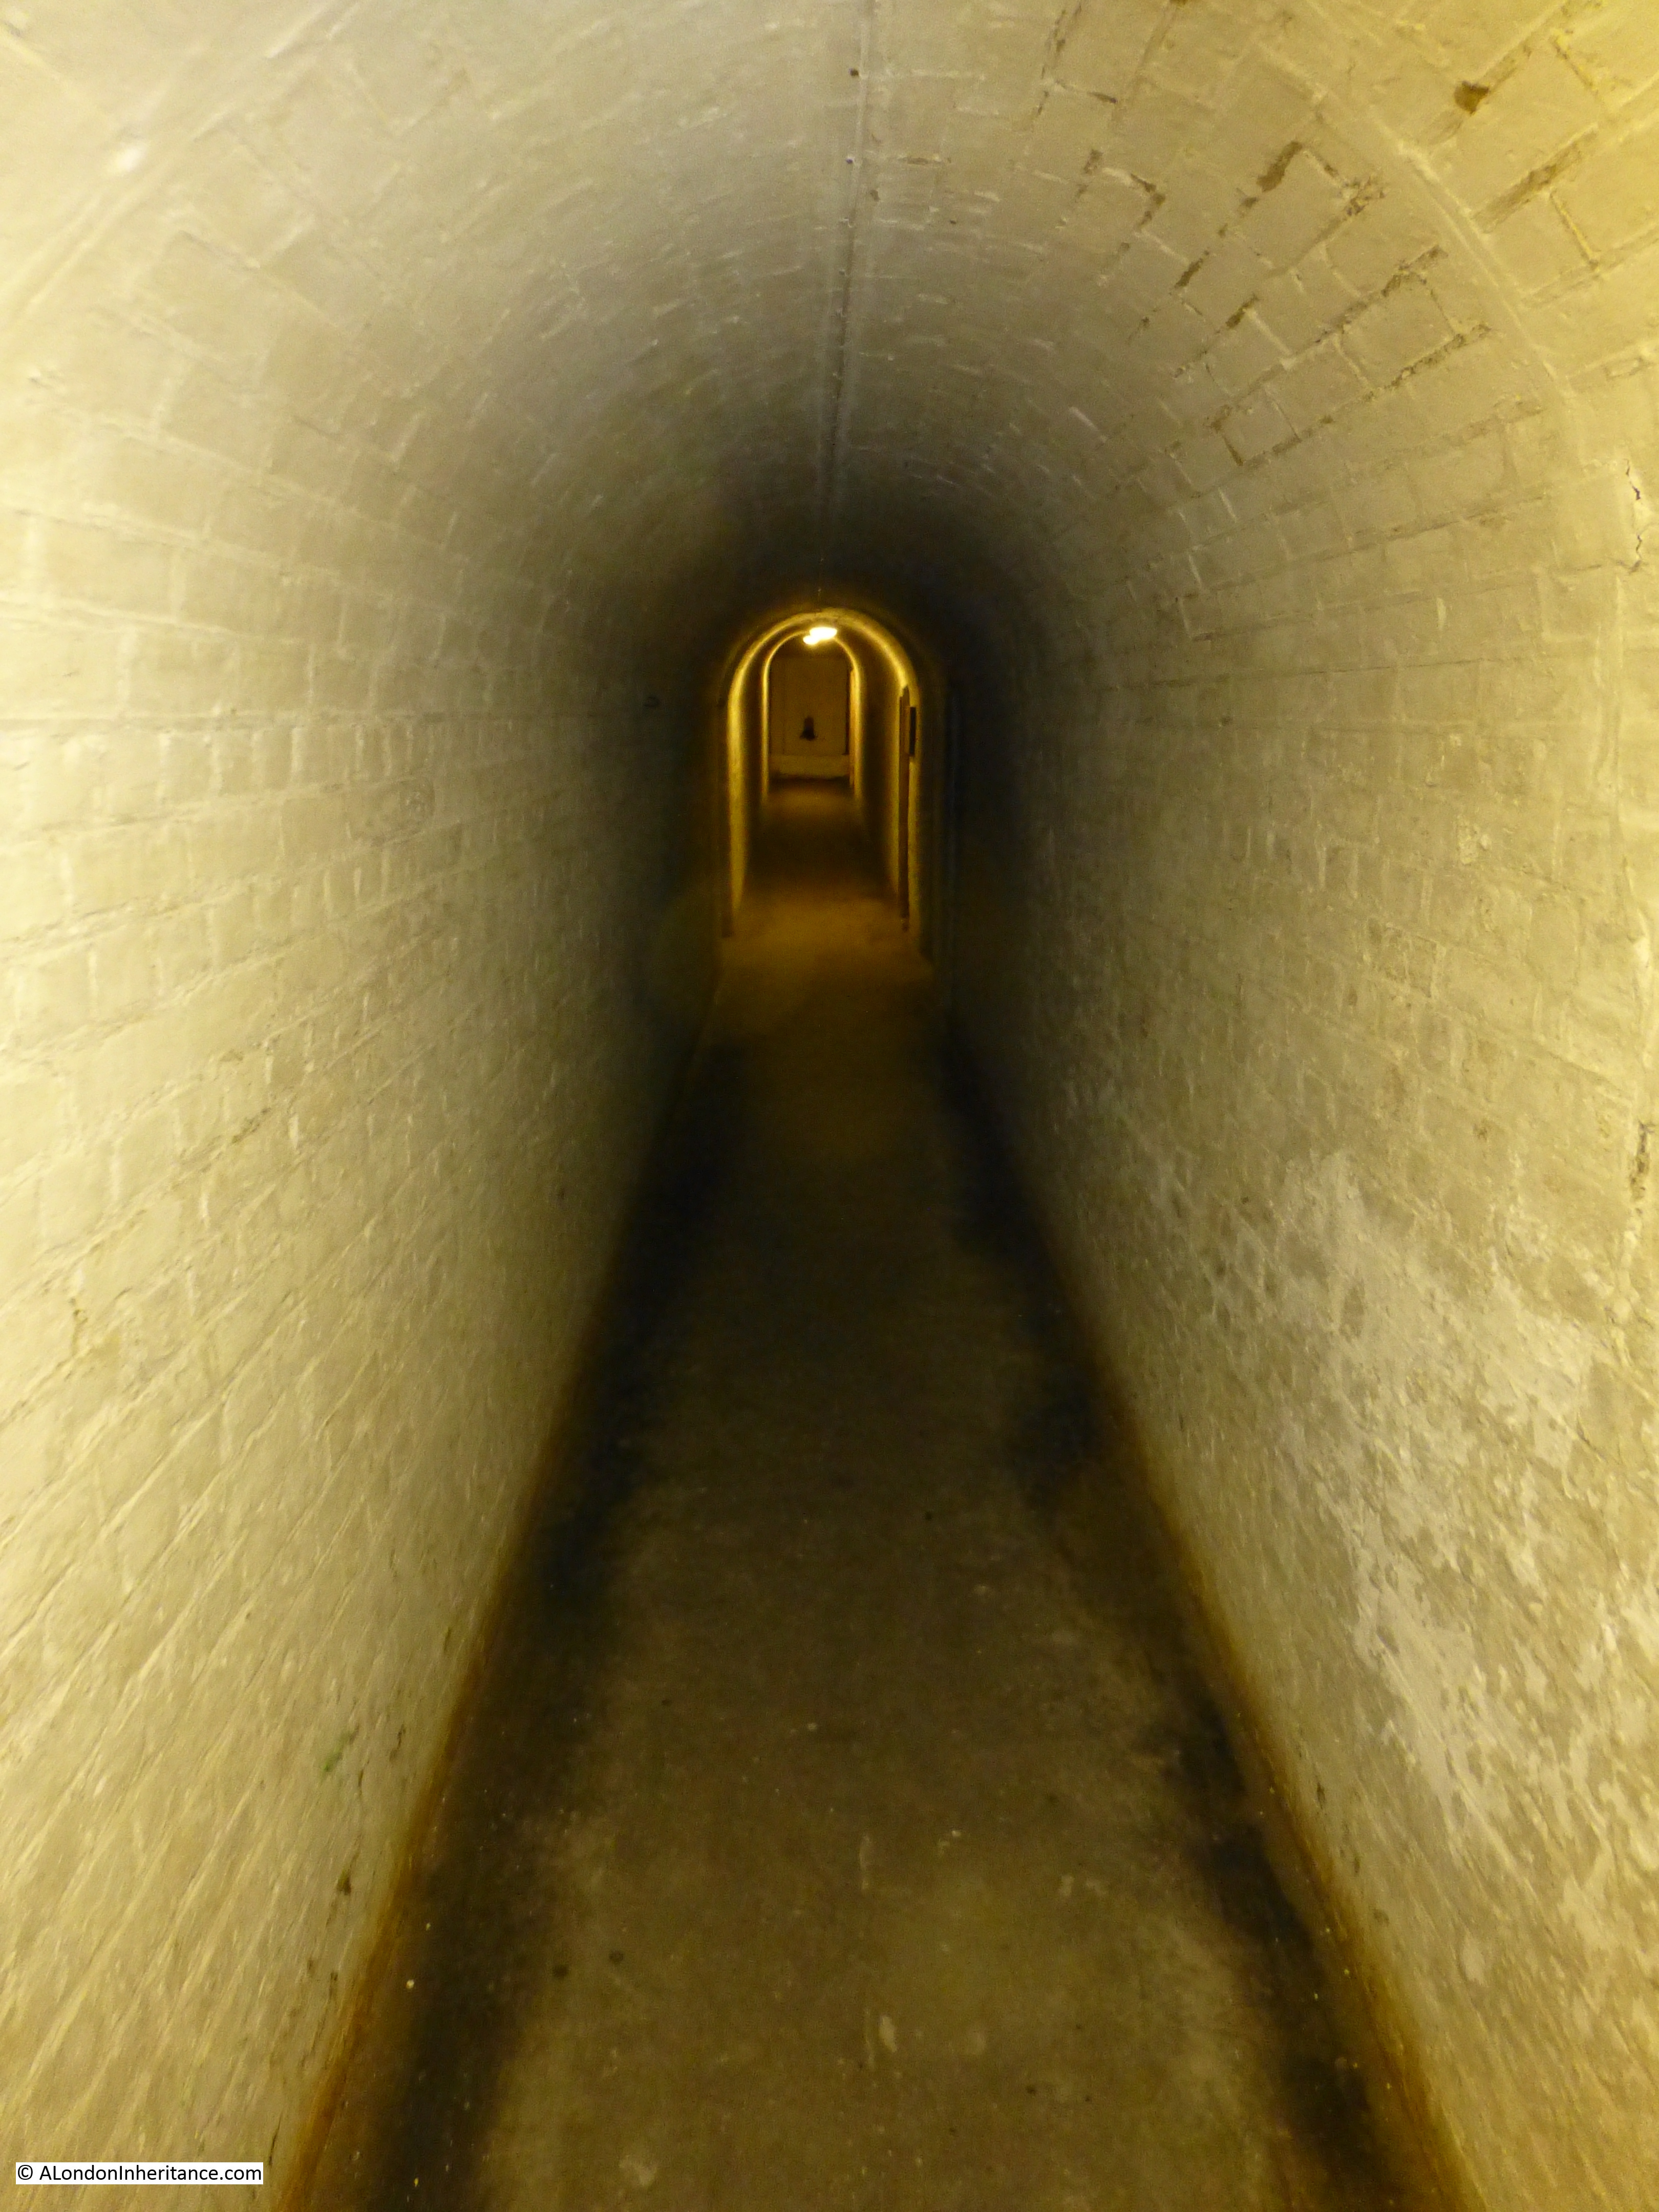
Underneath the gun casements are a series of tunnels and storage rooms to store and move the ammunition needed by the guns. Some of these tunnels are still accessible:

Storage rooms run the length of the tunnel:
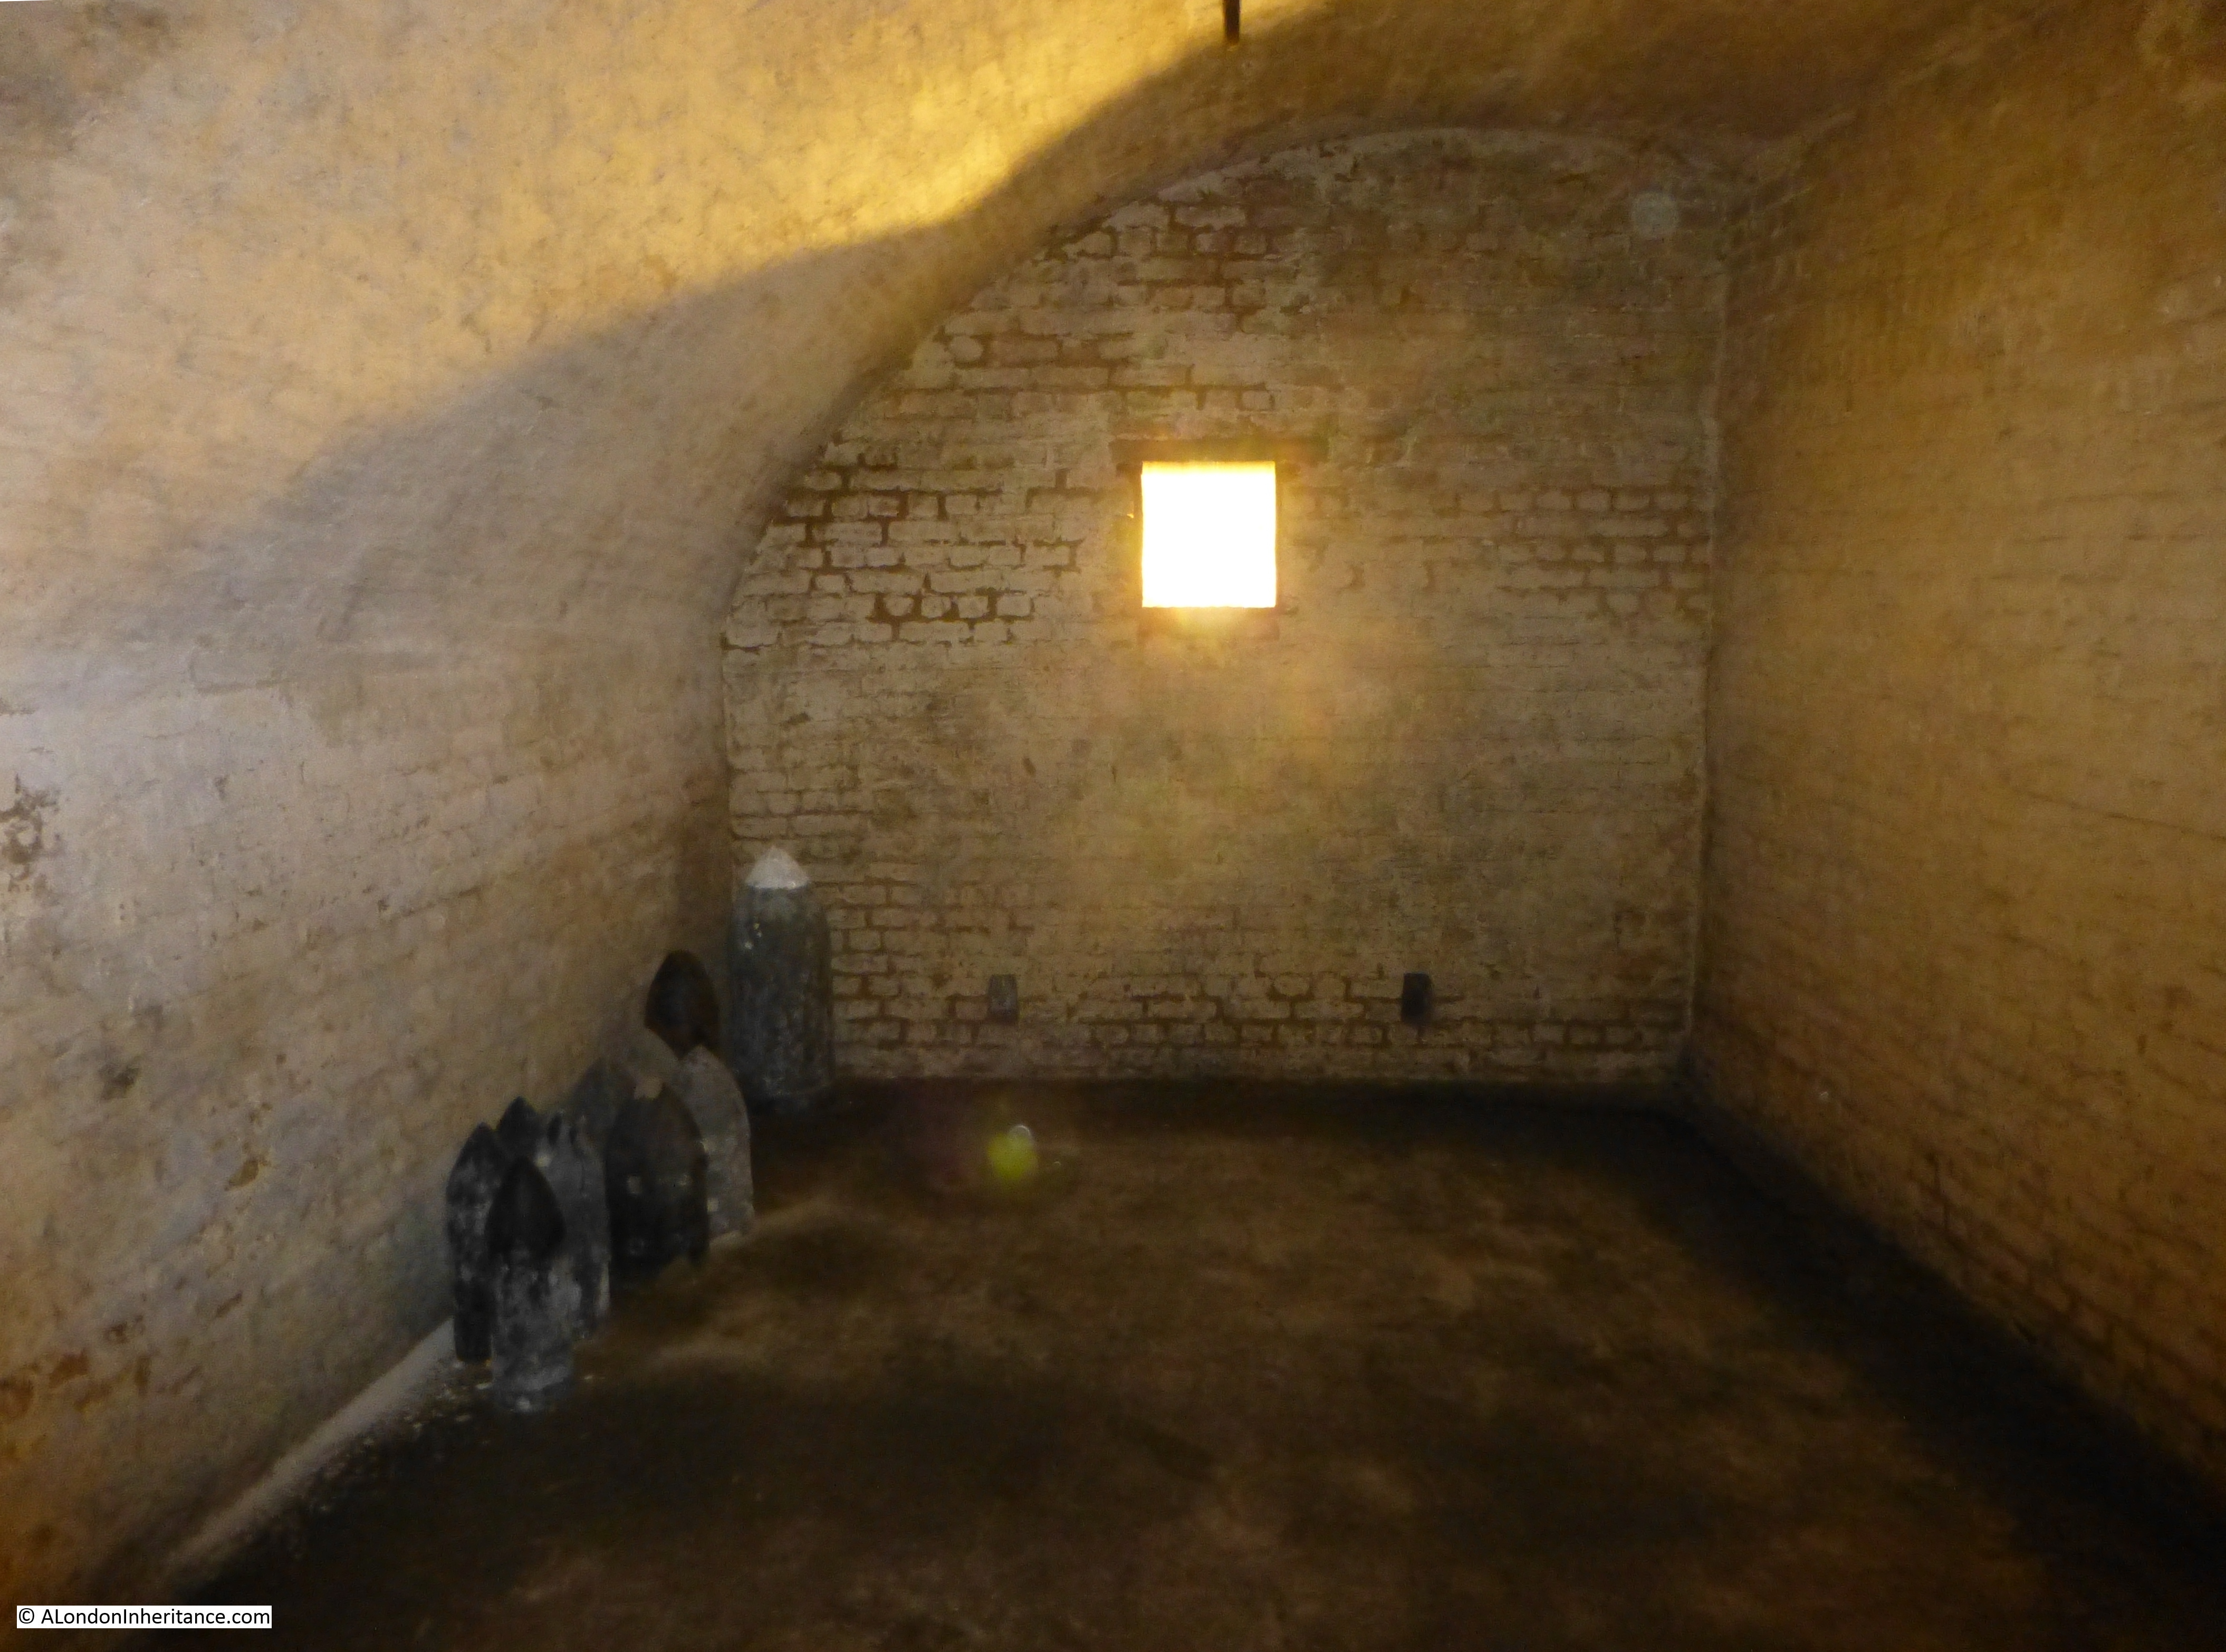
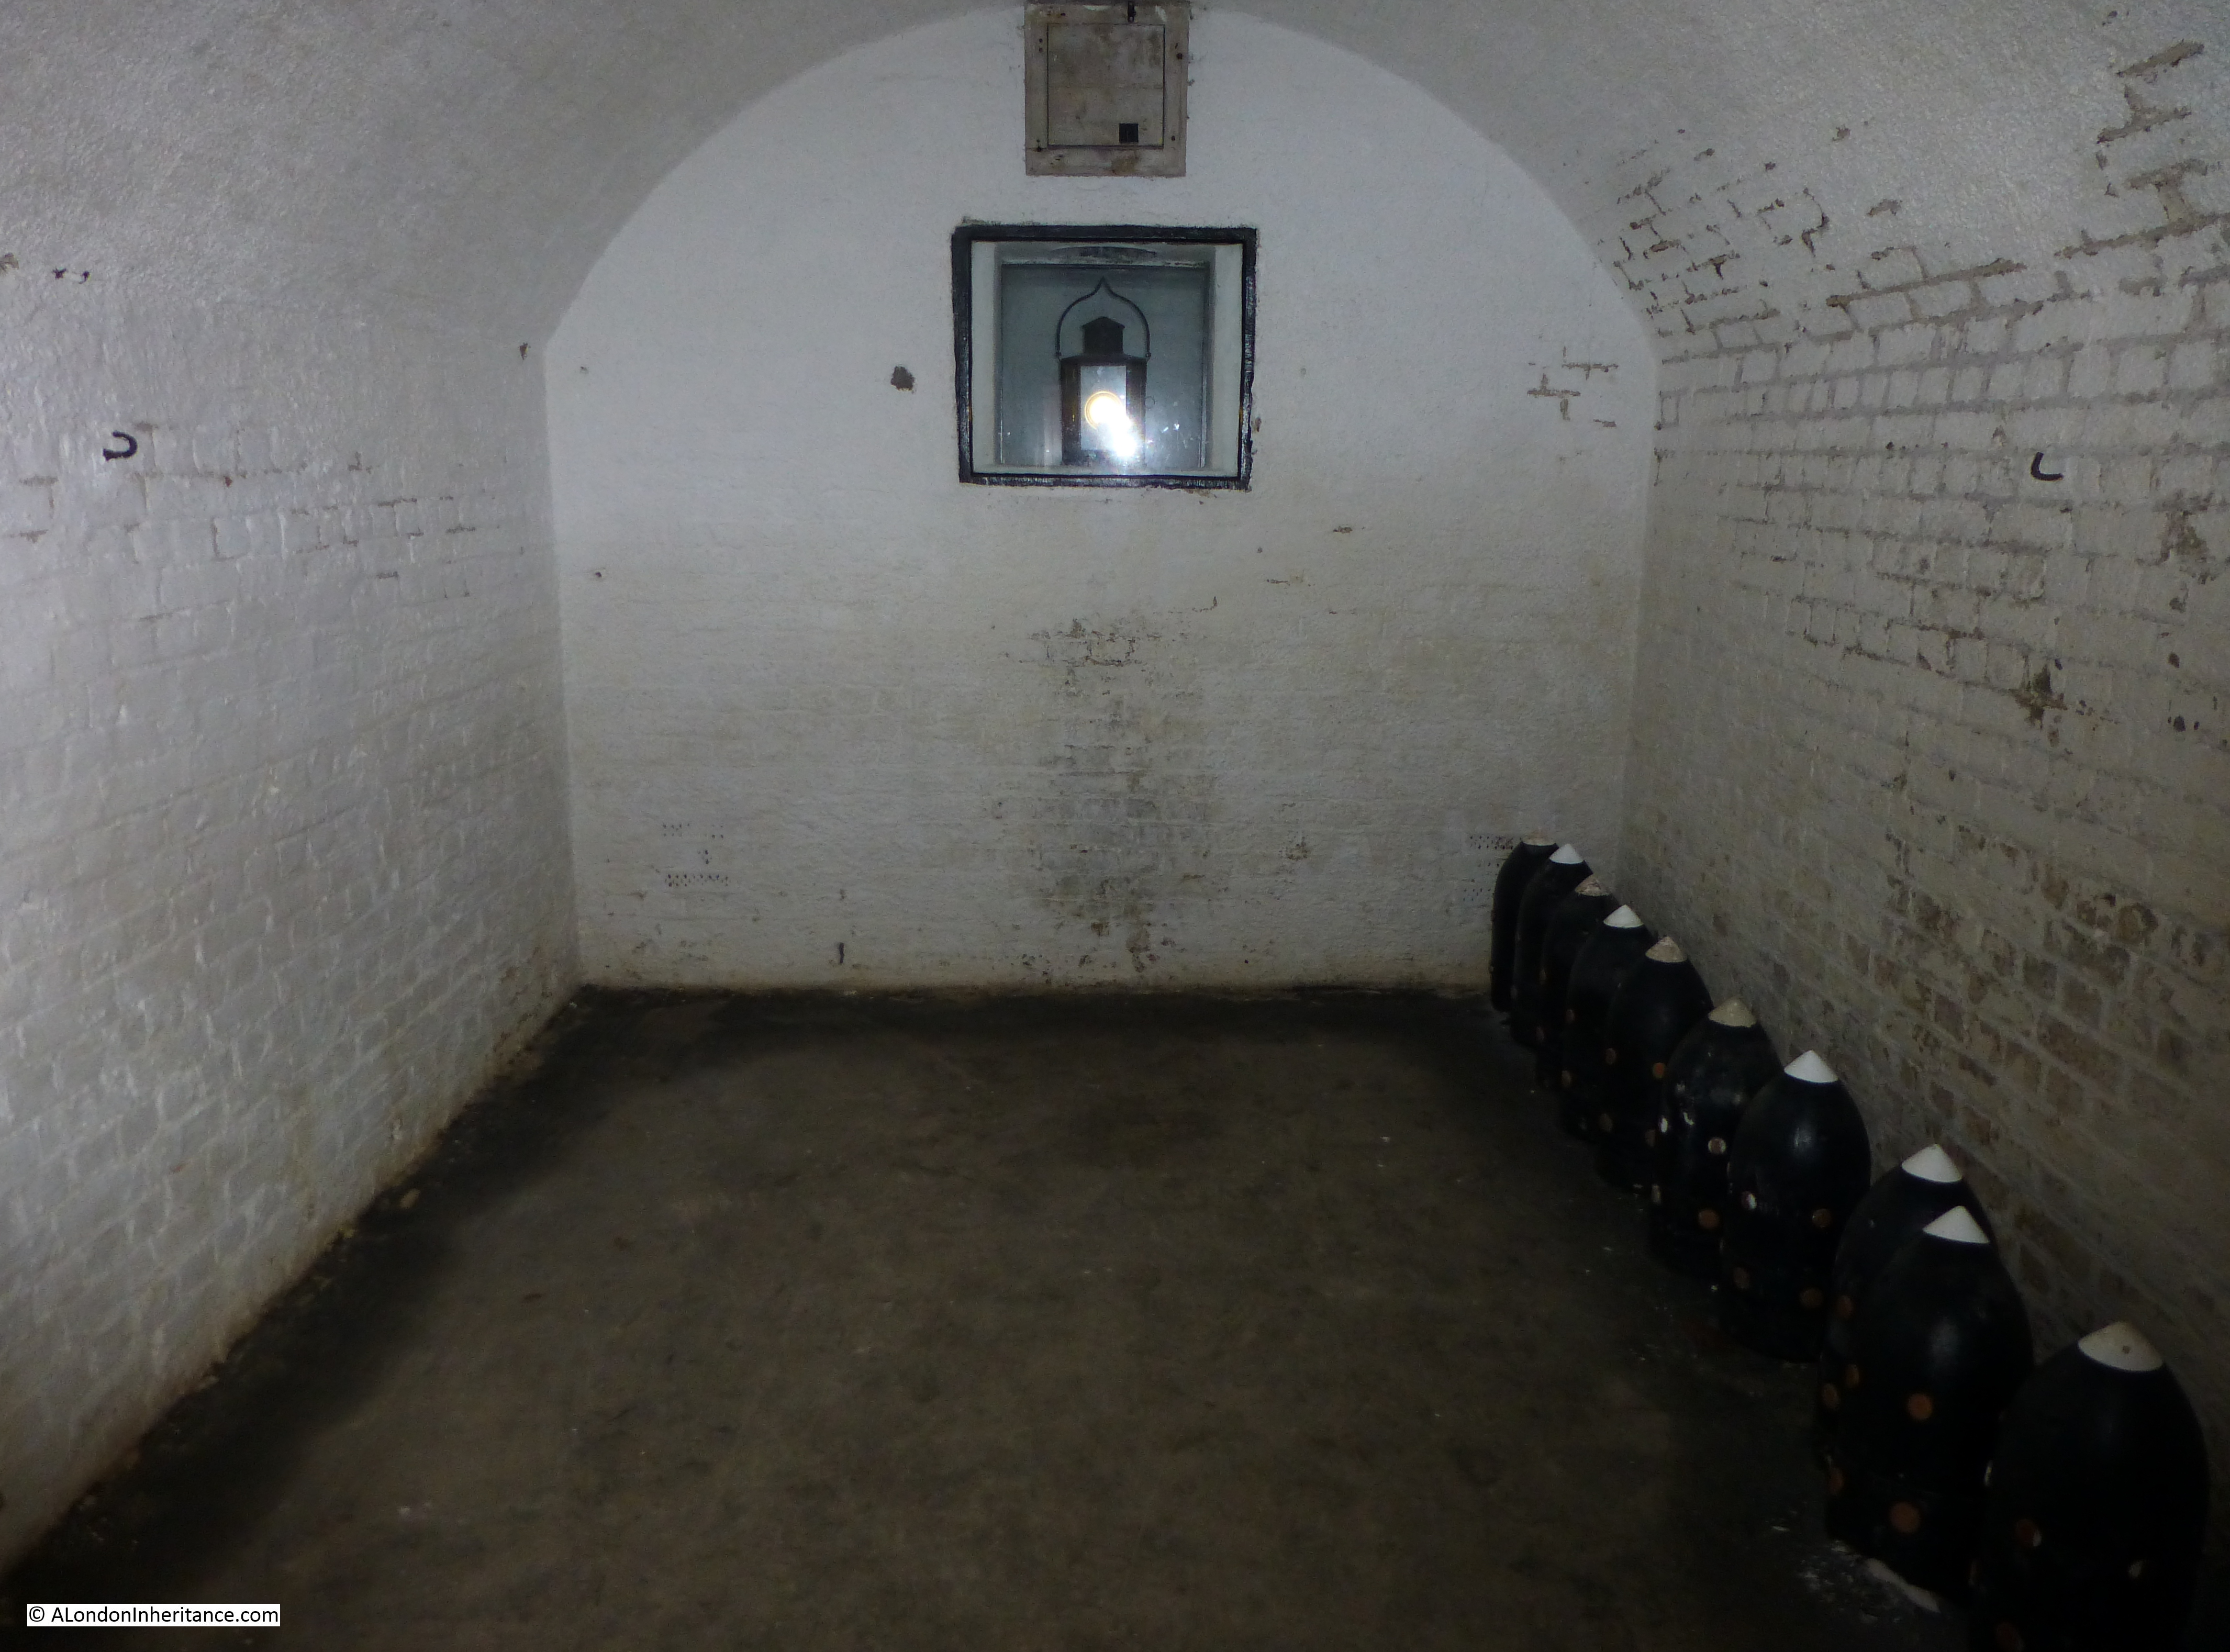
The bright light at the end of the room is an electric light in the original lighting window. The challenge with lighting underground ammunition storage rooms was to eliminate any possibility of sparks or flames, whilst still providing sufficient light for work. The window was completely sealed of from the room, and held an oil lamp which was lit and refueled from a separate set of tunnels which provided access to these lighting windows. This approach ensured that light could be provided whilst separating the two areas and preventing any sparks or flames being exposed to the contents of the ammunition stores.
Following the initial armament of the fort, upgrades continued, including placing quick fire guns, controlled from the fort, nearer to the river to counter new threats from fast-moving torpedo boats.
Guns with increased range (7 miles) were installed and some of the earthen embankments at the front of the fort were added to improve the camouflage of the fort.
During the 1st World War, an Artillery Company along with the 2nd Company of the London Electrical Engineers moved into the fort to man the guns and the searchlights used to monitor traffic on the river.
Minefields were established in the Thames to manage the traffic flow along the river, with tugs in the river checking incoming vessels. In support of this activity, Coalhouse Fort had the role of firing a warning shot at any suspect vessel, or any vessel that refused to stop for examination.
As with Tilbury Fort, Coalhouse Fort was used as a transit and training camp for troops on their way to the battlefields of France and Belgium.
During the 2nd World War, the fort served a number of functions.
Whilst new gun batteries had been set-up closer to the sea, along with greater naval protection, Coalhouse Fort was one of many batteries along the banks of the Thames designated as anti-invasion weapons, tasked to provide protection to the ports and docks of London from any fast moving cruisers and torpedo boats that had evaded the outer defences, as well as being able to attack any mass landing of enemy troops on the flat lands of the Thames estuary or the river.
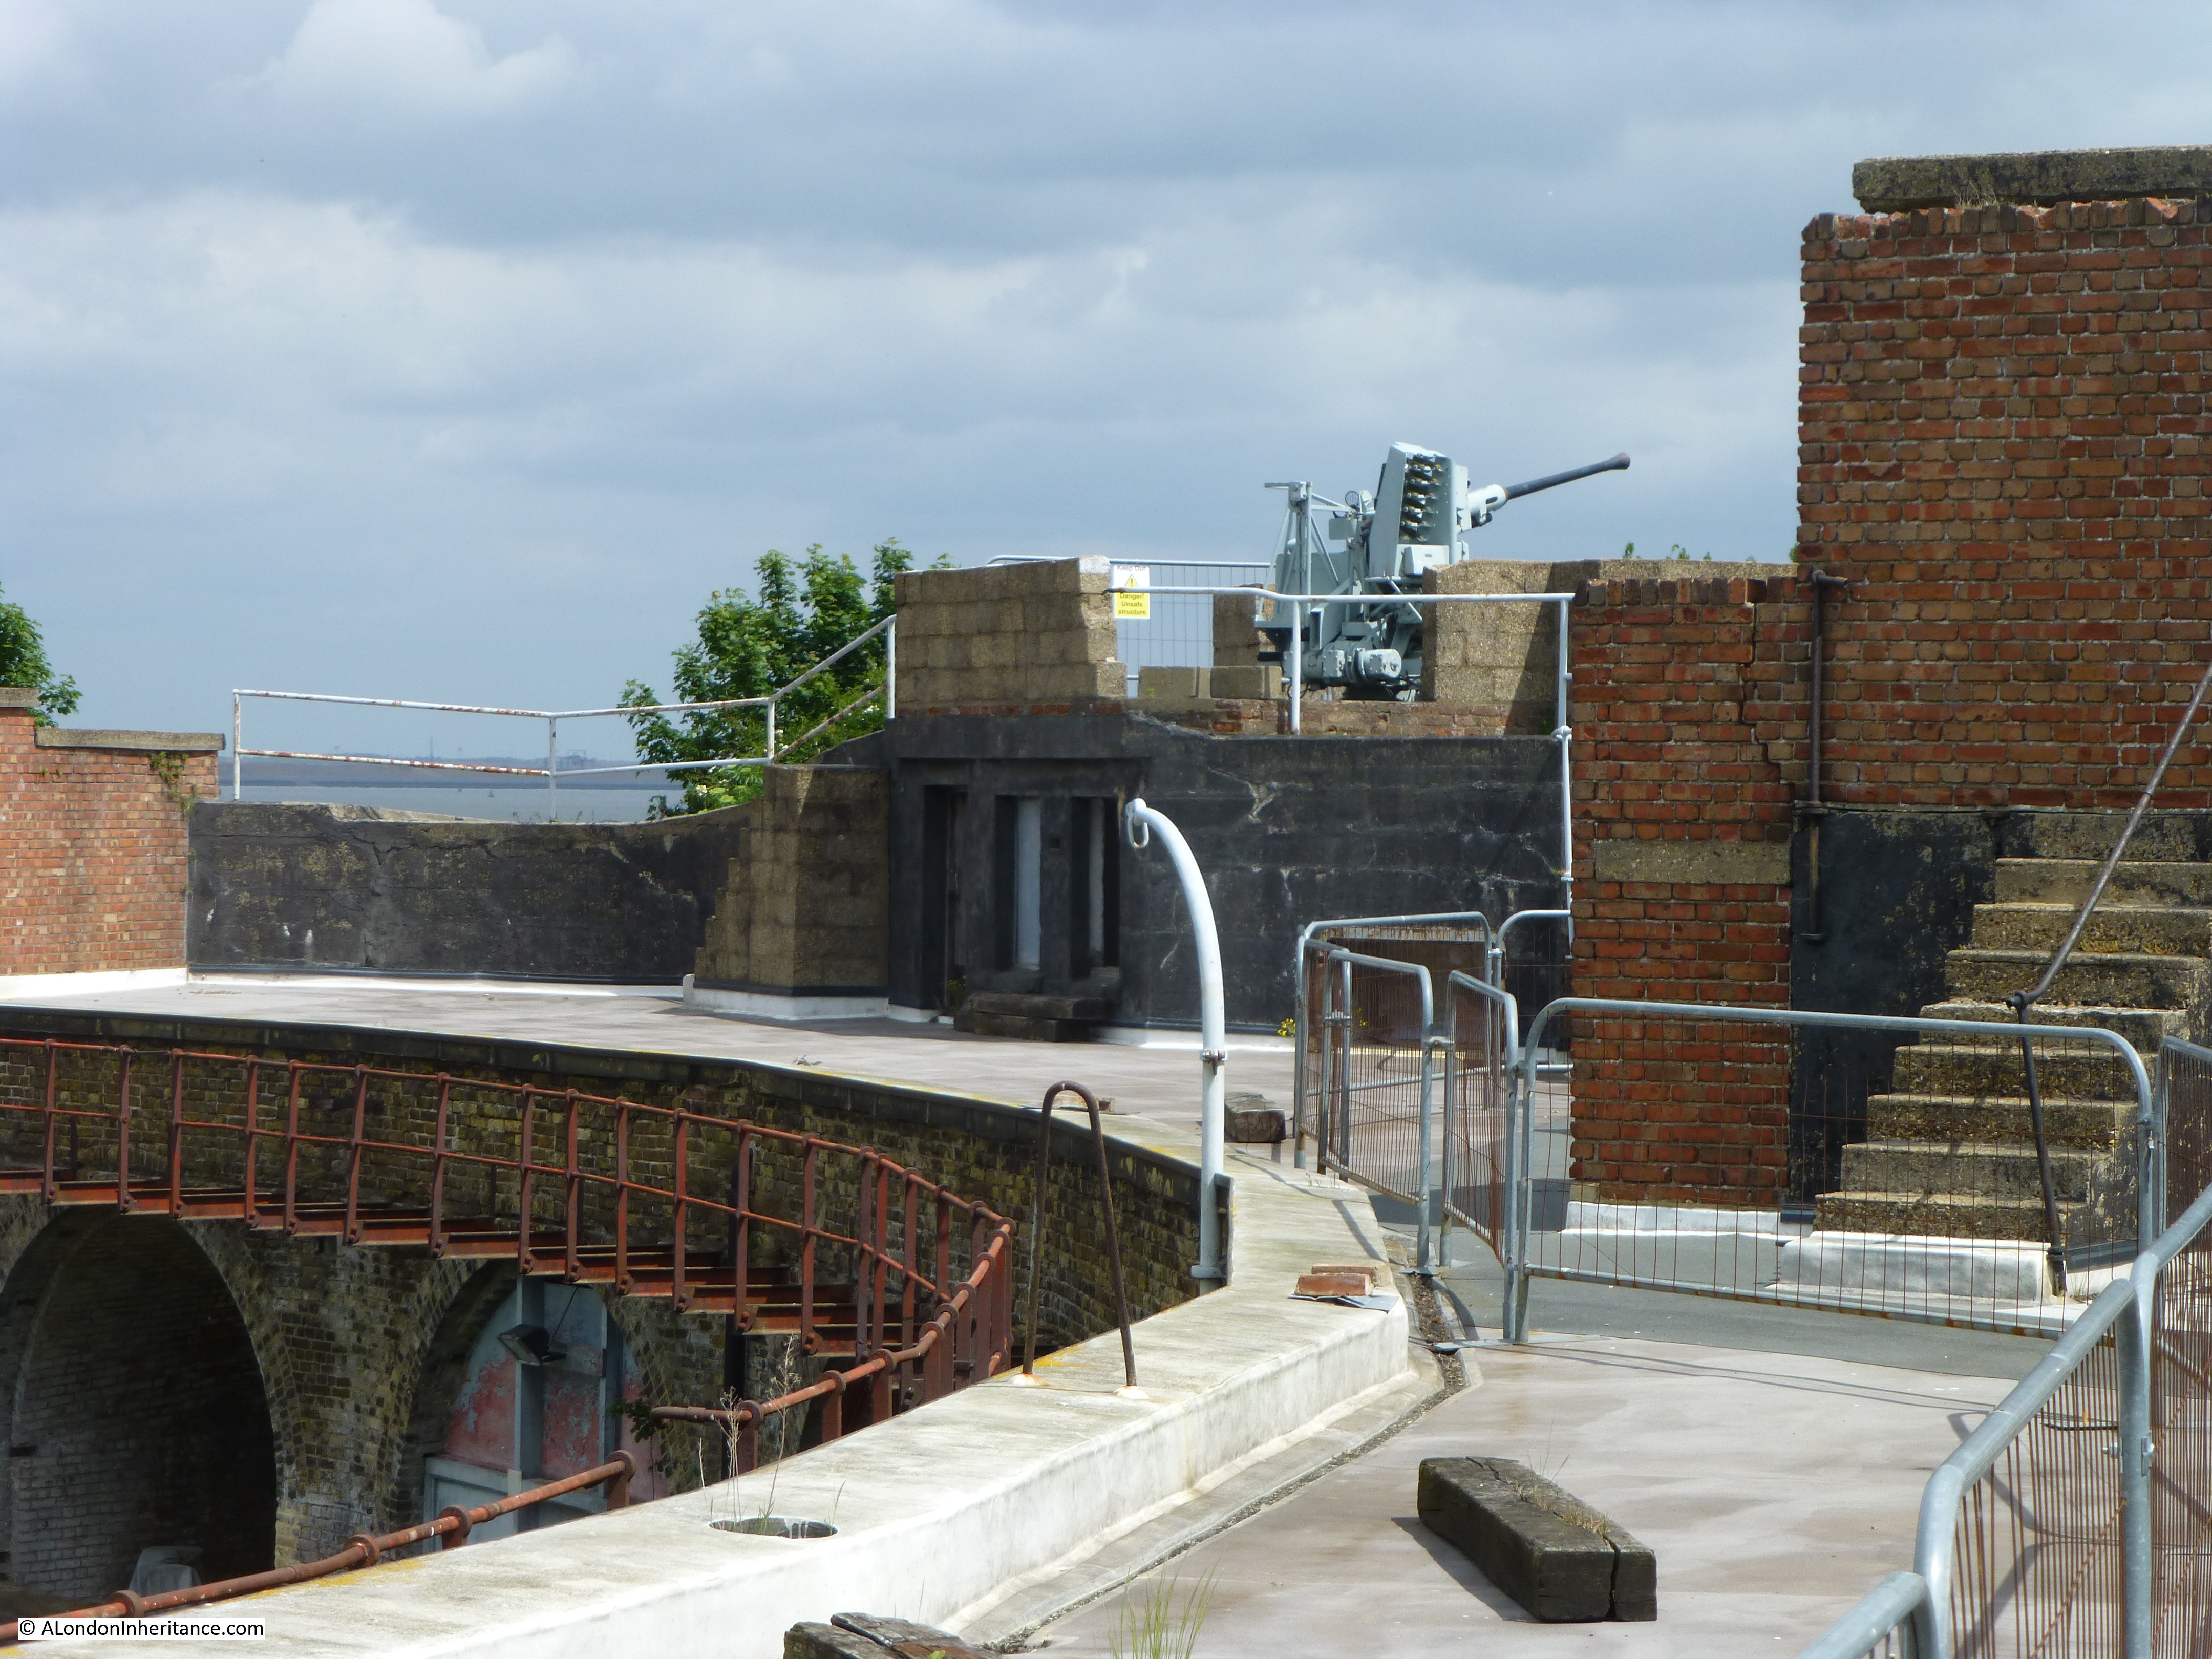
The whole area around the fort was heavily defended. Bofor anti-aircraft guns were installed on the roof along with further batteries of anti-aircraft guns and searchlights in the immediate locality. These saw a considerable amount of action during the bombing raids on London as the Thames was a perfect navigation aid providing a route direct from the coast to the docks and central London.
Parts of the roof are still accessible. A single Bofor anti-aircraft gun remains on the roof as an example of the types of weaponry used at the fort and in the locality in the defence of London.
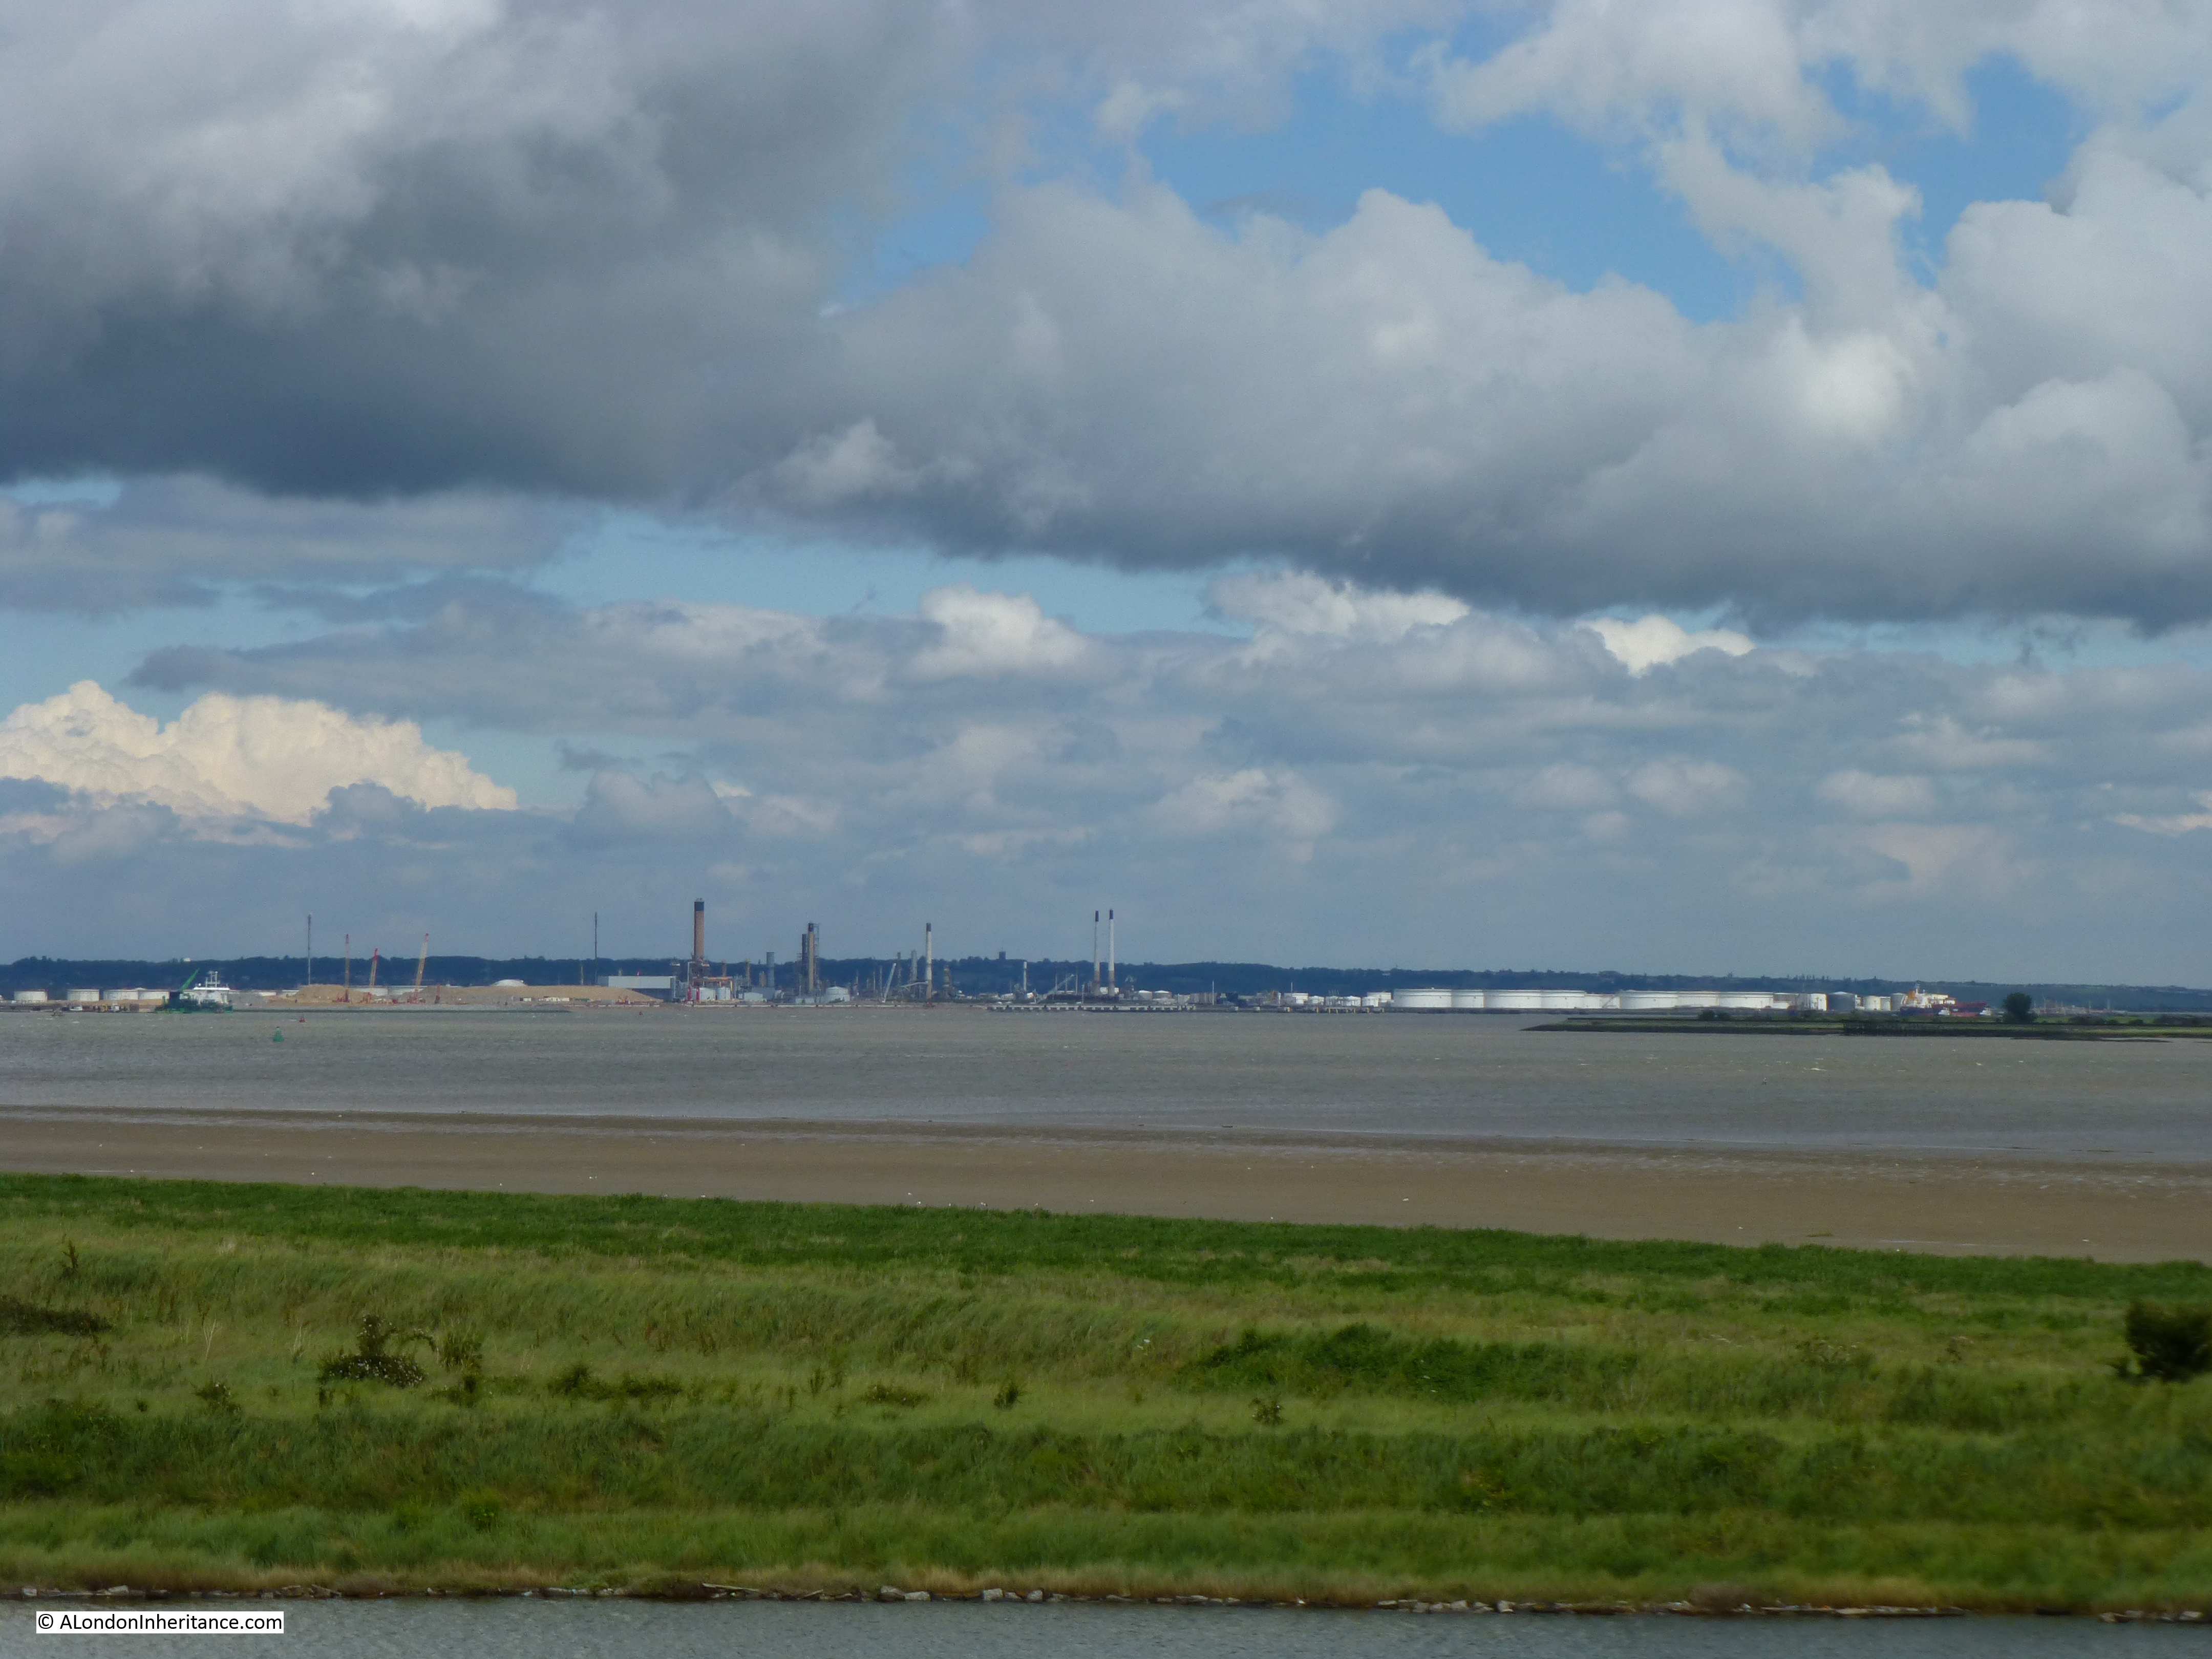
The view from the roof shows why this is an ideal location for defending the river. This is the view looking downstream towards the point where the river curves to the east. The white fuel tanks are those at the Coryton site and Canvey Island. To the left of the tanks is the new DP World London Gateway Port. The latest incarnation of docks along the River Thames, gradually moving further downstream in order to support the ever-growing container ships and the volume of land needed to manage the growth in container storage and movement.
Later additions on the roof including positions for the control of searchlights and also range finder equipment:

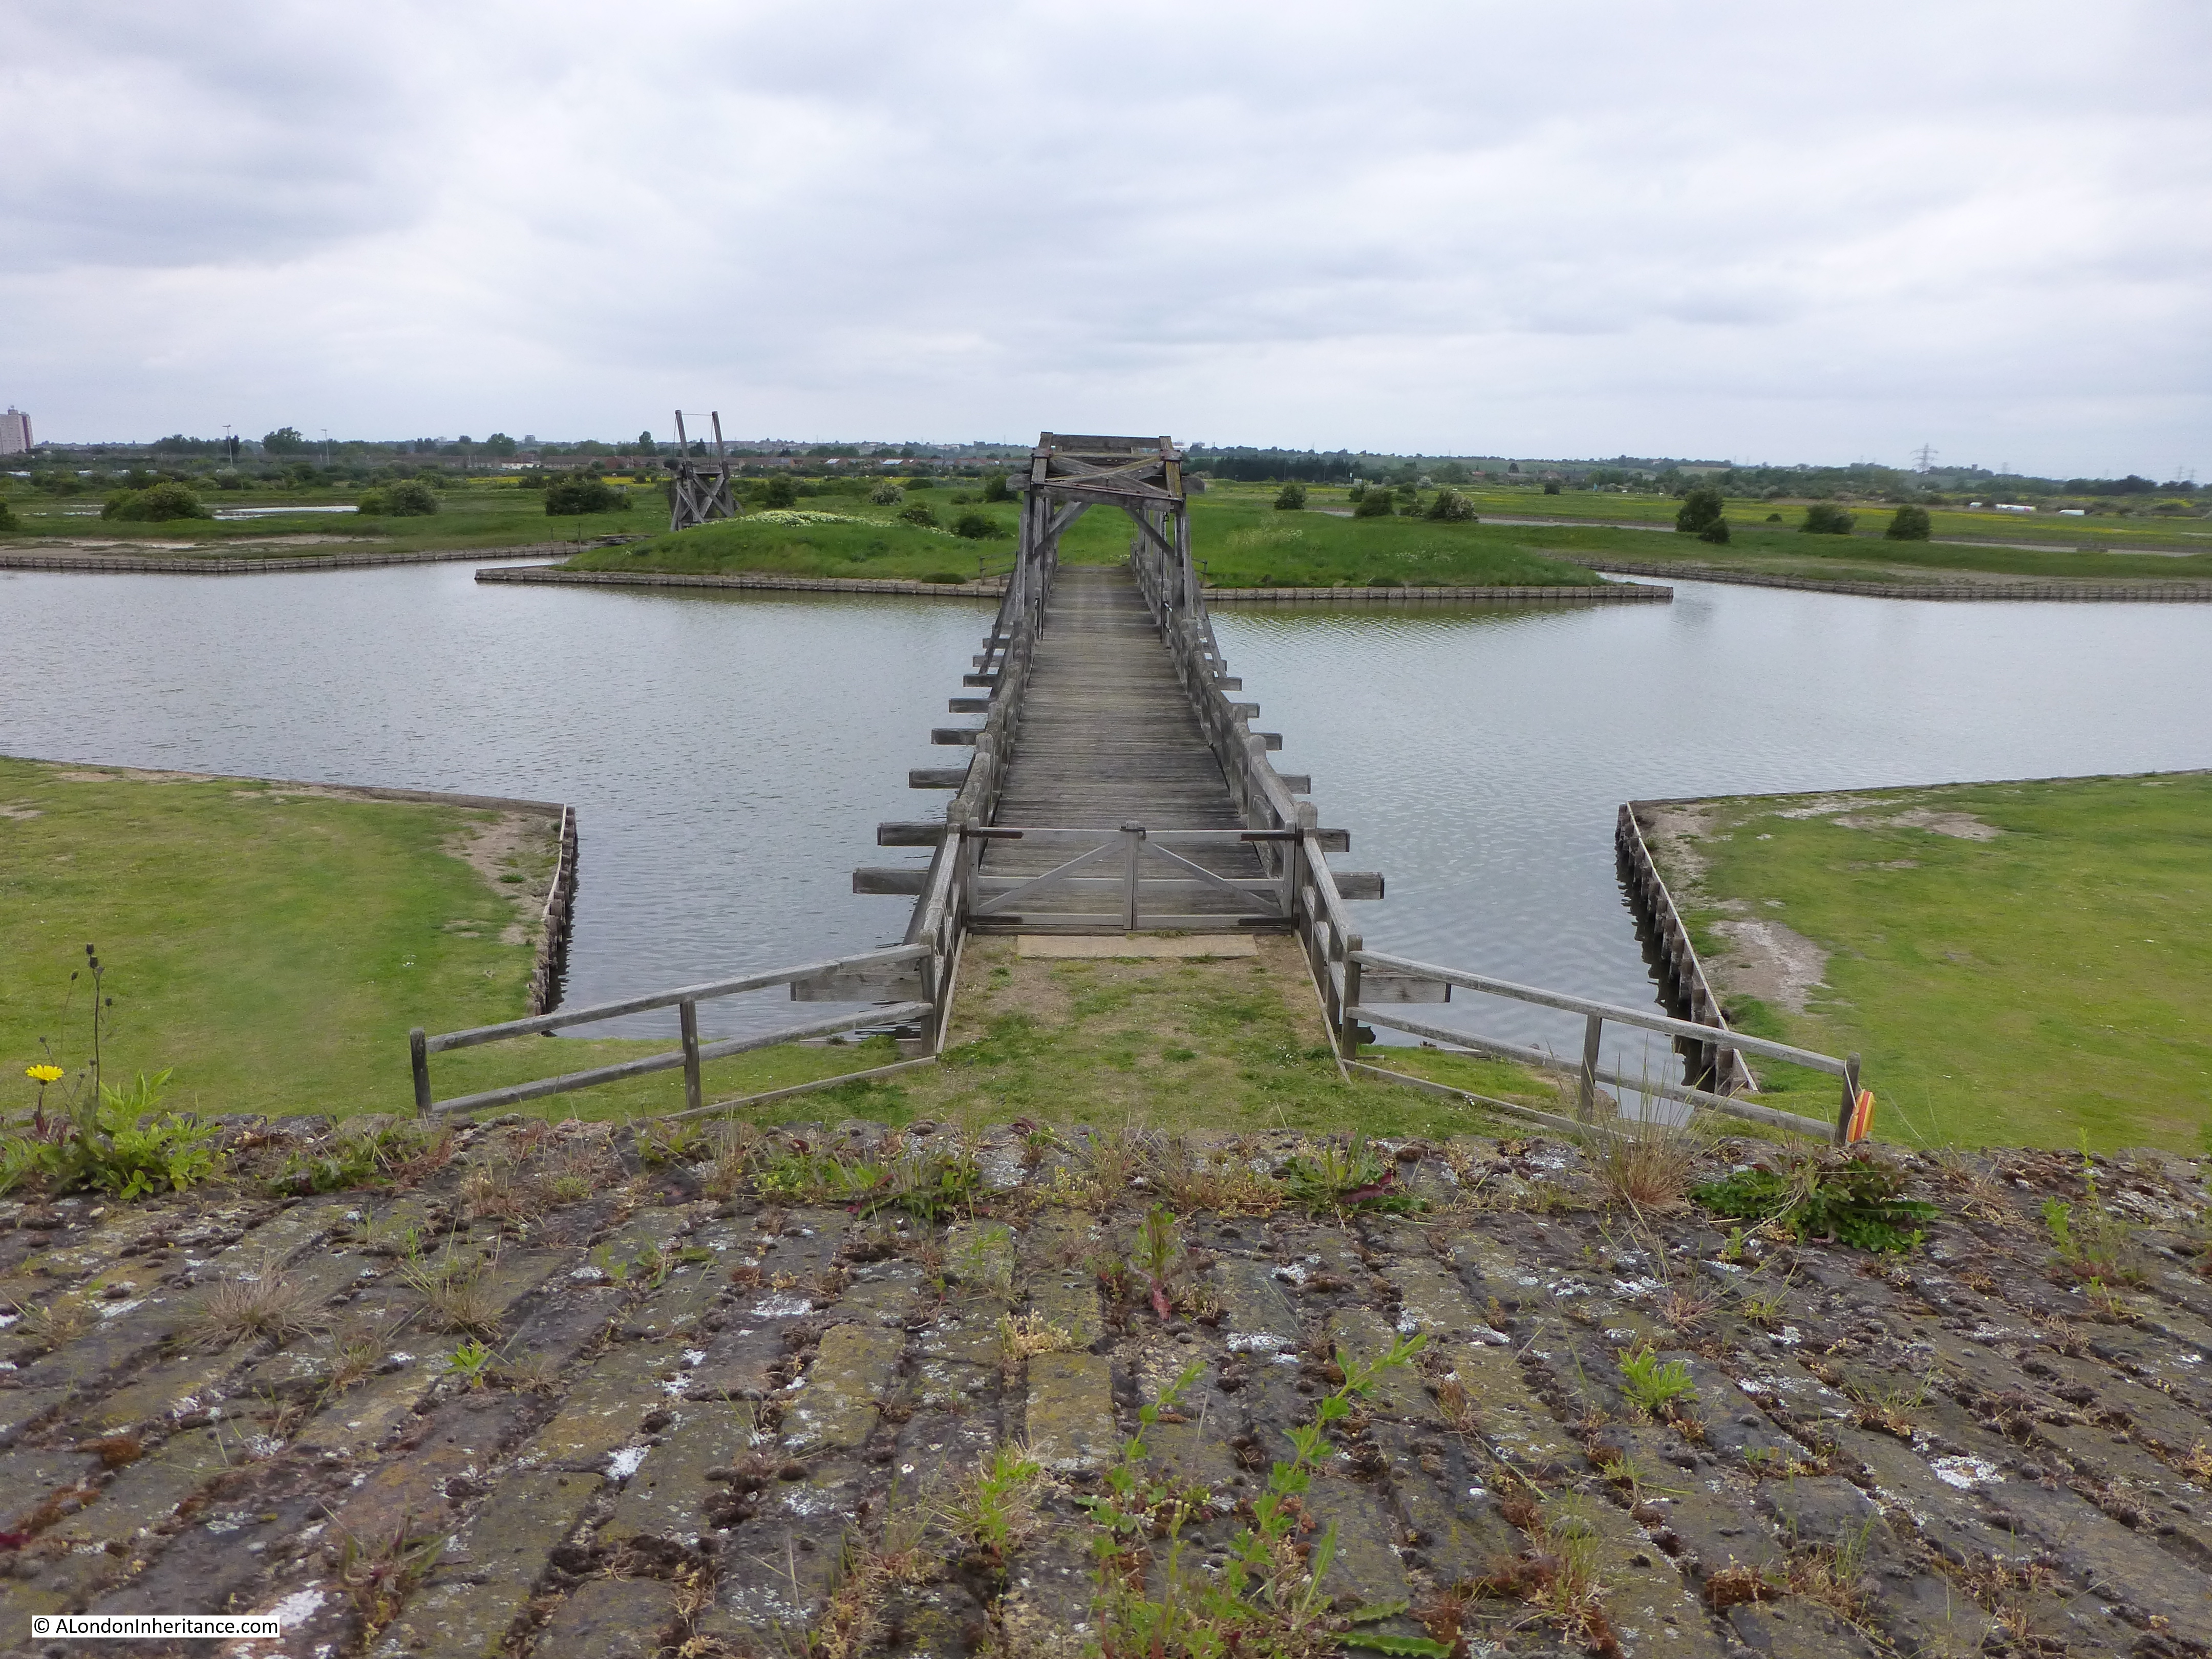
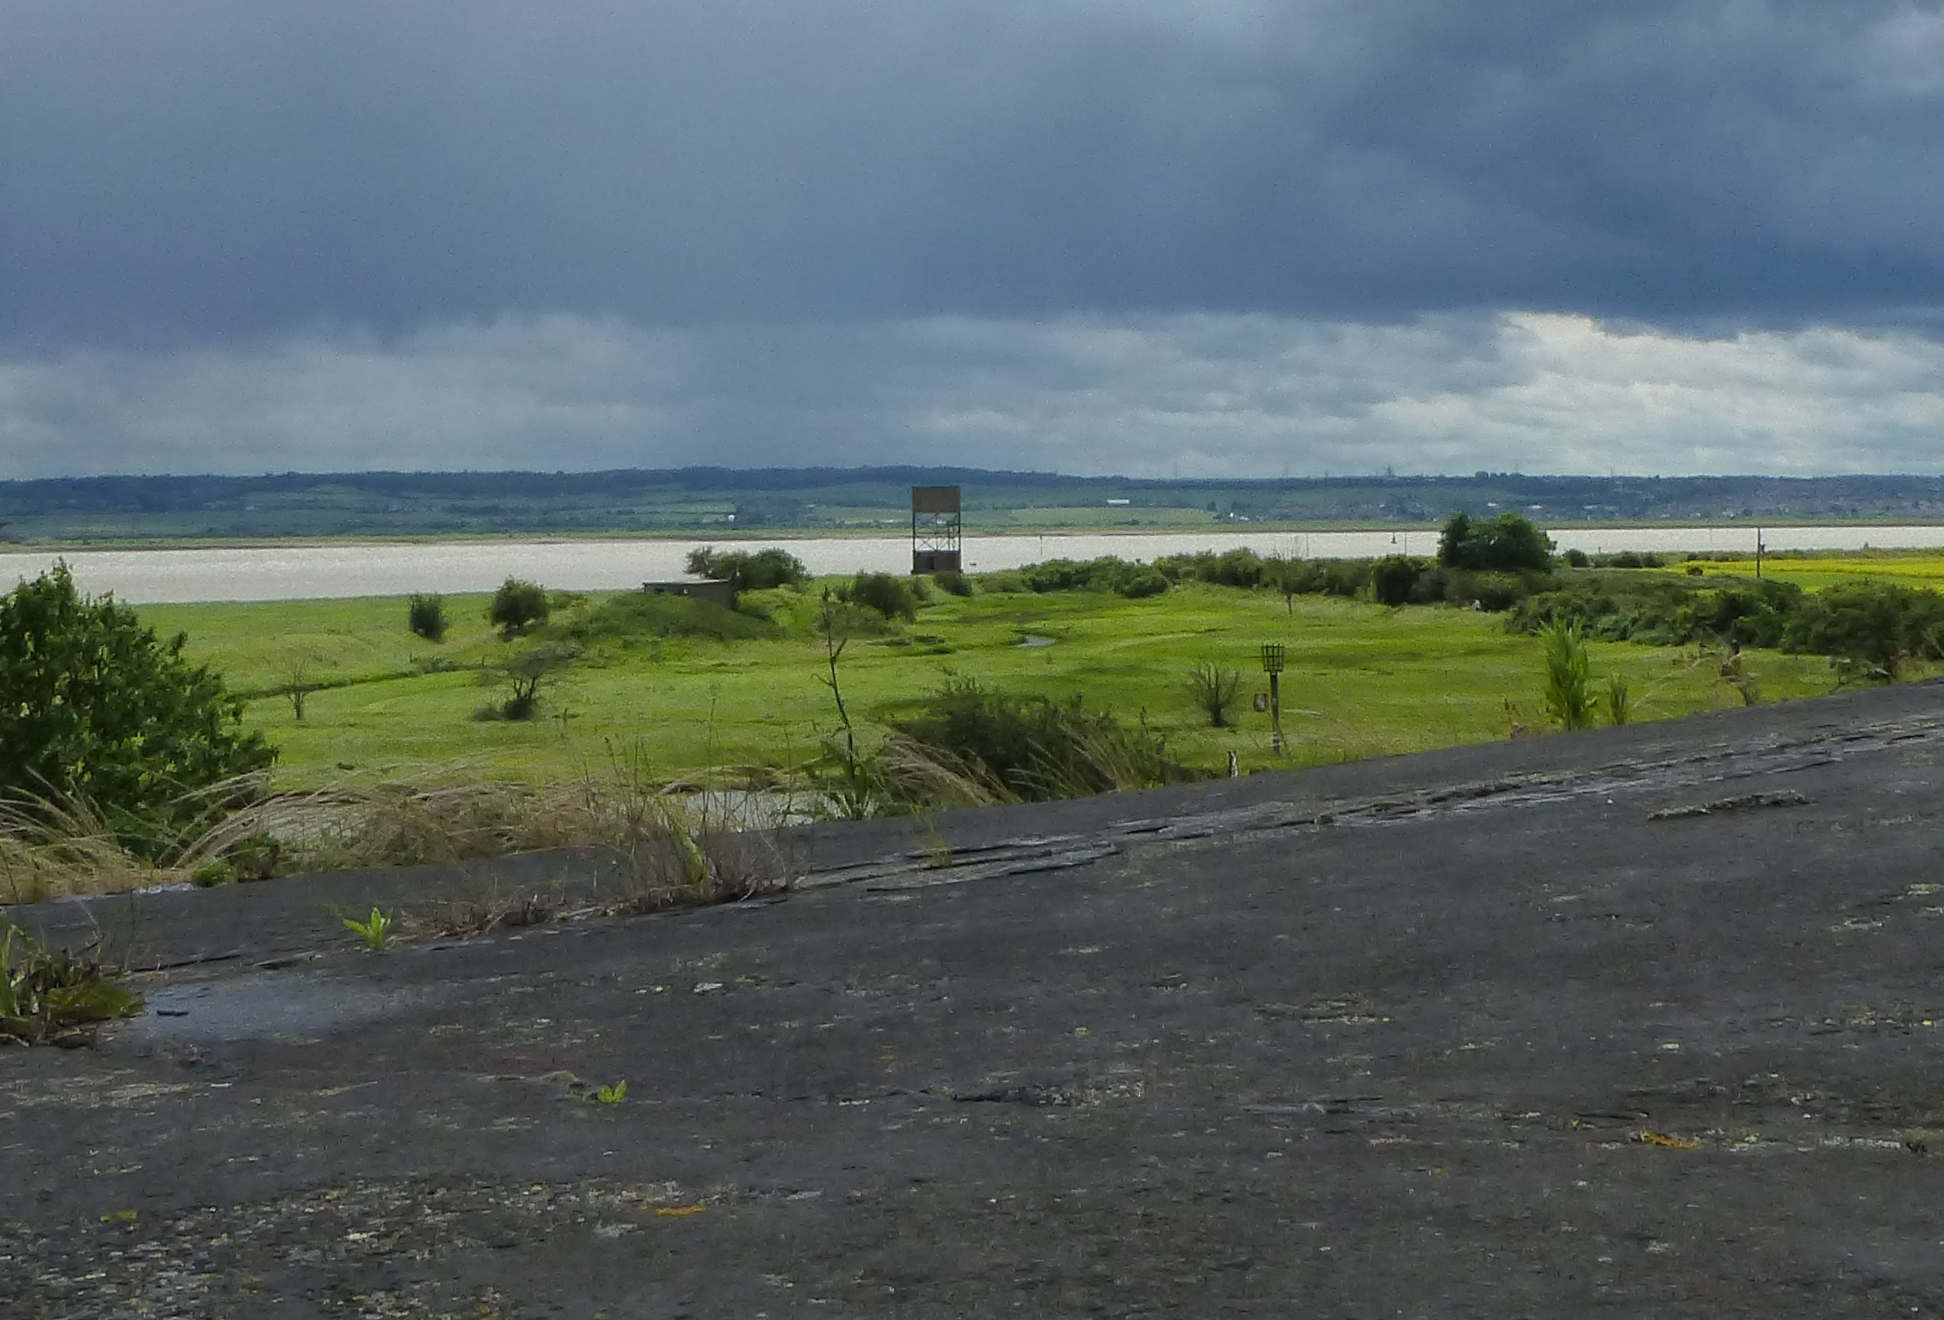
There were many installations around the fort, a few of which remain. The tower in the middle of the following photo adjacent to the Thames is a 2nd World War Radar Tower which was used to control the approaches along the river and through the minefields.
During the war, the fort also had a special role in protecting shipping leaving the London docks. One of the many threats to ships leaving the Thames was the magnetic mine, capable of detonating at a distance from a passing ship without any contact and either sinking or causing considerable damage, without even being seen.
To counter the threat from magnetic mines, it was found that moving a cable with an electric current along the hull of the ship would, for a relatively short time “de-gauss” or remove the ships magnetic field sufficient to allow the ship to leave London, pass out through the Thames estuary and the Channel into open waters where magnetic mines were less of a threat.
To ensure that ships leaving London were sufficiently de-gaussed, sensors placed on the river bed, fed signals back to a monitoring station on the roof of Coalhouse Fort. Ships which still had a magnetic field capable of triggering a mine could be identified, contacted, and sent back for further attention.
One of the now empty gun emplacements on the roof:
The construction of the new Coalhouse Fort in 1861 was the result of a Royal Commission recommendation for a whole series of forts around the country to defend strategic rivers, ports, dockyards etc. The recommendation was supported by the Prime Minister of the time, Lord Palmerston. As well as Coalhouse Fort, many others still exist, perhaps the most dramatic being the forts built in the Solent to defend the approaches to Portsmouth and Southampton.

Although sea based, these forts had exactly the same purpose as the Thames forts, to provide a platform for heavy artillery to fire on any attacking naval force.
After the last war, Coalhouse Fort was used for a short time for the training of sea cadets, and then by the British Bata Shoe Corporation for storage.
The fort is now owned by Thurrock Borough Council with the volunteer Coalhouse Fort Project taking on the task of restoration and enabling open days throughout the year.
Tilbury and Coalhouse Forts provide an example of how London has been dependent on a much wider area around London. For four hundred years Tilbury and Coalhouse Forts have played many roles in the defence of London from the risk of attack along the river and in the last century, from the air.
Details of open days at Coalhouse Fort can be found on the Coalhouse Fort Project website which can be found here.