In my father’s photo collection, there are a series showing a rather misty location in London, looking over the remains of a bombed square. These are some of the earliest photos and the negatives are not in the best condition and were probably from the winter of 1946/47.
I must admit I had not studied these in detail, there was no obvious feature and I included one of the photos in a post covering mystery locations and this was about the only one that was not identified.
I looked at these again recently and the location should have been really obvious – it was my own fault for not looking close enough.
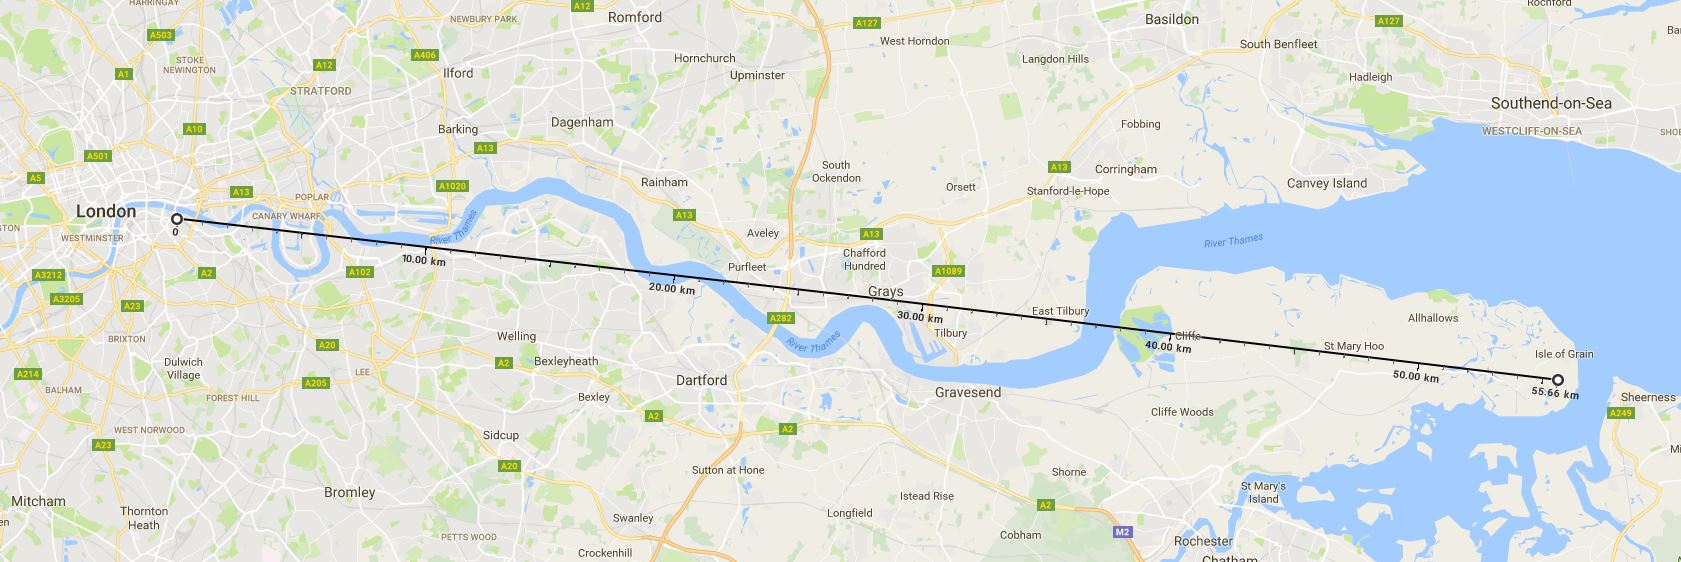
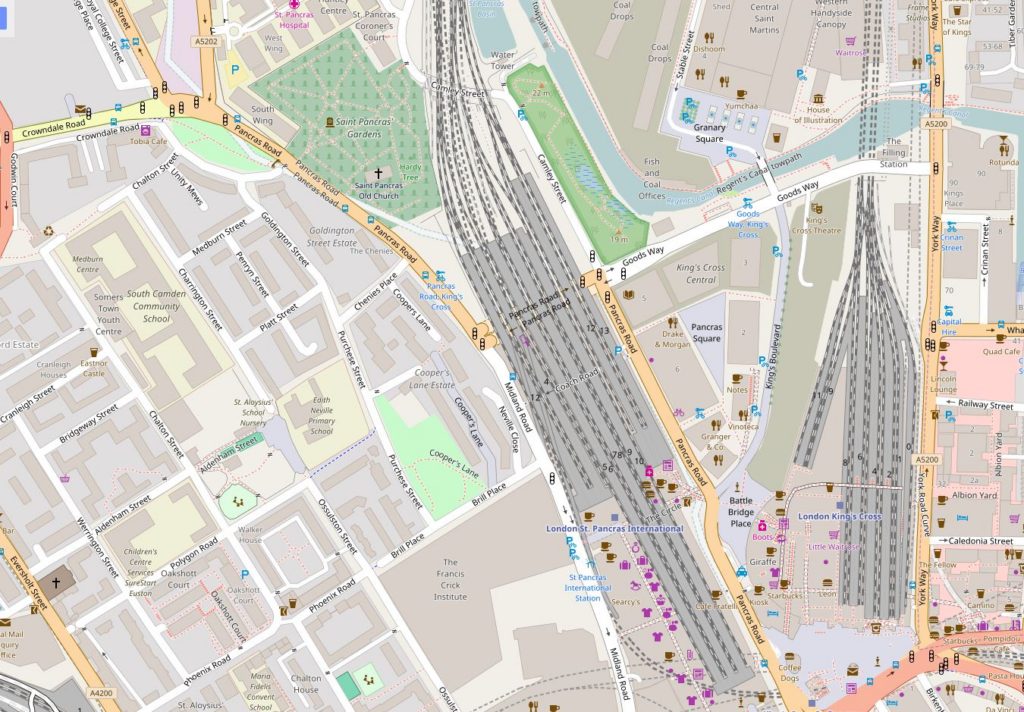
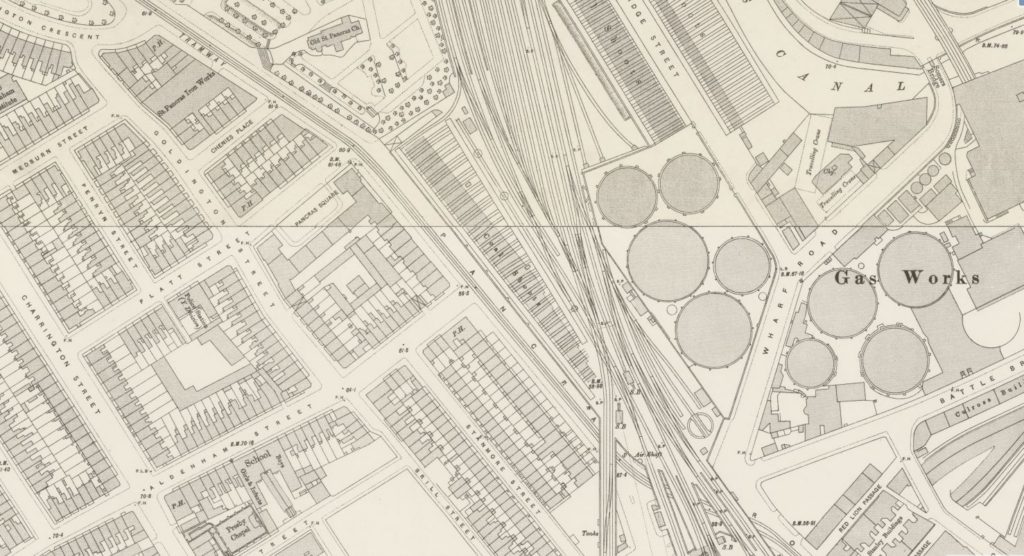
Firstly, let me set the scene. The following map shows the location today. The station in the middle of the map is St. Pancras Station. The green space to the left of the rail tracks at the top is the location of St. Pancras Old Church. Pancras Road runs to the left of the church down towards the station and to the left of this is Purchese Street.
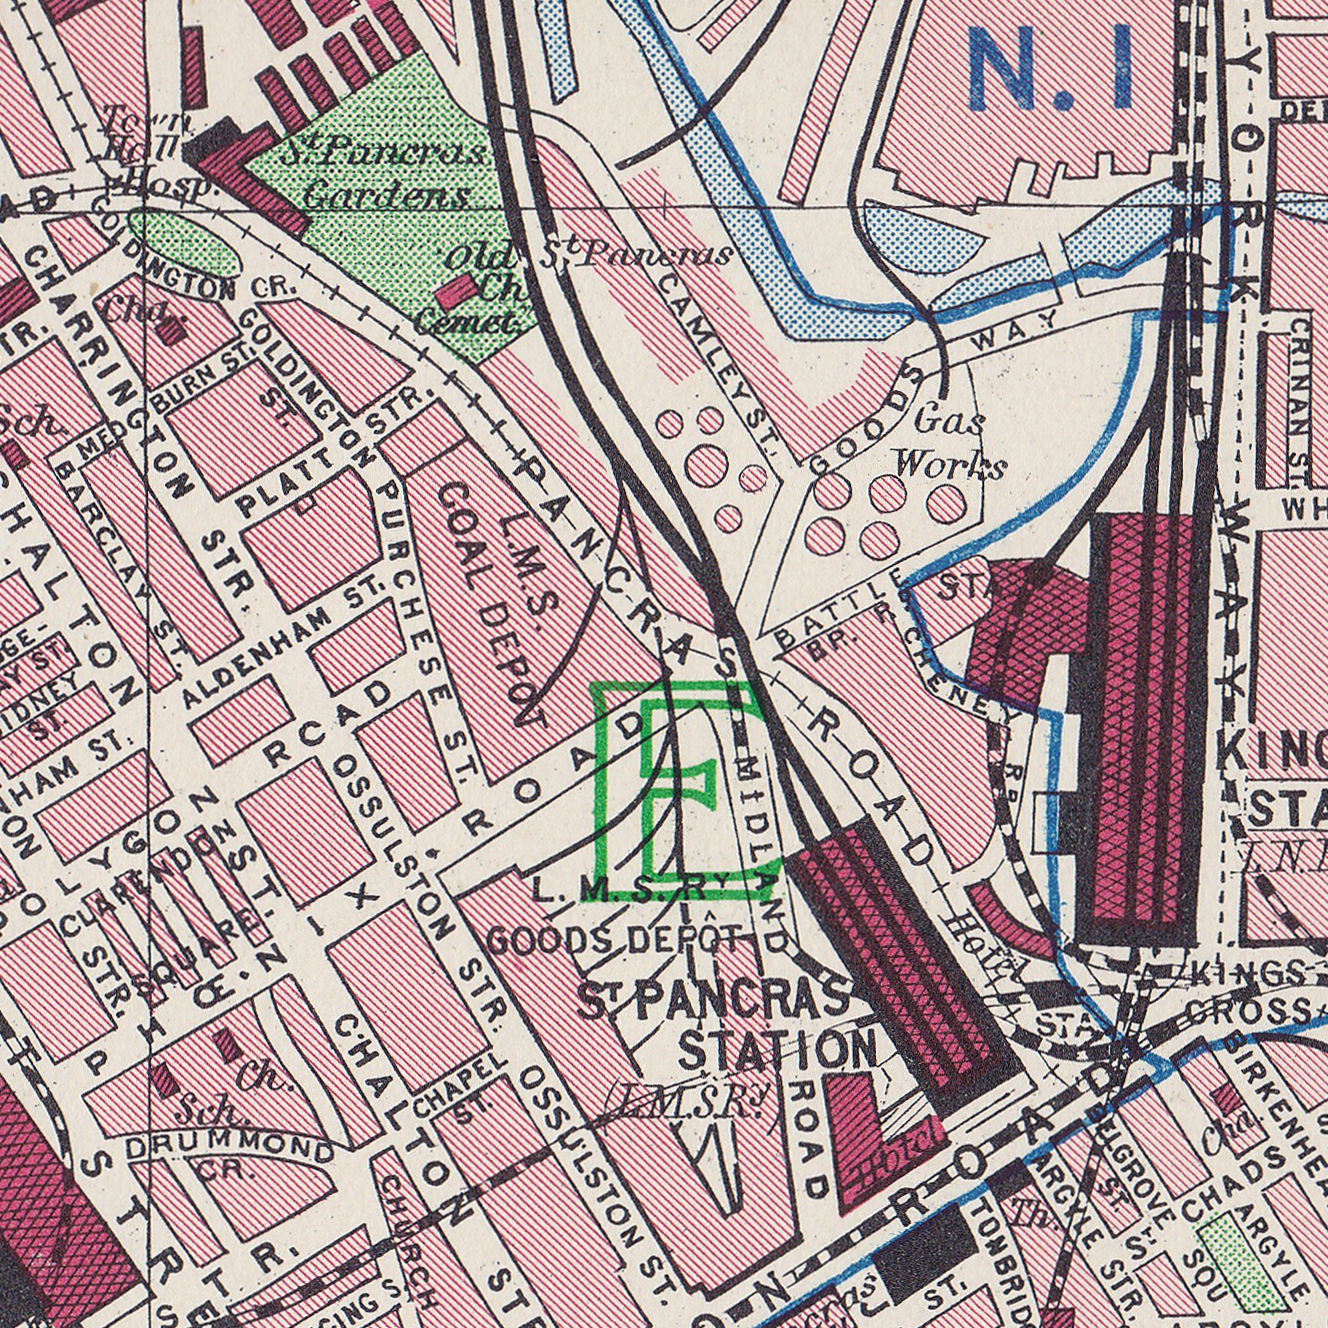
The same area from the 1940 Bartholomew Atlas of Greater London. St. Pancras Station is without the recent extensions for the Eurostar trains to the Channel Tunnel. There is a Gas Works between the rail tracks leading into both St. Pancras and Kings Cross Stations. Between Pancras Road and Purchese Street is an L.M.S. Coal Depot.
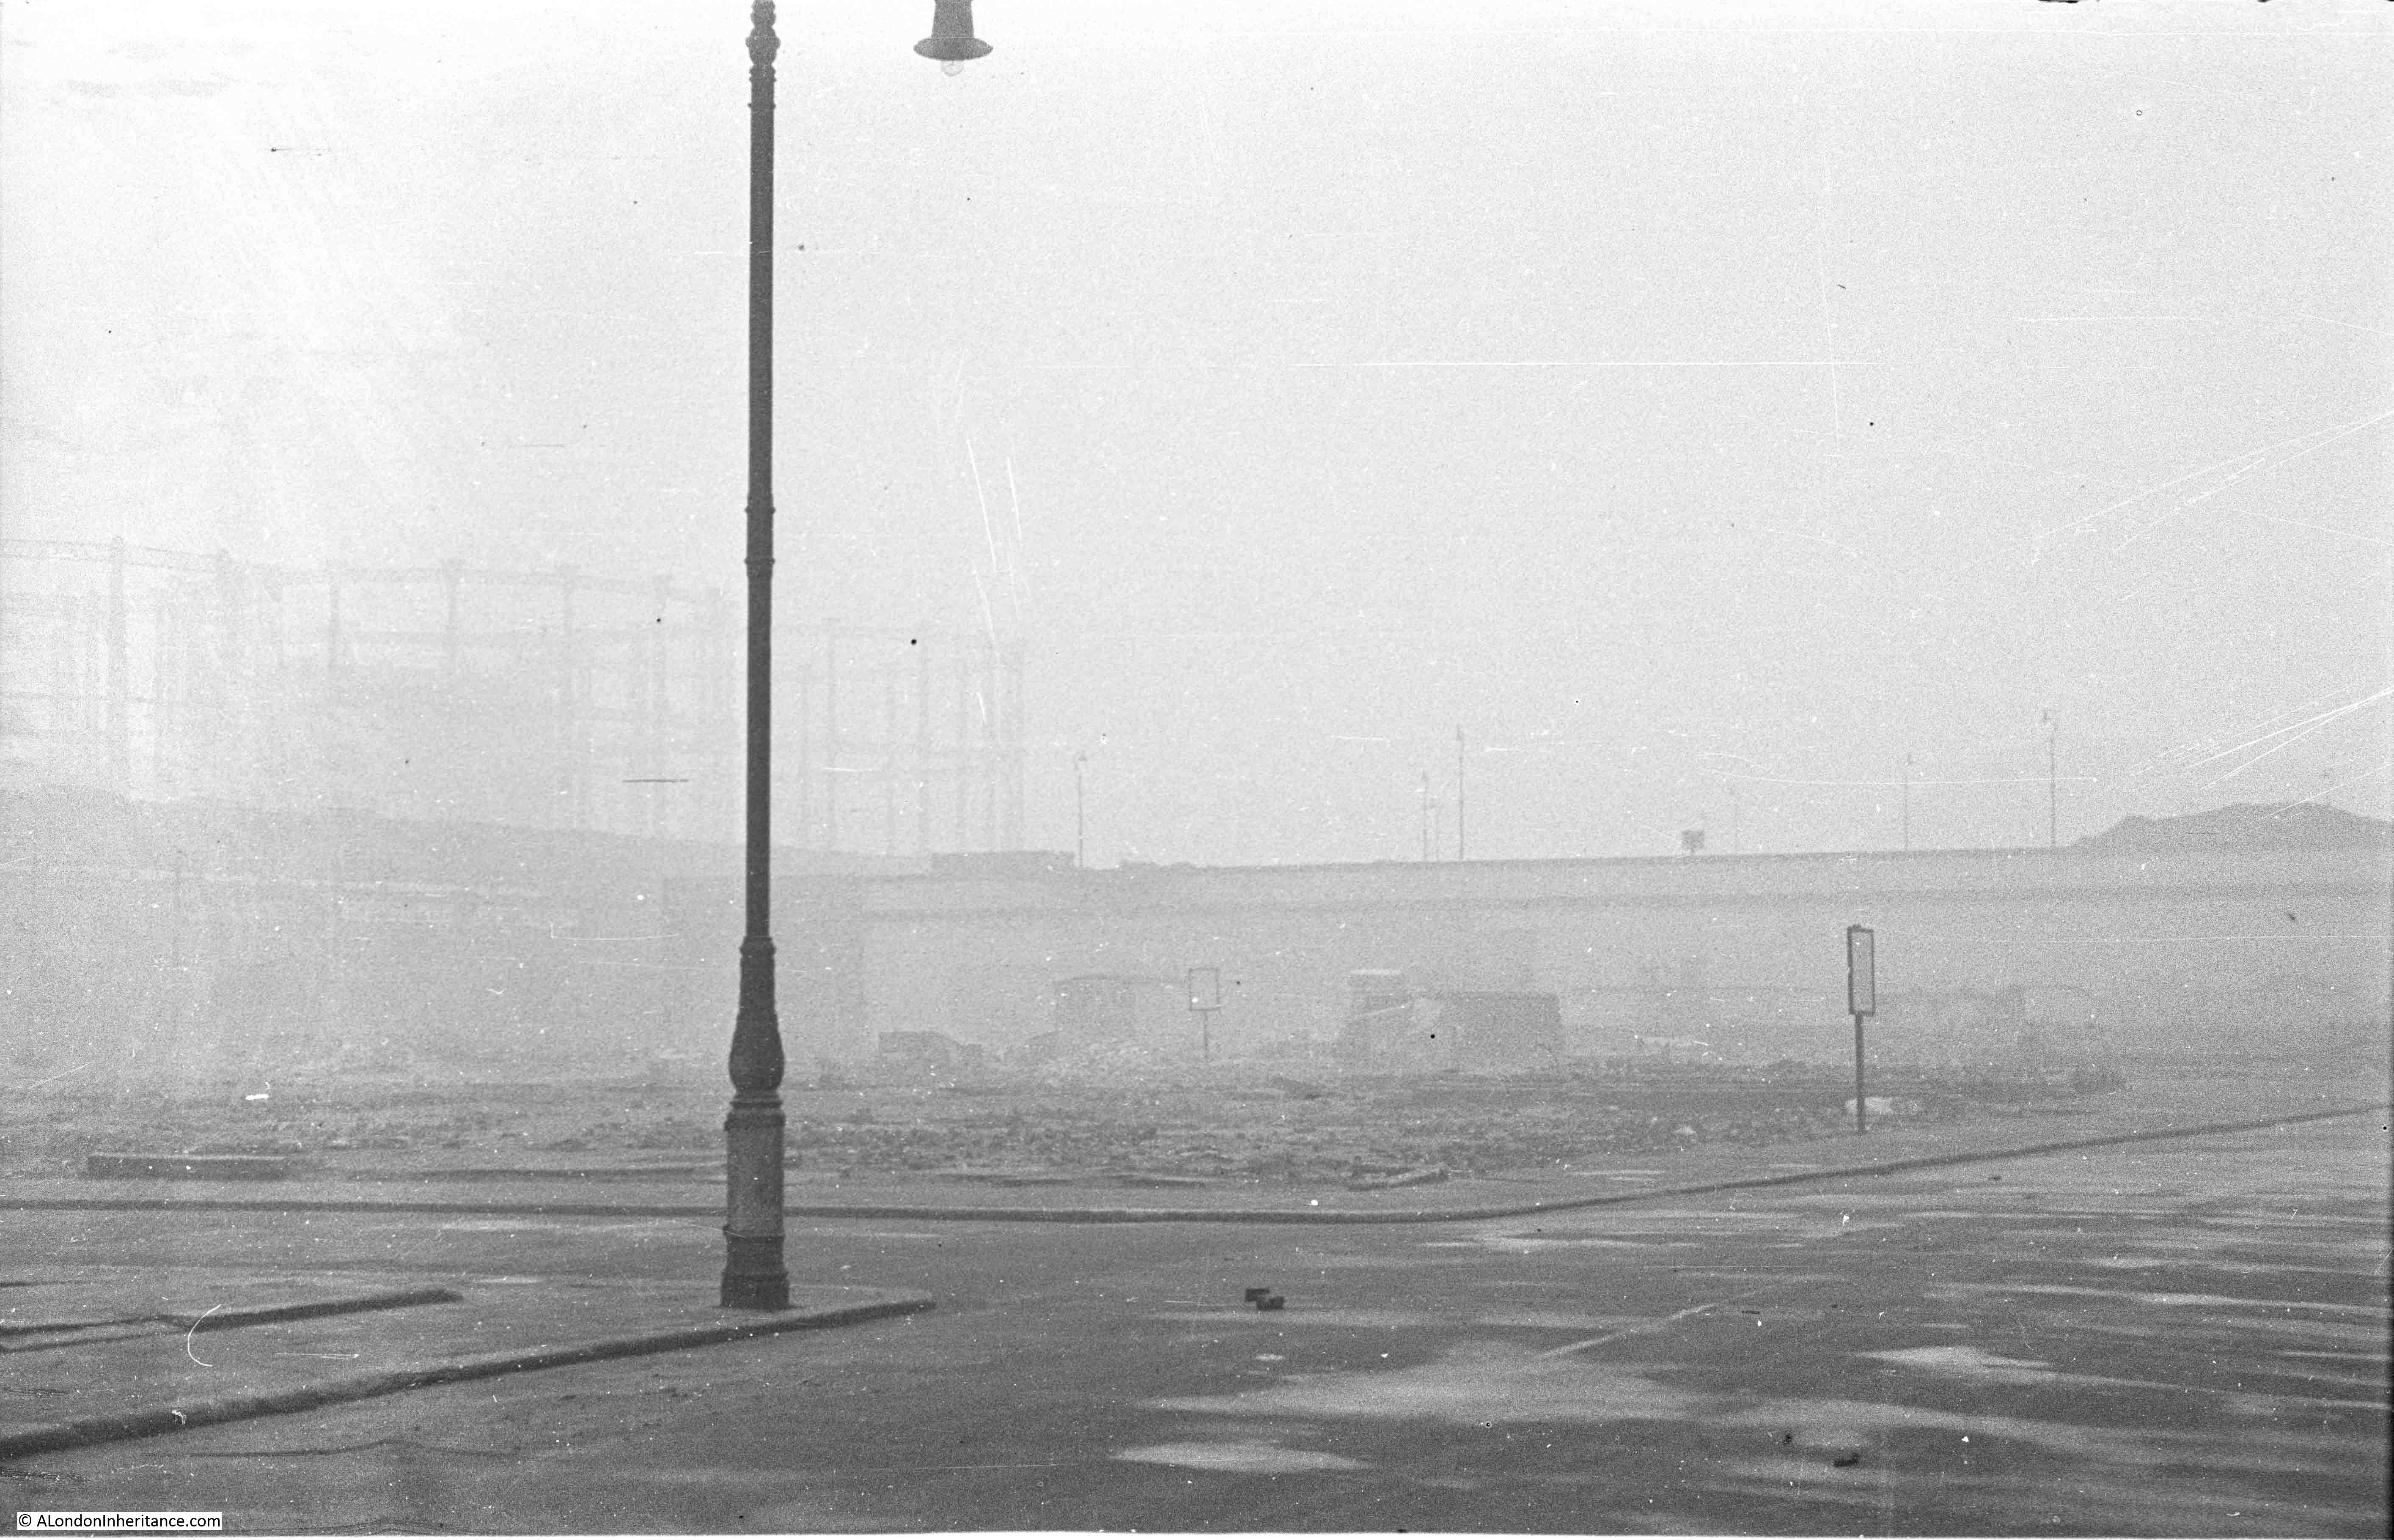
Having set the scene today and in 1940, here are the photos.
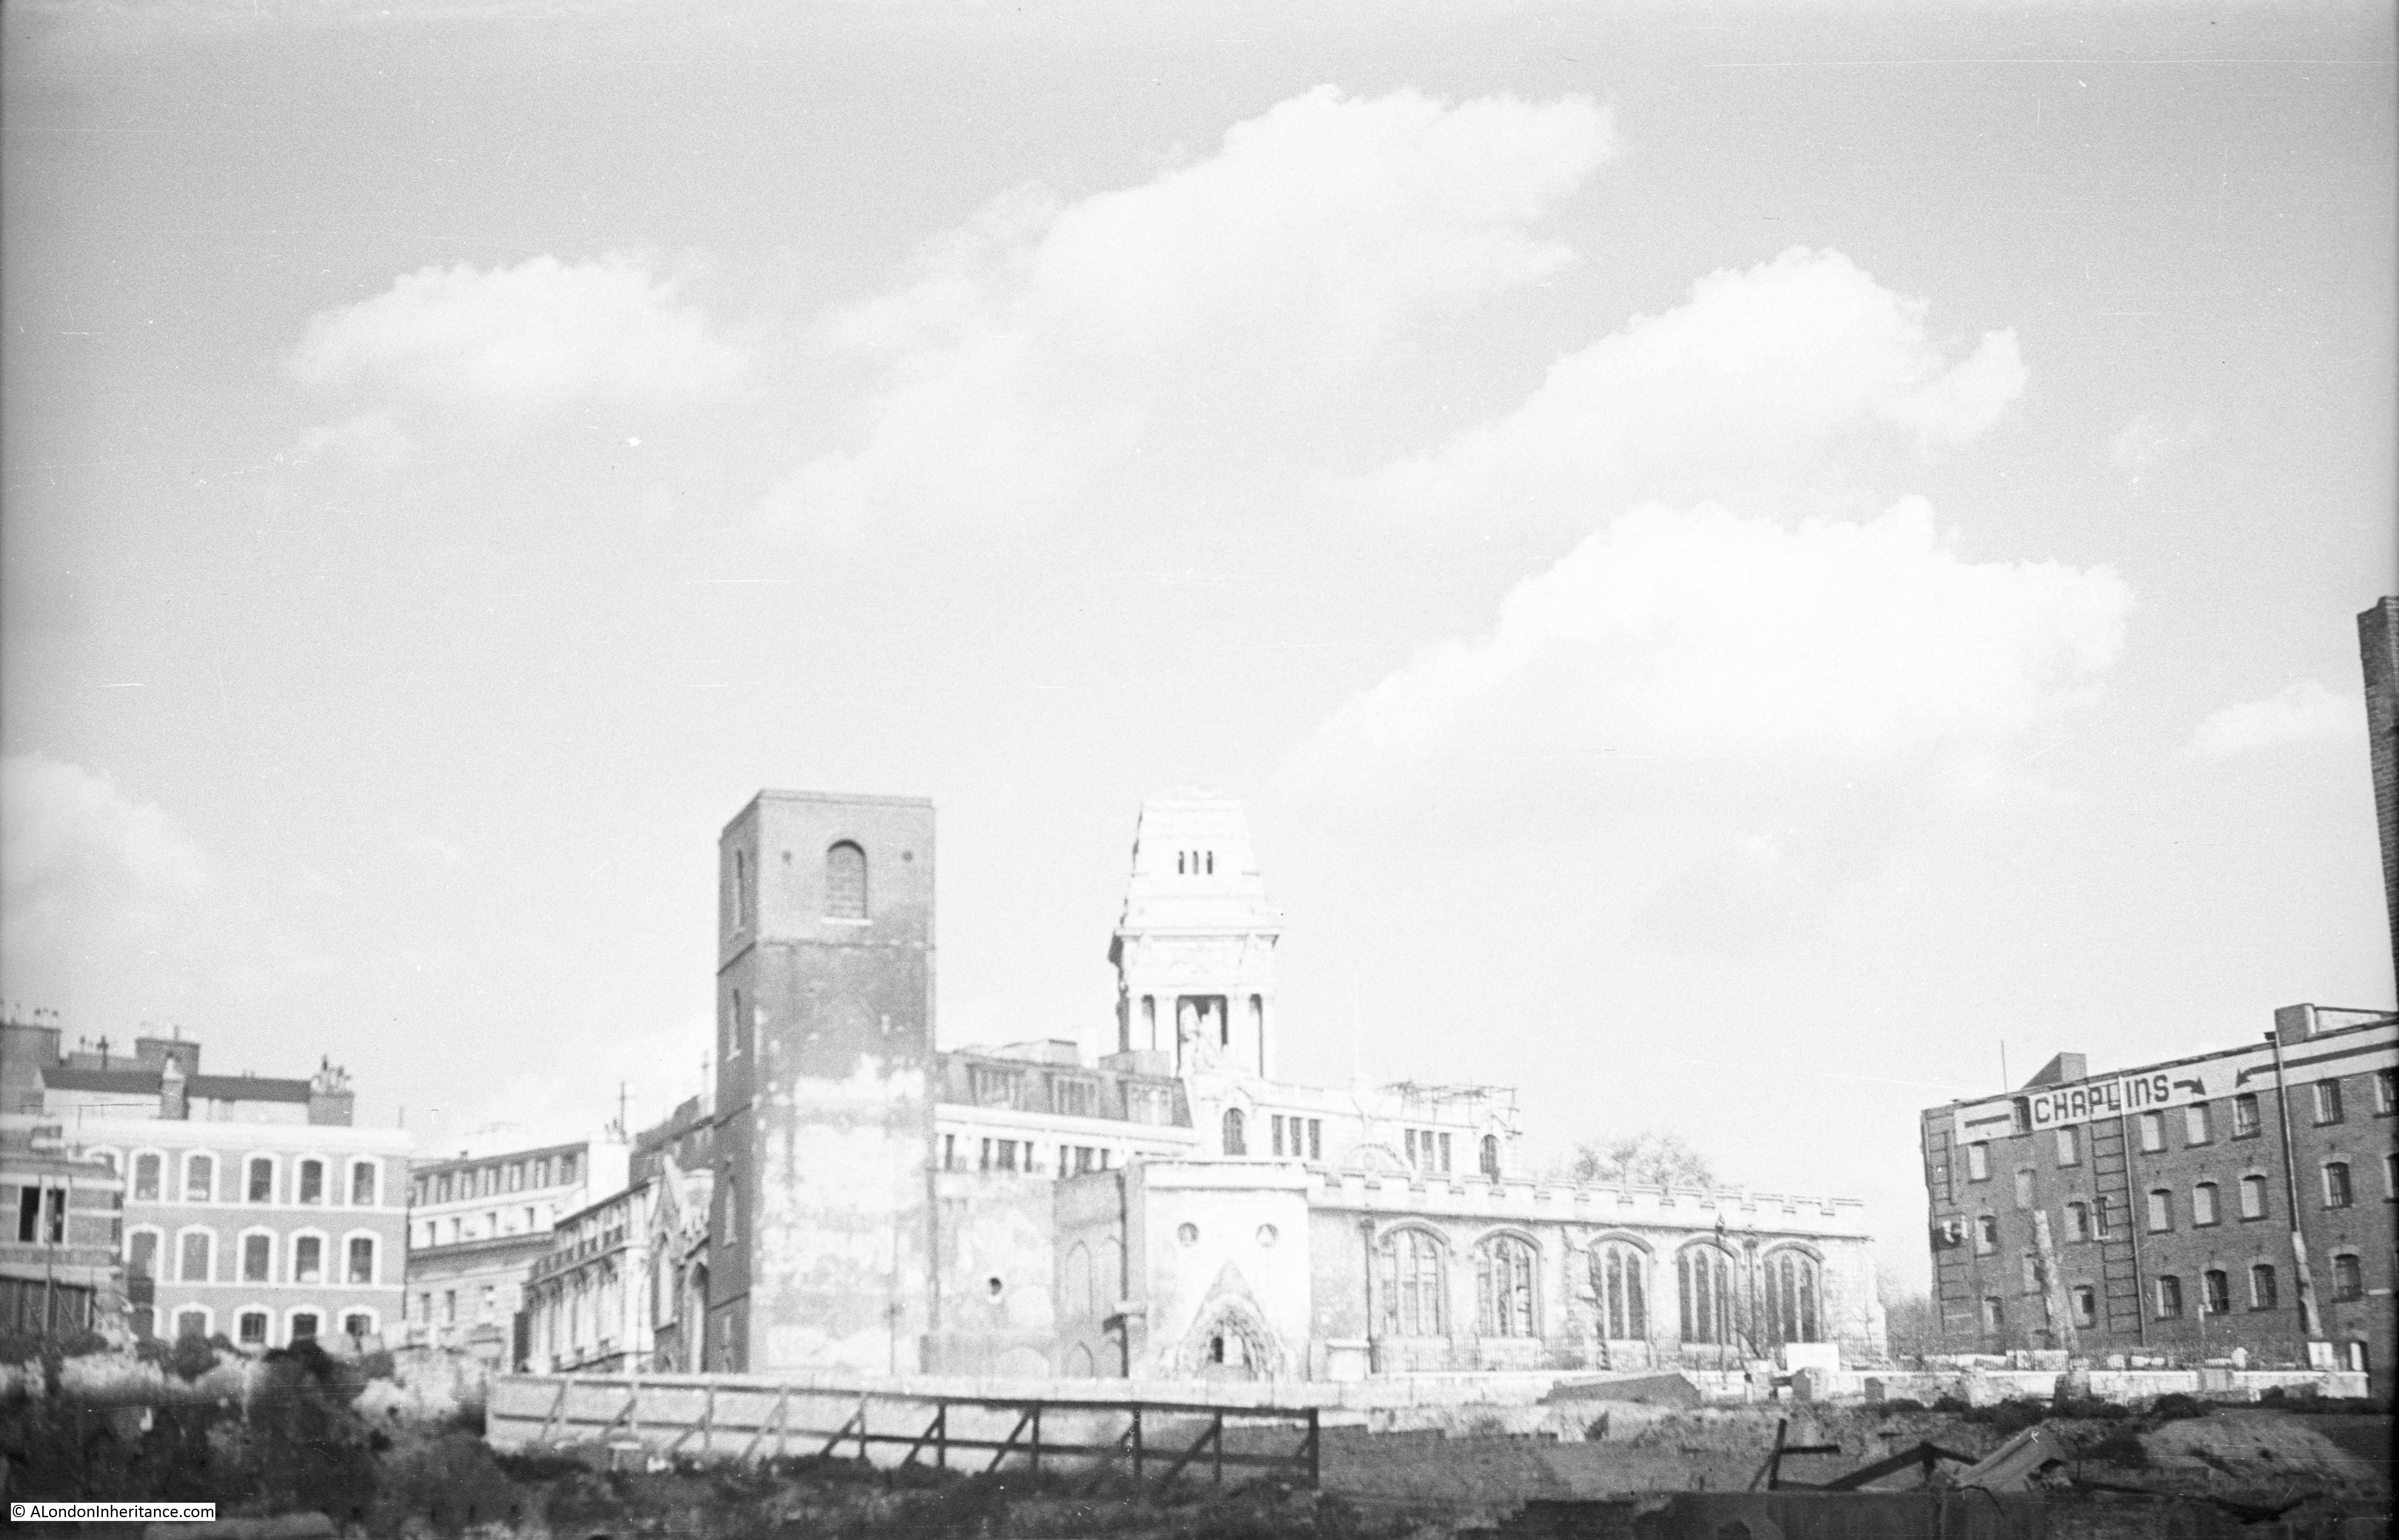
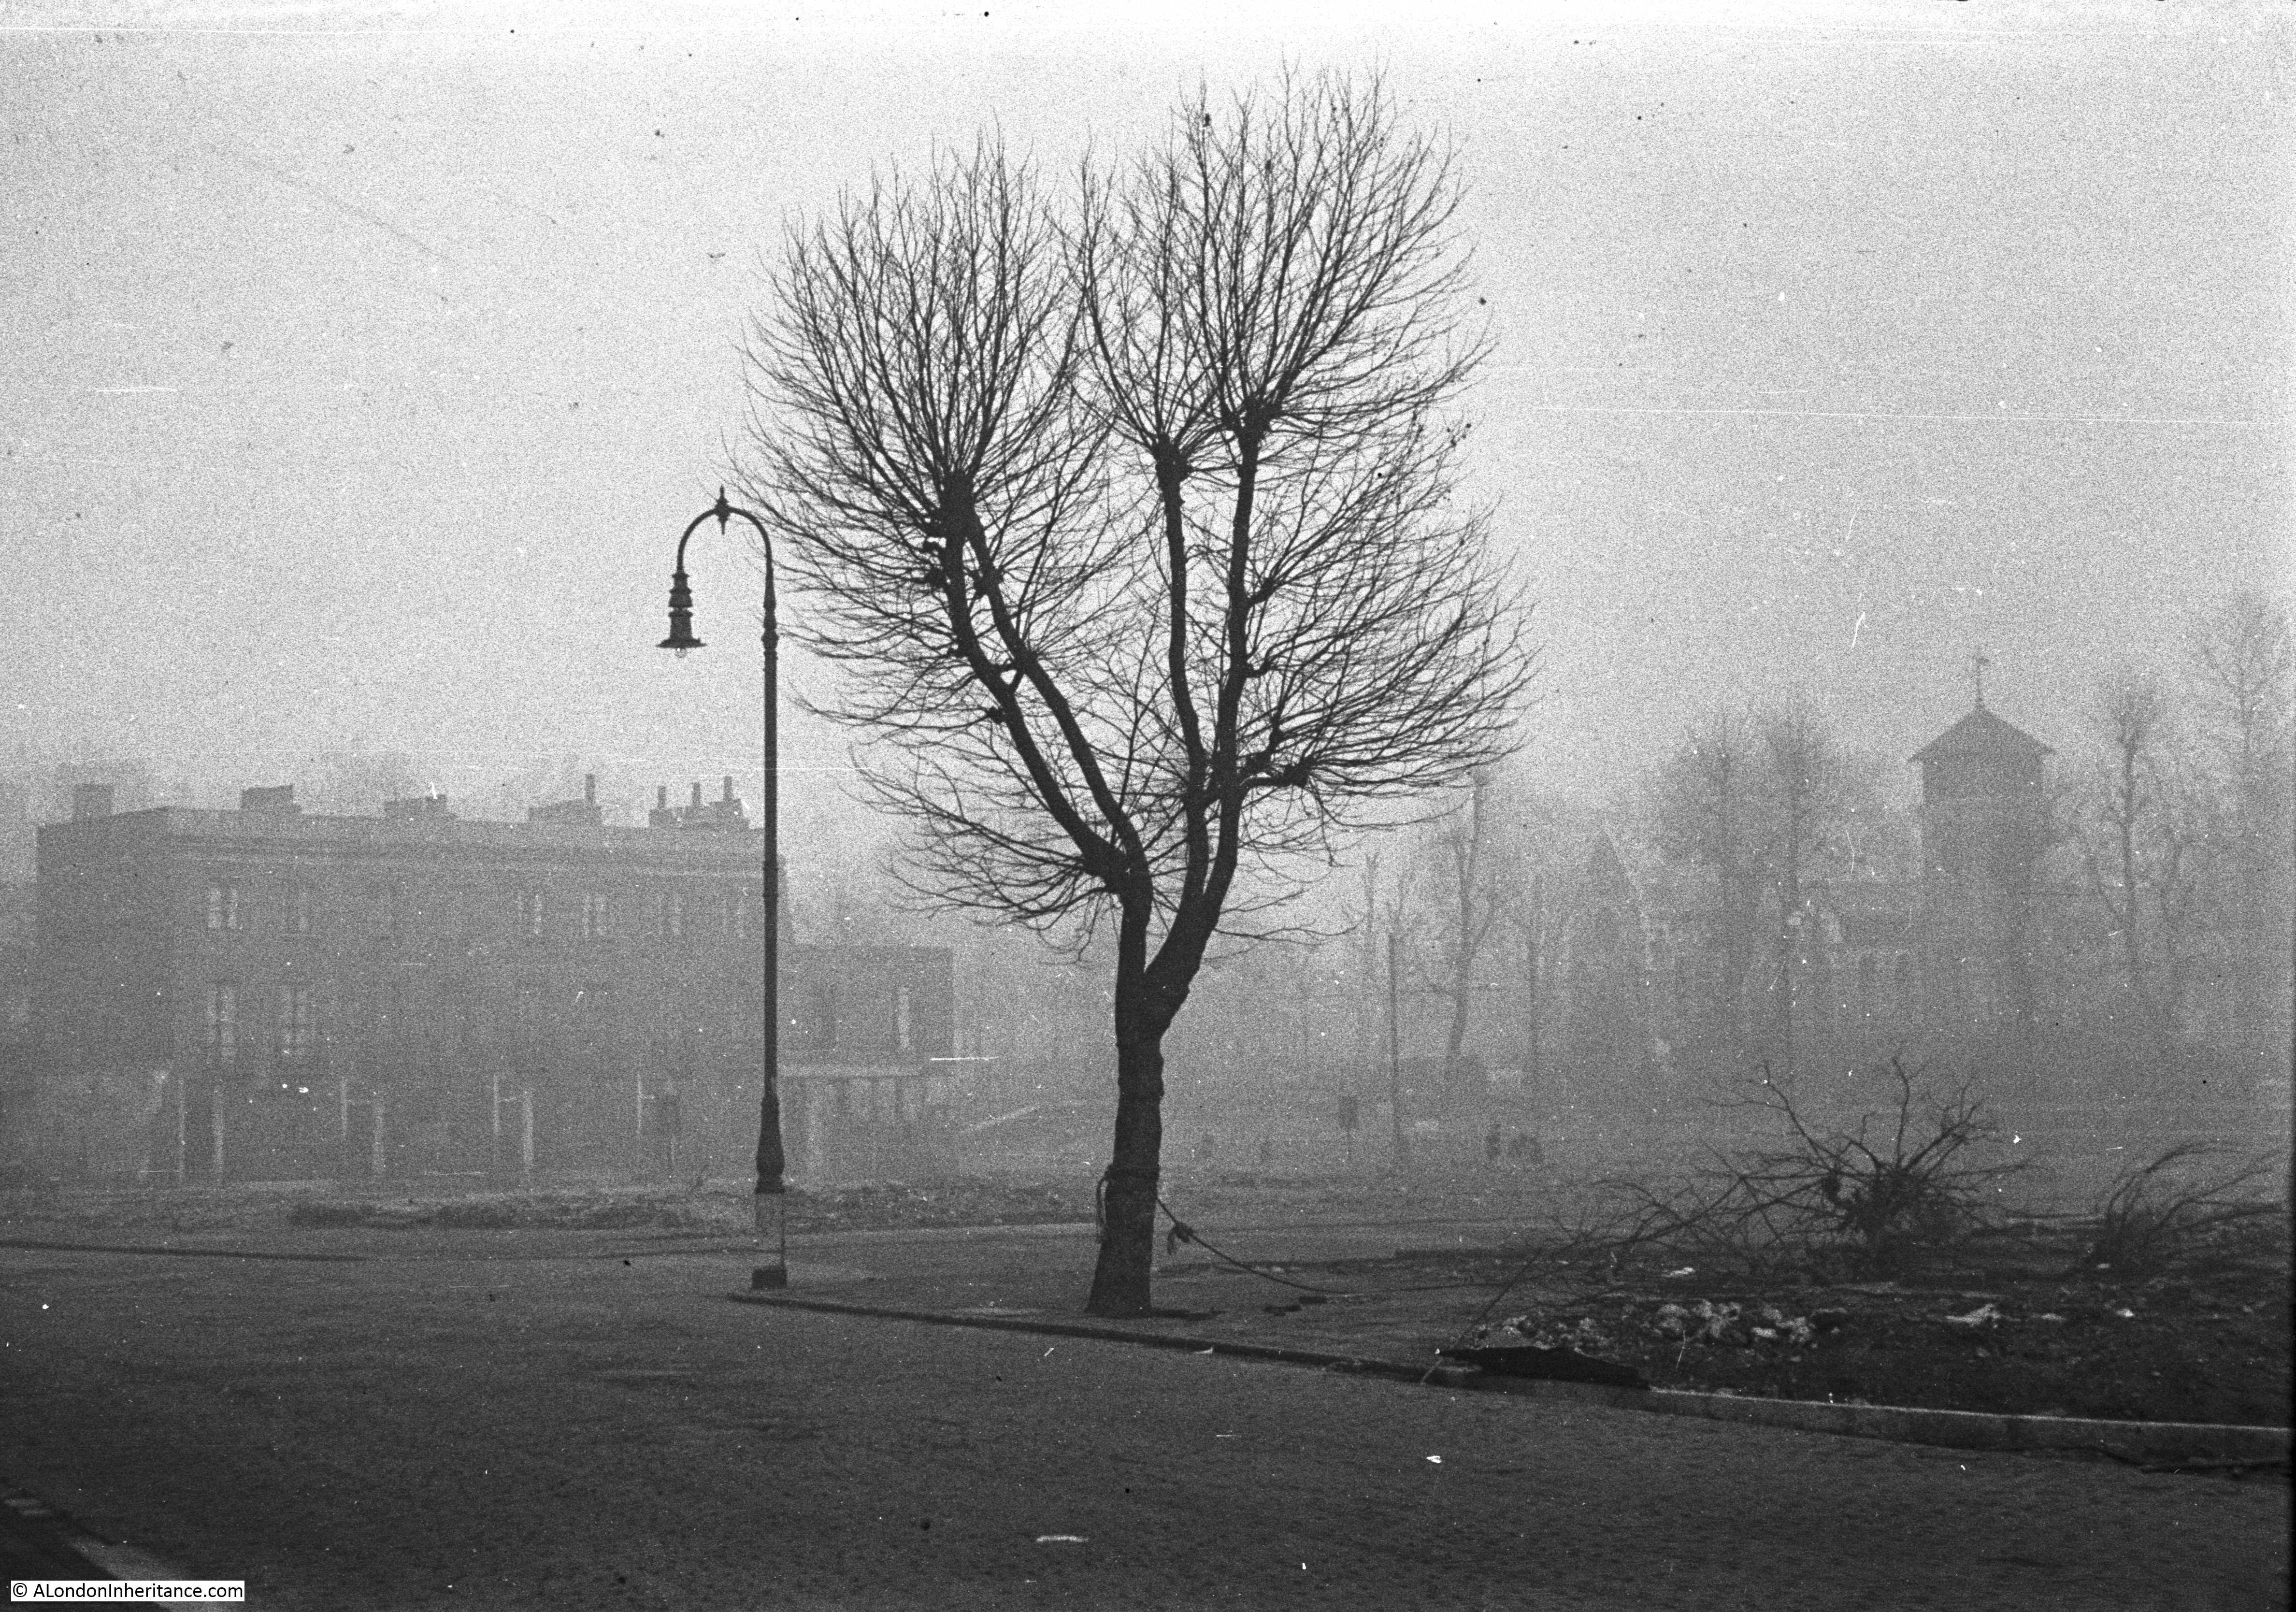
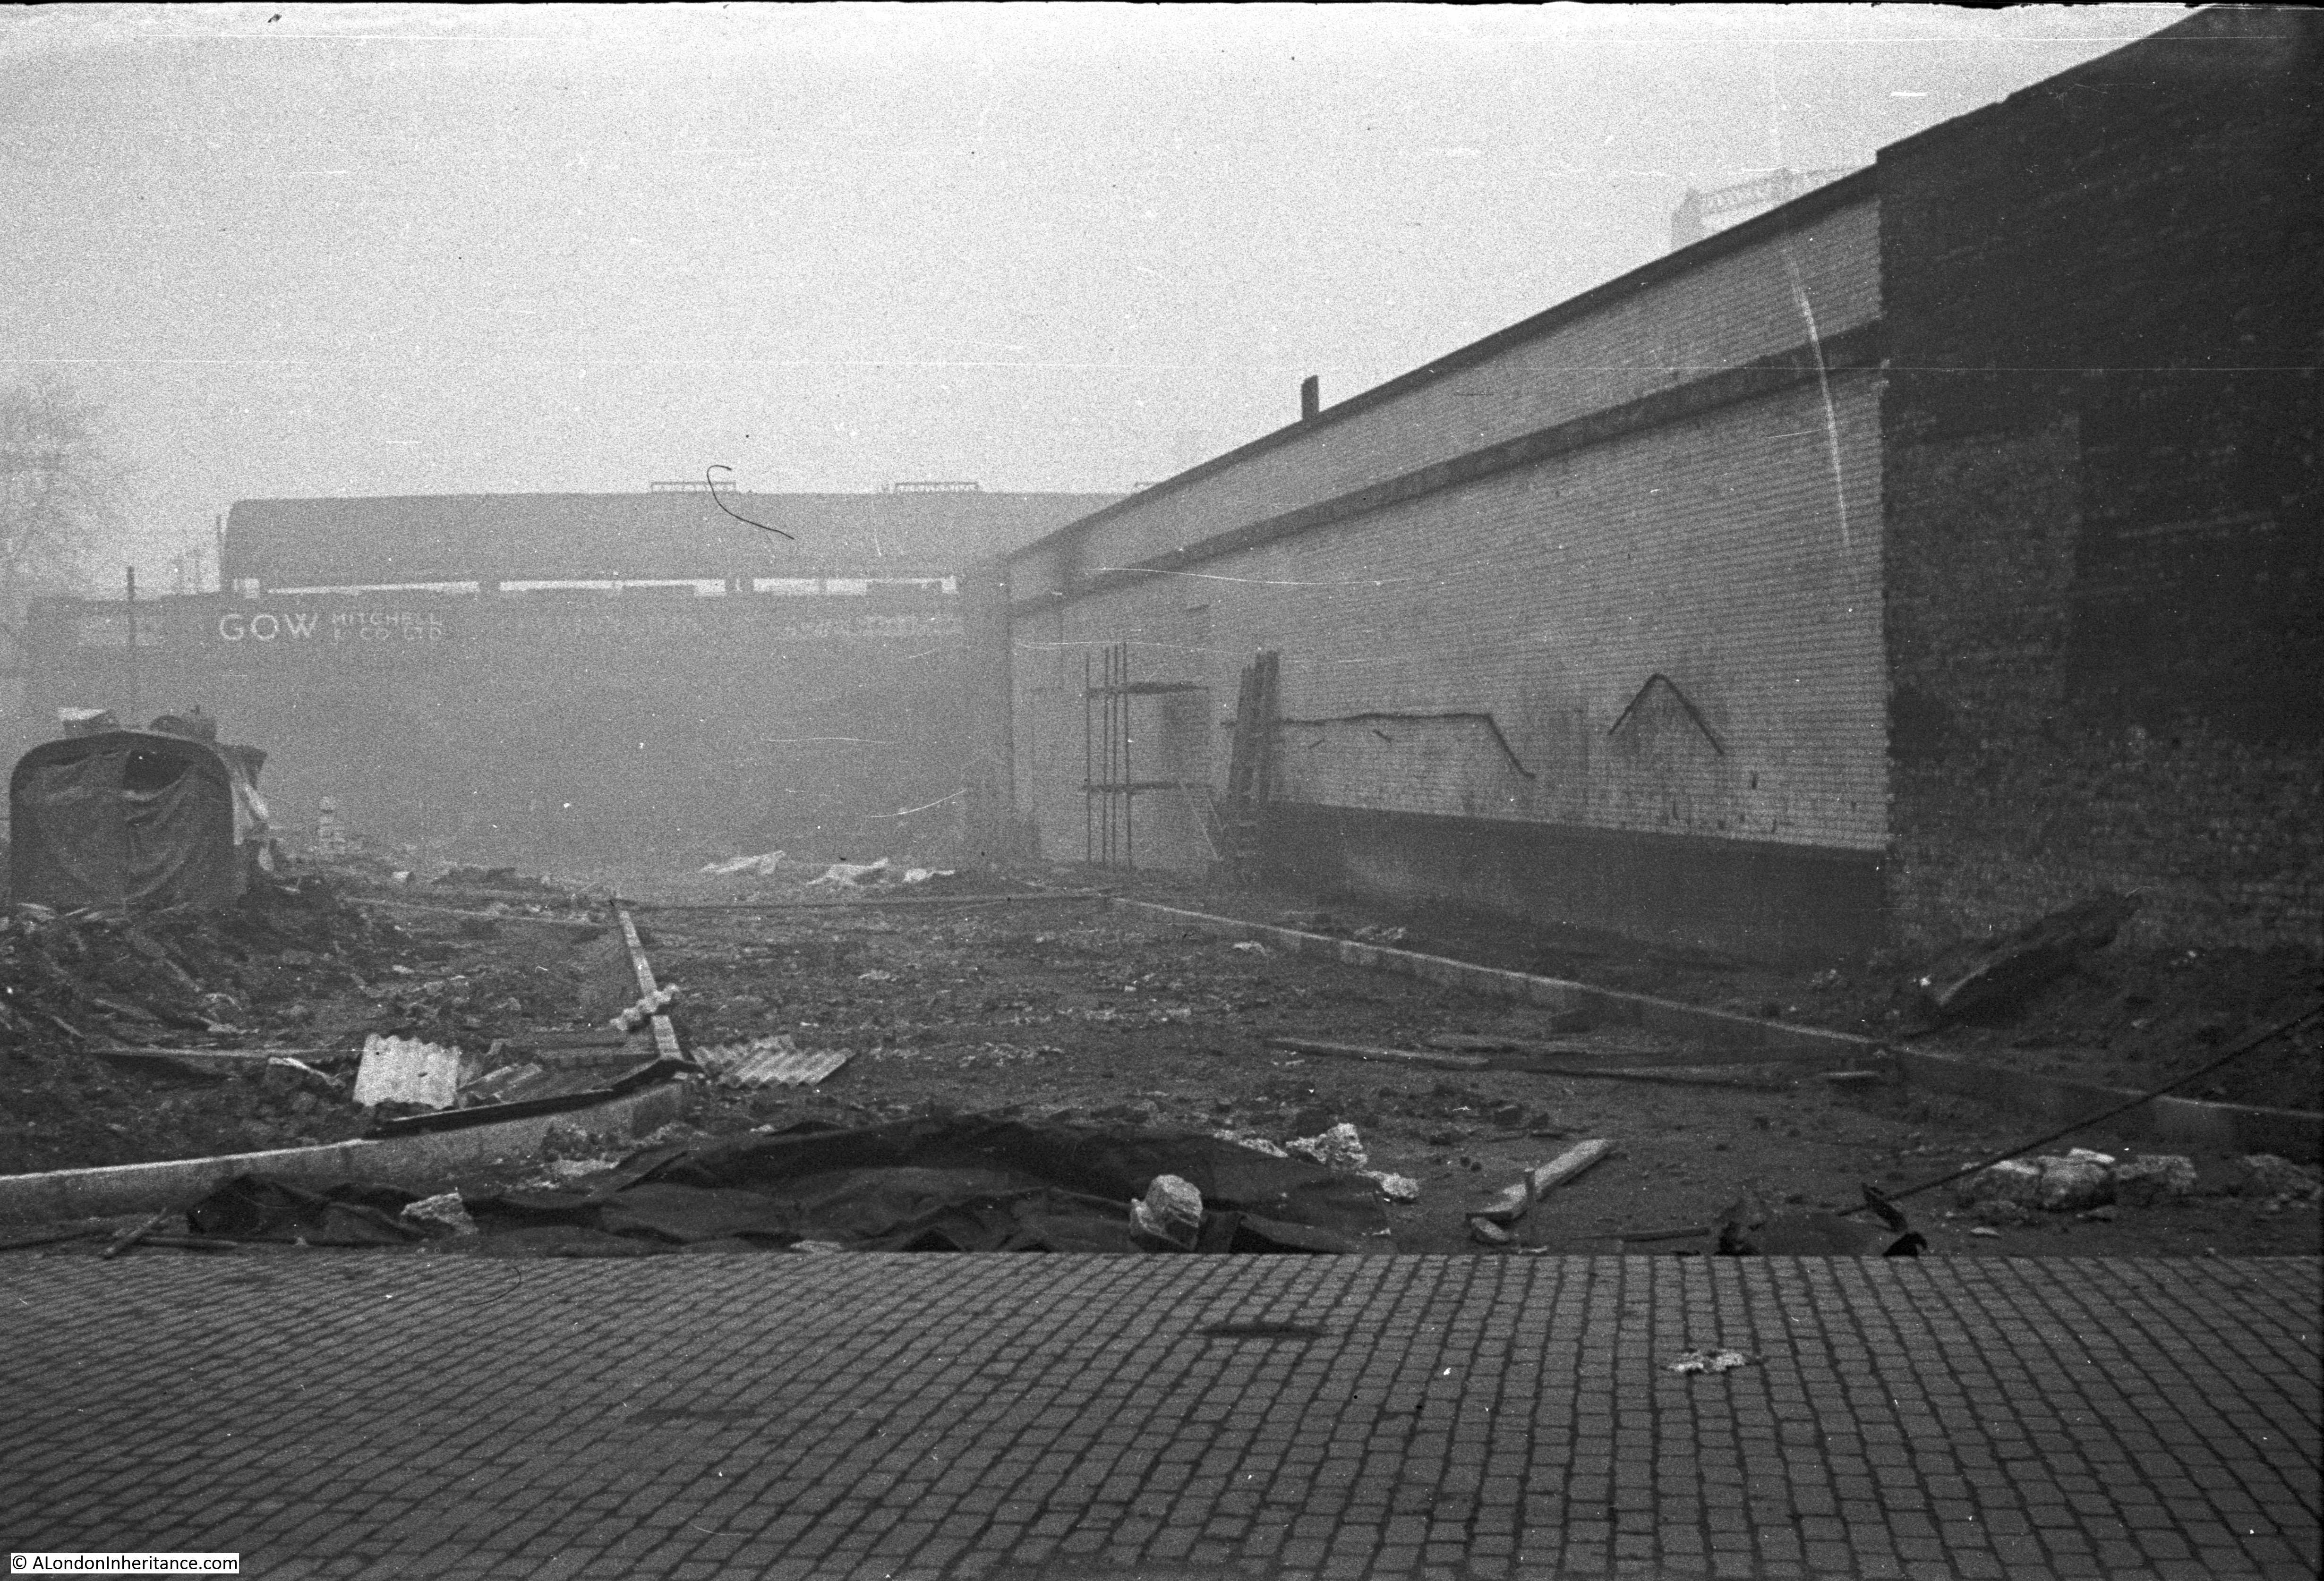
The first is the photo that enabled me to identify the location. On the right of the photo in the distance, behind the trees is a church. The distinctive tower of the church is that of St. Pancras Old Church. Look closely at the church and the results of wartime bombing can be seen with the damaged roof.
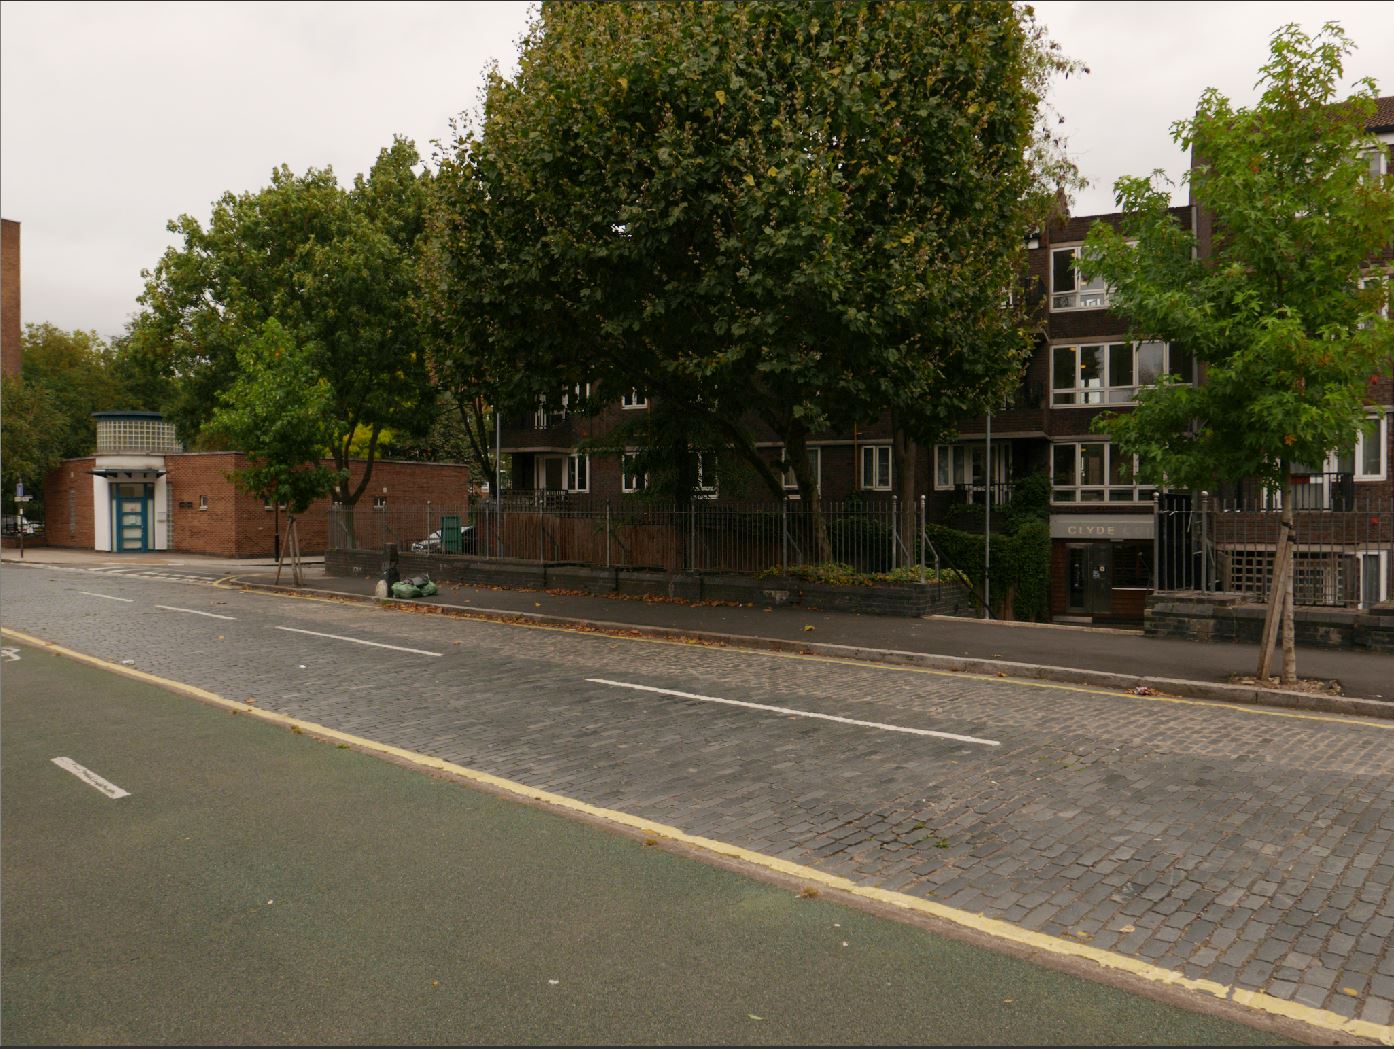
I took the following photo from Purchese Road, and the lack of a view across to the church today makes it impossible to get to the exact same spot however the view is from roughly the same spot today.
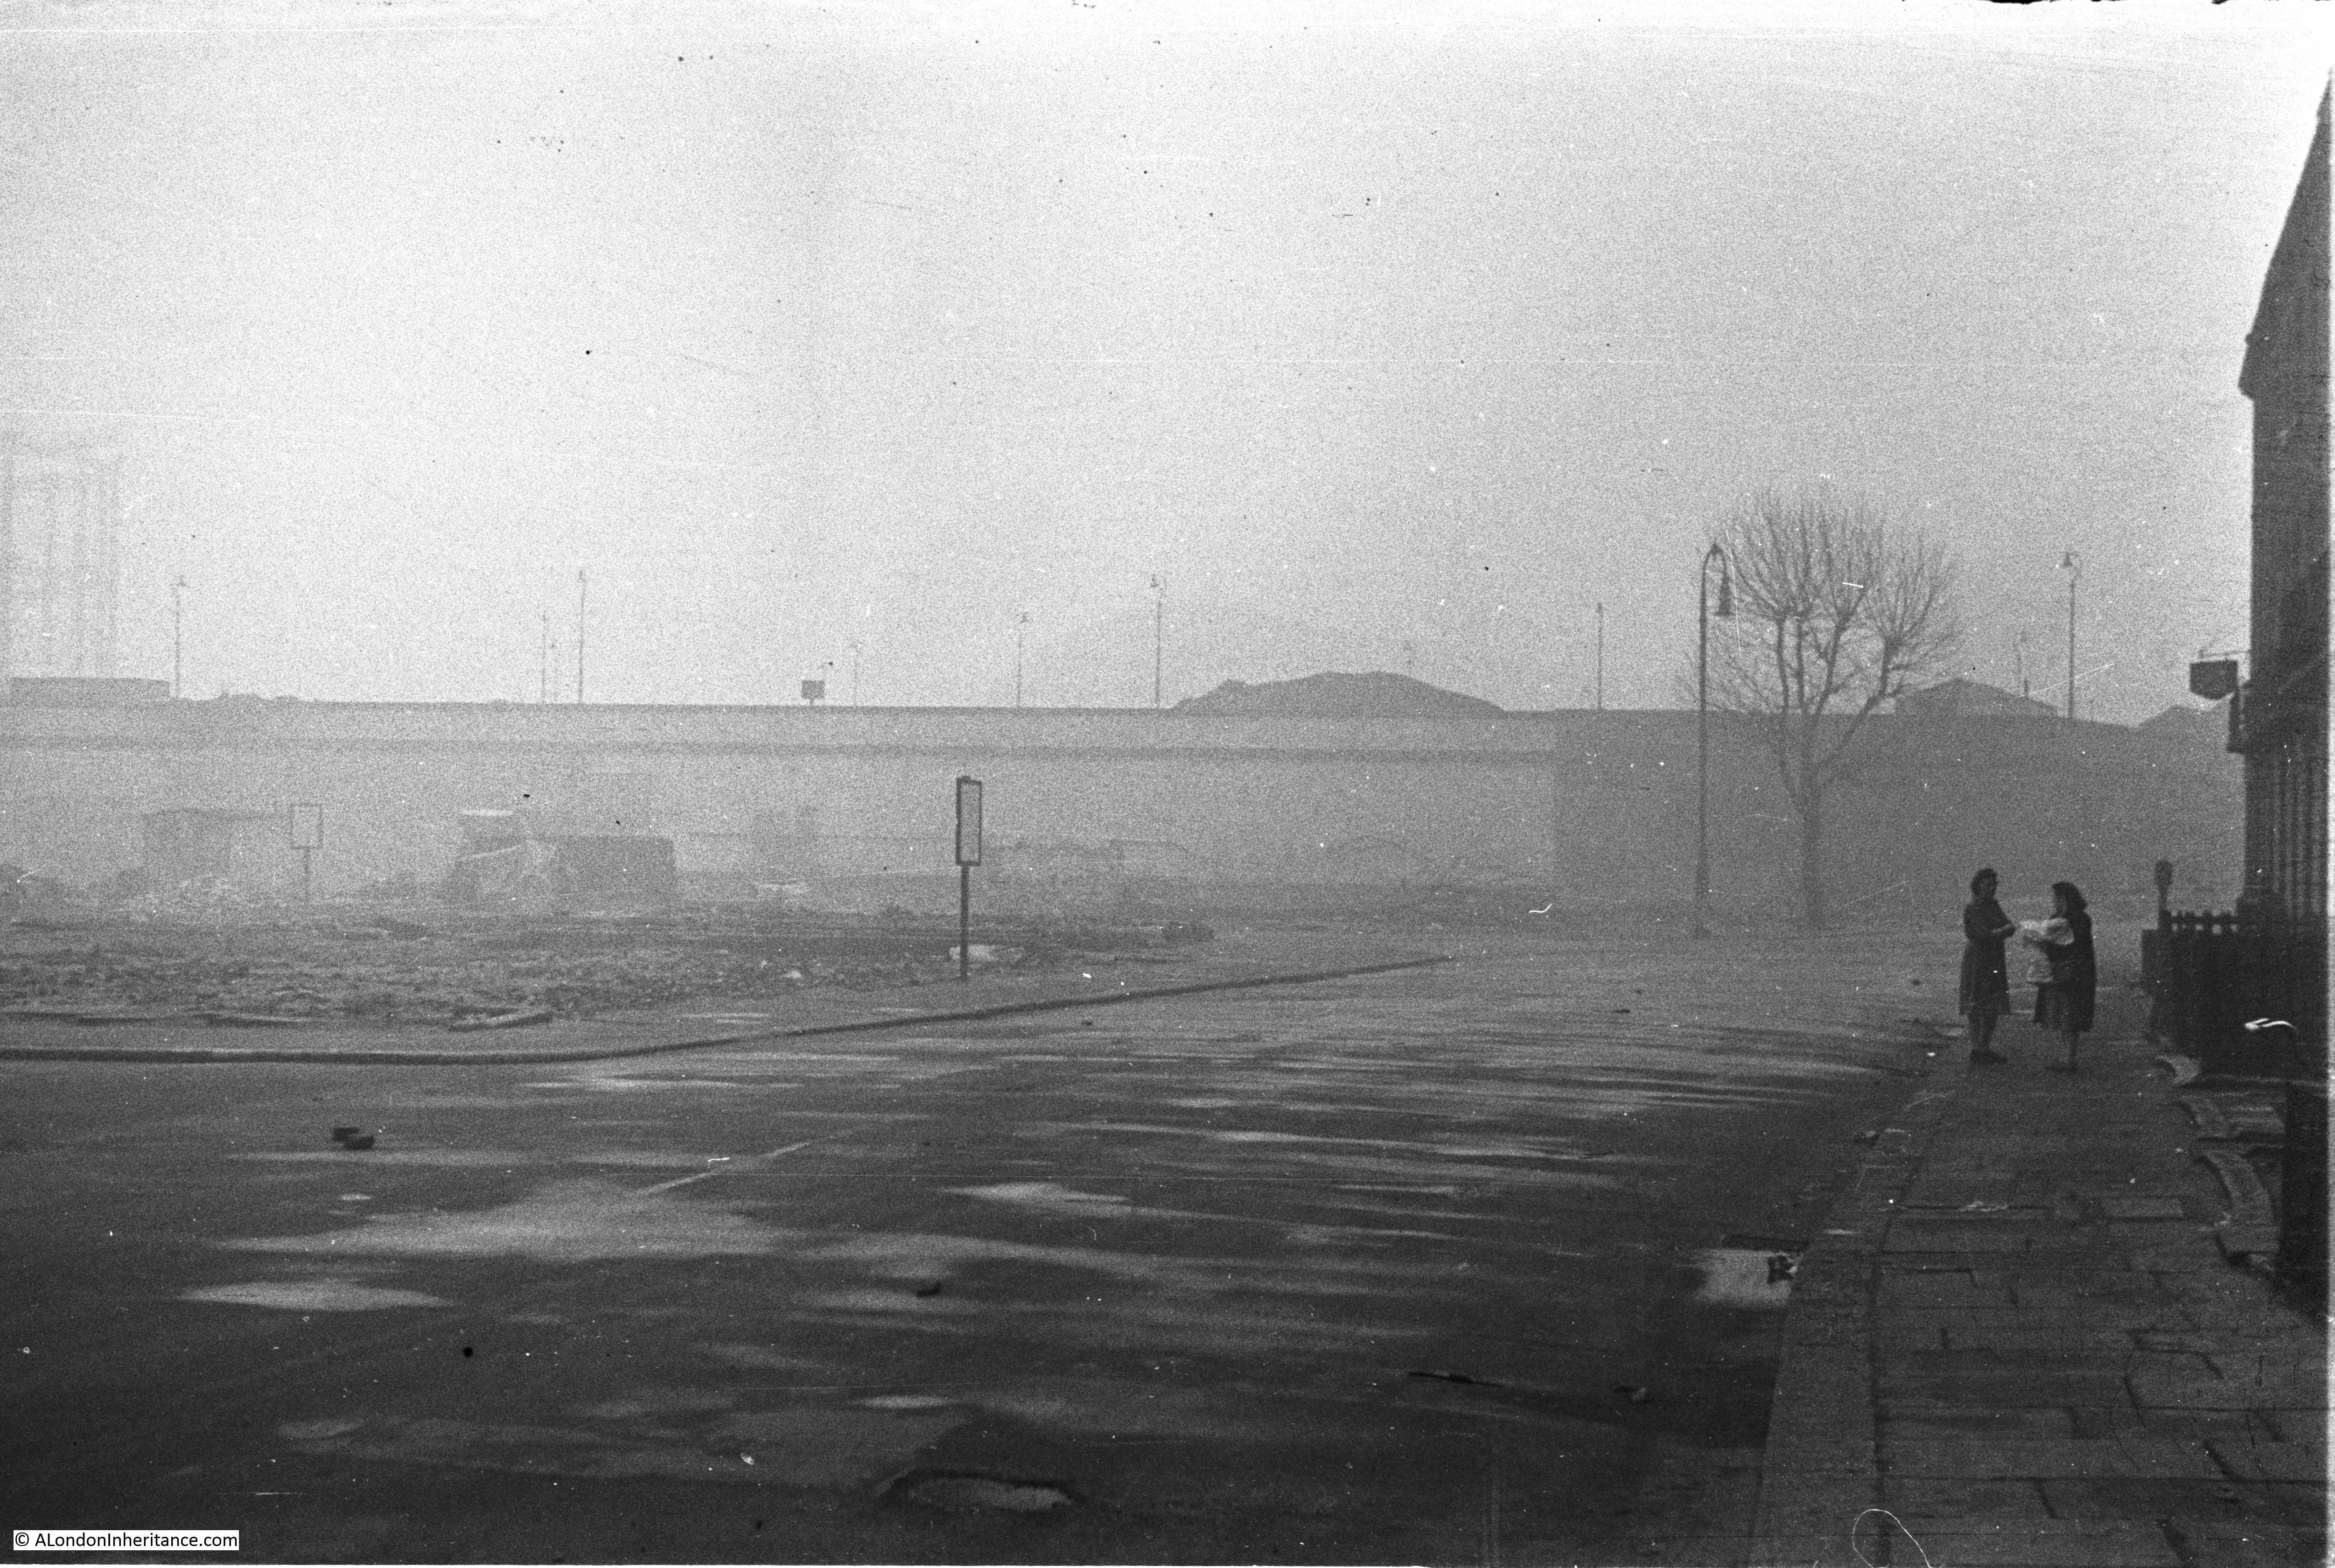
I believe my father then turned towards St. Pancras Station and took the following photo. The gas holders that are shown in the 1940 map can be seen. The wall running from the right to just left of centre is I believe the wall of the L.M.S. Coal Depot. This is the black line running between Purchese Street and Pancras Road in the 1940 map.
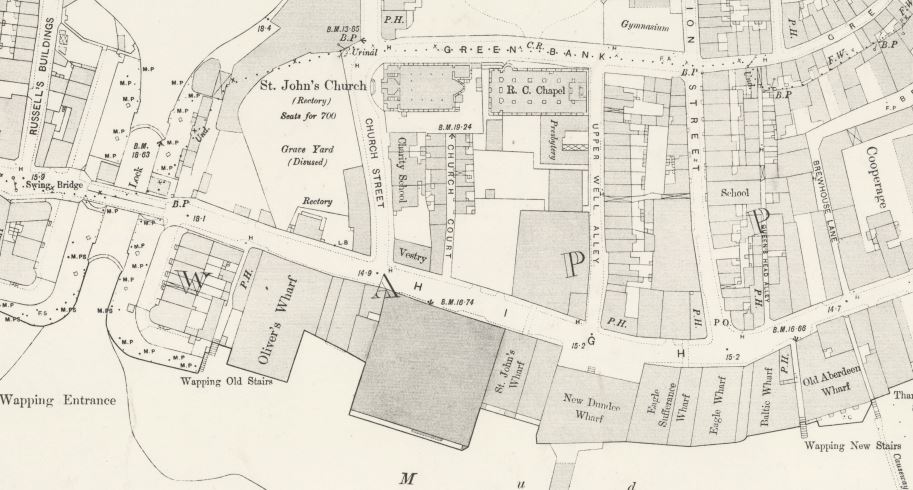
I am not sure when the L.M.S. Coal Depot was built, but it was after 1895 as the Ordnance Survey map from 1895 shows the area occupied by houses. This also shows the Gas Works along with an example of the many street name changes that have taken place in London across the years, In 1895 it appears that Purchese Street did not exist. Goldington Street and Brill Street were the names allocated to this length of street and in the 1940 map, part of Goldington Street and Brill Street appear to have become Purchese Street. This area went through significant change between 1895 and 1940 with the construction of the Coal Depot and further down the L.M.S. Goods Depot.
A slightly different view to the above, looking towards the Coal Depot. There are signs on each side of the square on the left, it would be really interesting to know what was written on these signs, unfortunately my father did not take a photo of these.
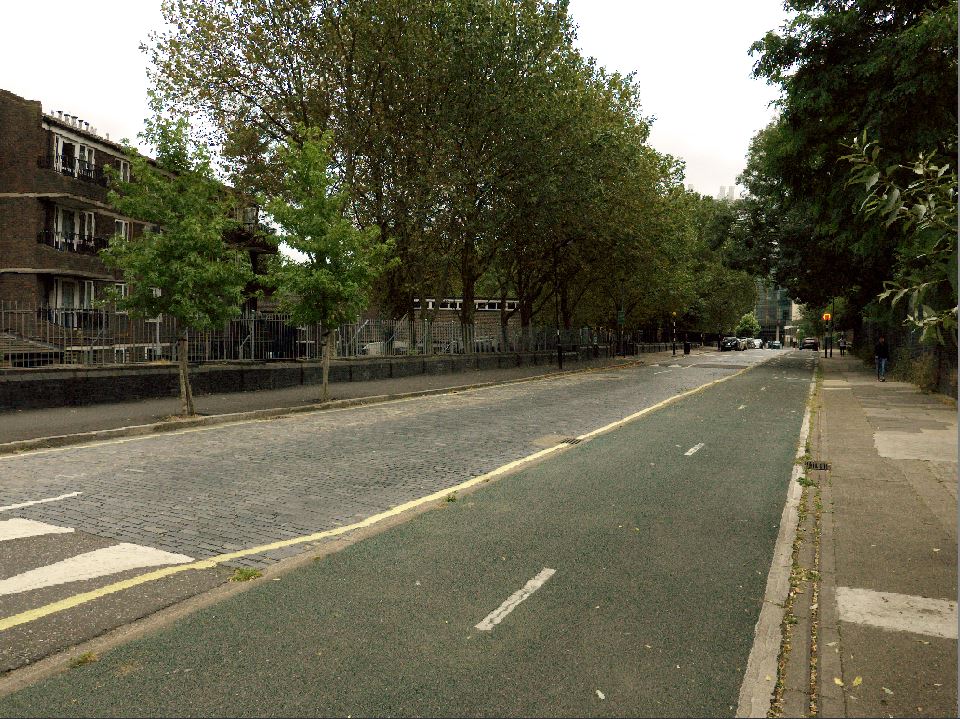
Again, impossible to place the exact location, however the photo below shows the view along Purchese Road looking towards where the L.M.S. Coal Depot would have been.
The following photo was taken looking towards Pancras Road with the wall of the Coal Depot on the right.

Another view similar to the above, but looking at the Coal Depot wall. The area on the left of the above and below photos shows the state in which cleared bomb sites were left.
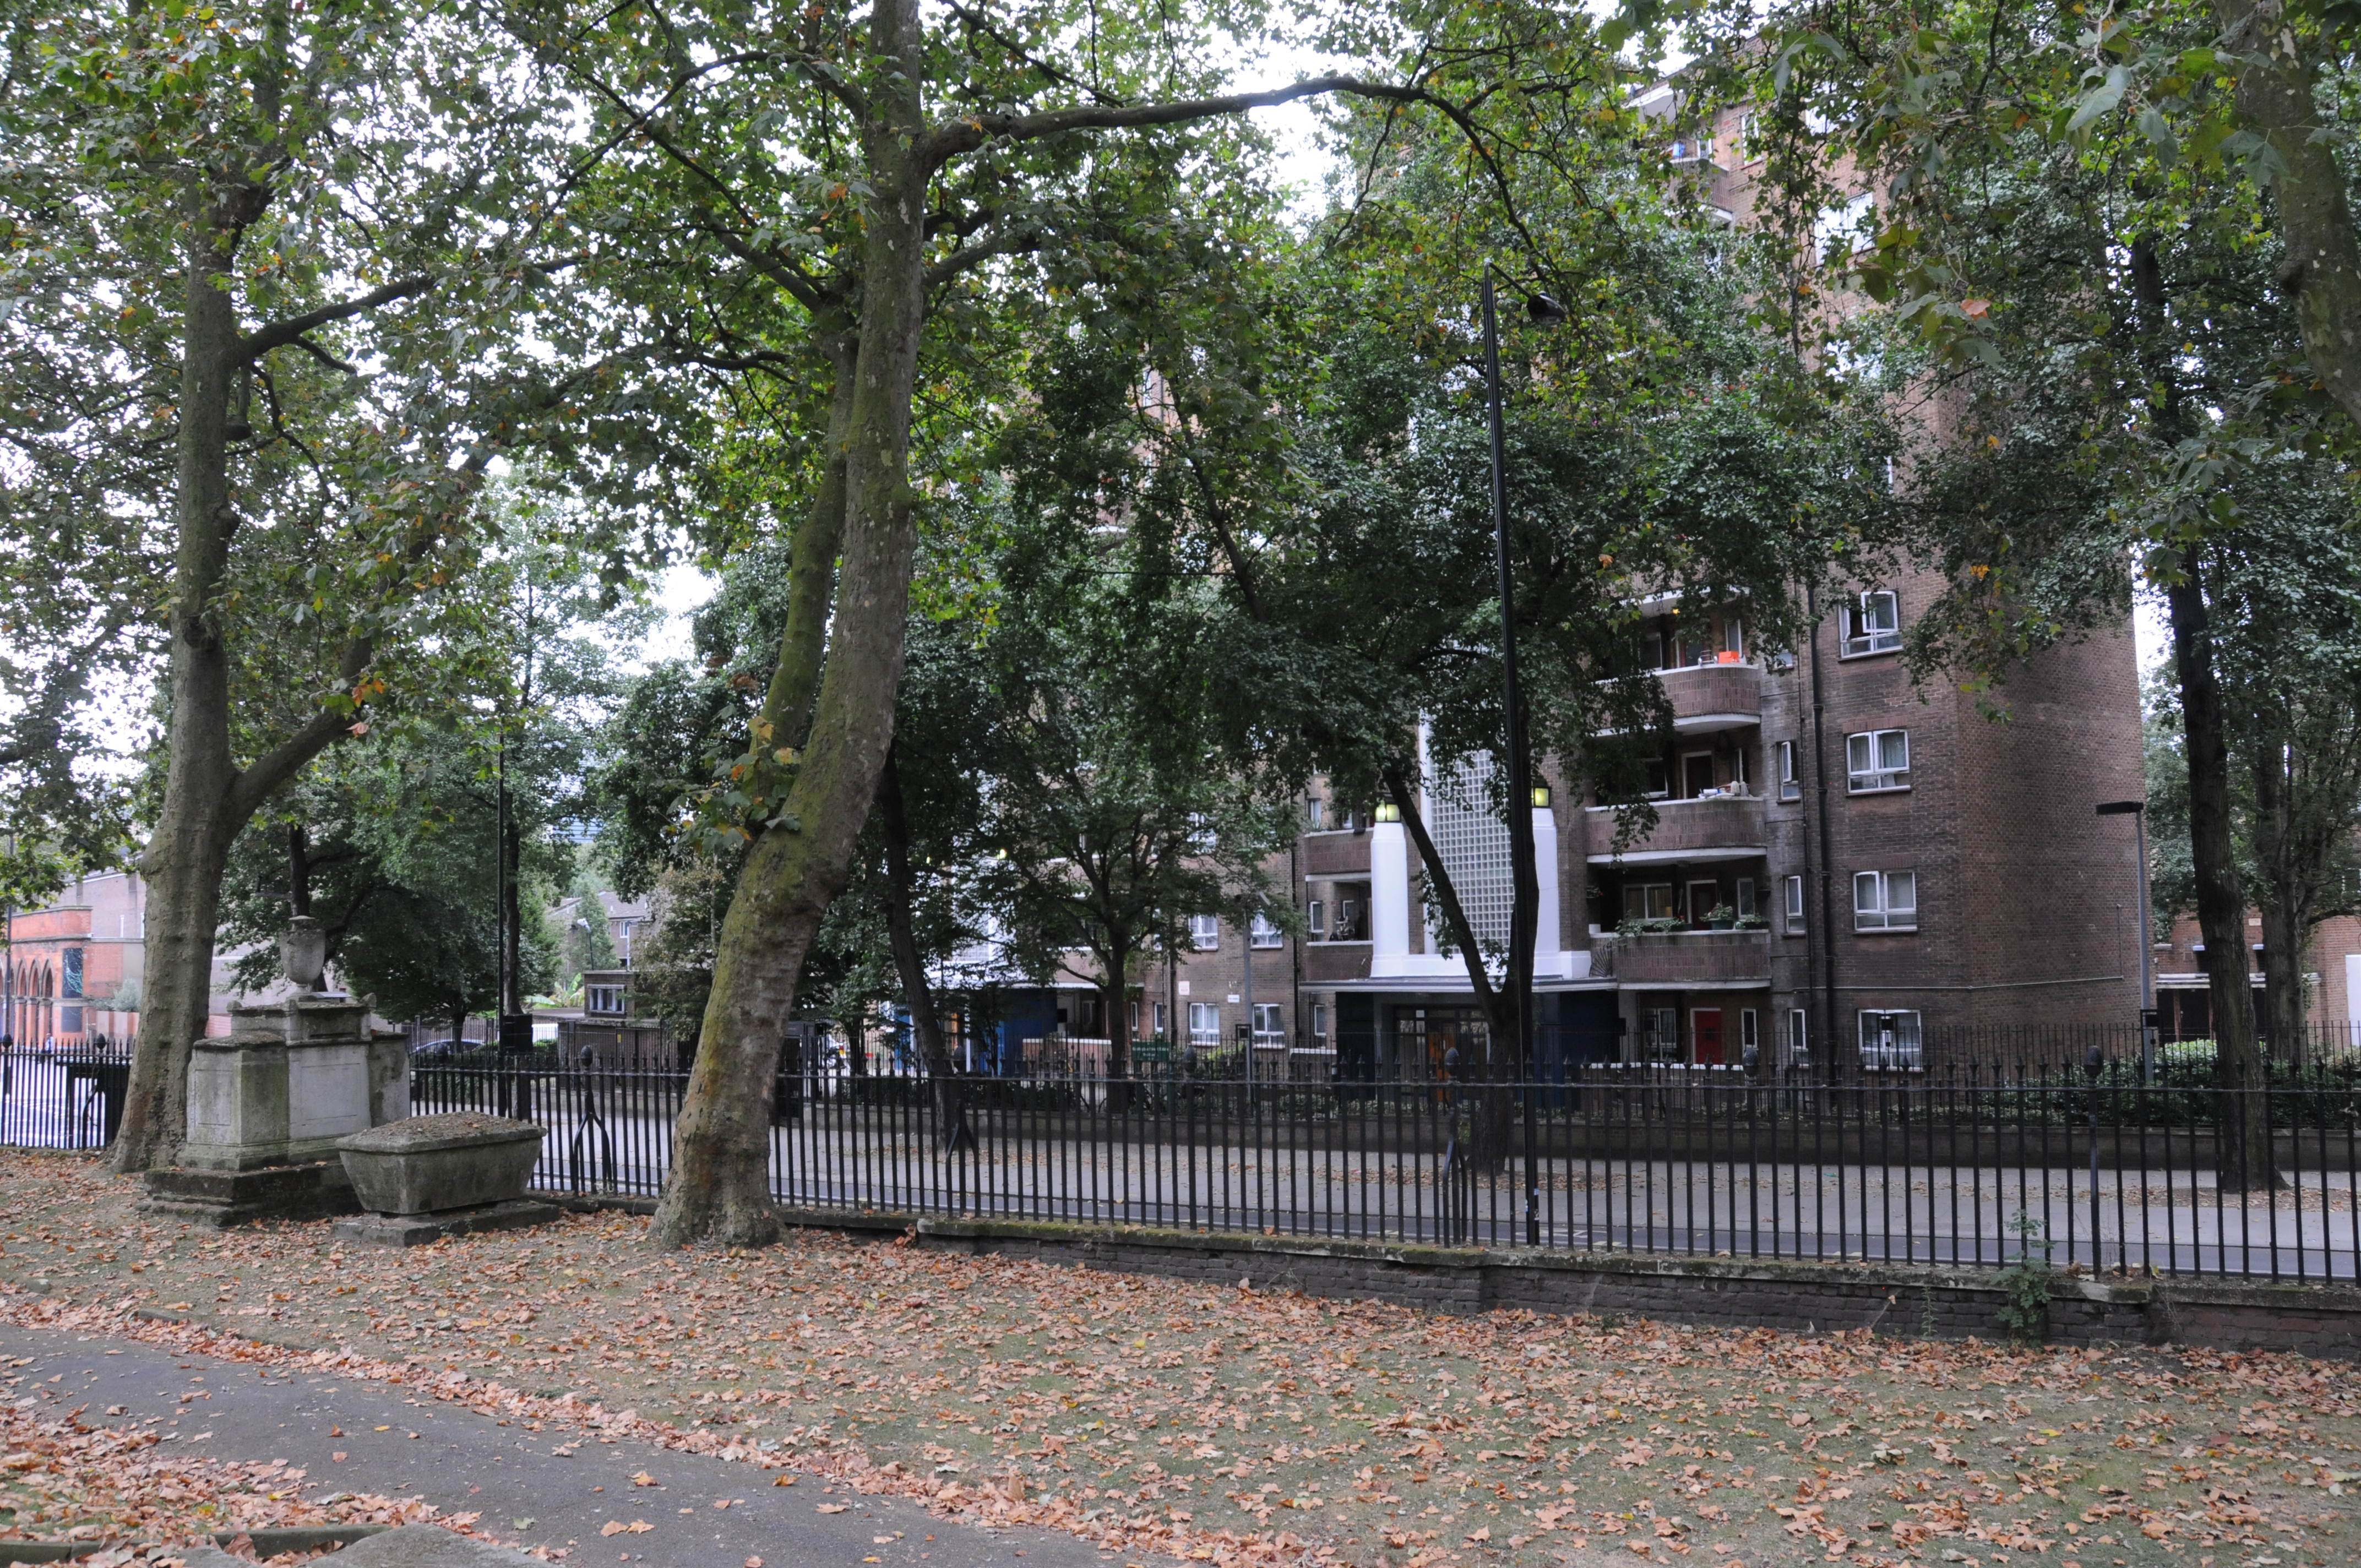
After Purchese Street, i walked over to St. Pancras Old Church. This is the view from the churchyard looking across Pancras Road to the area in my father’s photos. Now very different.
The site of St. Pancras Old Church is very old. The website of the church states that although difficult to verify, it is believed that it first became a site of Christian worship in 313AD. The book St. Pancras Through The Centuries published in 1935 includes a chapter on the church which explains that the church was built on the site of a pagan “compita” – a rural shrine erected at cross roads in villages.
The site of the church is on a raised area of ground. The River Fleet, (or Holeburne or Holbourne as this tributary of the Fleet was once known) once flowed along the western edge of Pancras Road which would have been at the base of the raised area on which the church was built.
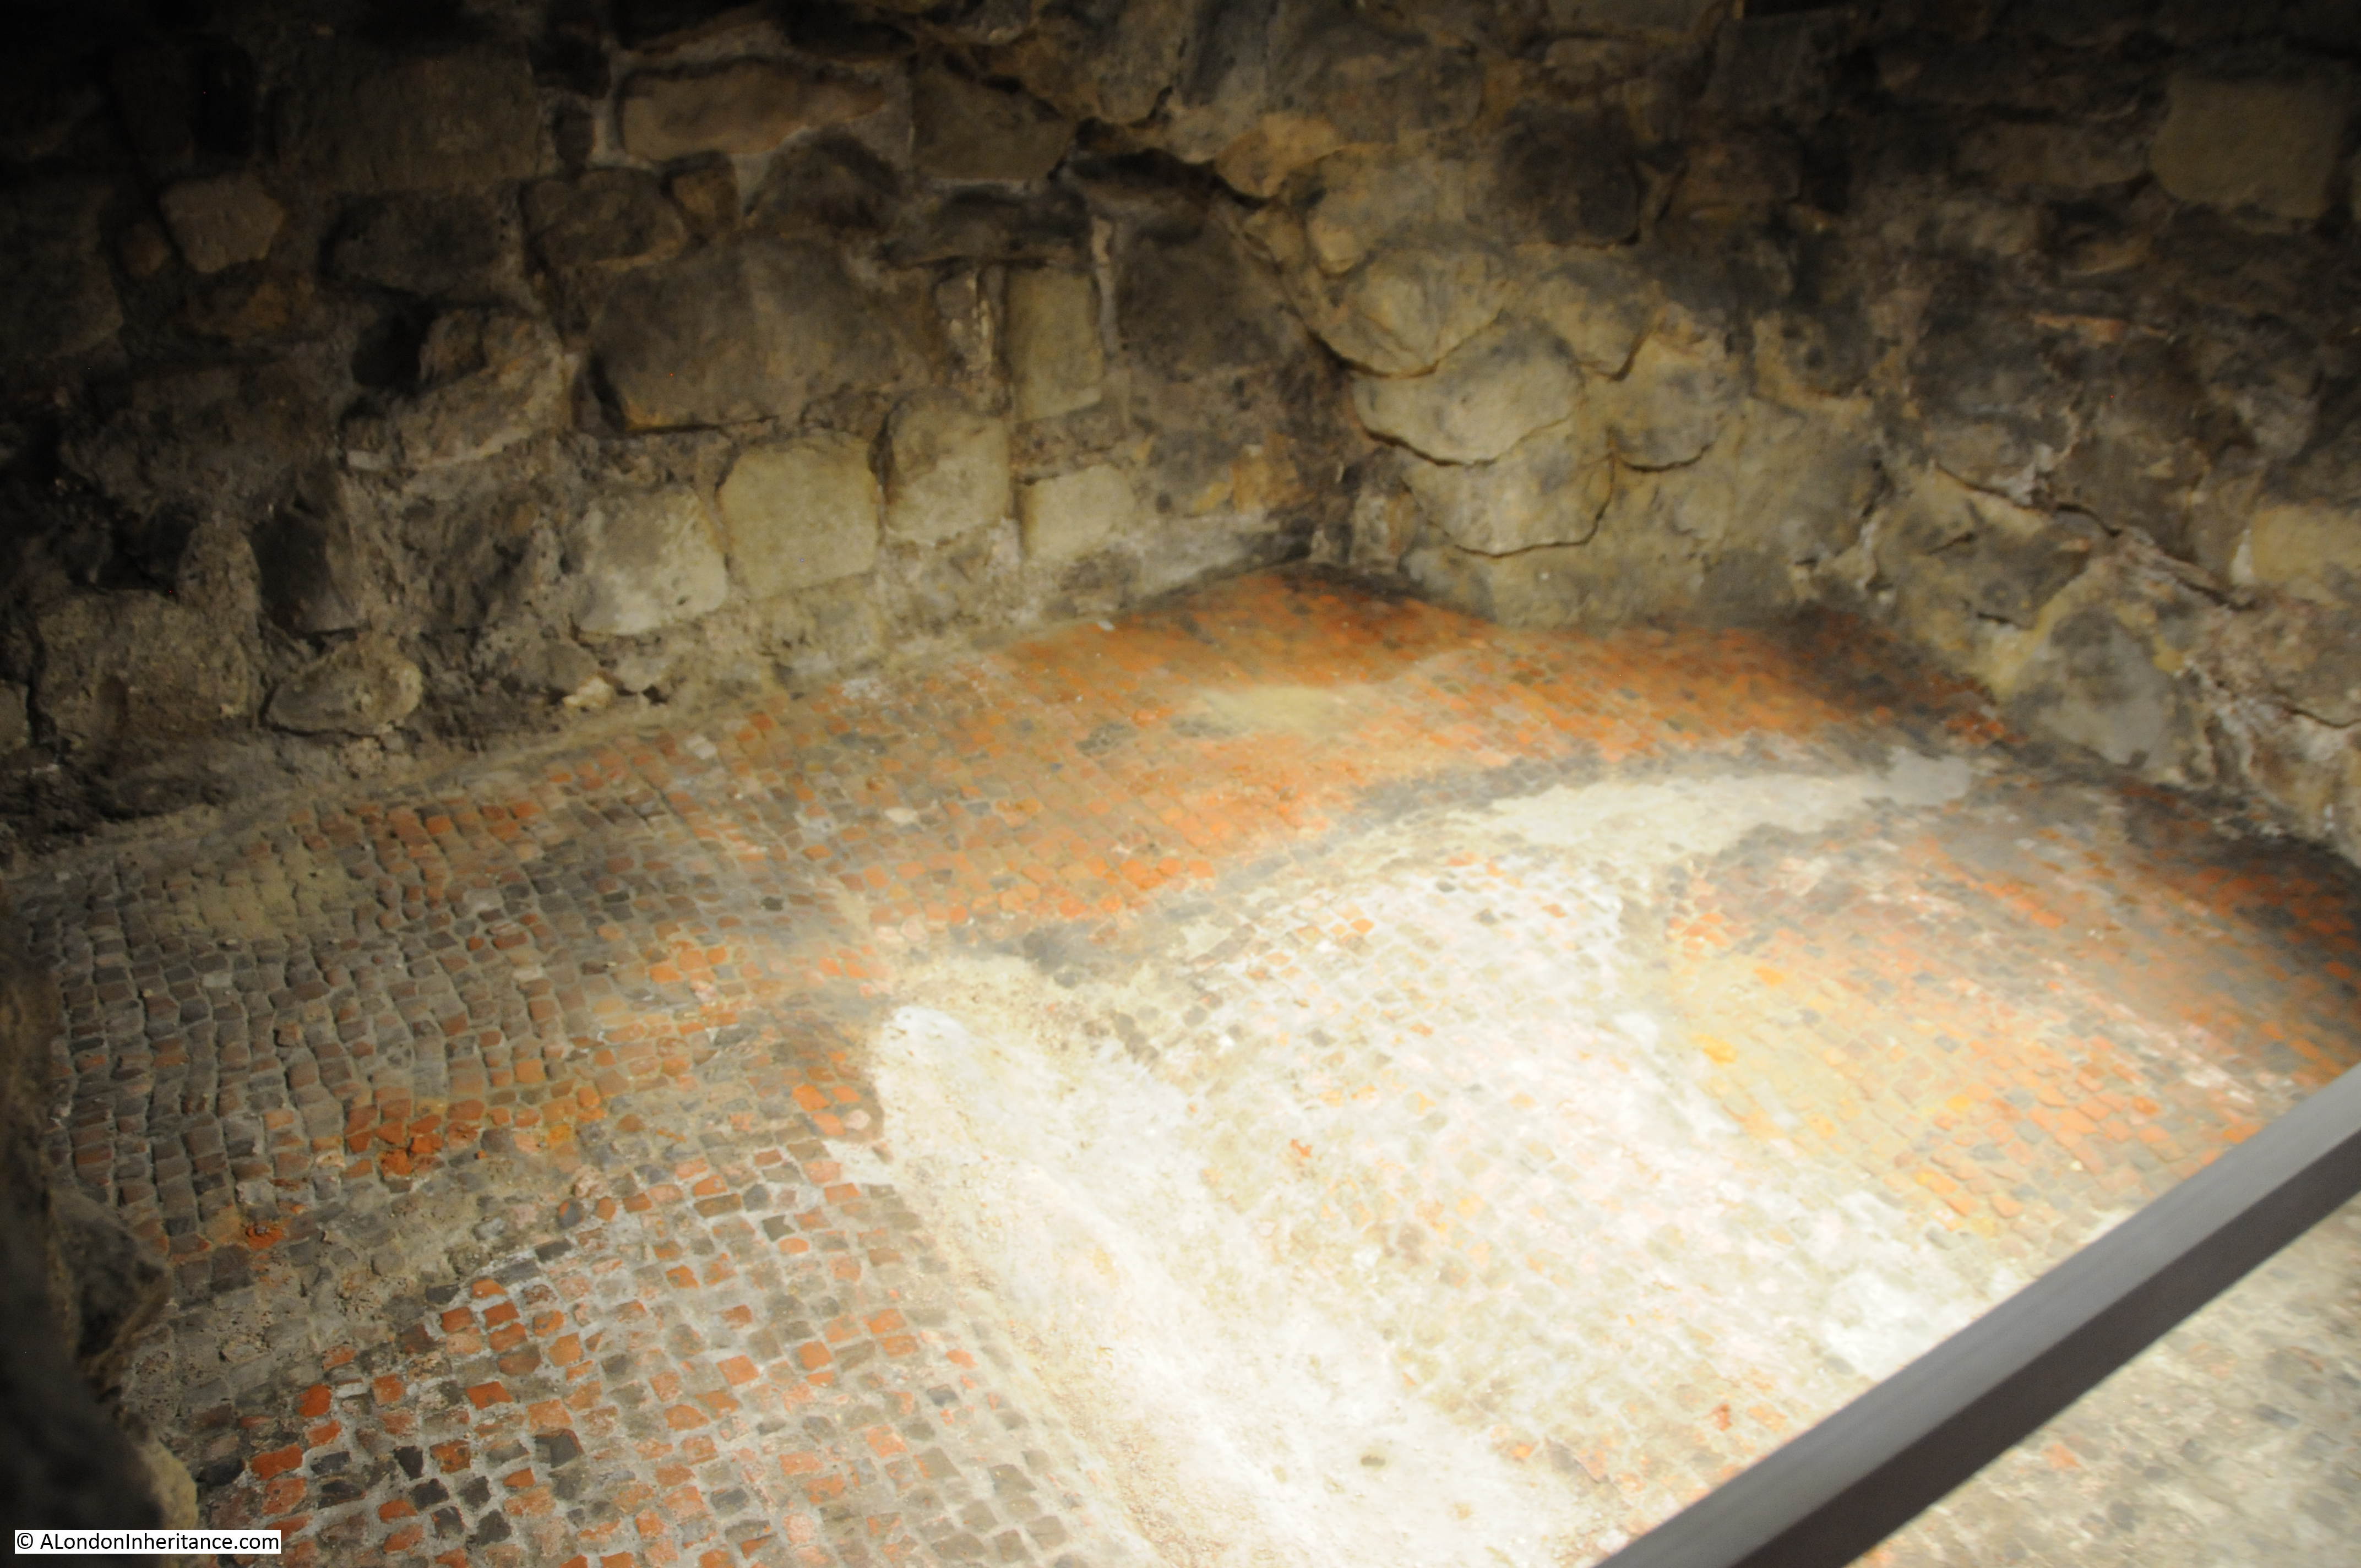
In 313AD, the right of religious freedom was restored in the Roman world which may be why the church website attributes this year to the possible earliest Christian church on the site. There is very little to verify the history of the church in these centuries however a 7th century altar stone has been found in the church and when the old tower was pulled down during rebuilding of the church in 1847-8, Roman bricks and tiles were found in the base of the tower and the lowest courses of the church walls.
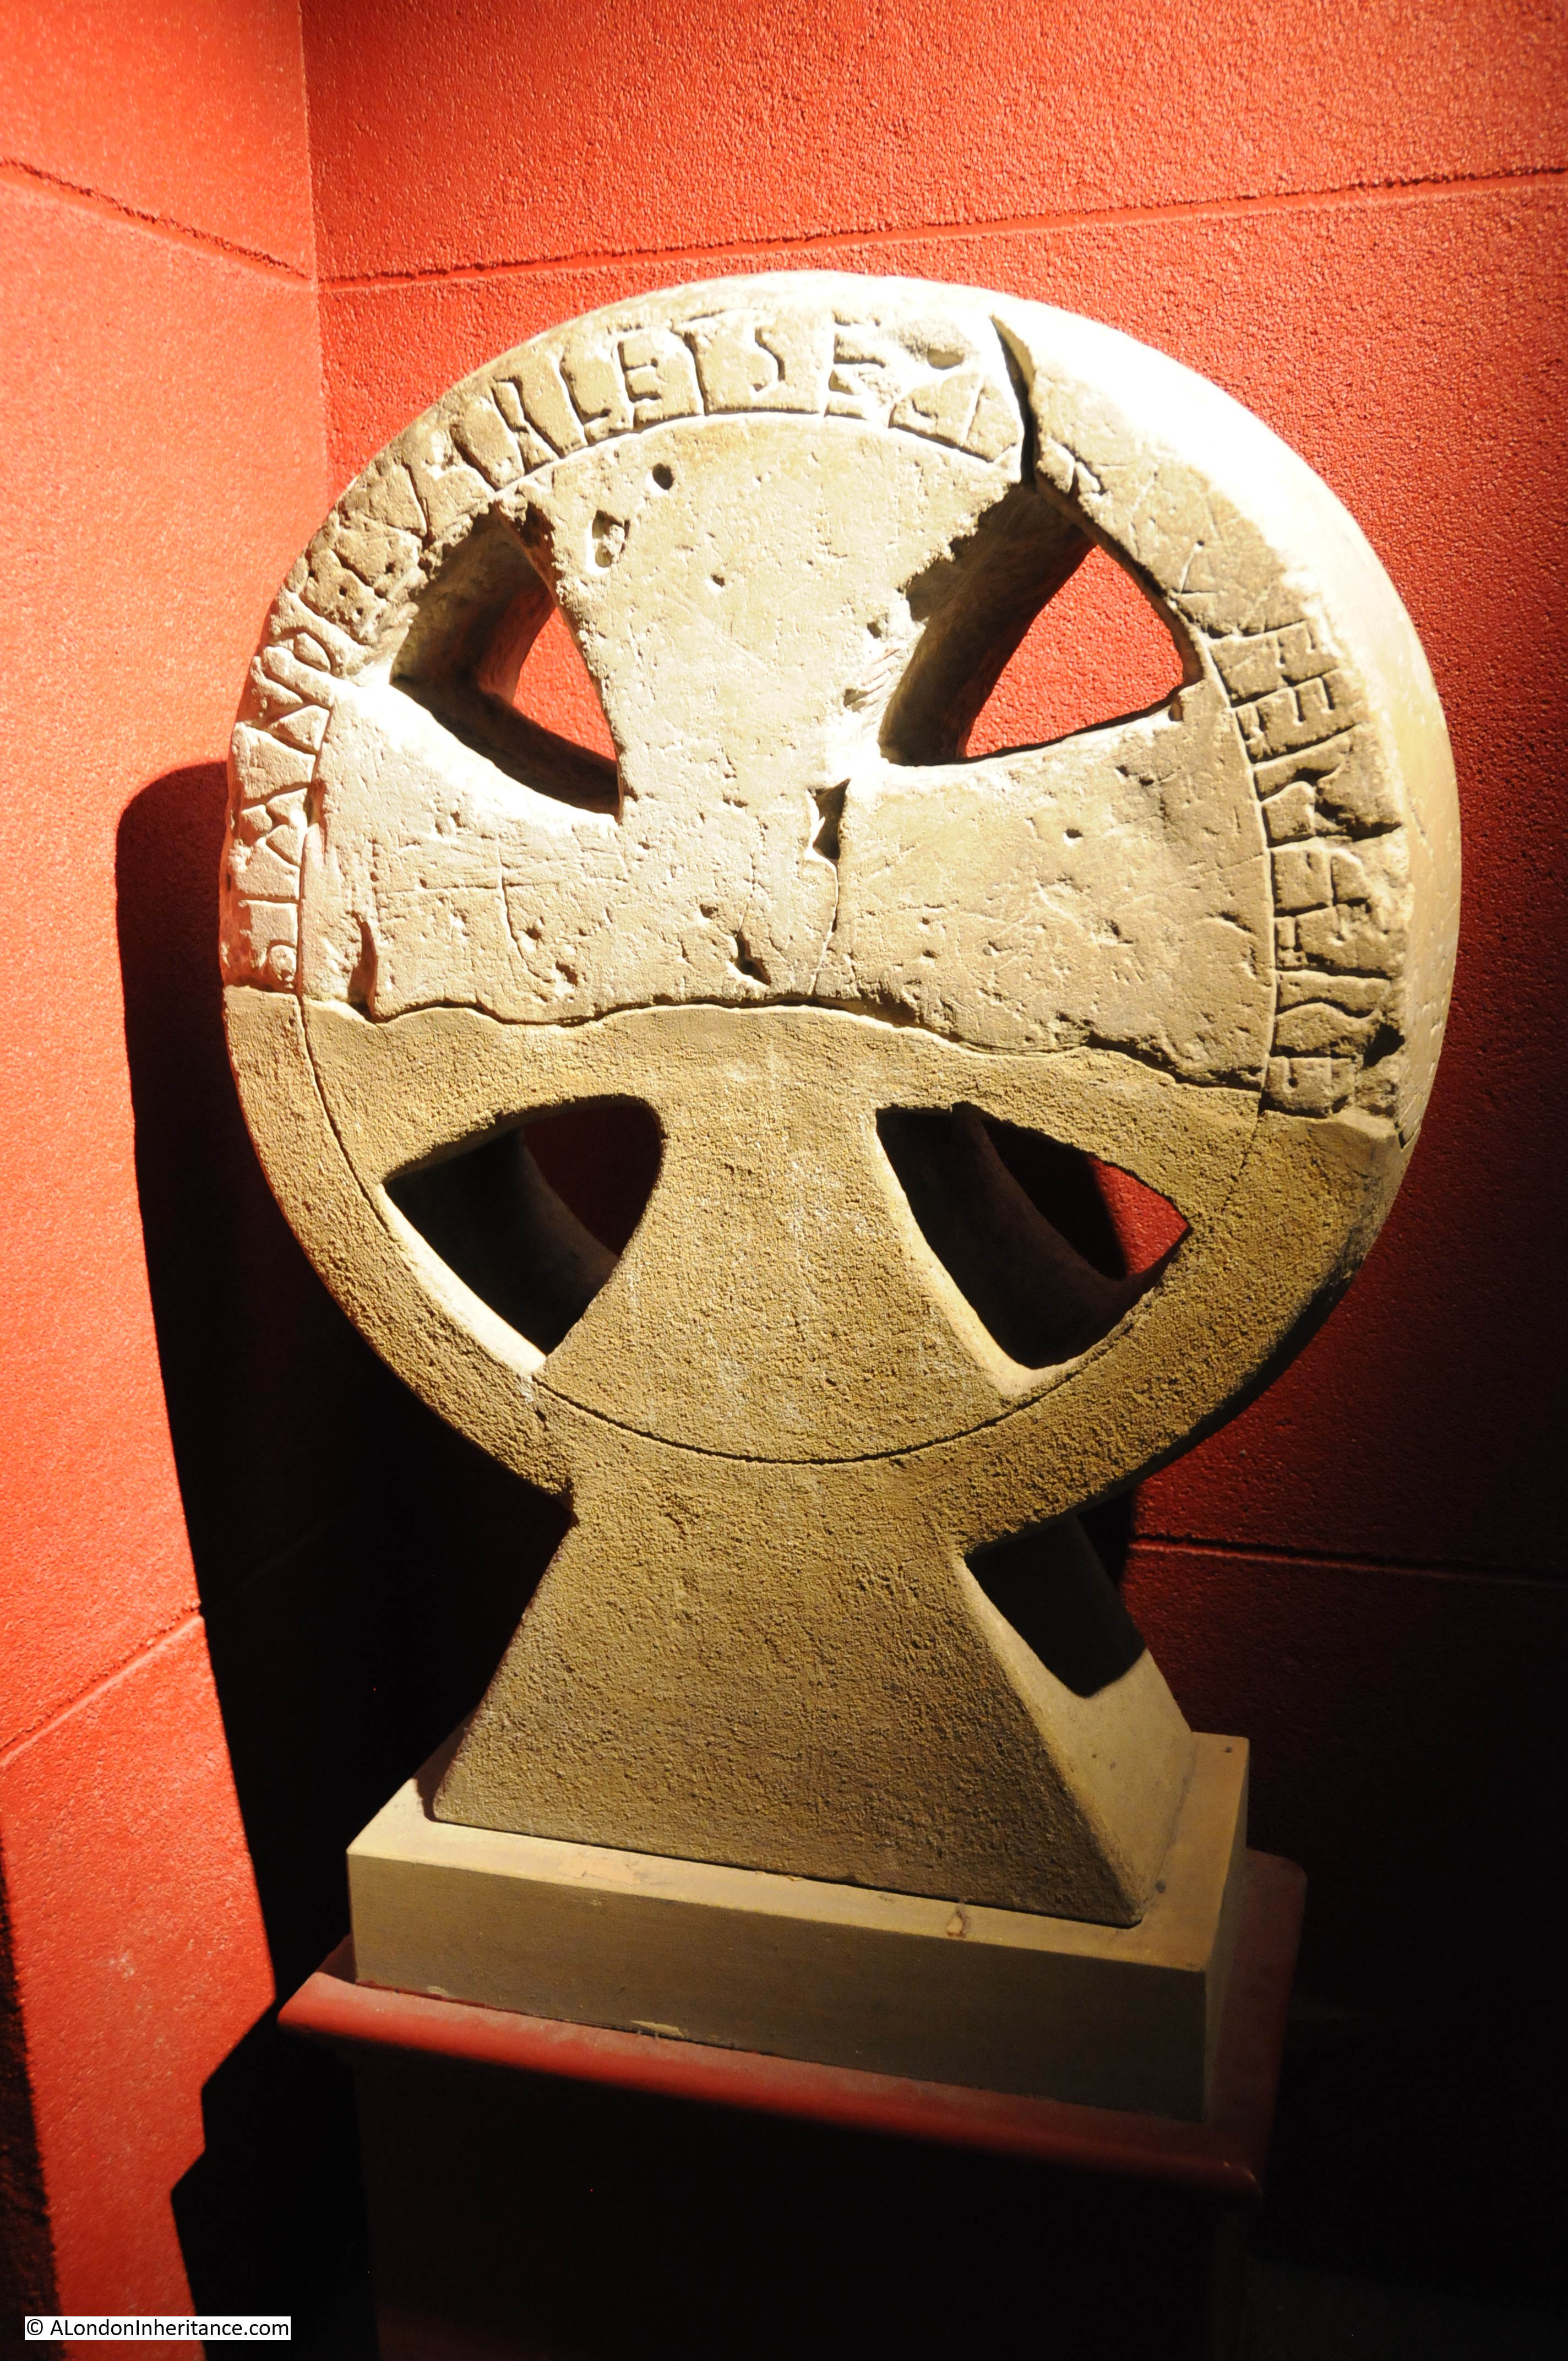
The Rev. J. Carter Rendell describes some finds in his book “Story of St. Pancras Old Church” – “When the old tower of the church was taken down in 1847-8 a stone was found buried under it that had once been part of an altar. It is marked with five crosses, and is made of Kentish rag stone hollowed out under for the relics of a saint which are now missing. The form of the crosses is unlike any other but that on the tomb of Ethne who was the mother of St. Columba (died 597). So here is a relic of an altar made in the year 625.”
It is easy to believe that this is an ancient site when standing looking up at the church on the mound and imagining the River Fleet running along the base of the mound.
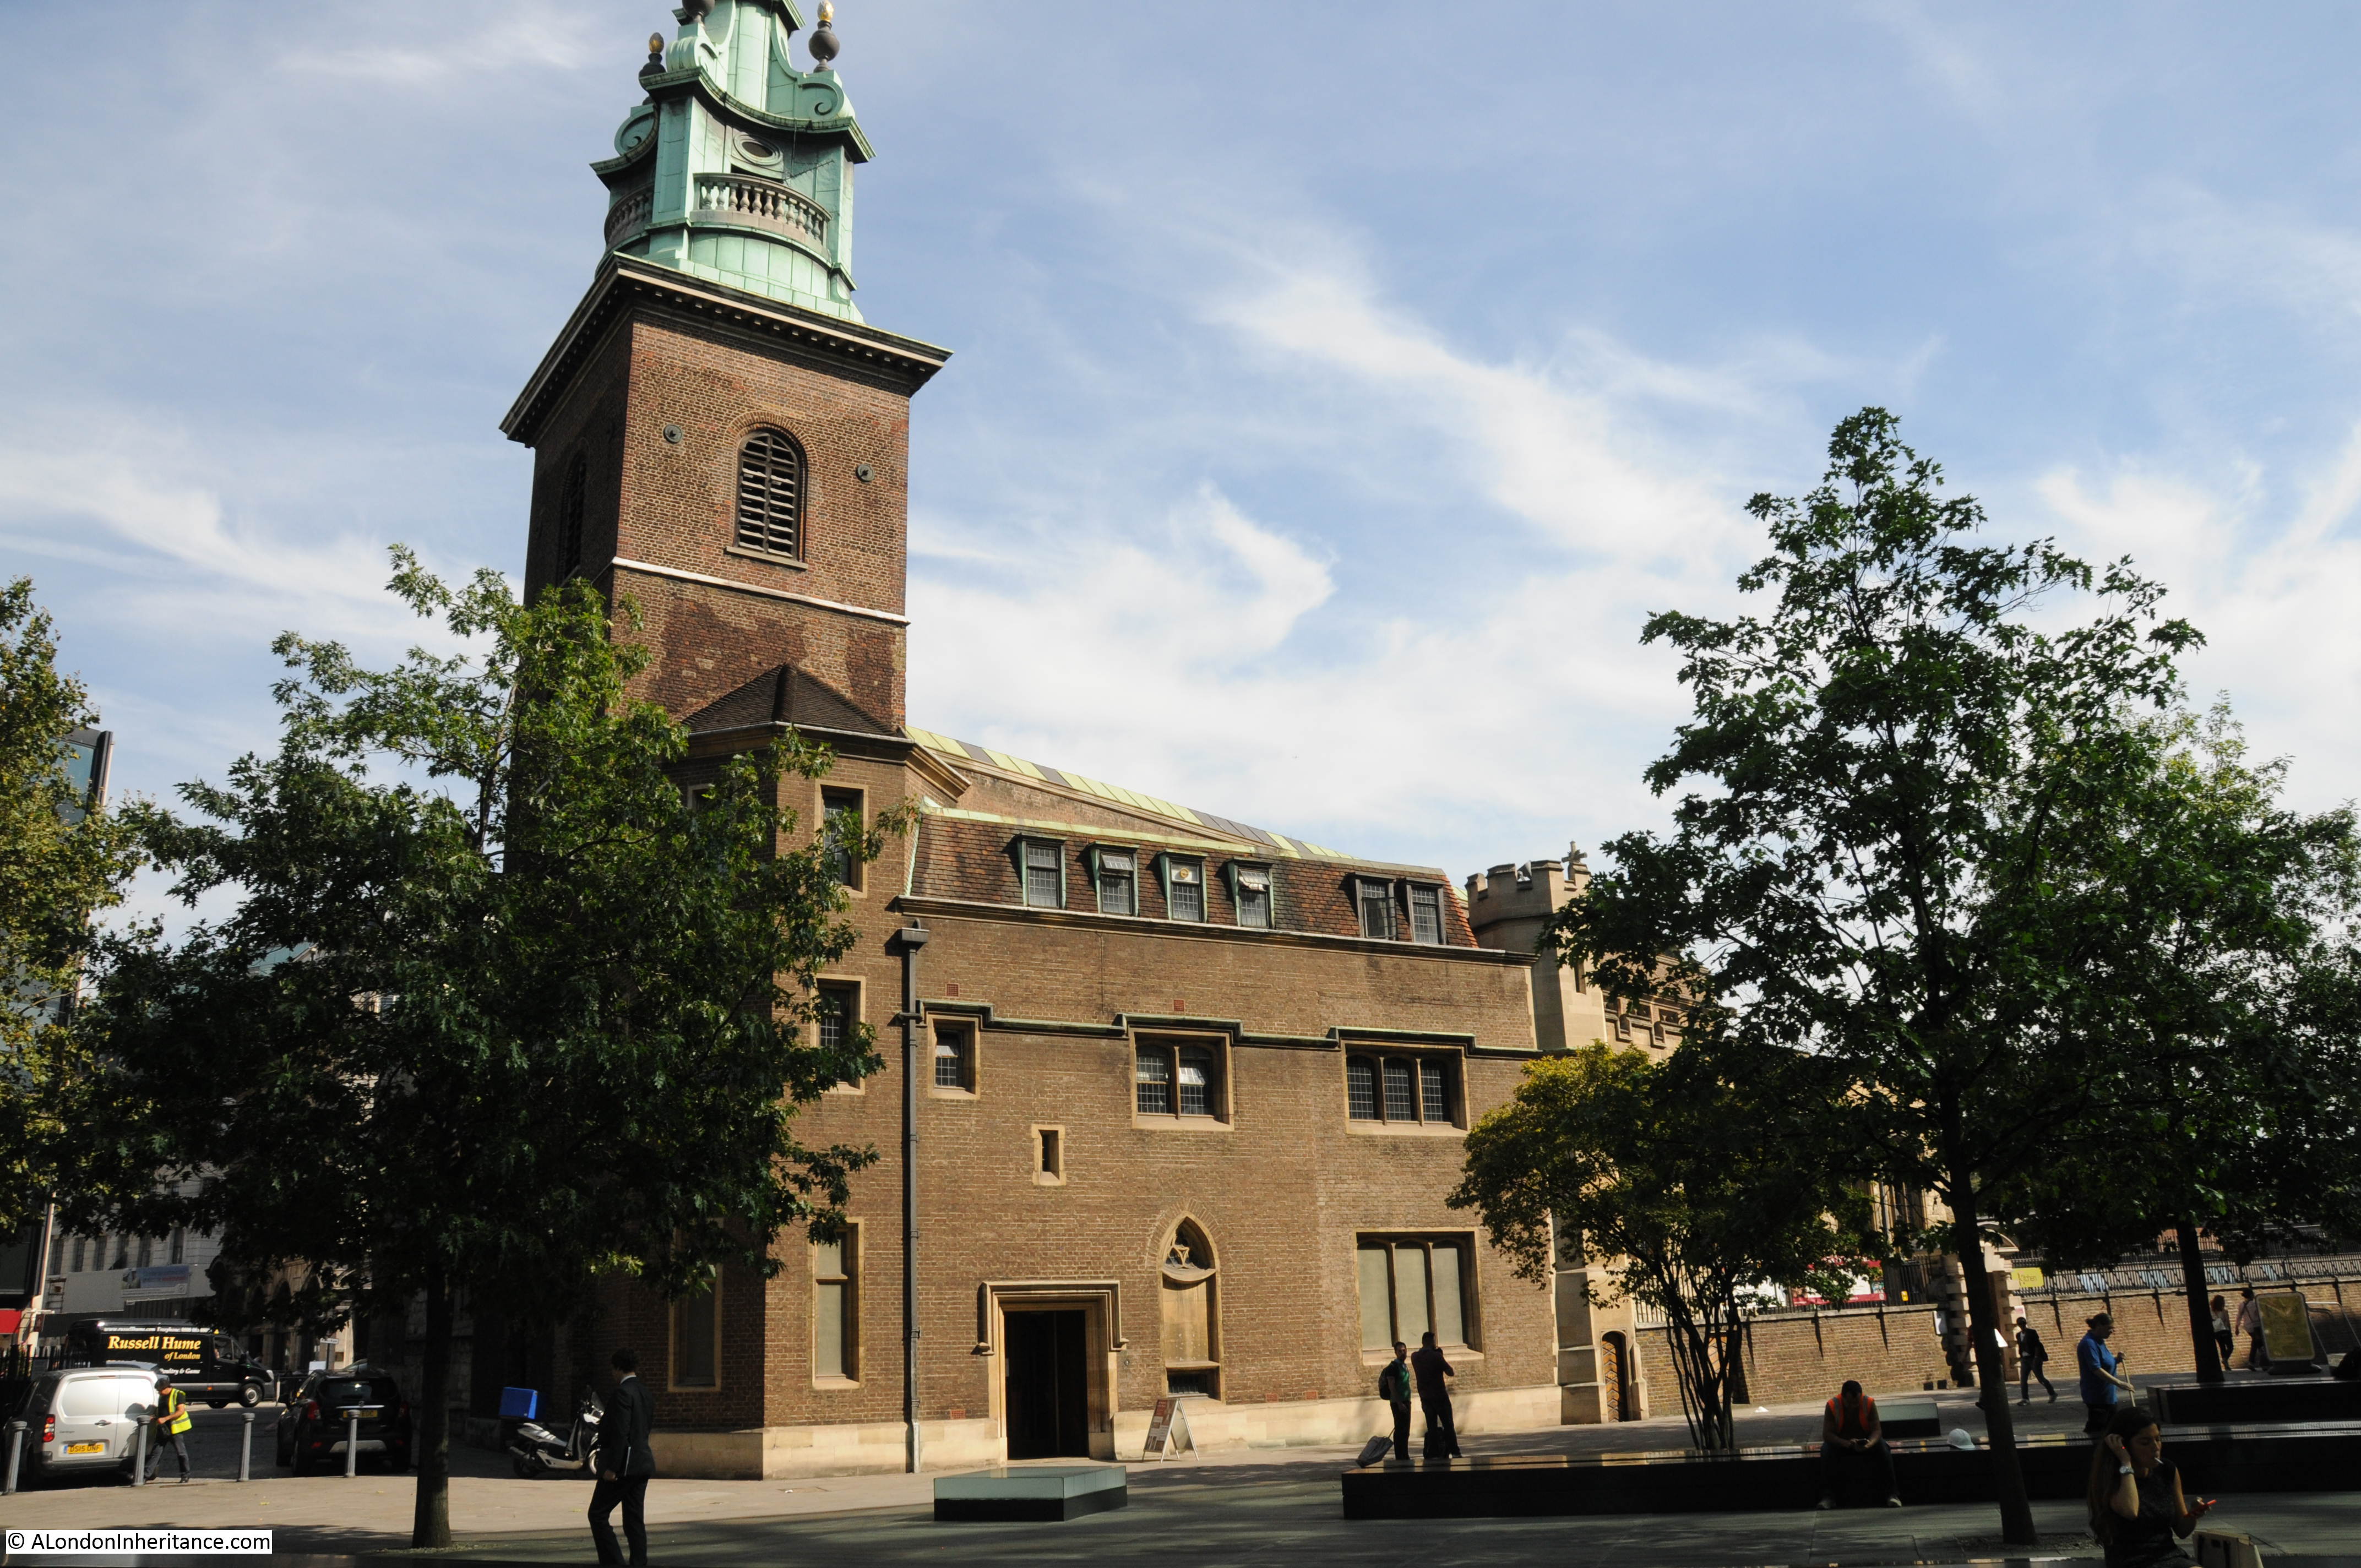
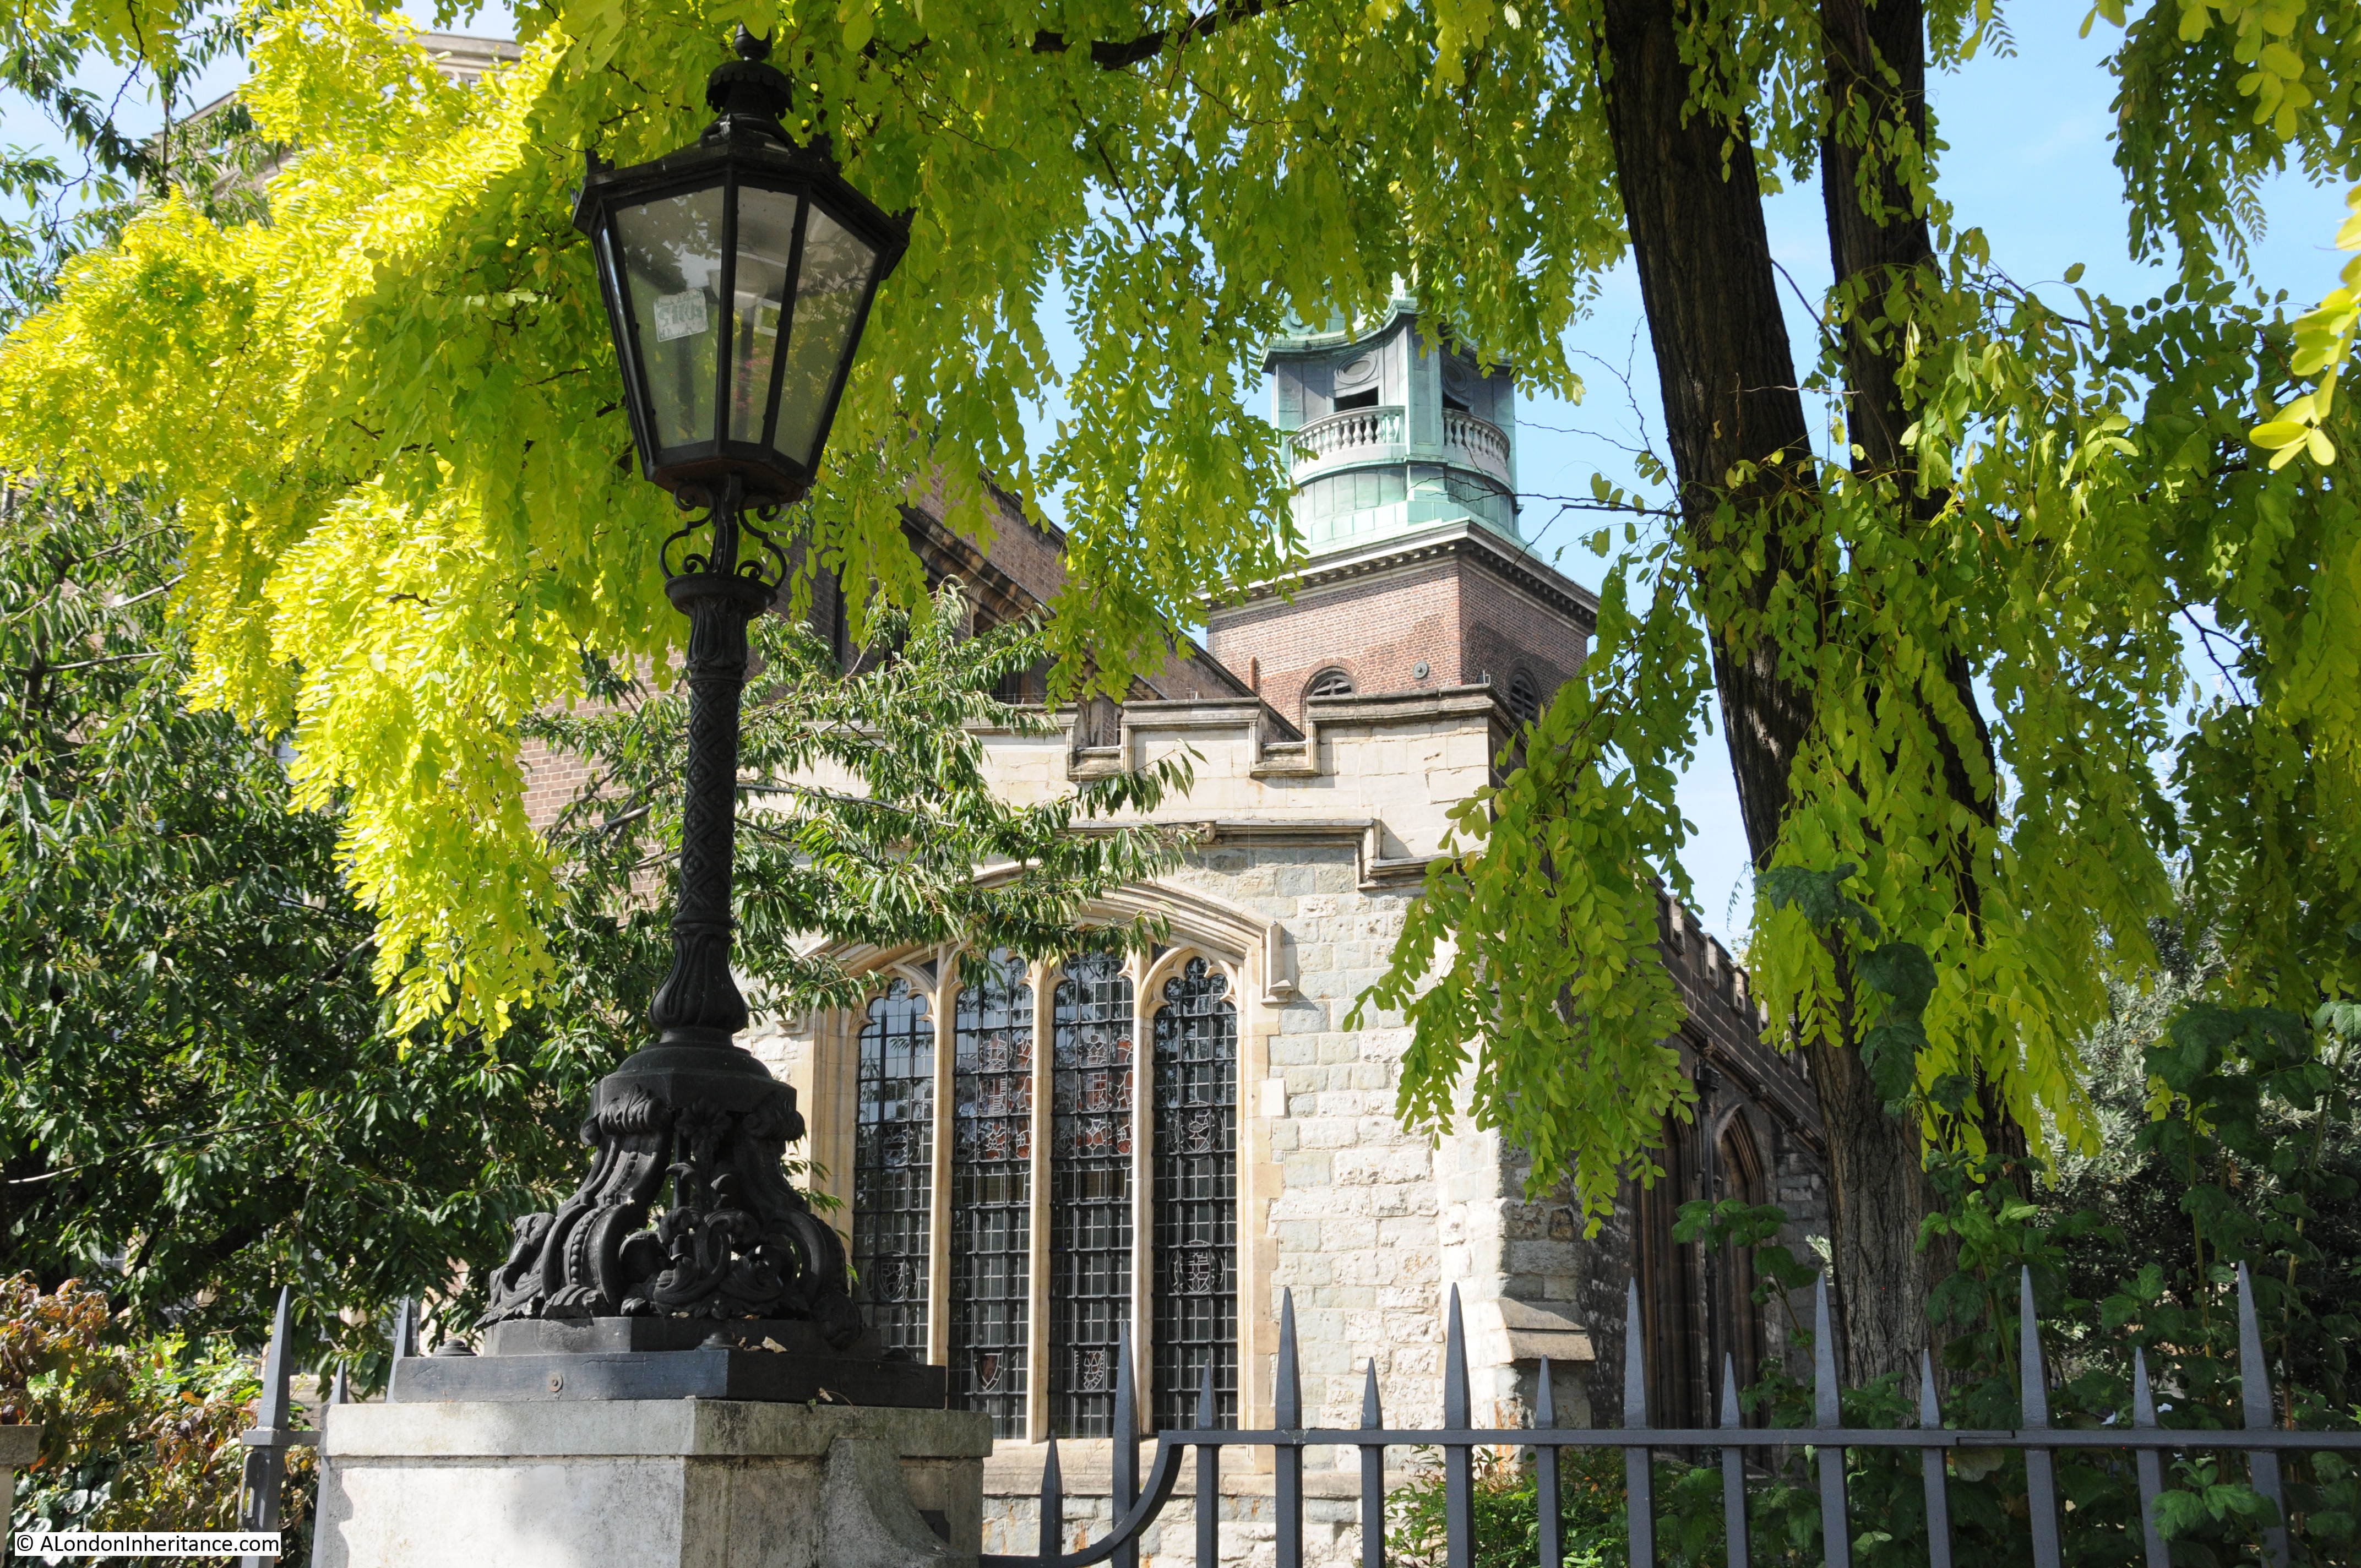
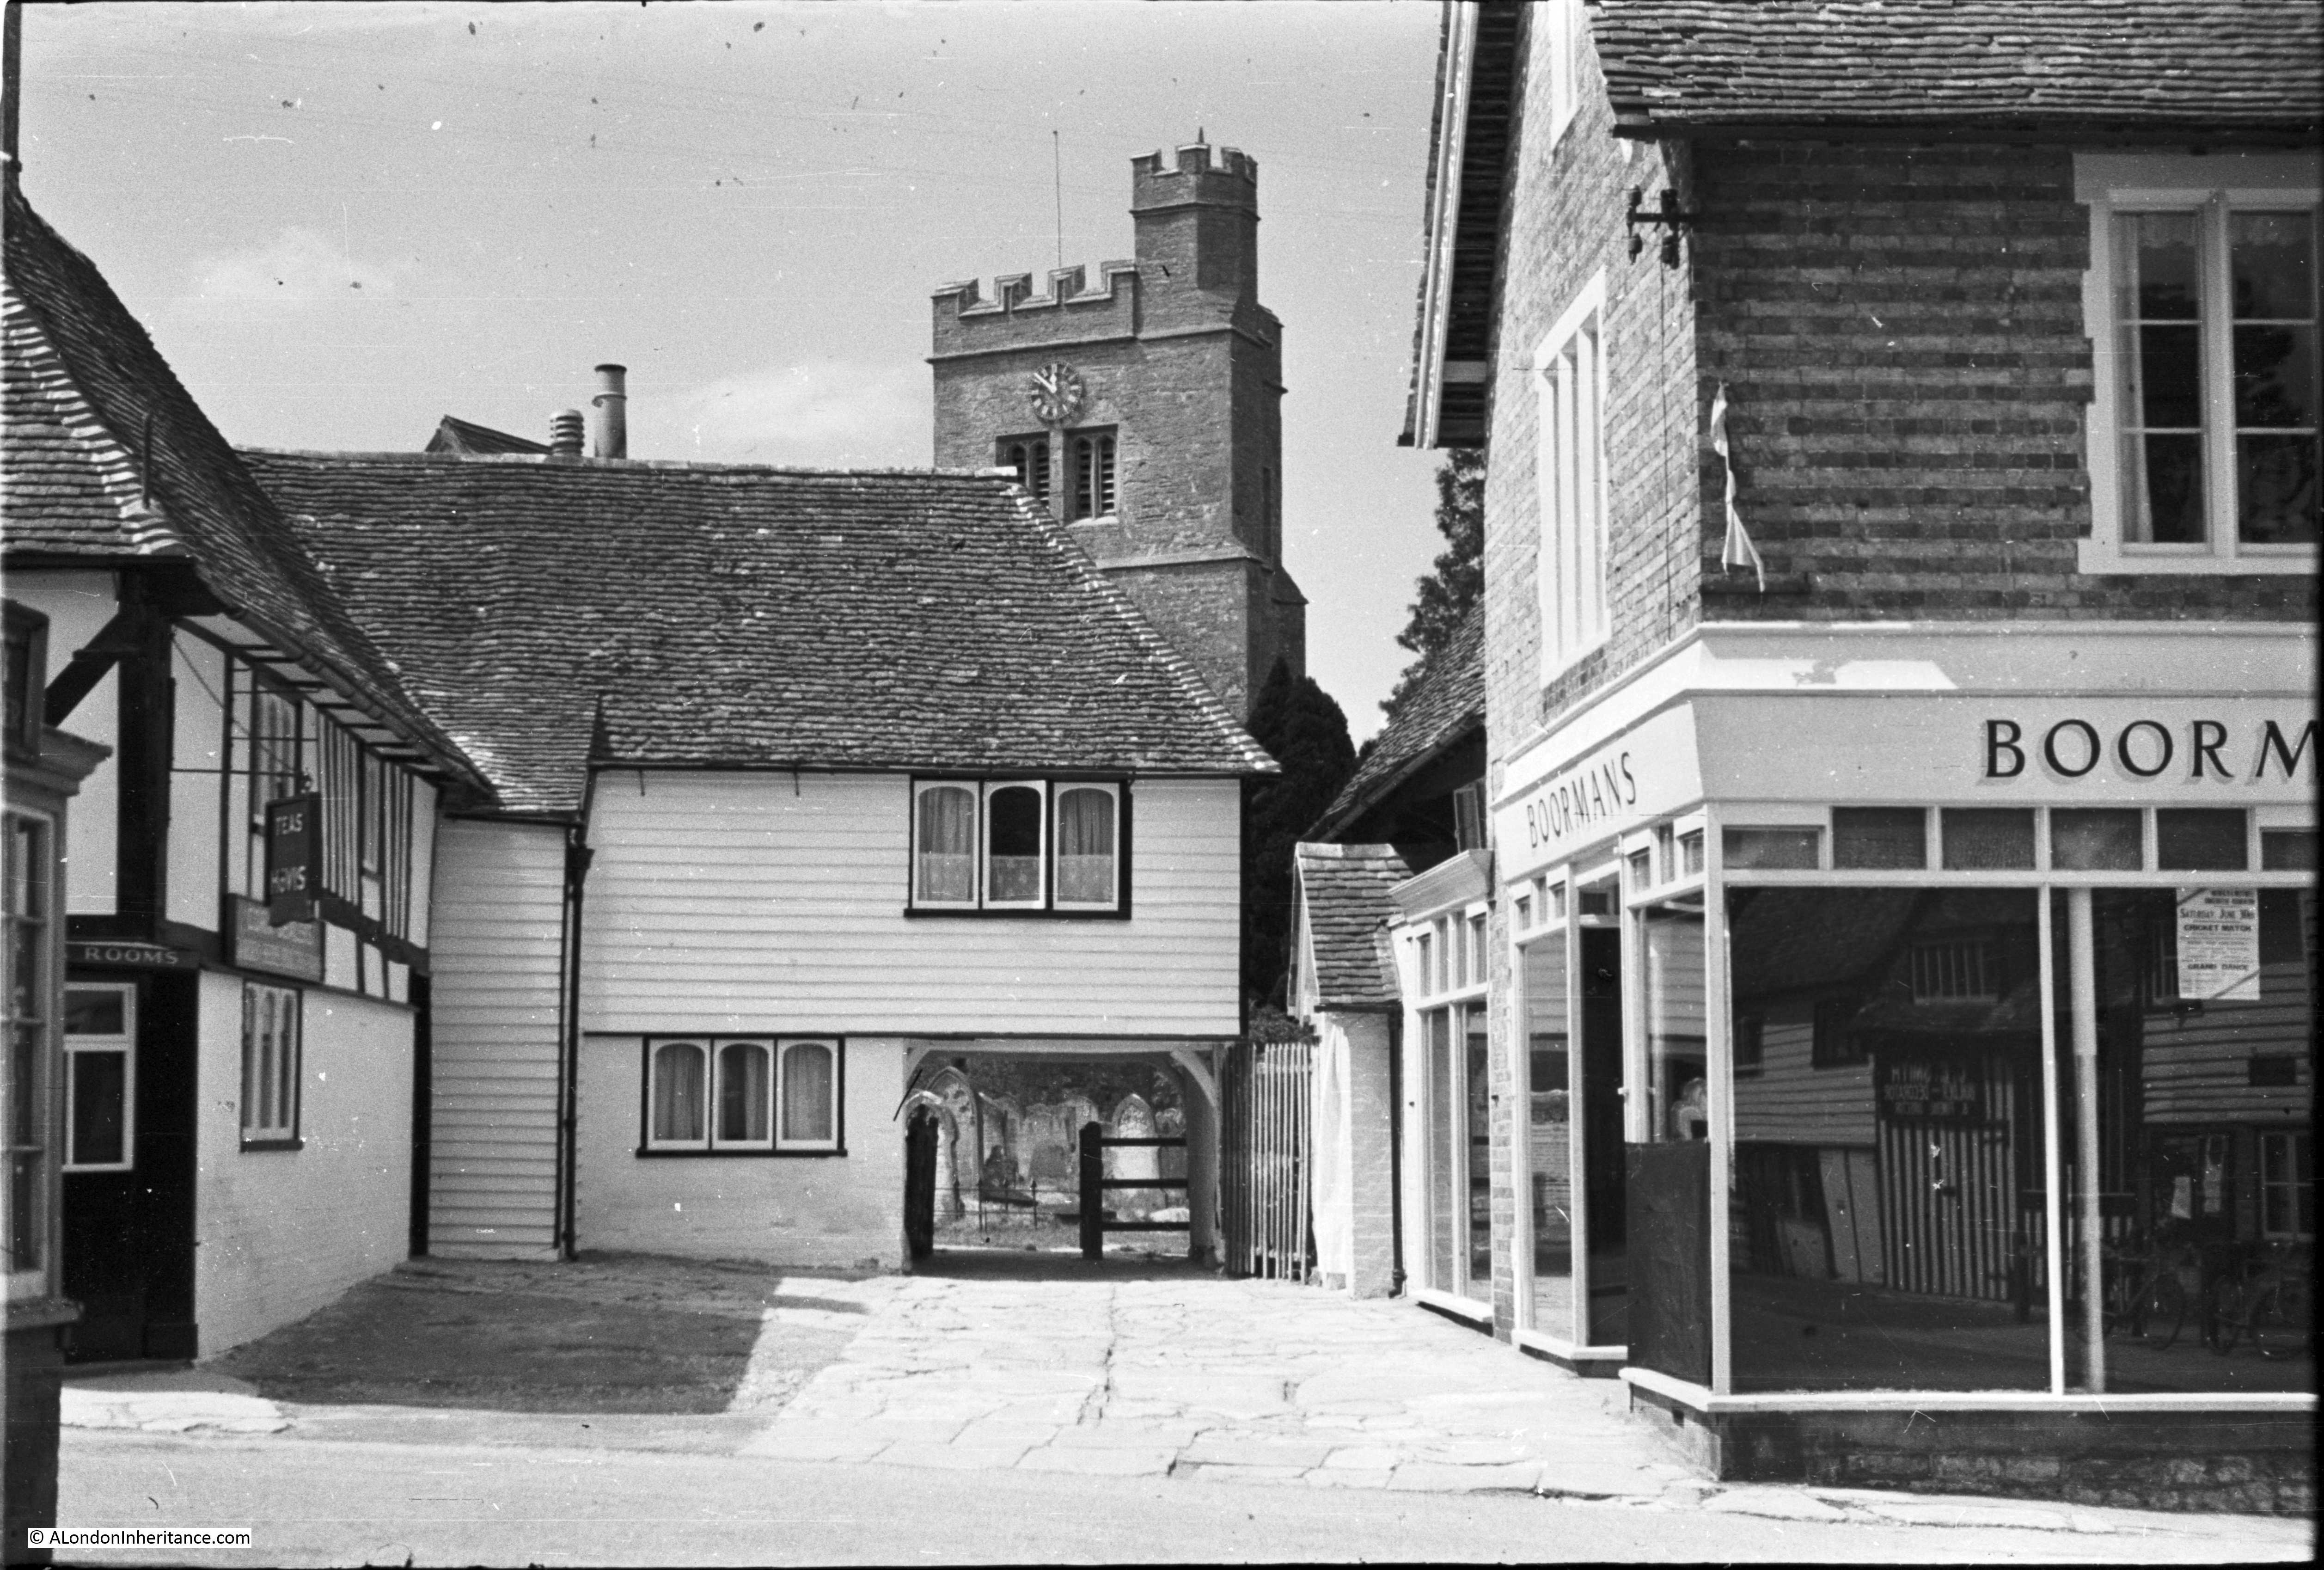
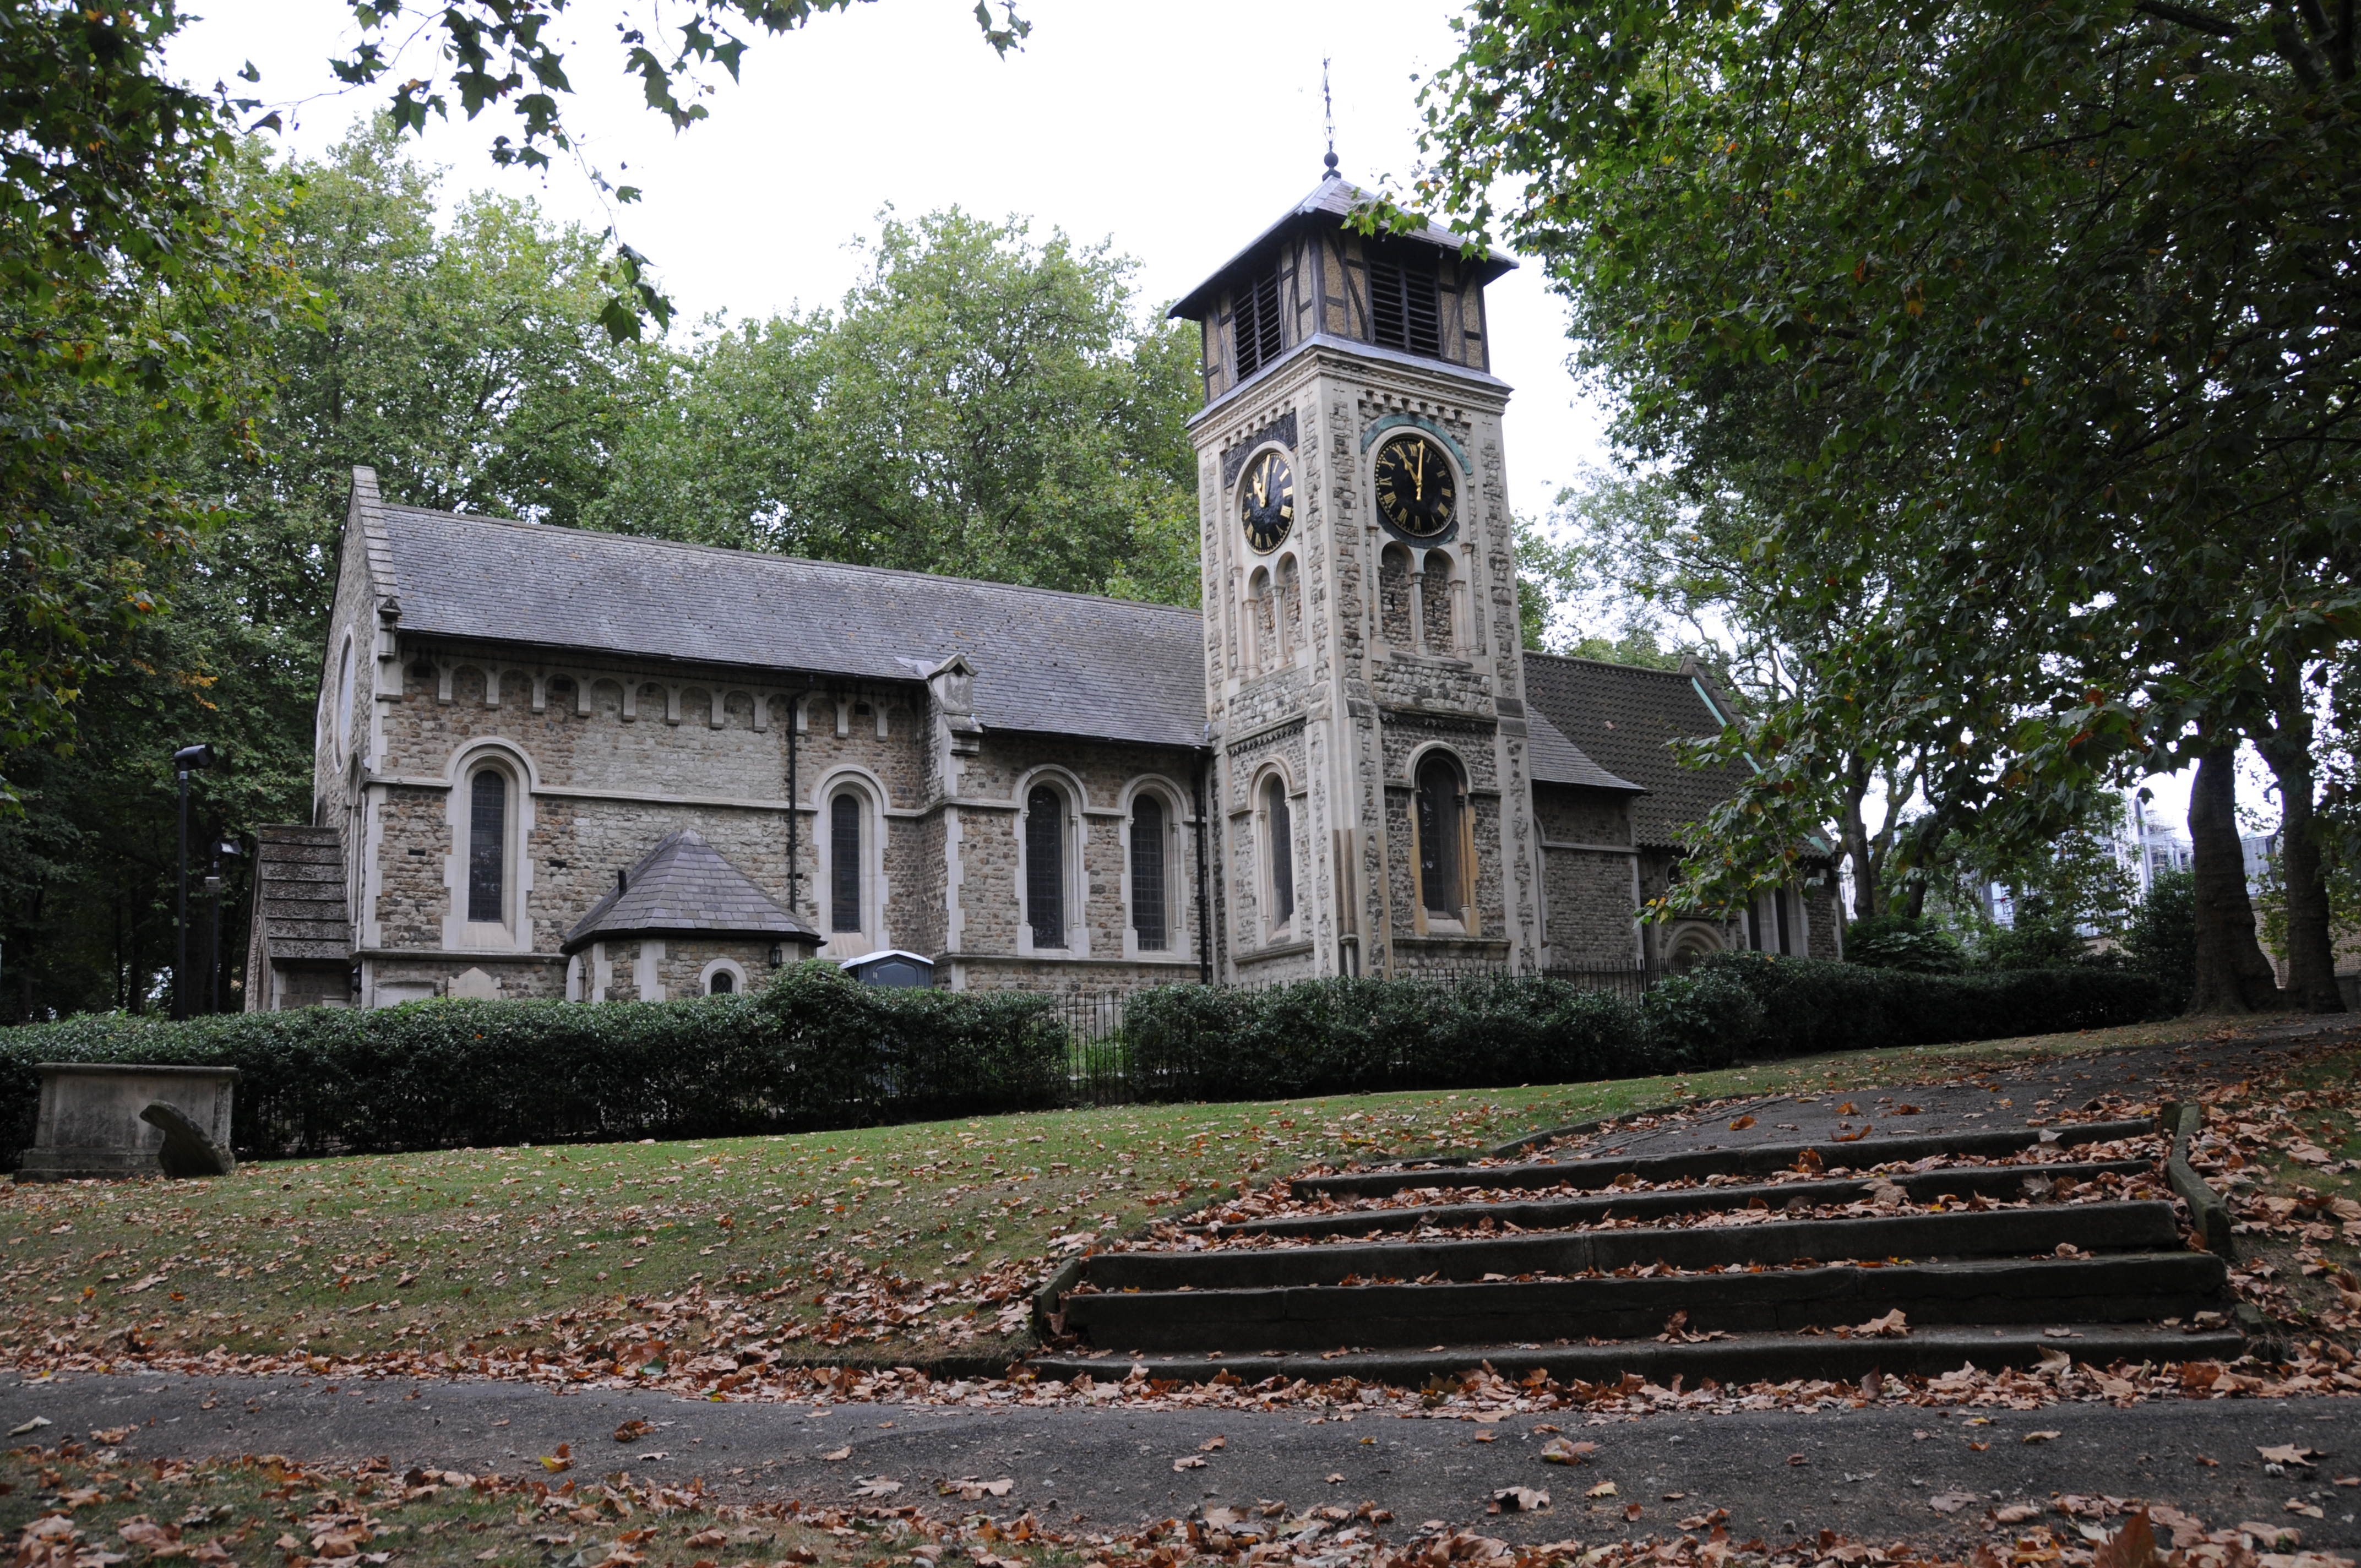
The church and tower – a much clearer view than in my father’s post war photo from Purchese Street.
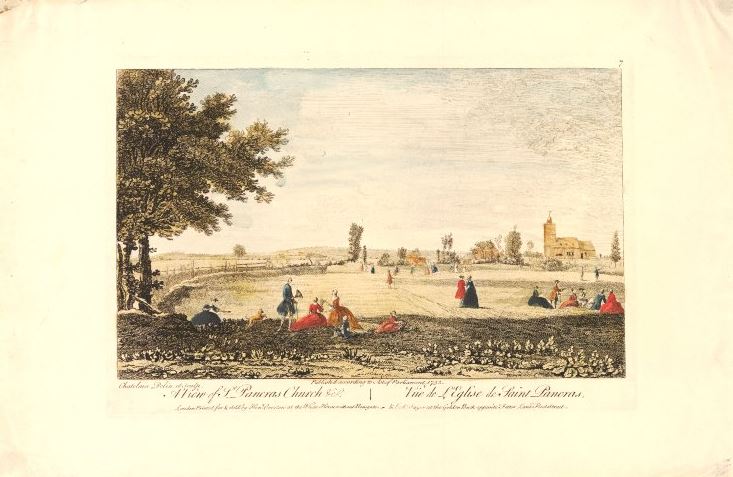
For centuries, St. Pancras Old Church was in a very rural location. The following prints (©Trustees of the British Museum) from the 18th and 19th centuries show the church surrounded by countryside. This print is “A View of St. Pancras Church” from 1752.
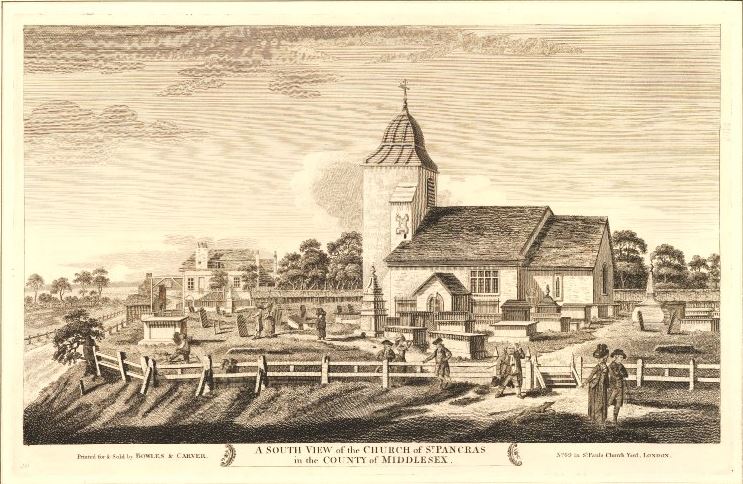
A closer view of the church showing the ground sloping away towards what is now Pancras Road – “A South View of the Church of St. Pancras in the County of Middlesex” from 1790.
And finally, highlighting the history to be found in the area to the south of the church, St. Pancras Wells with the church in the background from 1853. The new railway would soon be changing this view significantly

The isolation of St. Pancras Old Church is illustrated by the following description of the church in John Norden’s Speculum Britanniae from 1593. “Pancras Church standeth all alone as utterly forsaken, old, and weatherbeaten, which for the antiquitie thereof, it is thought not to yield to Paules in London; about this church have bin manie buildings, now decaied, leaving poore Pancras without companie or comfort; yet it is now and then visited with Kentish towne and Highgate which are members thereof; but they seldome come there, for that they have chappels of ease within themselves, but when there is a corps to be interred, they are forced to leave the same in this forsaken church or churchyard, where (no doubt) it resteth as secure against the day of resurrection as if it laie in stately Paules.”
The reference to Kentish Town and Highgate refers to mass being held in these locations for the majority of Sundays in the month with only one Sunday a month in St. Pancras.
The church does not feel very isolated today with trains running close by, to and from St. Pancras Station, a busy road at the base of the mound leading up to the church and housing estates now occupying the areas where the Coal and Goods Yards once stood.
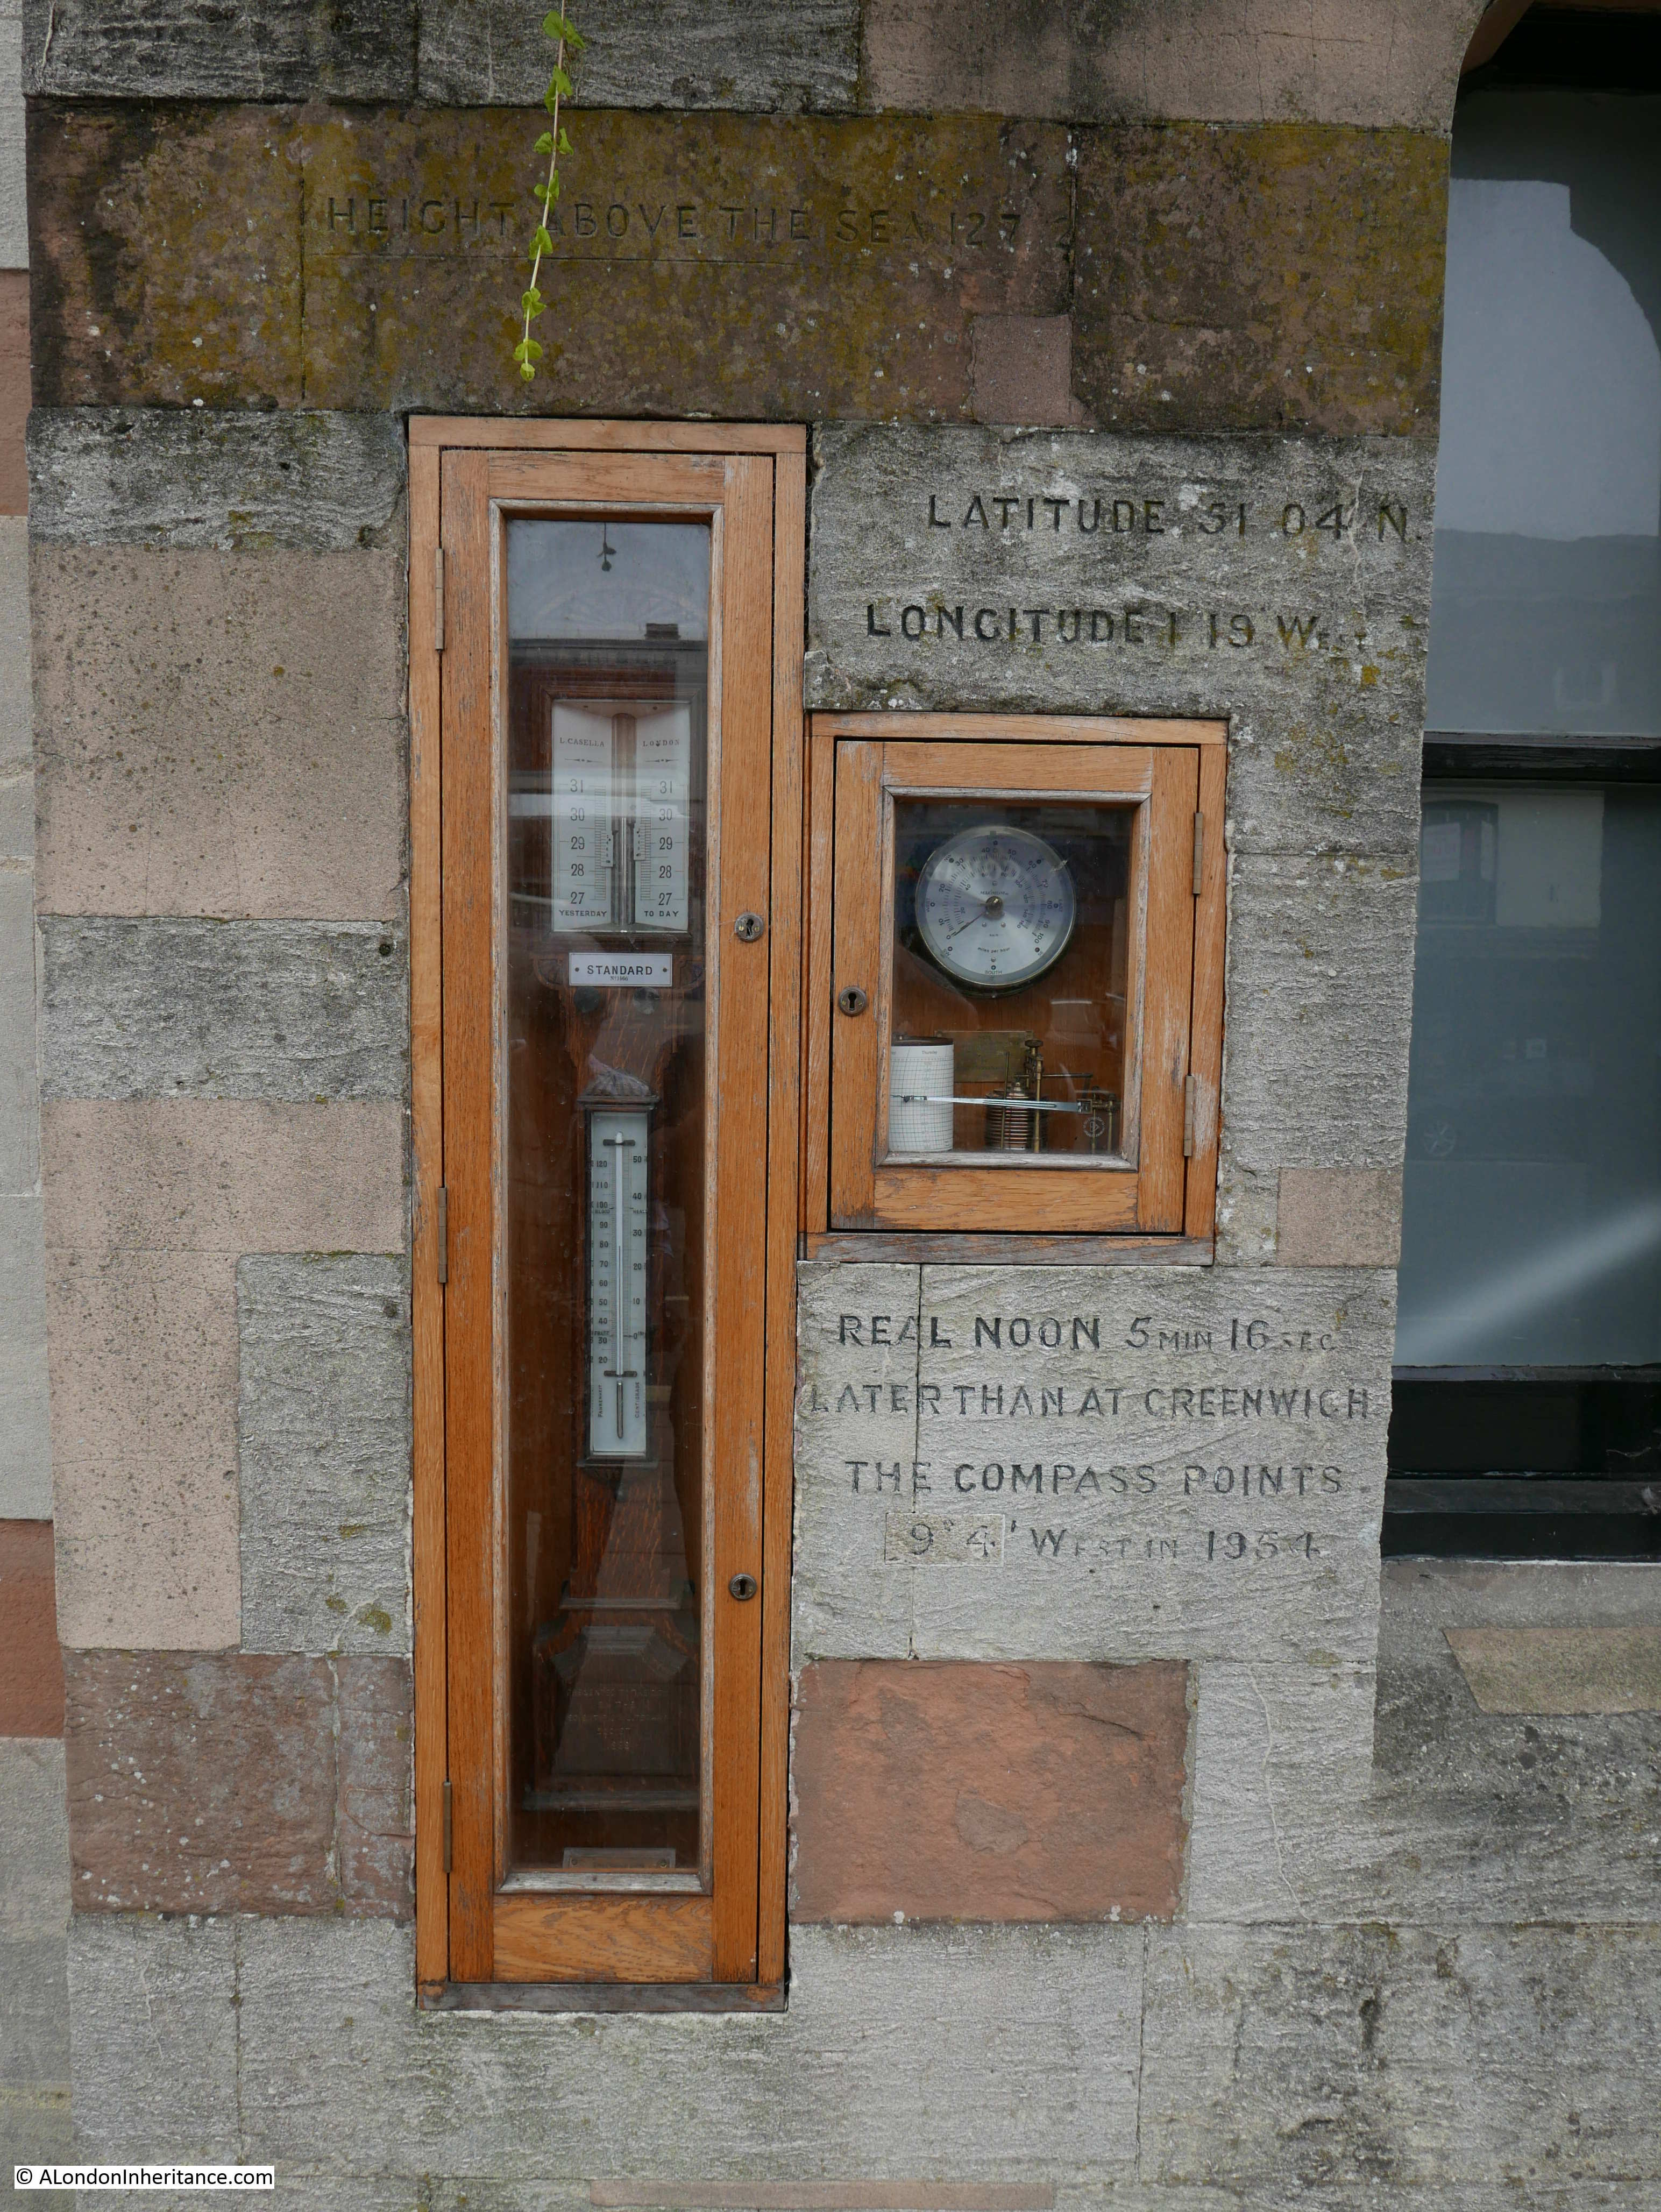
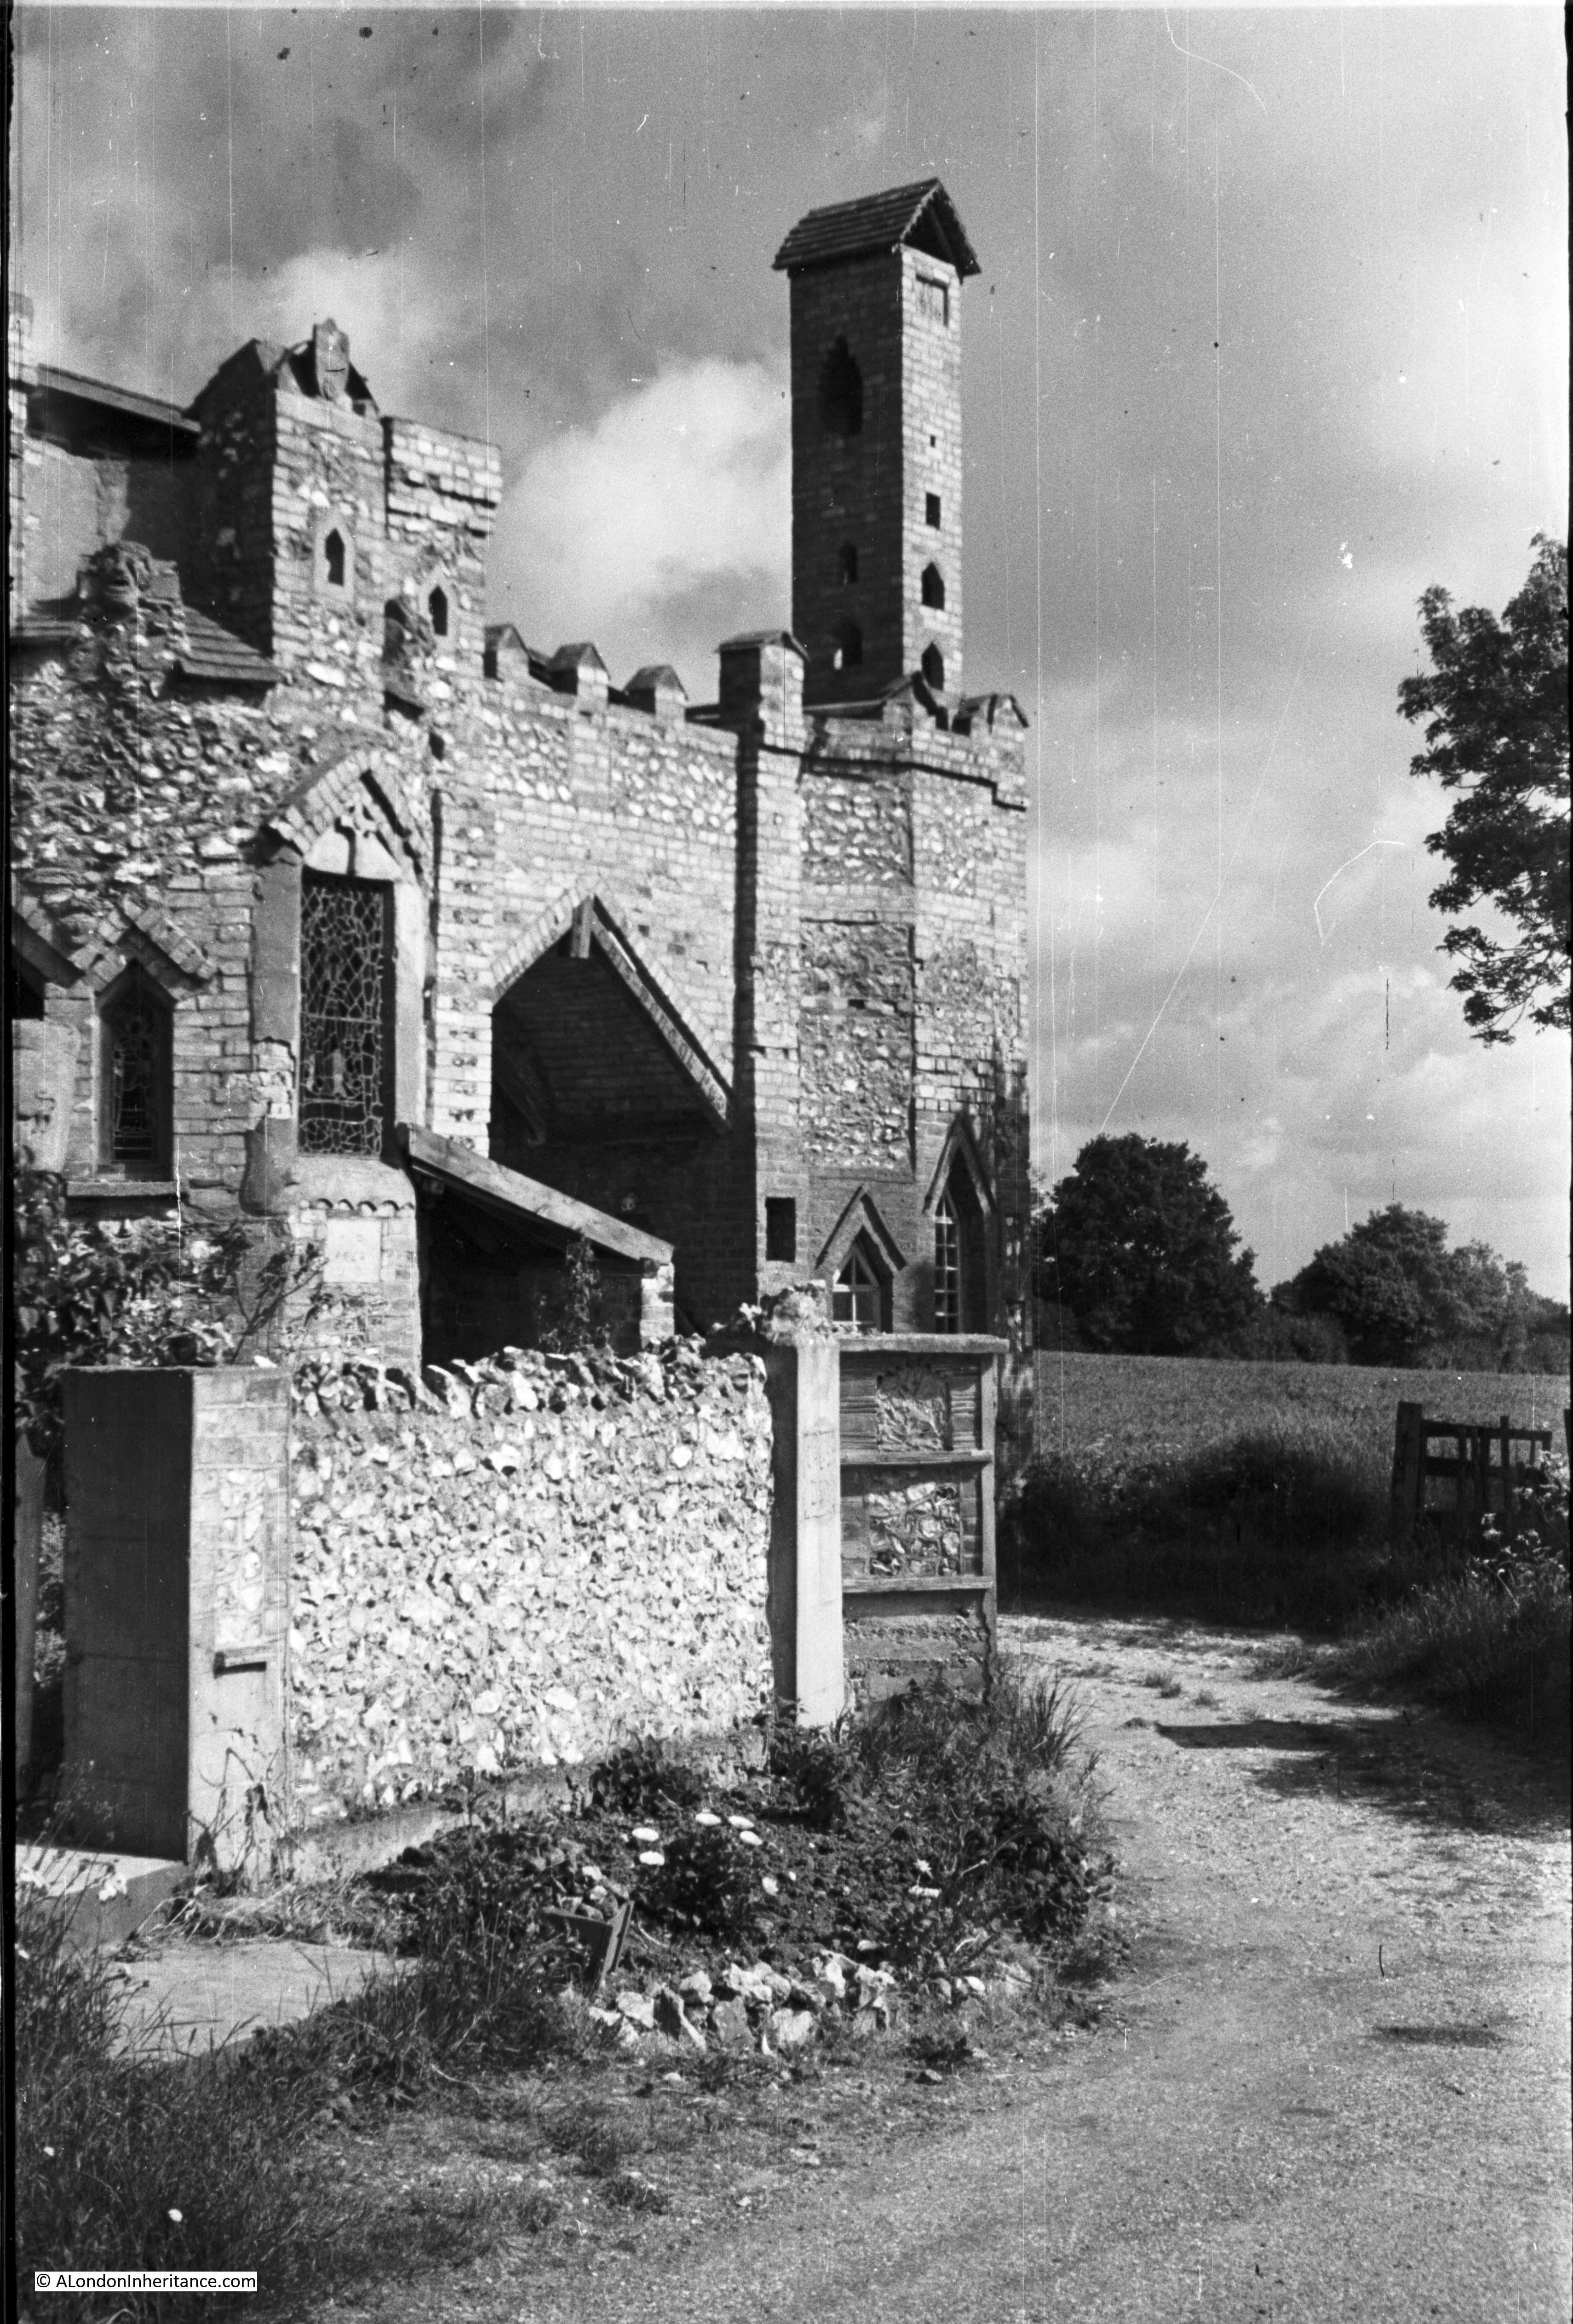
Close to the entrance to the church is the splendid gothic style Burdett-Coutts Memorial Sundial. Designed by George Highton of Brixton it was unveiled in 1879 by Baroness Burdett-Coutts.
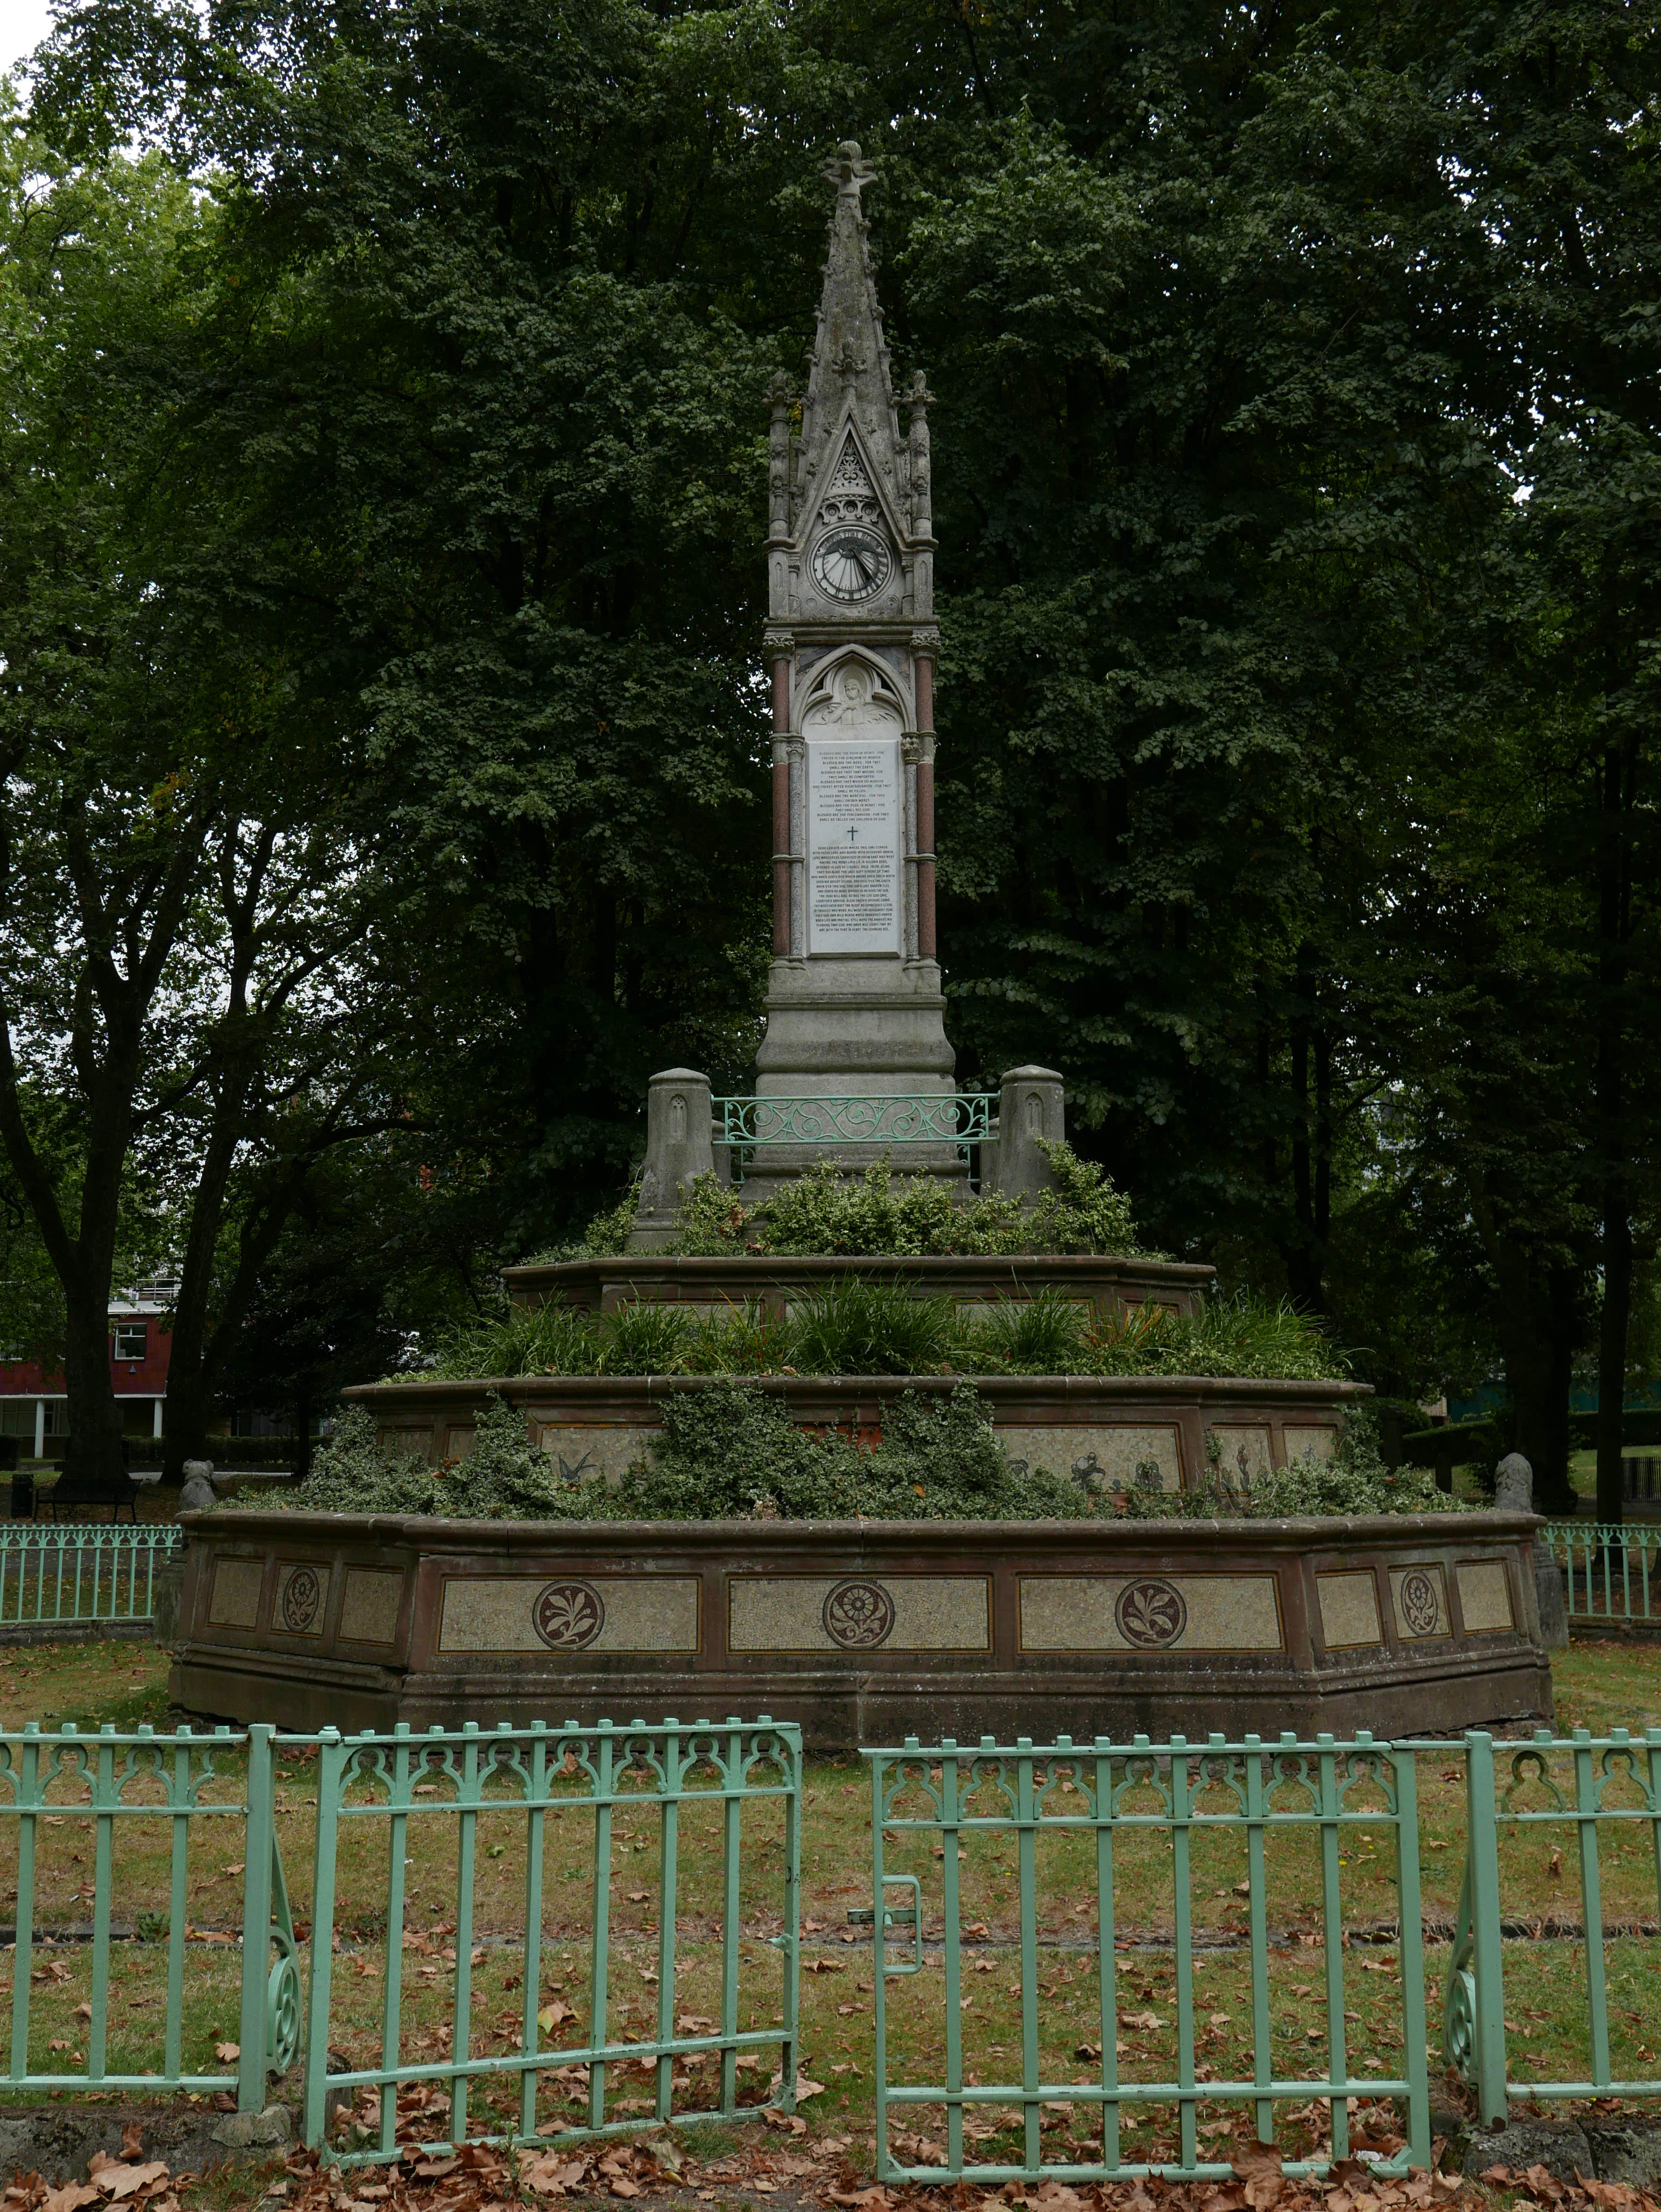
Baroness Burdett-Coutts was the youngest granddaughter of Thomas Coutts, one of the partners of Coutts Bank. When Thomas died his estate passed to his wife, Harriot and when she died in 1837, the interest from a Trust and a 50% share of Coutts Bank passed to Angela Burdett with the condition that she also take the name Coutts, so at the age of 23 she became Angela Burdett-Coutts and also the richest woman in the country, with the title of Baroness coming later.
Burdett-Coutts gave a considerable amount of her time and money to philanthropic activities aimed at helping the poor. This included the building of the Columbia Road Market in Bethnal Green which helped support small traders and provided the poor of the area with a place where they could buy food at reasonable prices.
She funded the construction of the memorial sundial in the churchyard to record the names of many of those who had been buried in the area of the churchyard that was being used for the railway.
Burdett-Coutts died in 1906 at the age of 92 and is buried in Westminster Abbey – a fitting place as she had given away some £3 million of her money (this was the value in the 19th century, it would be a considerably higher sum now).
The majority of the old churchyard is now grass following work in the 19th century to turn the churchyard into gardens. A few memorials remain including the one shown in the following photo. This is the mausoleum of the architect Sir John Soane and his family.
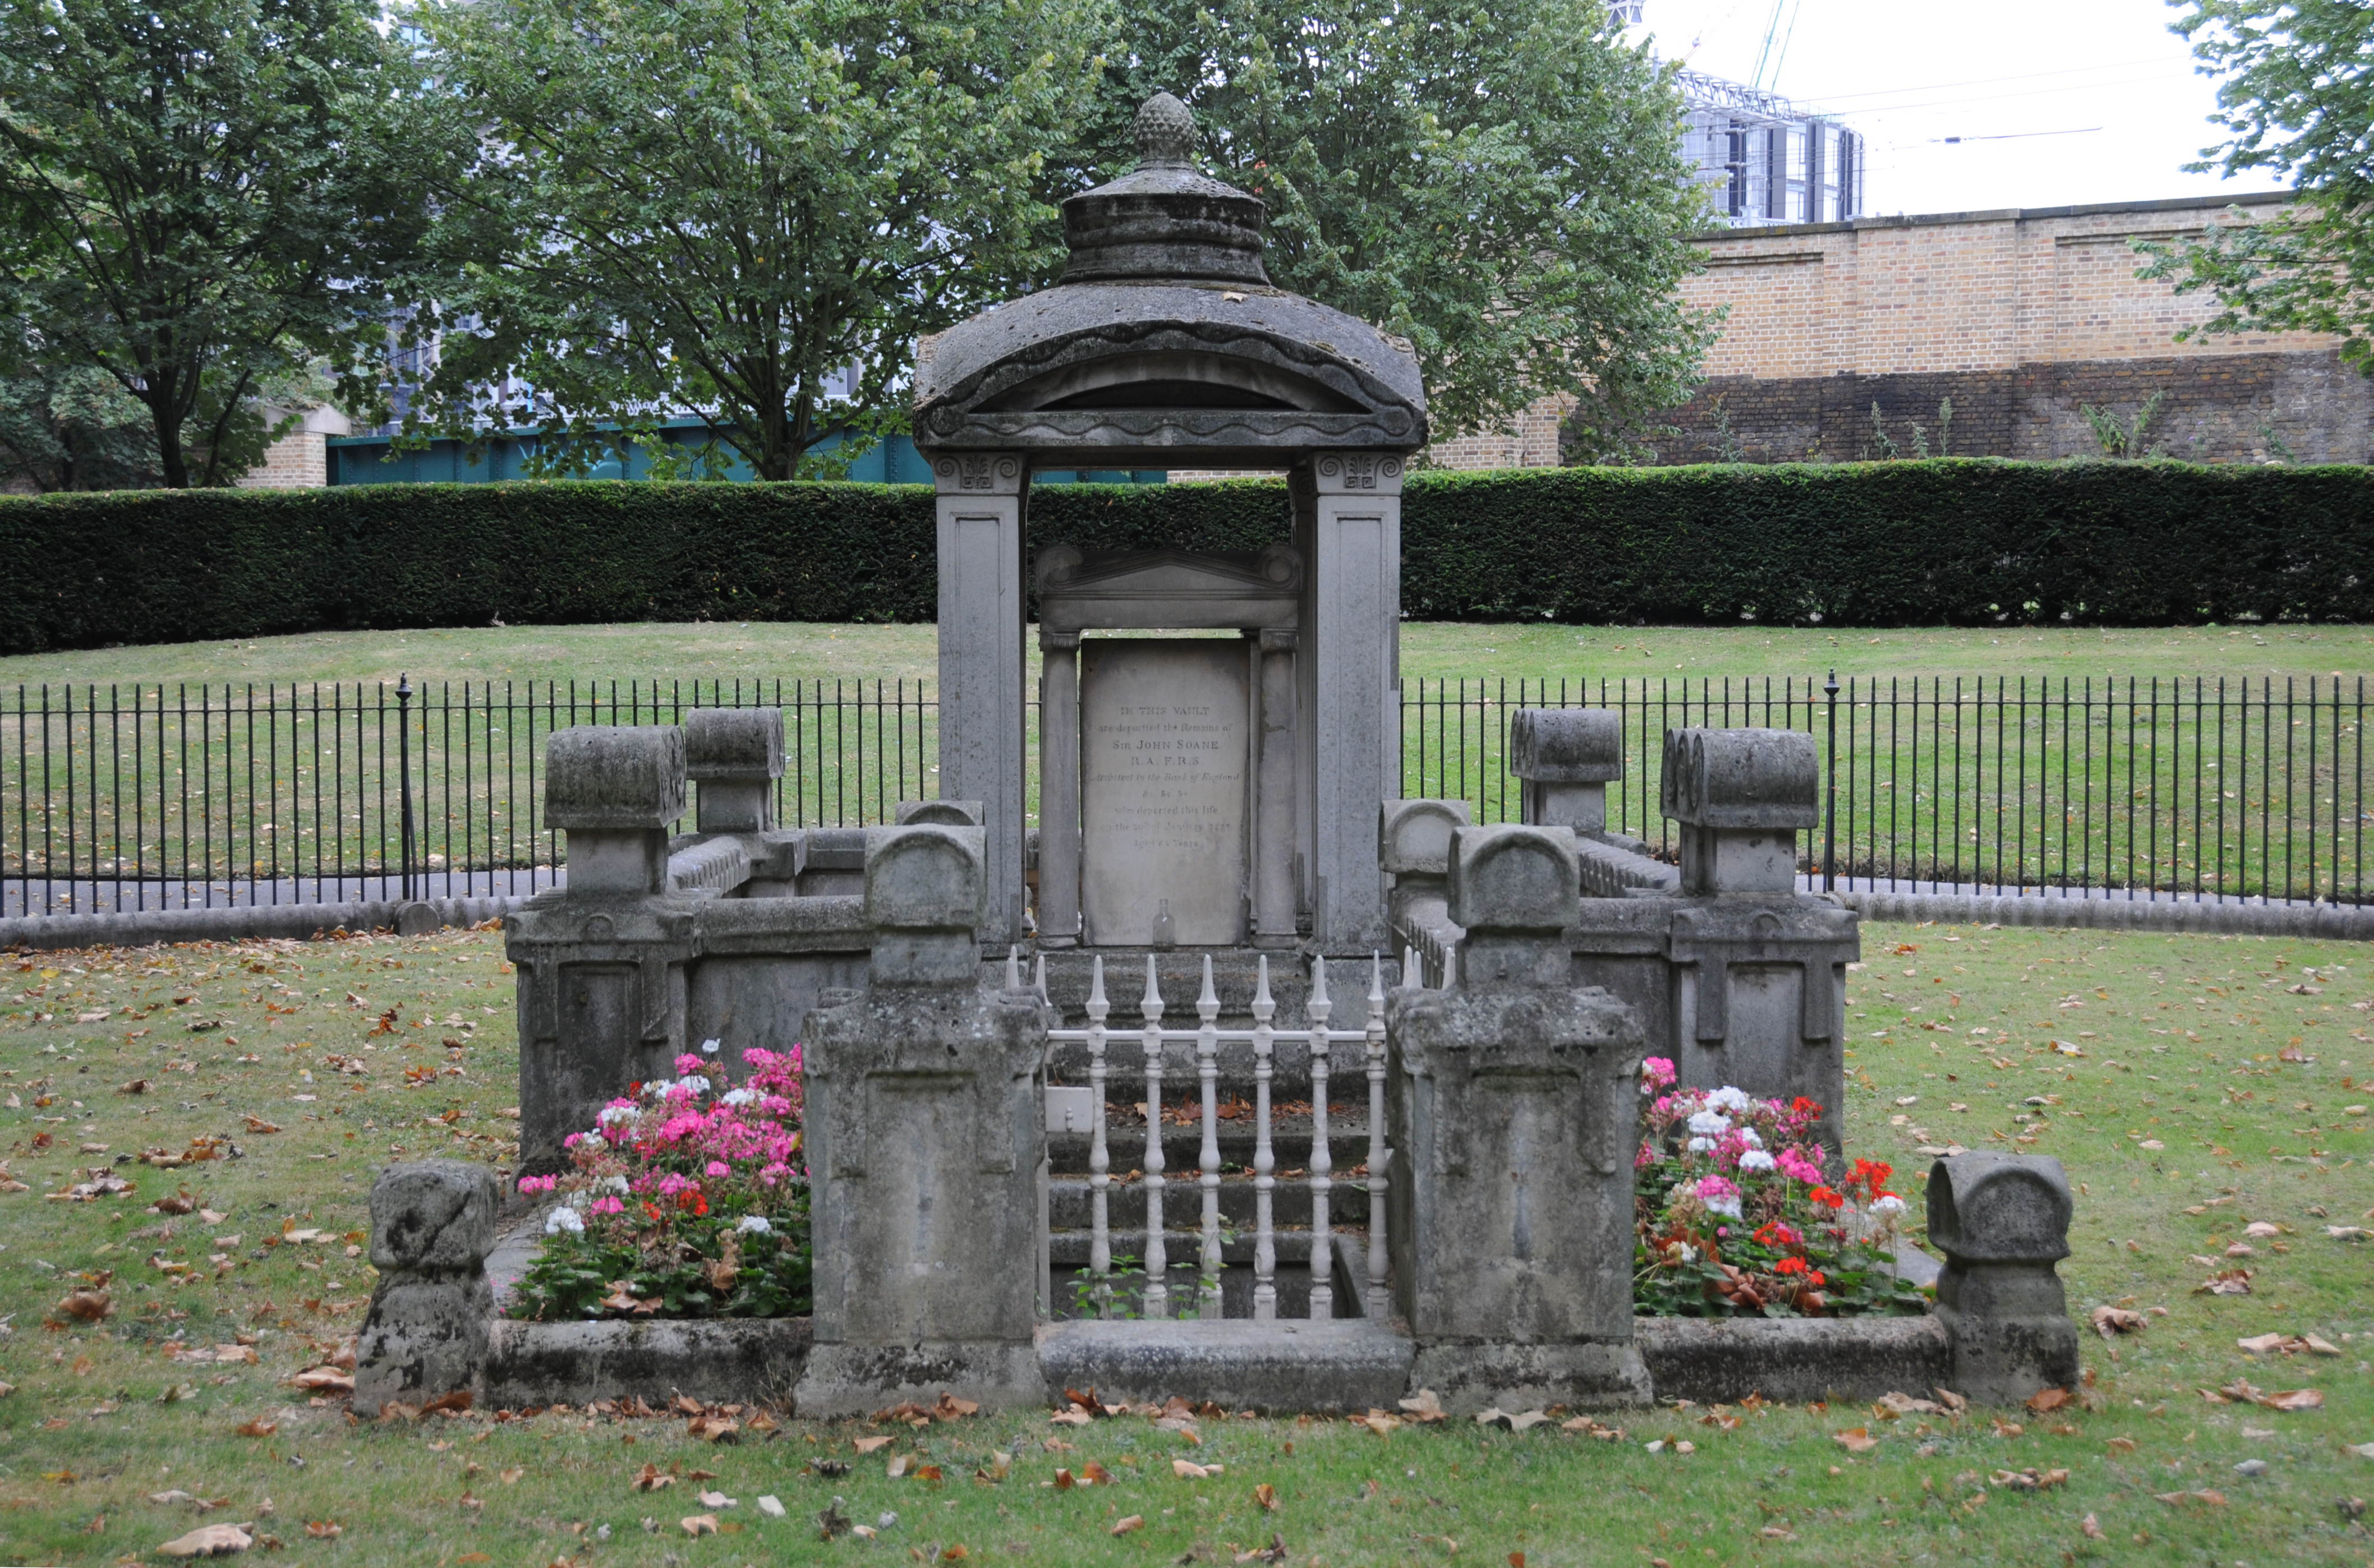
Sir John Soane was the architect of the Bank of England and Holy Trinity Church on Marylebone Road. The mausoleum was built in 1816 following the death of his wife in 1815. The design of the central feature of the mausoleum influenced Sir Giles Gilbert Scott in his design of the K2 telephone box. The mausoleum is now Grade I listed, such is its importance.
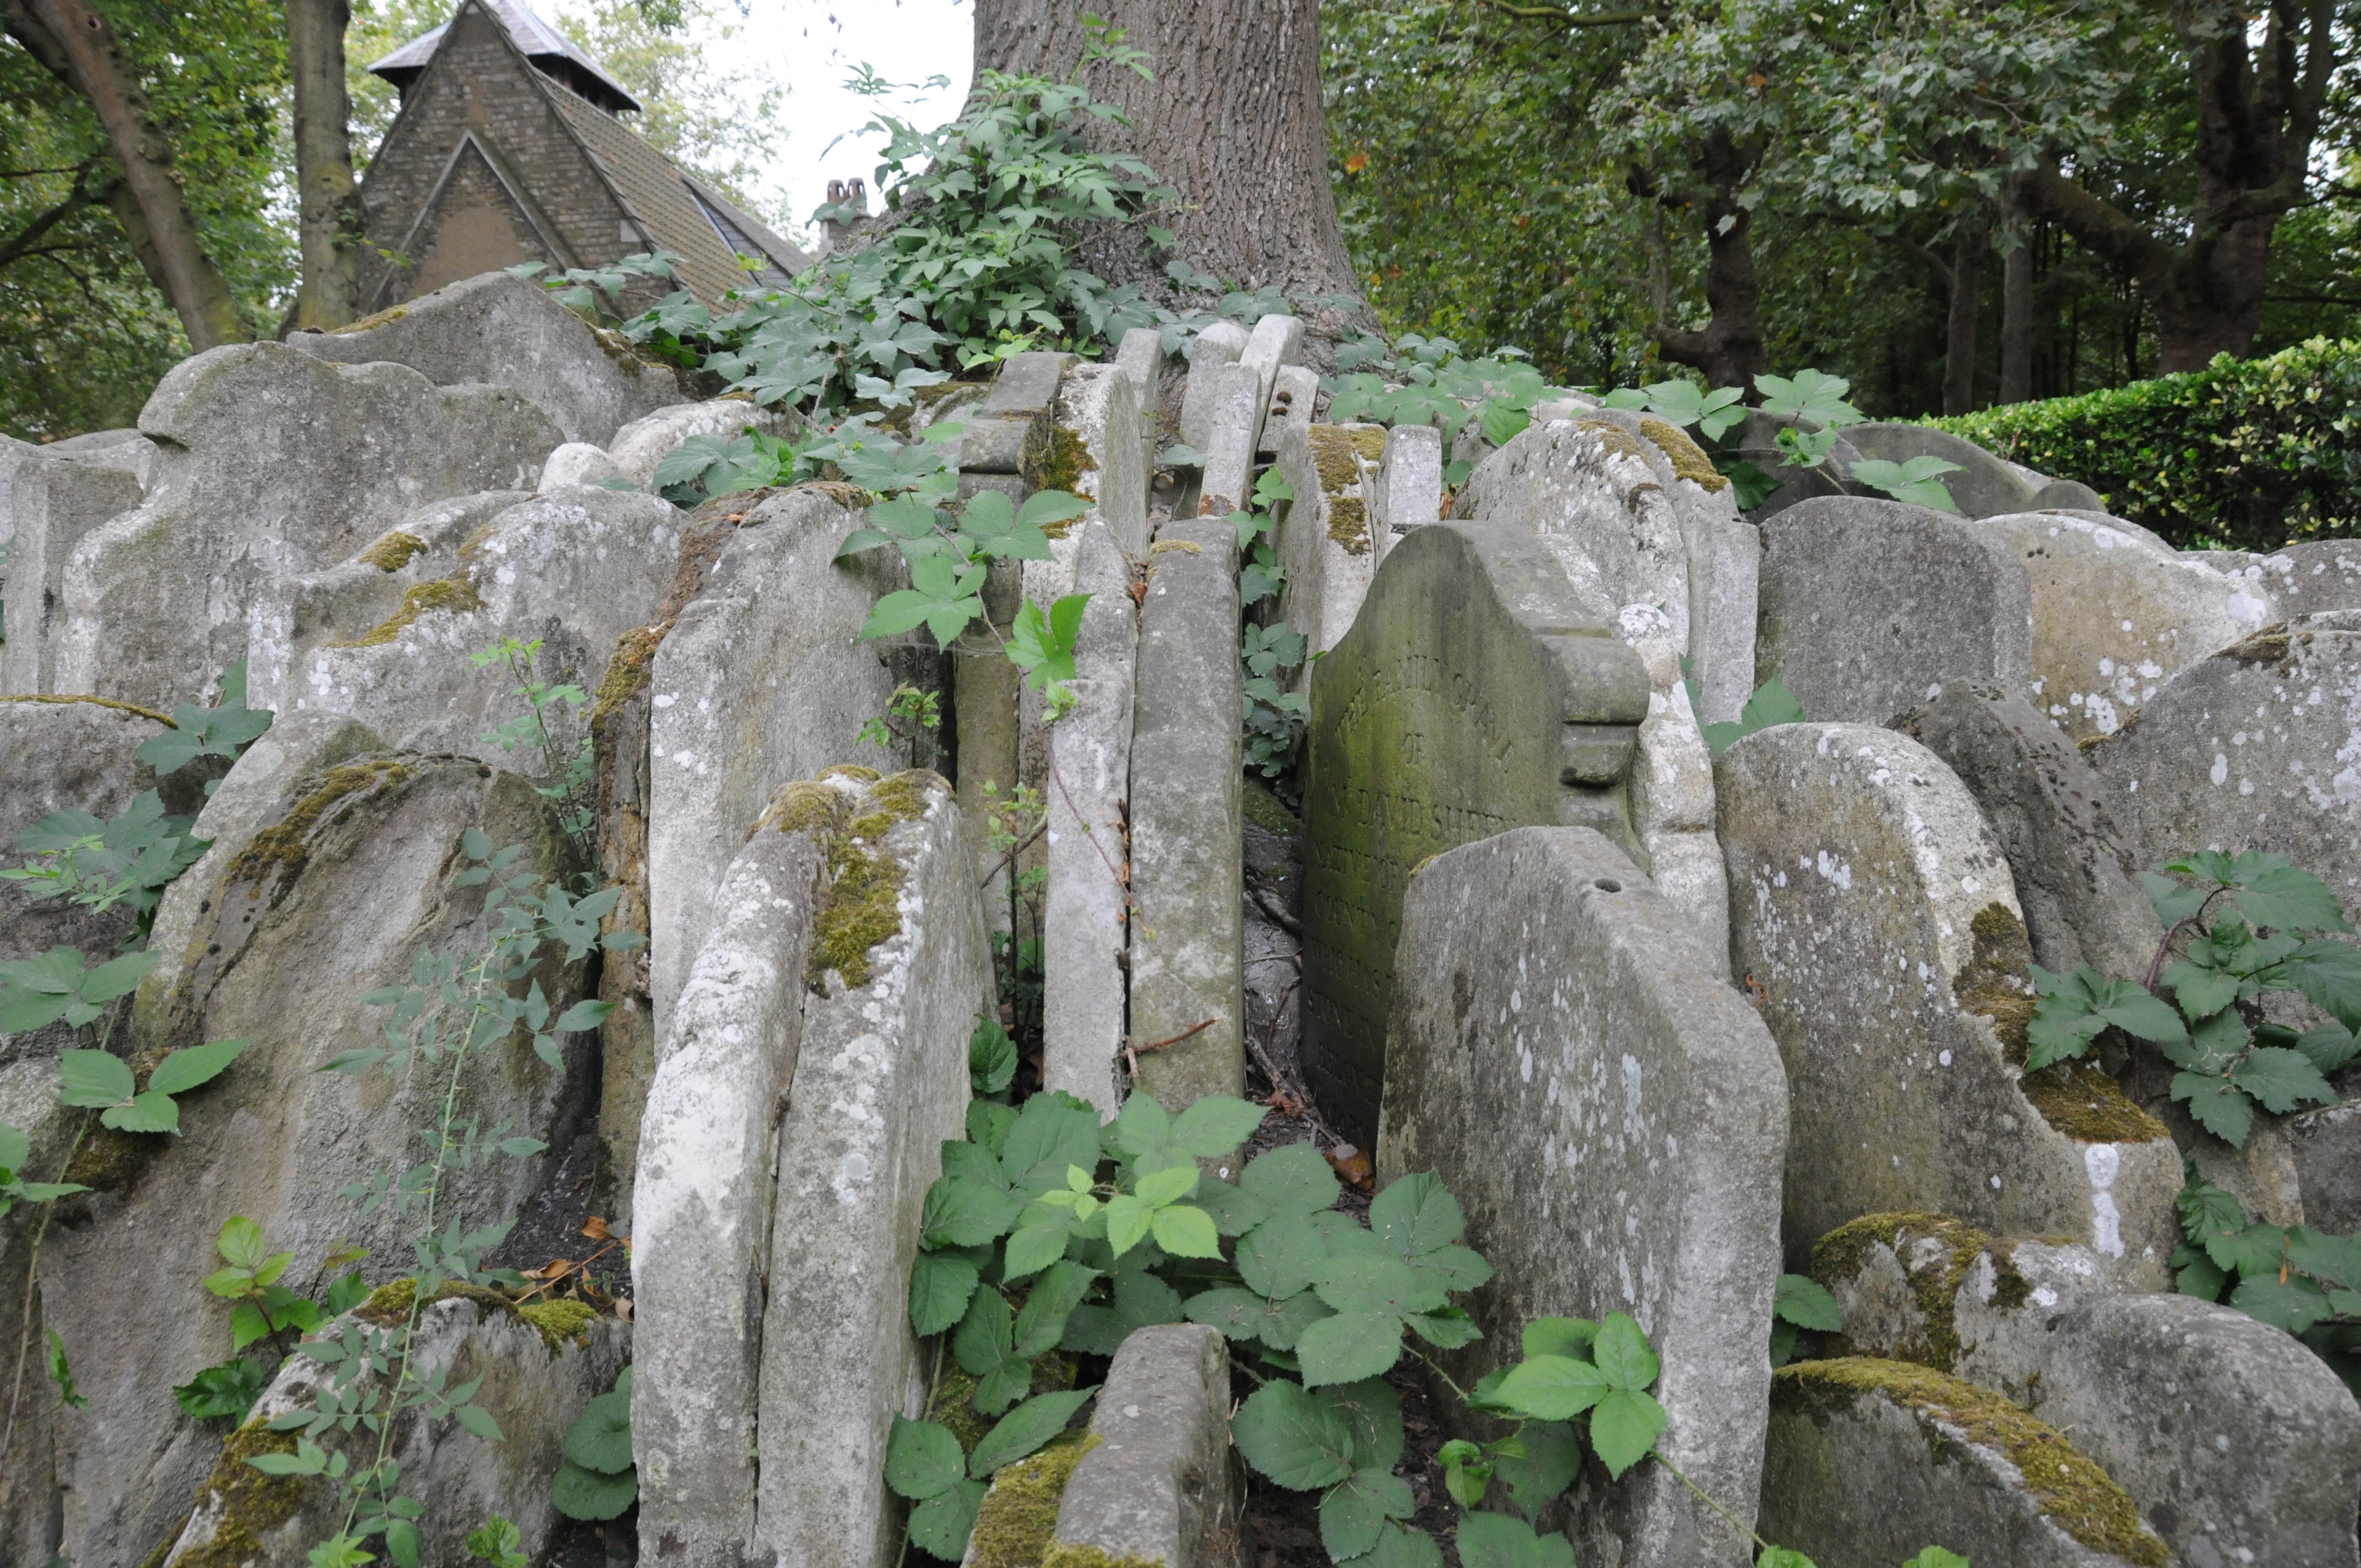
The original large churchyard around the church served St. Pancras and St. Giles-in-the-Fields. It must have been the burial-place for many tens of thousands over the centuries but was closed in 1854. Soon after, a large part of the churchyard was taken over for the construction of railway lines into St. Pancras Station. This involved the exhumation of many old burials and removal of the gravestones and tombs.
The supervision of much of this work was carried out by the author Thomas Hardy. This was before he had started writing full-time and was when he studied architecture under a Mr Arthur Blomfileld of Covent Garden between 1862 and 1867.
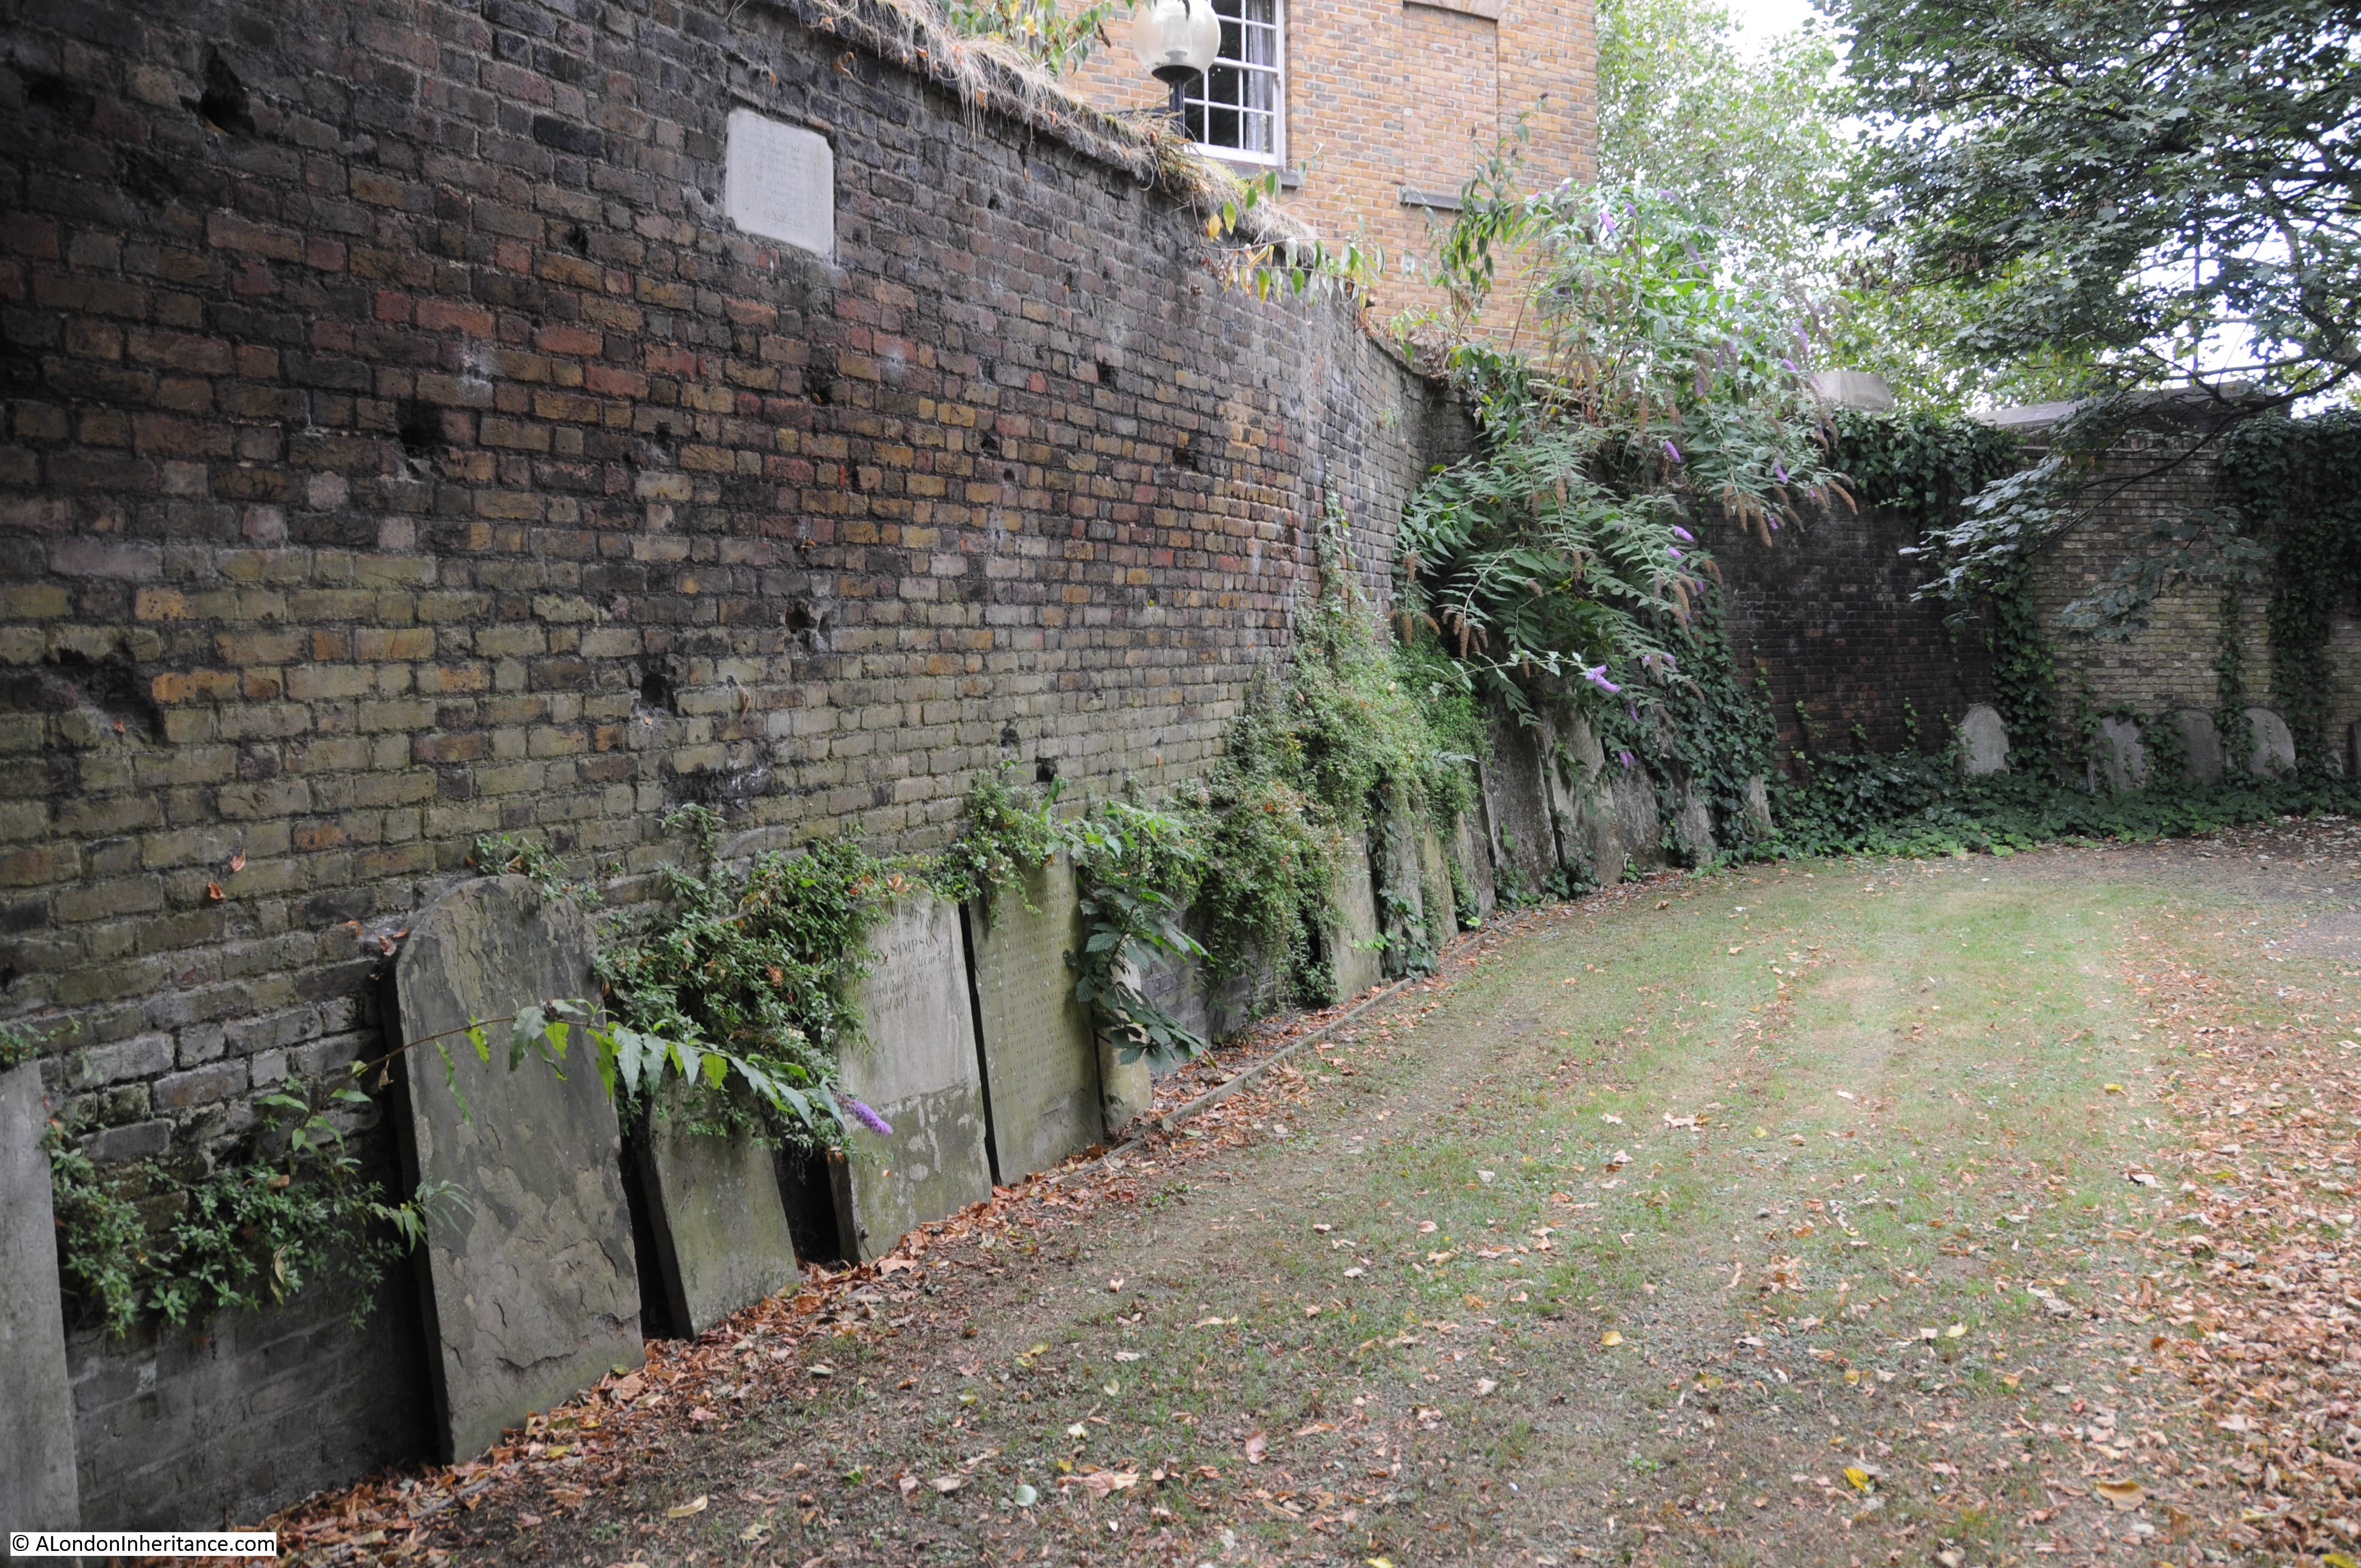
This work involved the removal of bodies, headstones and tombs and some of the headstones were placed in the remaining part of the churchyard where an Ash tree has since grown in amongst the headstone.
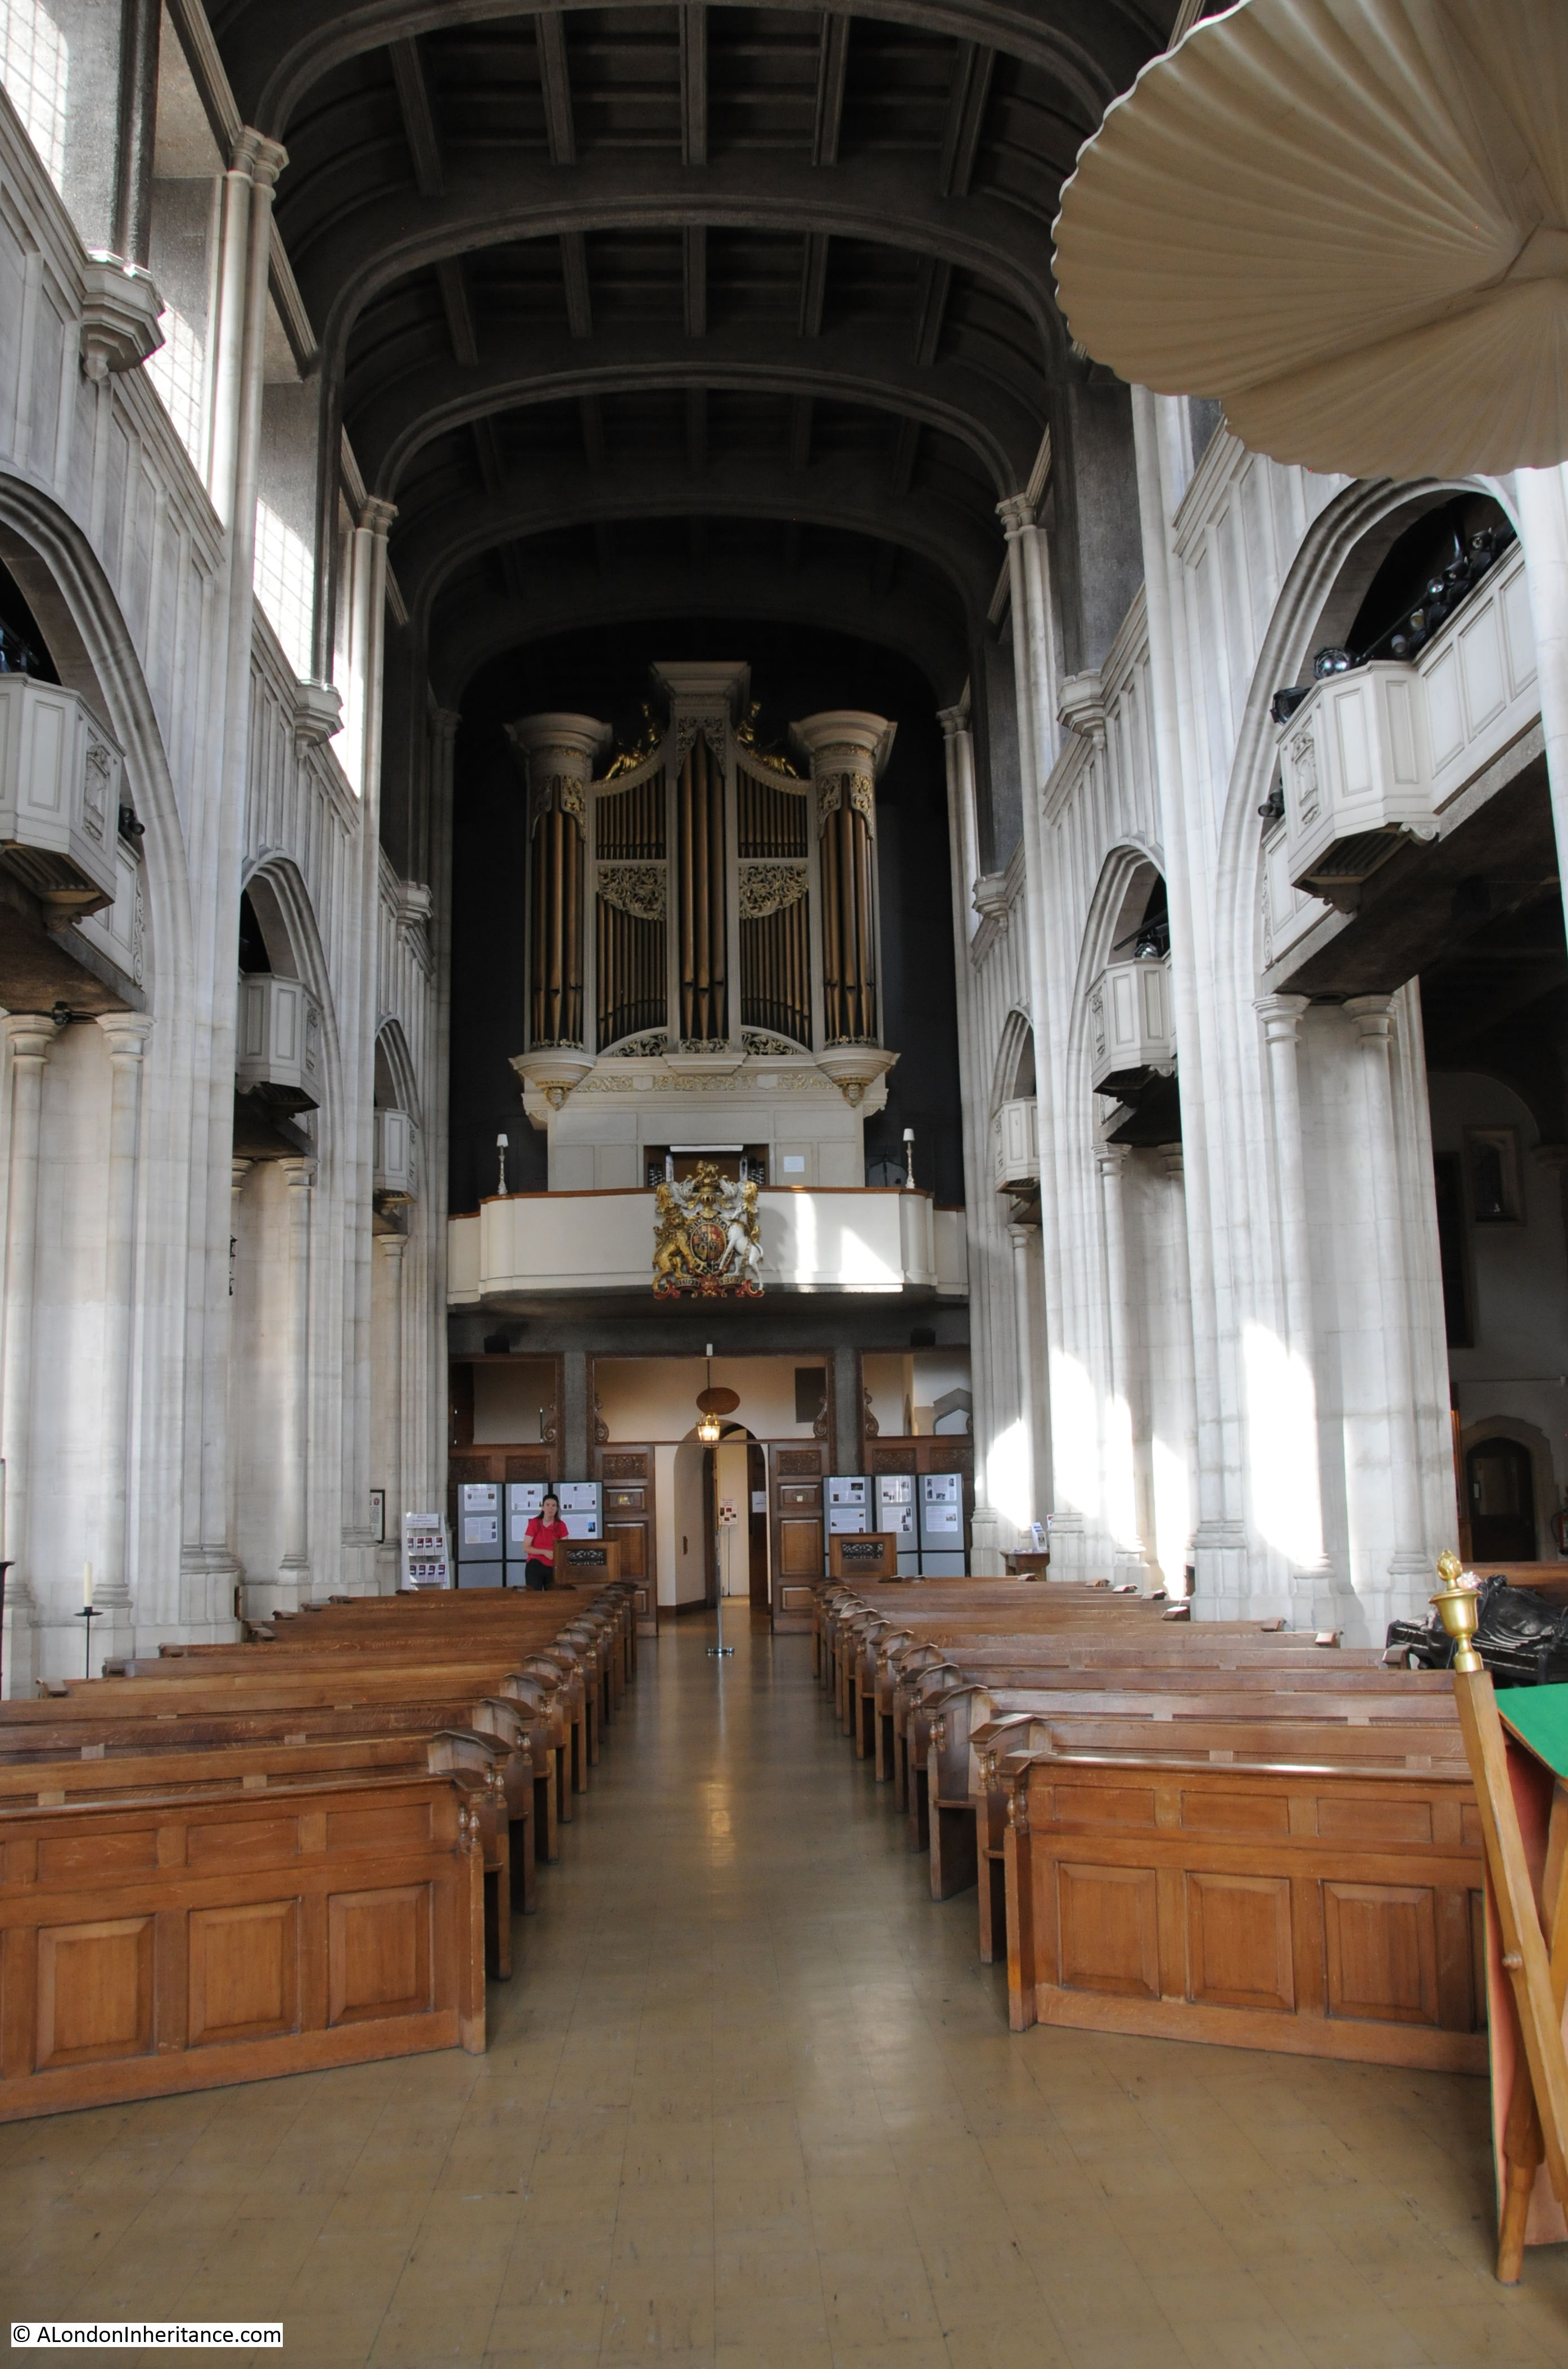
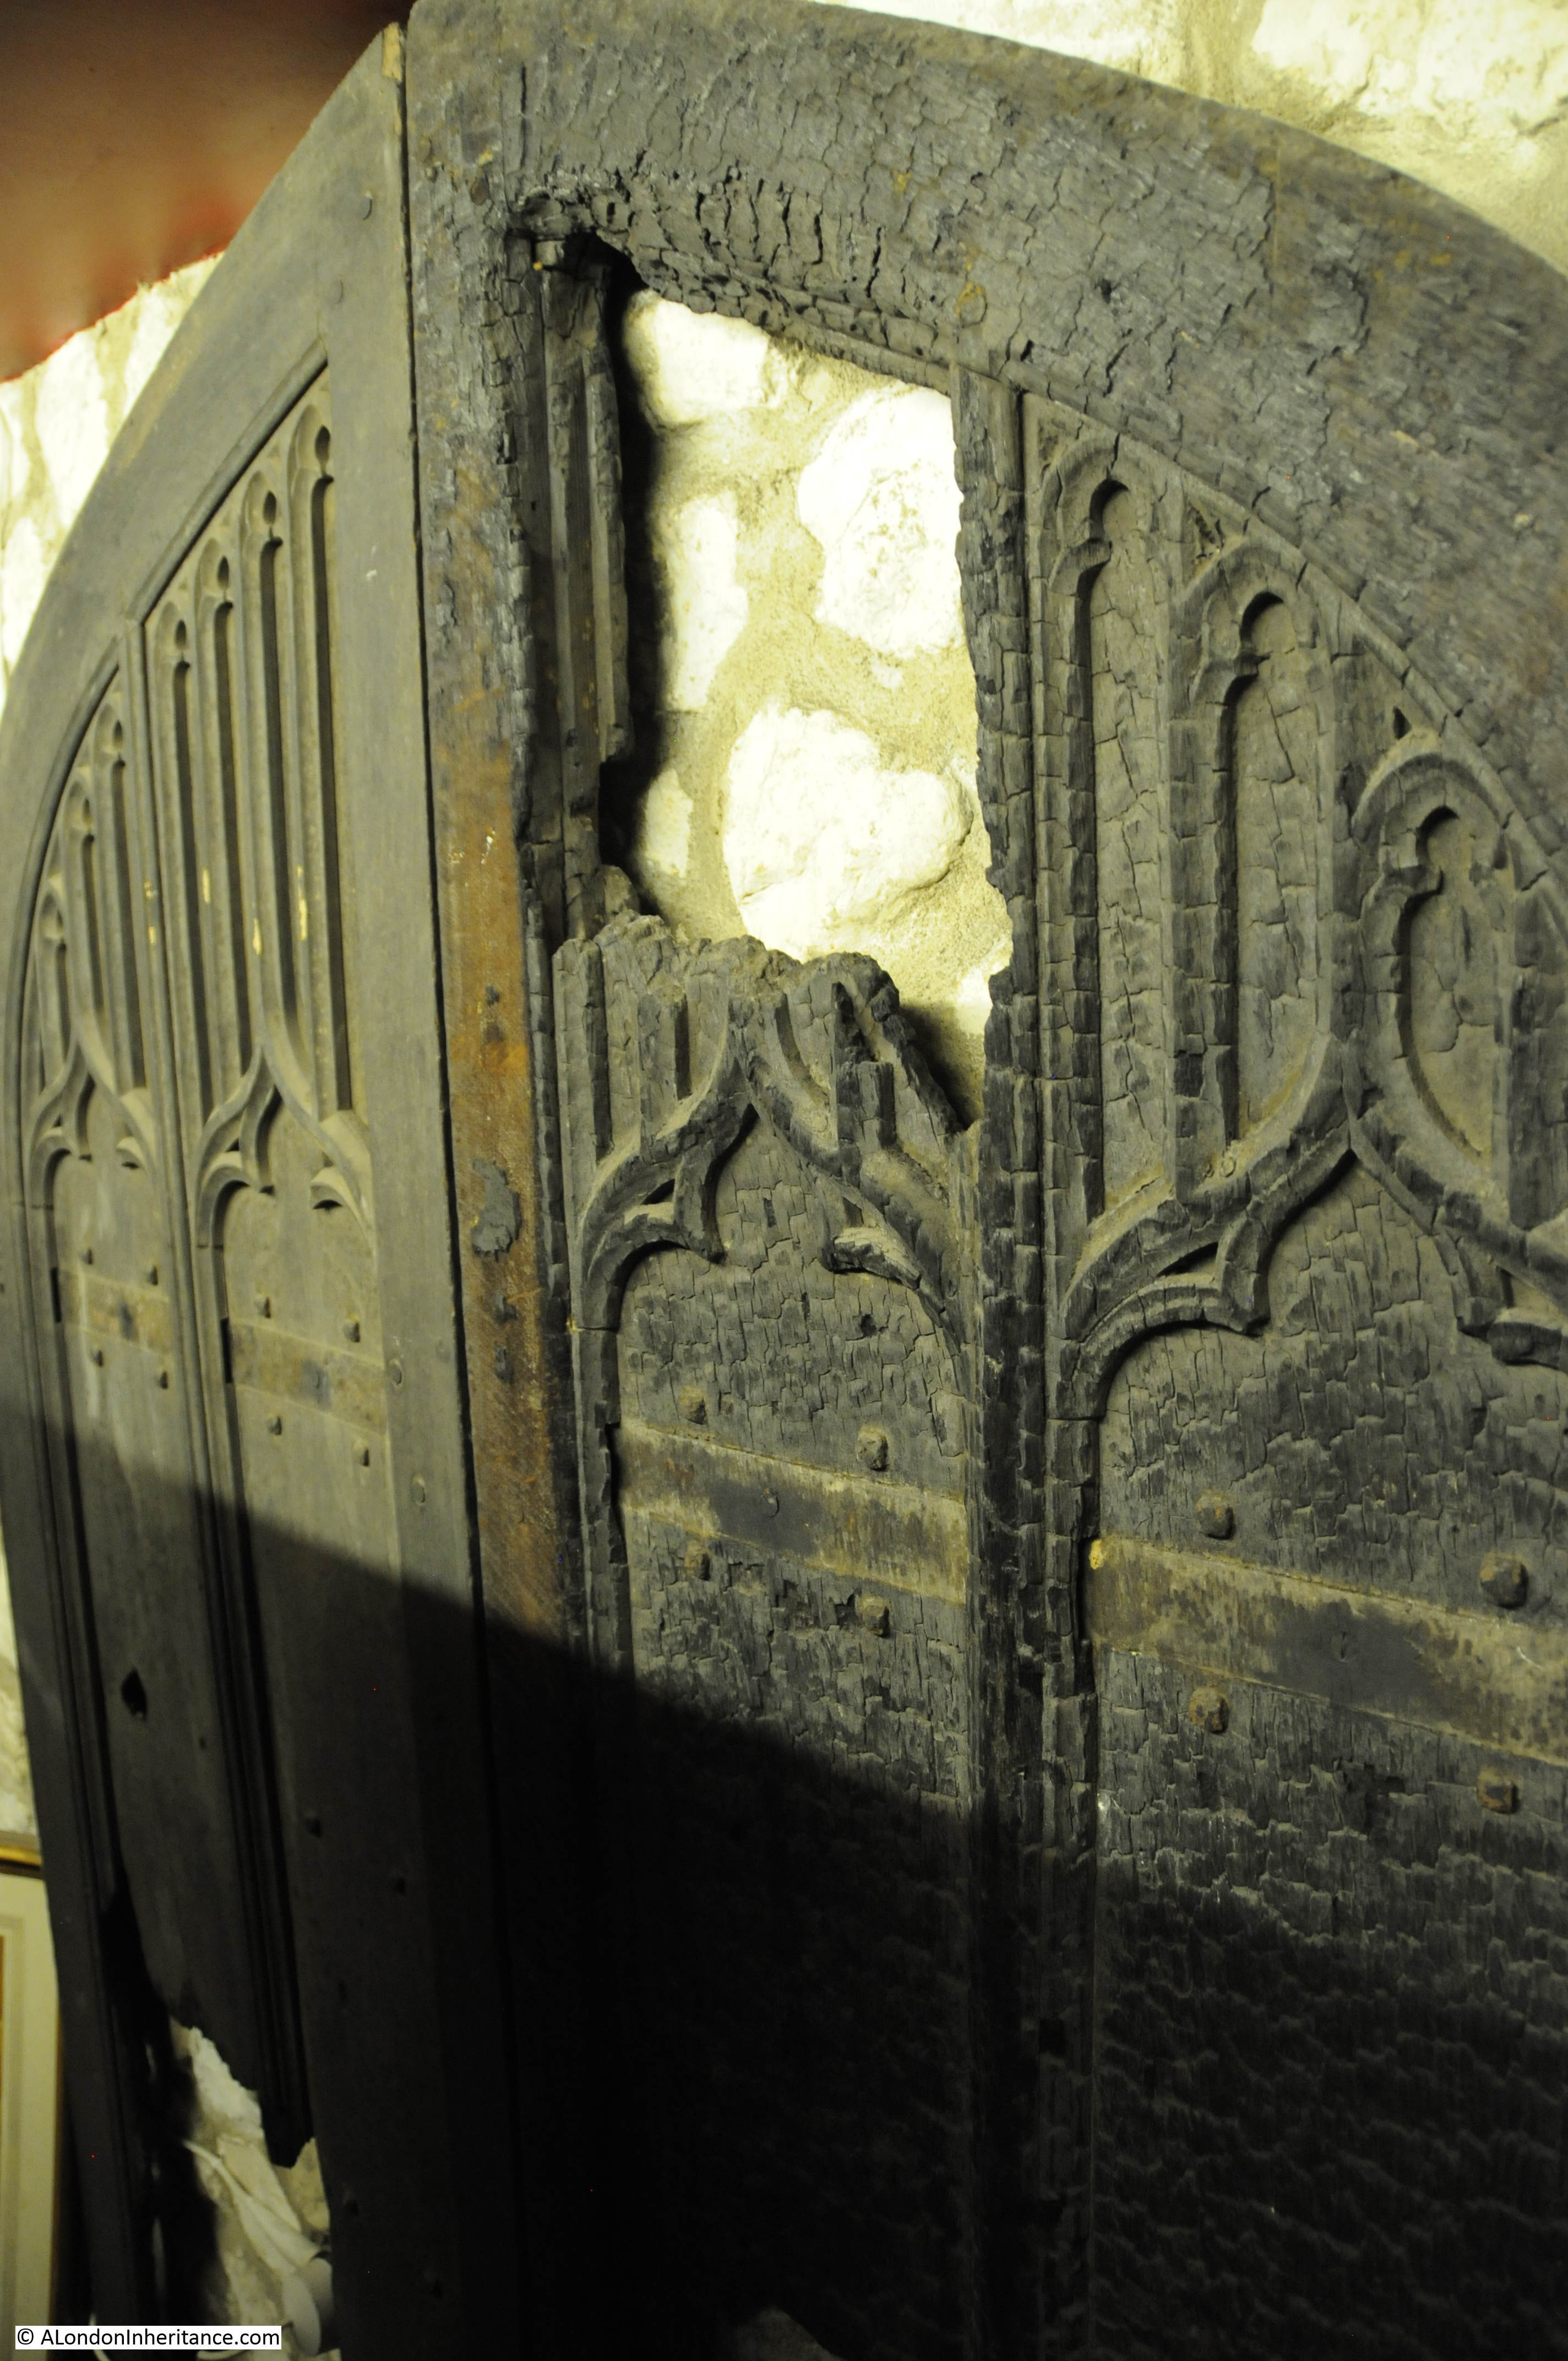
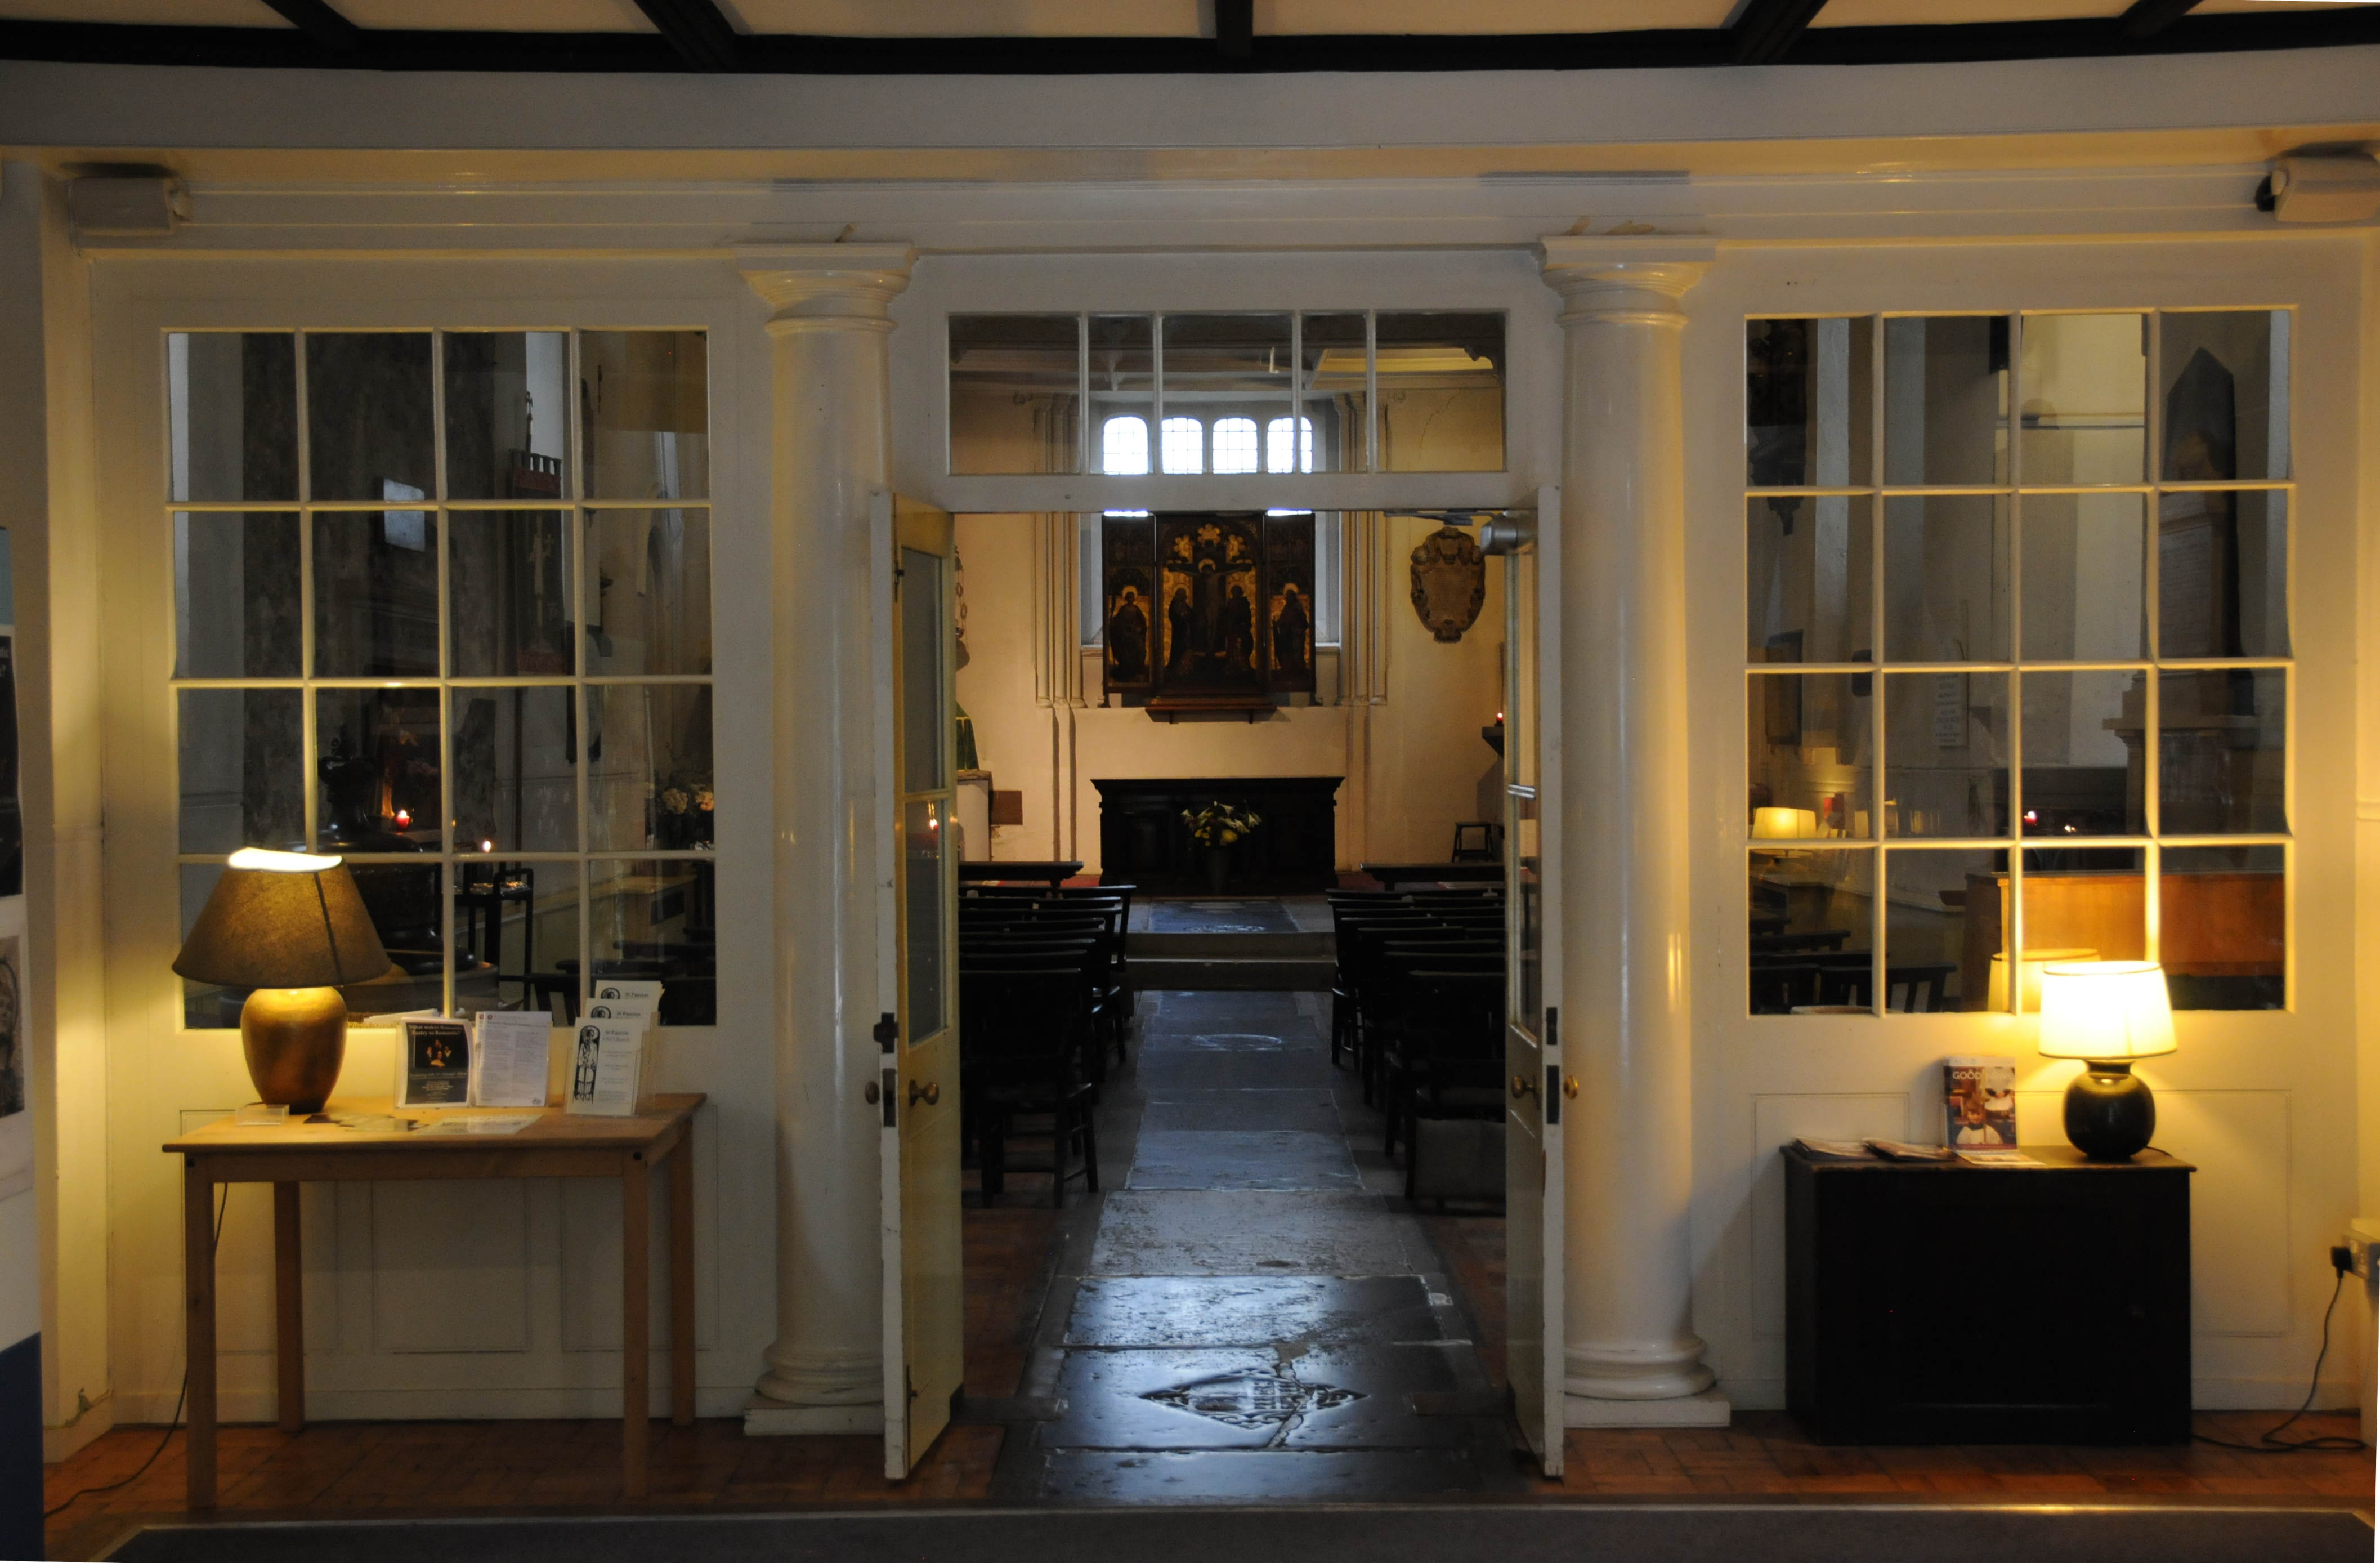
The church was damaged during the war and restored in 1948 with a later restoration between 1978 and 1980. The view on entering the church.
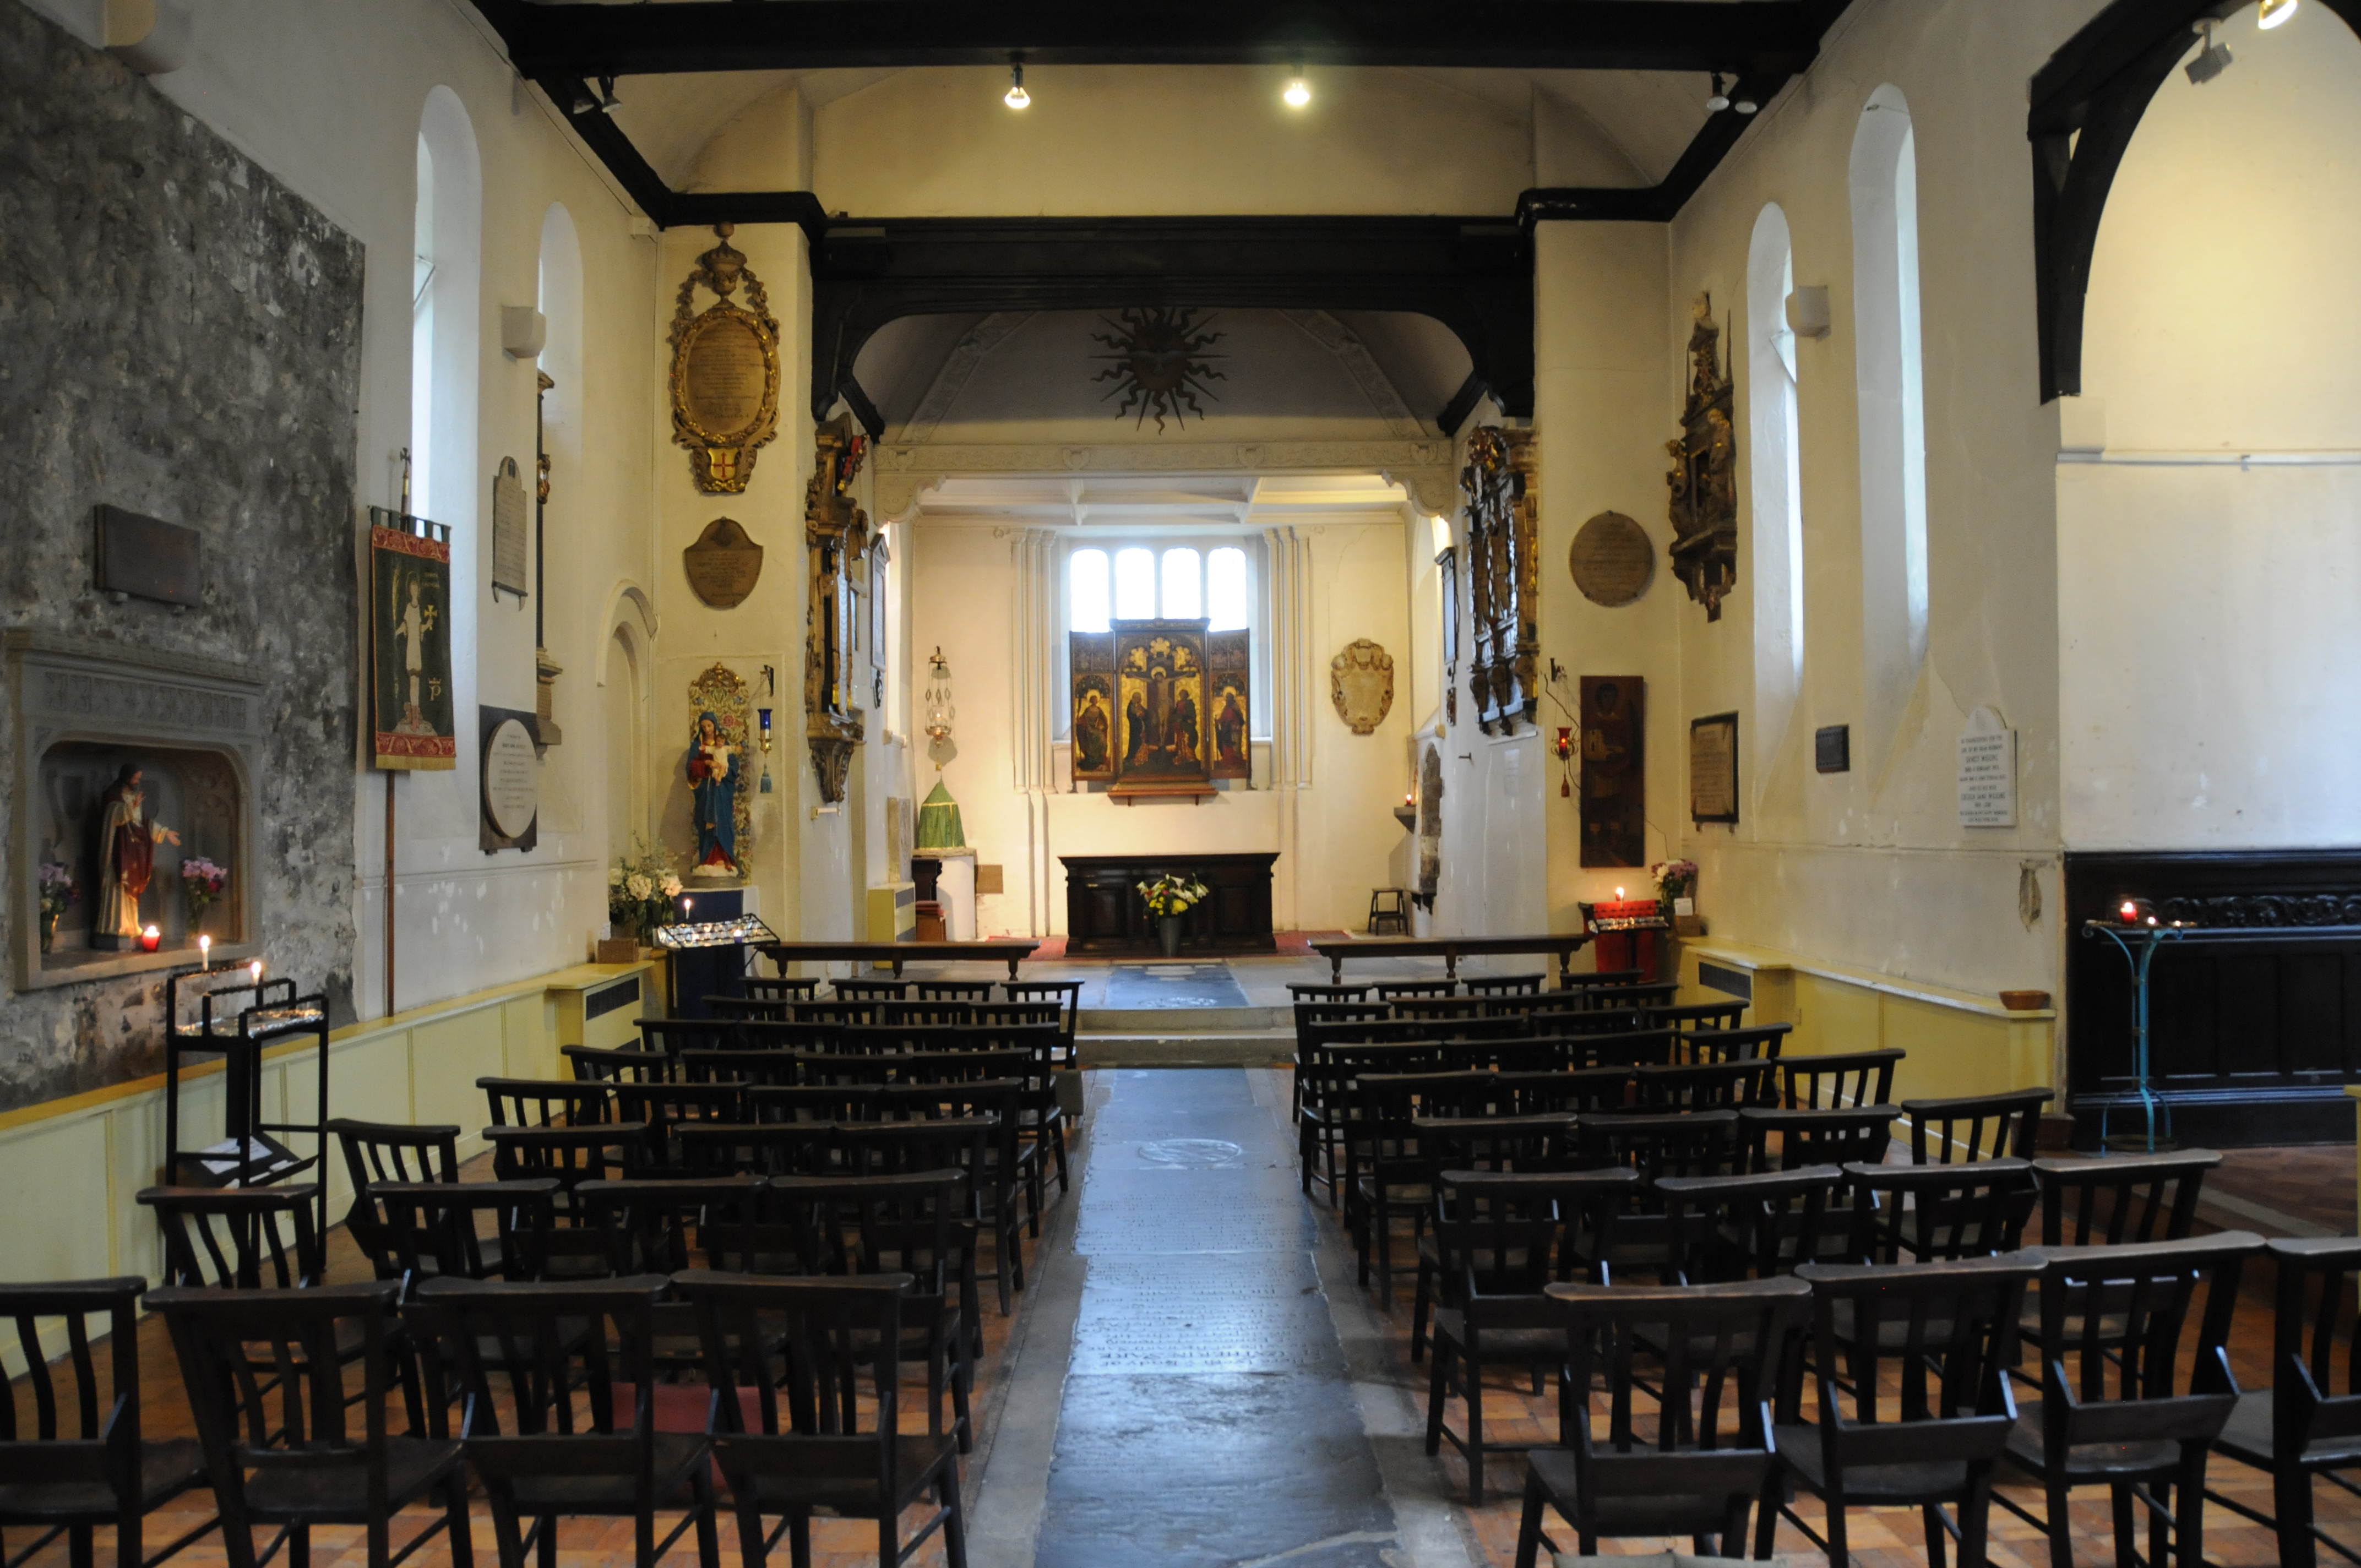
The full view looking down towards the altar.
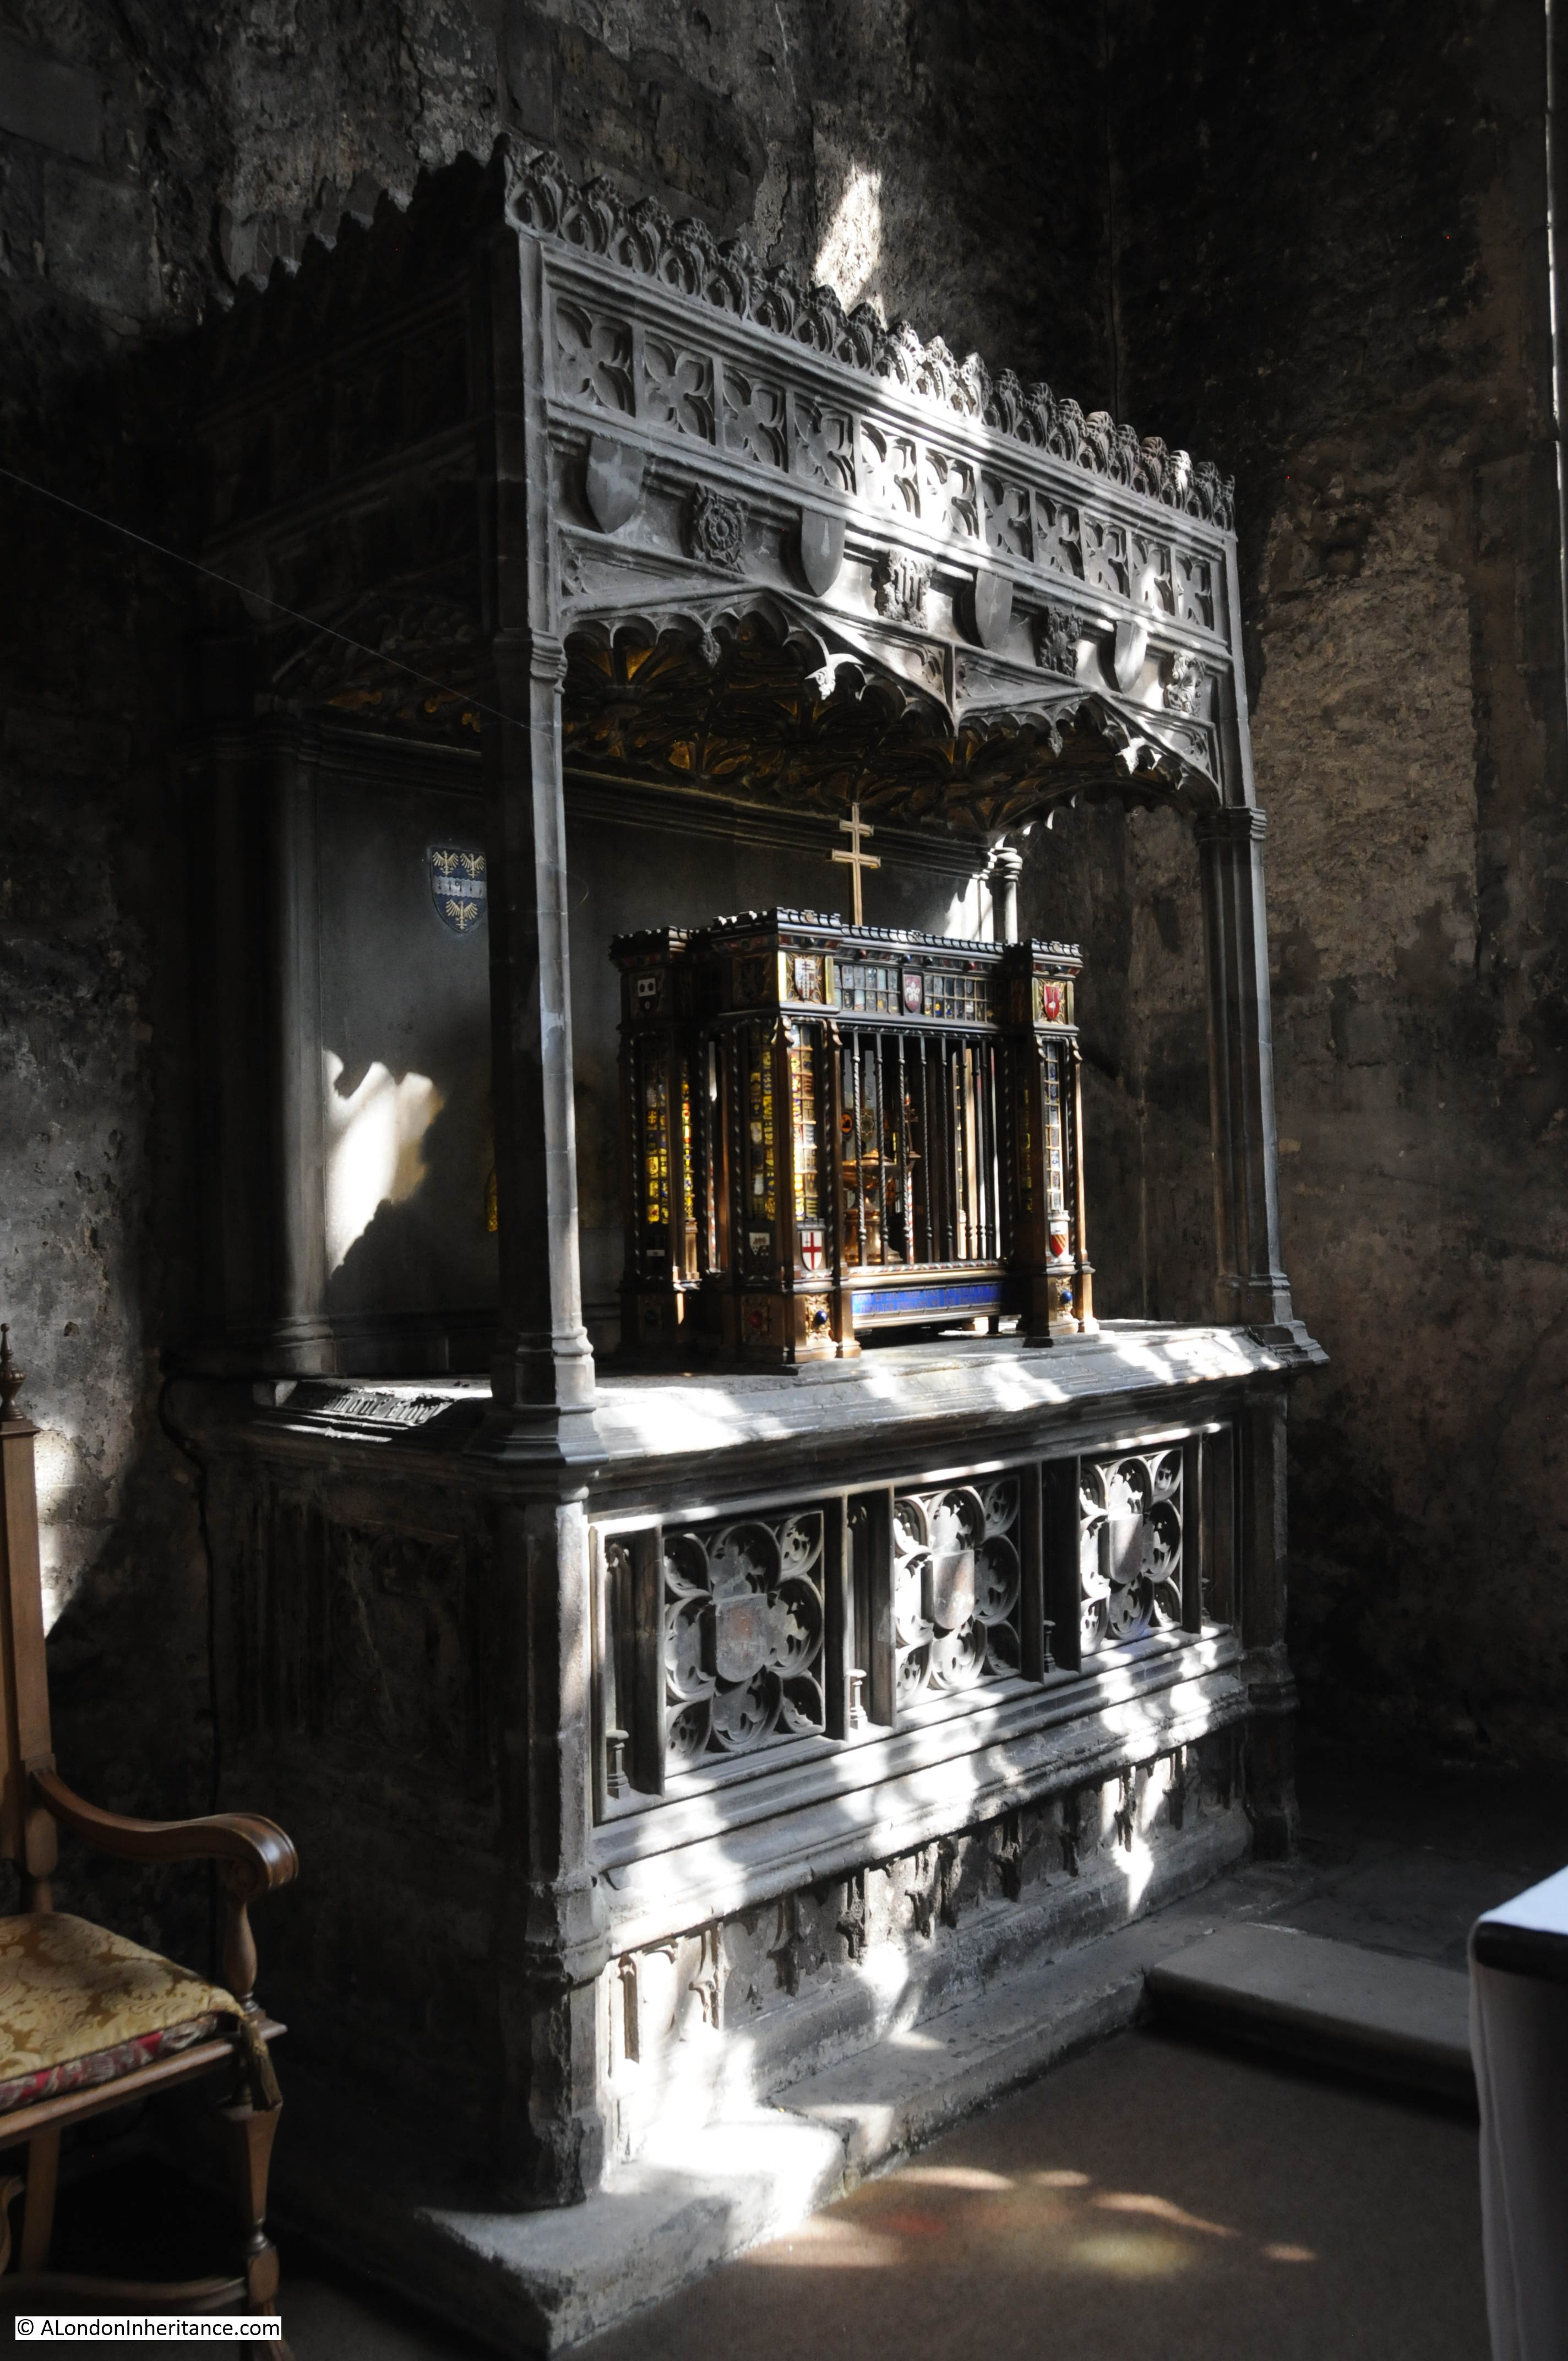
The Grey Monument.
The monument is from the 16th century, possibly around 1530. The outlines on the rear of the monument were occupied by brass inlays which are now missing. They are believed to have shown the figure of a woman and her two husbands, her two sons and five daughters by one husband and three sons and three daughters by the second husband.
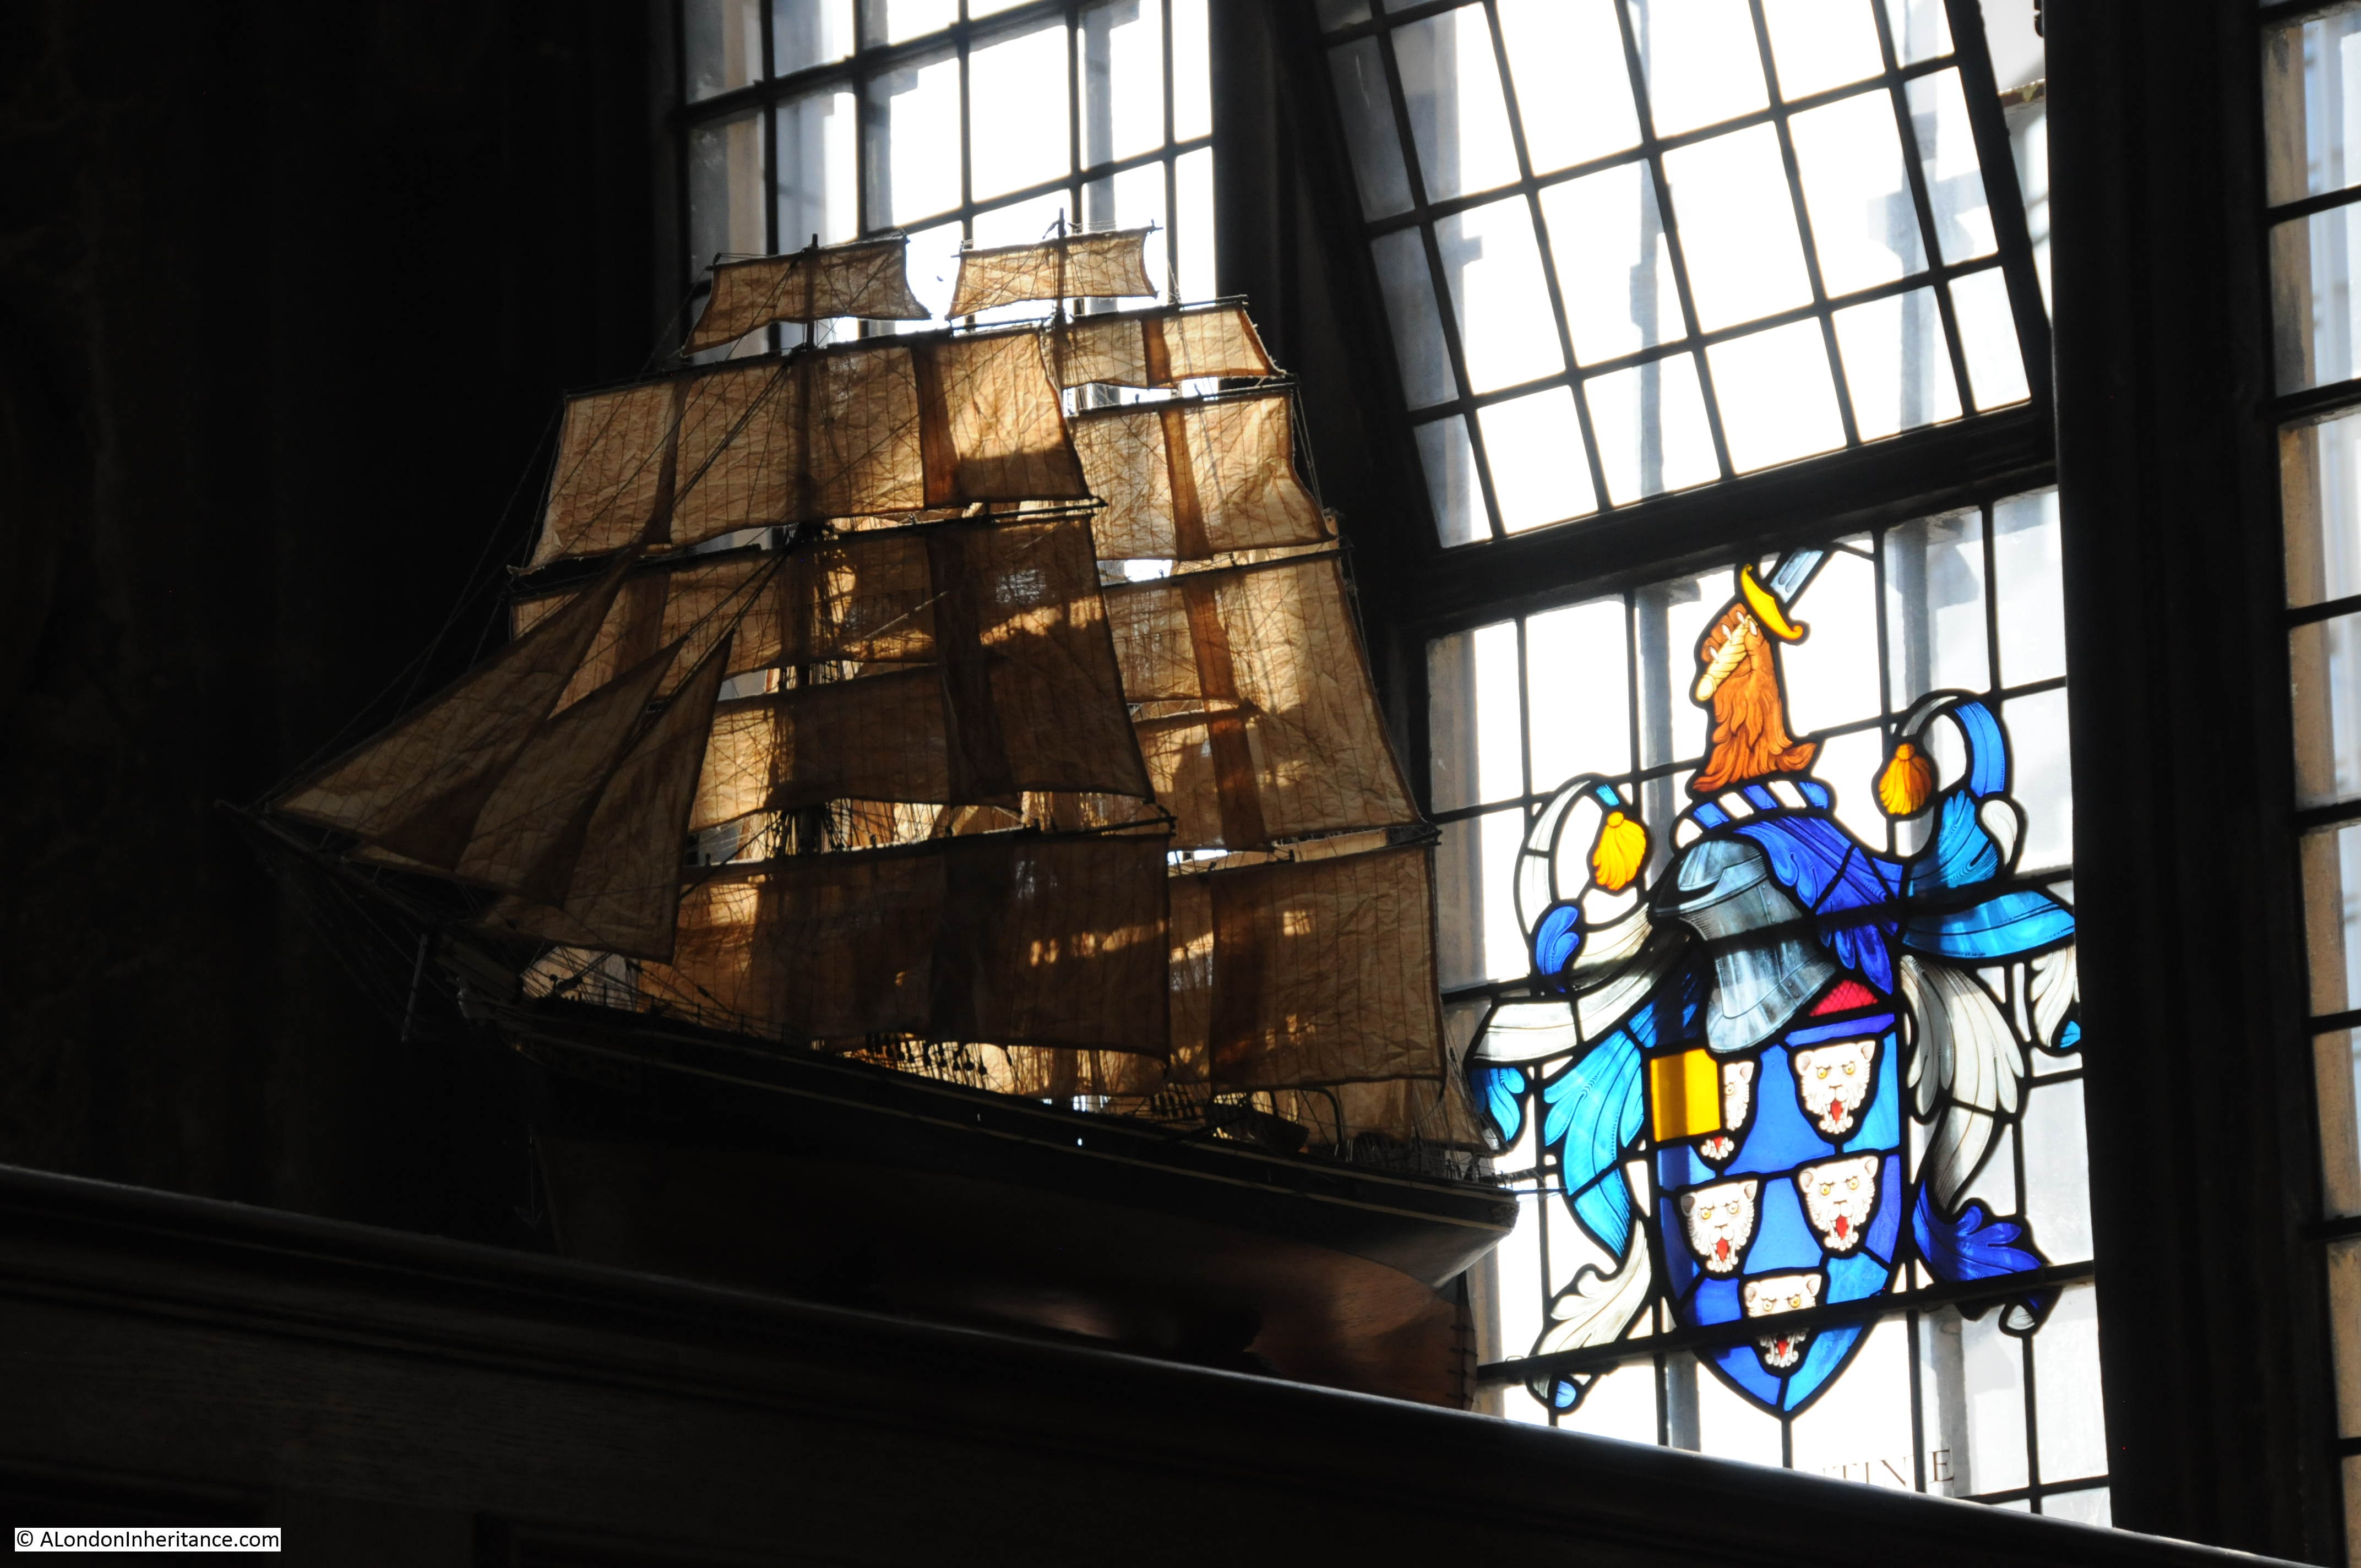
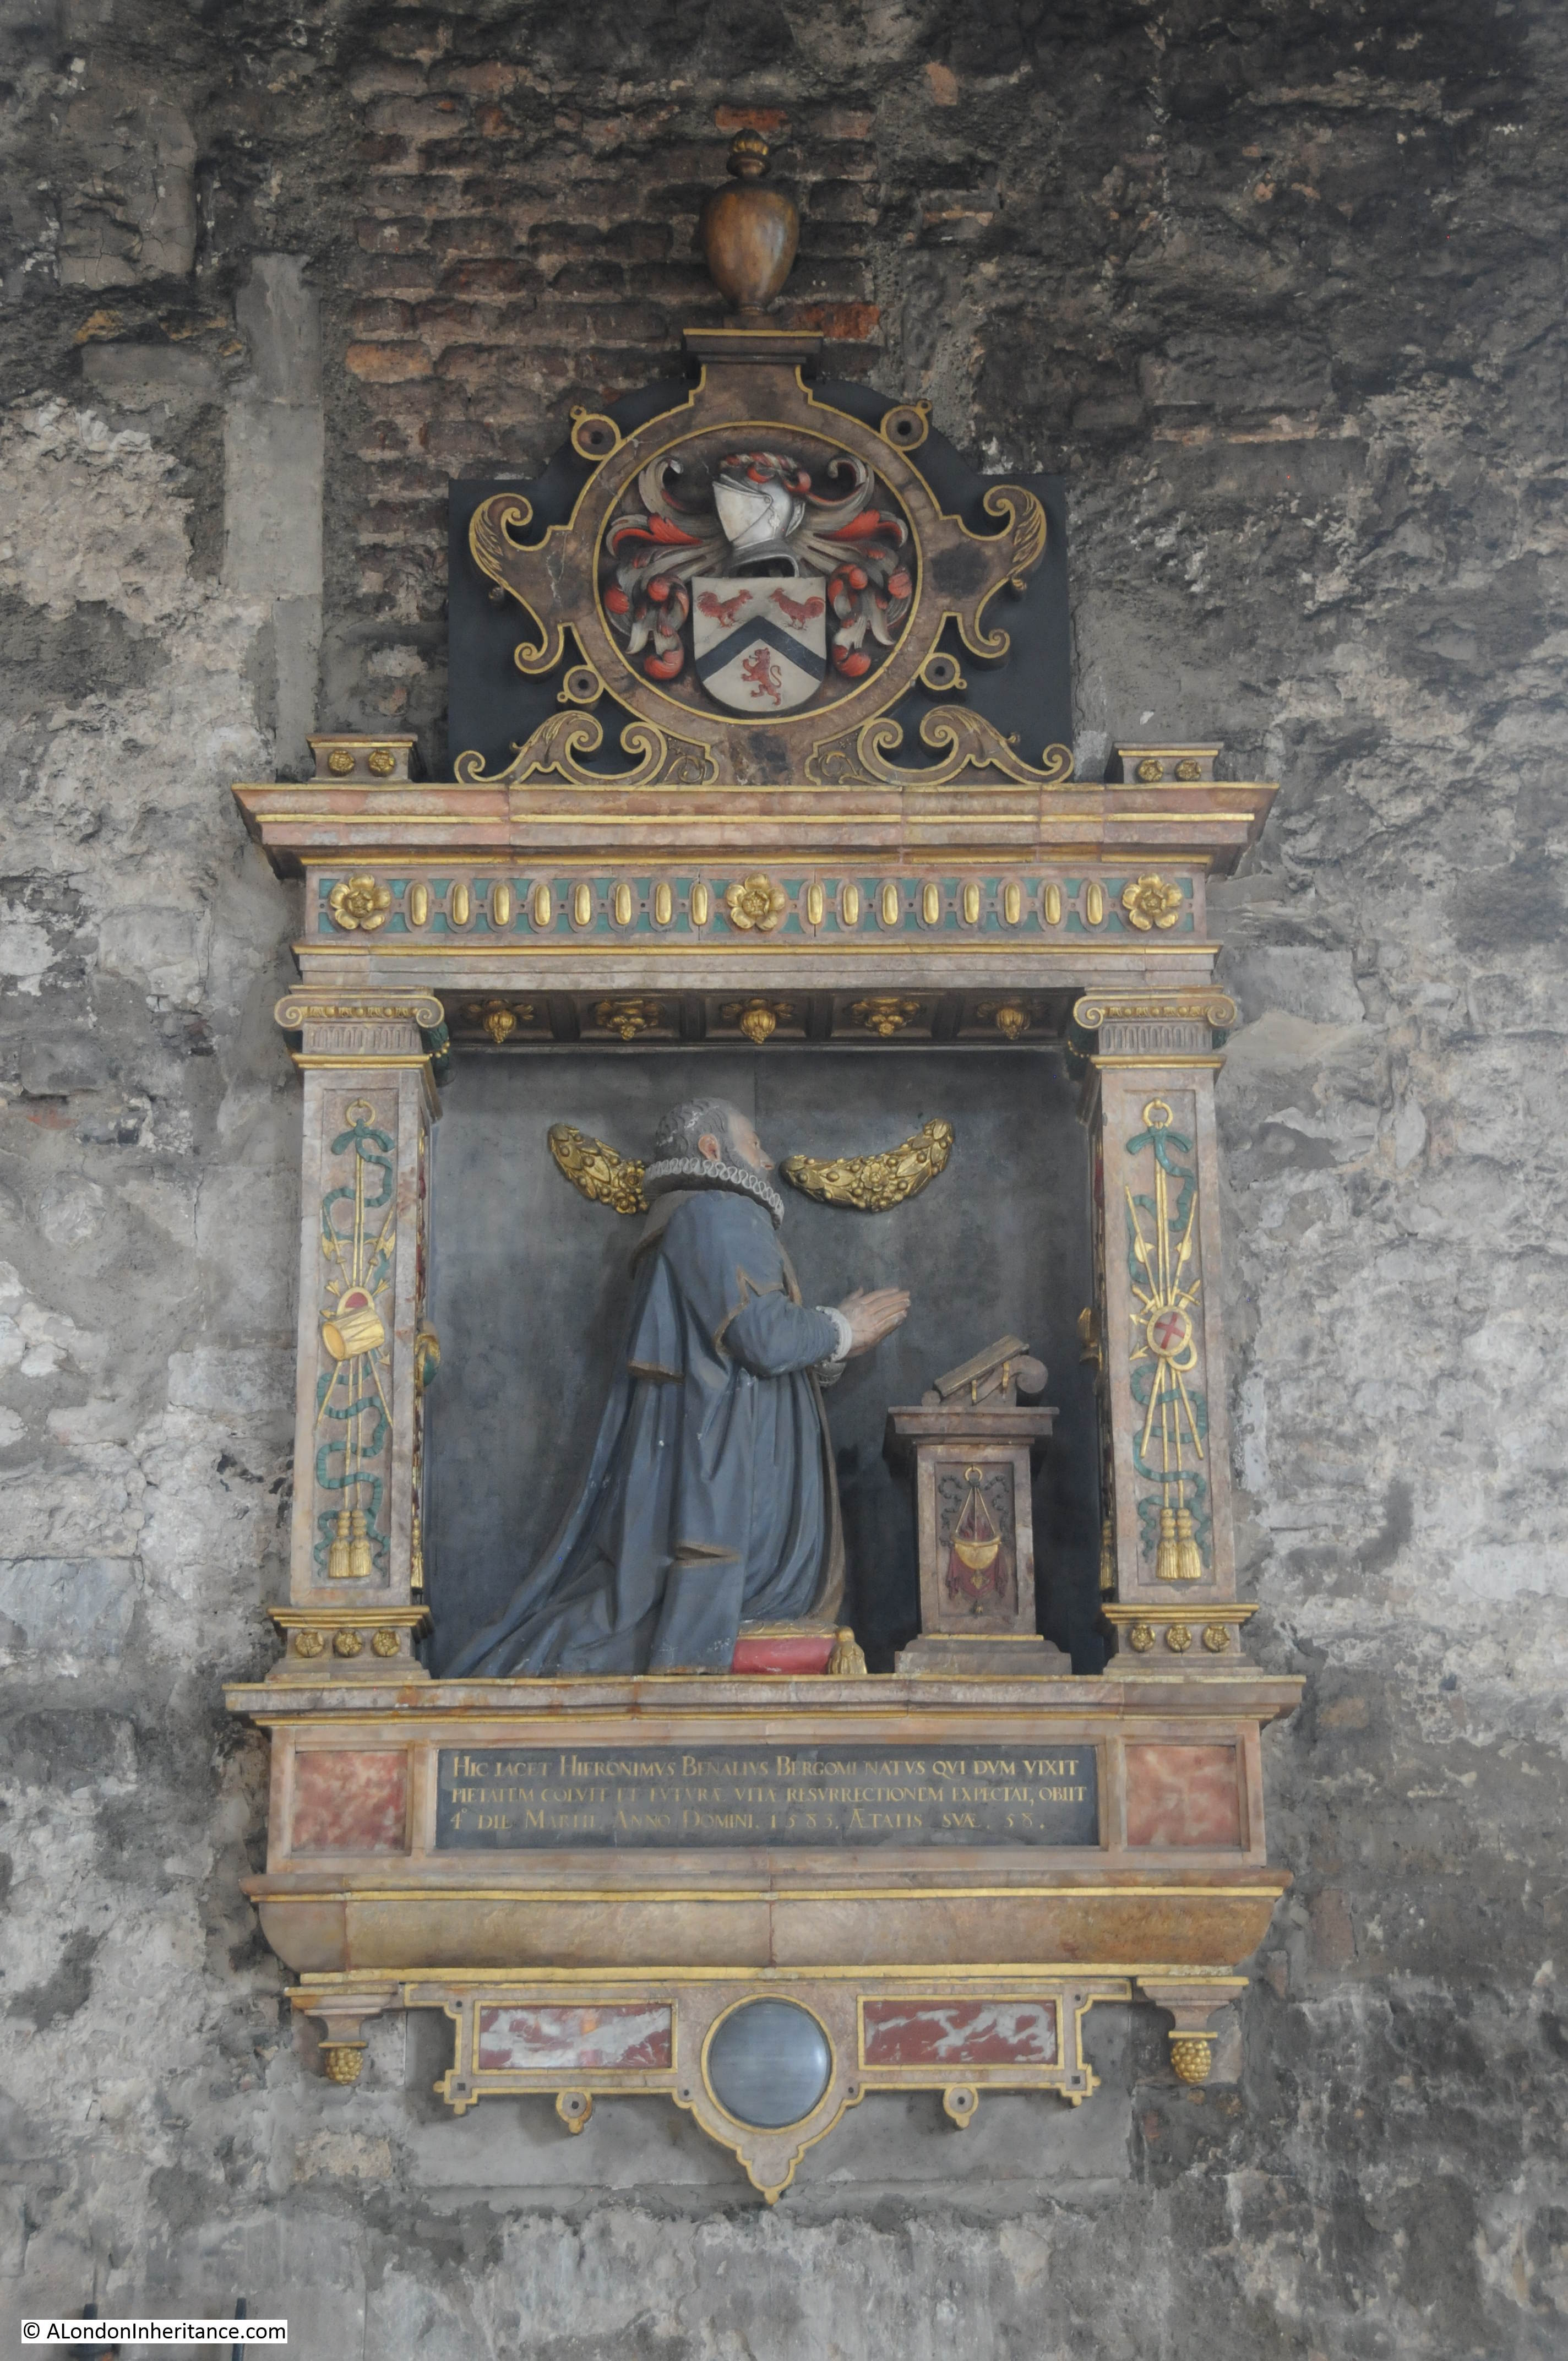
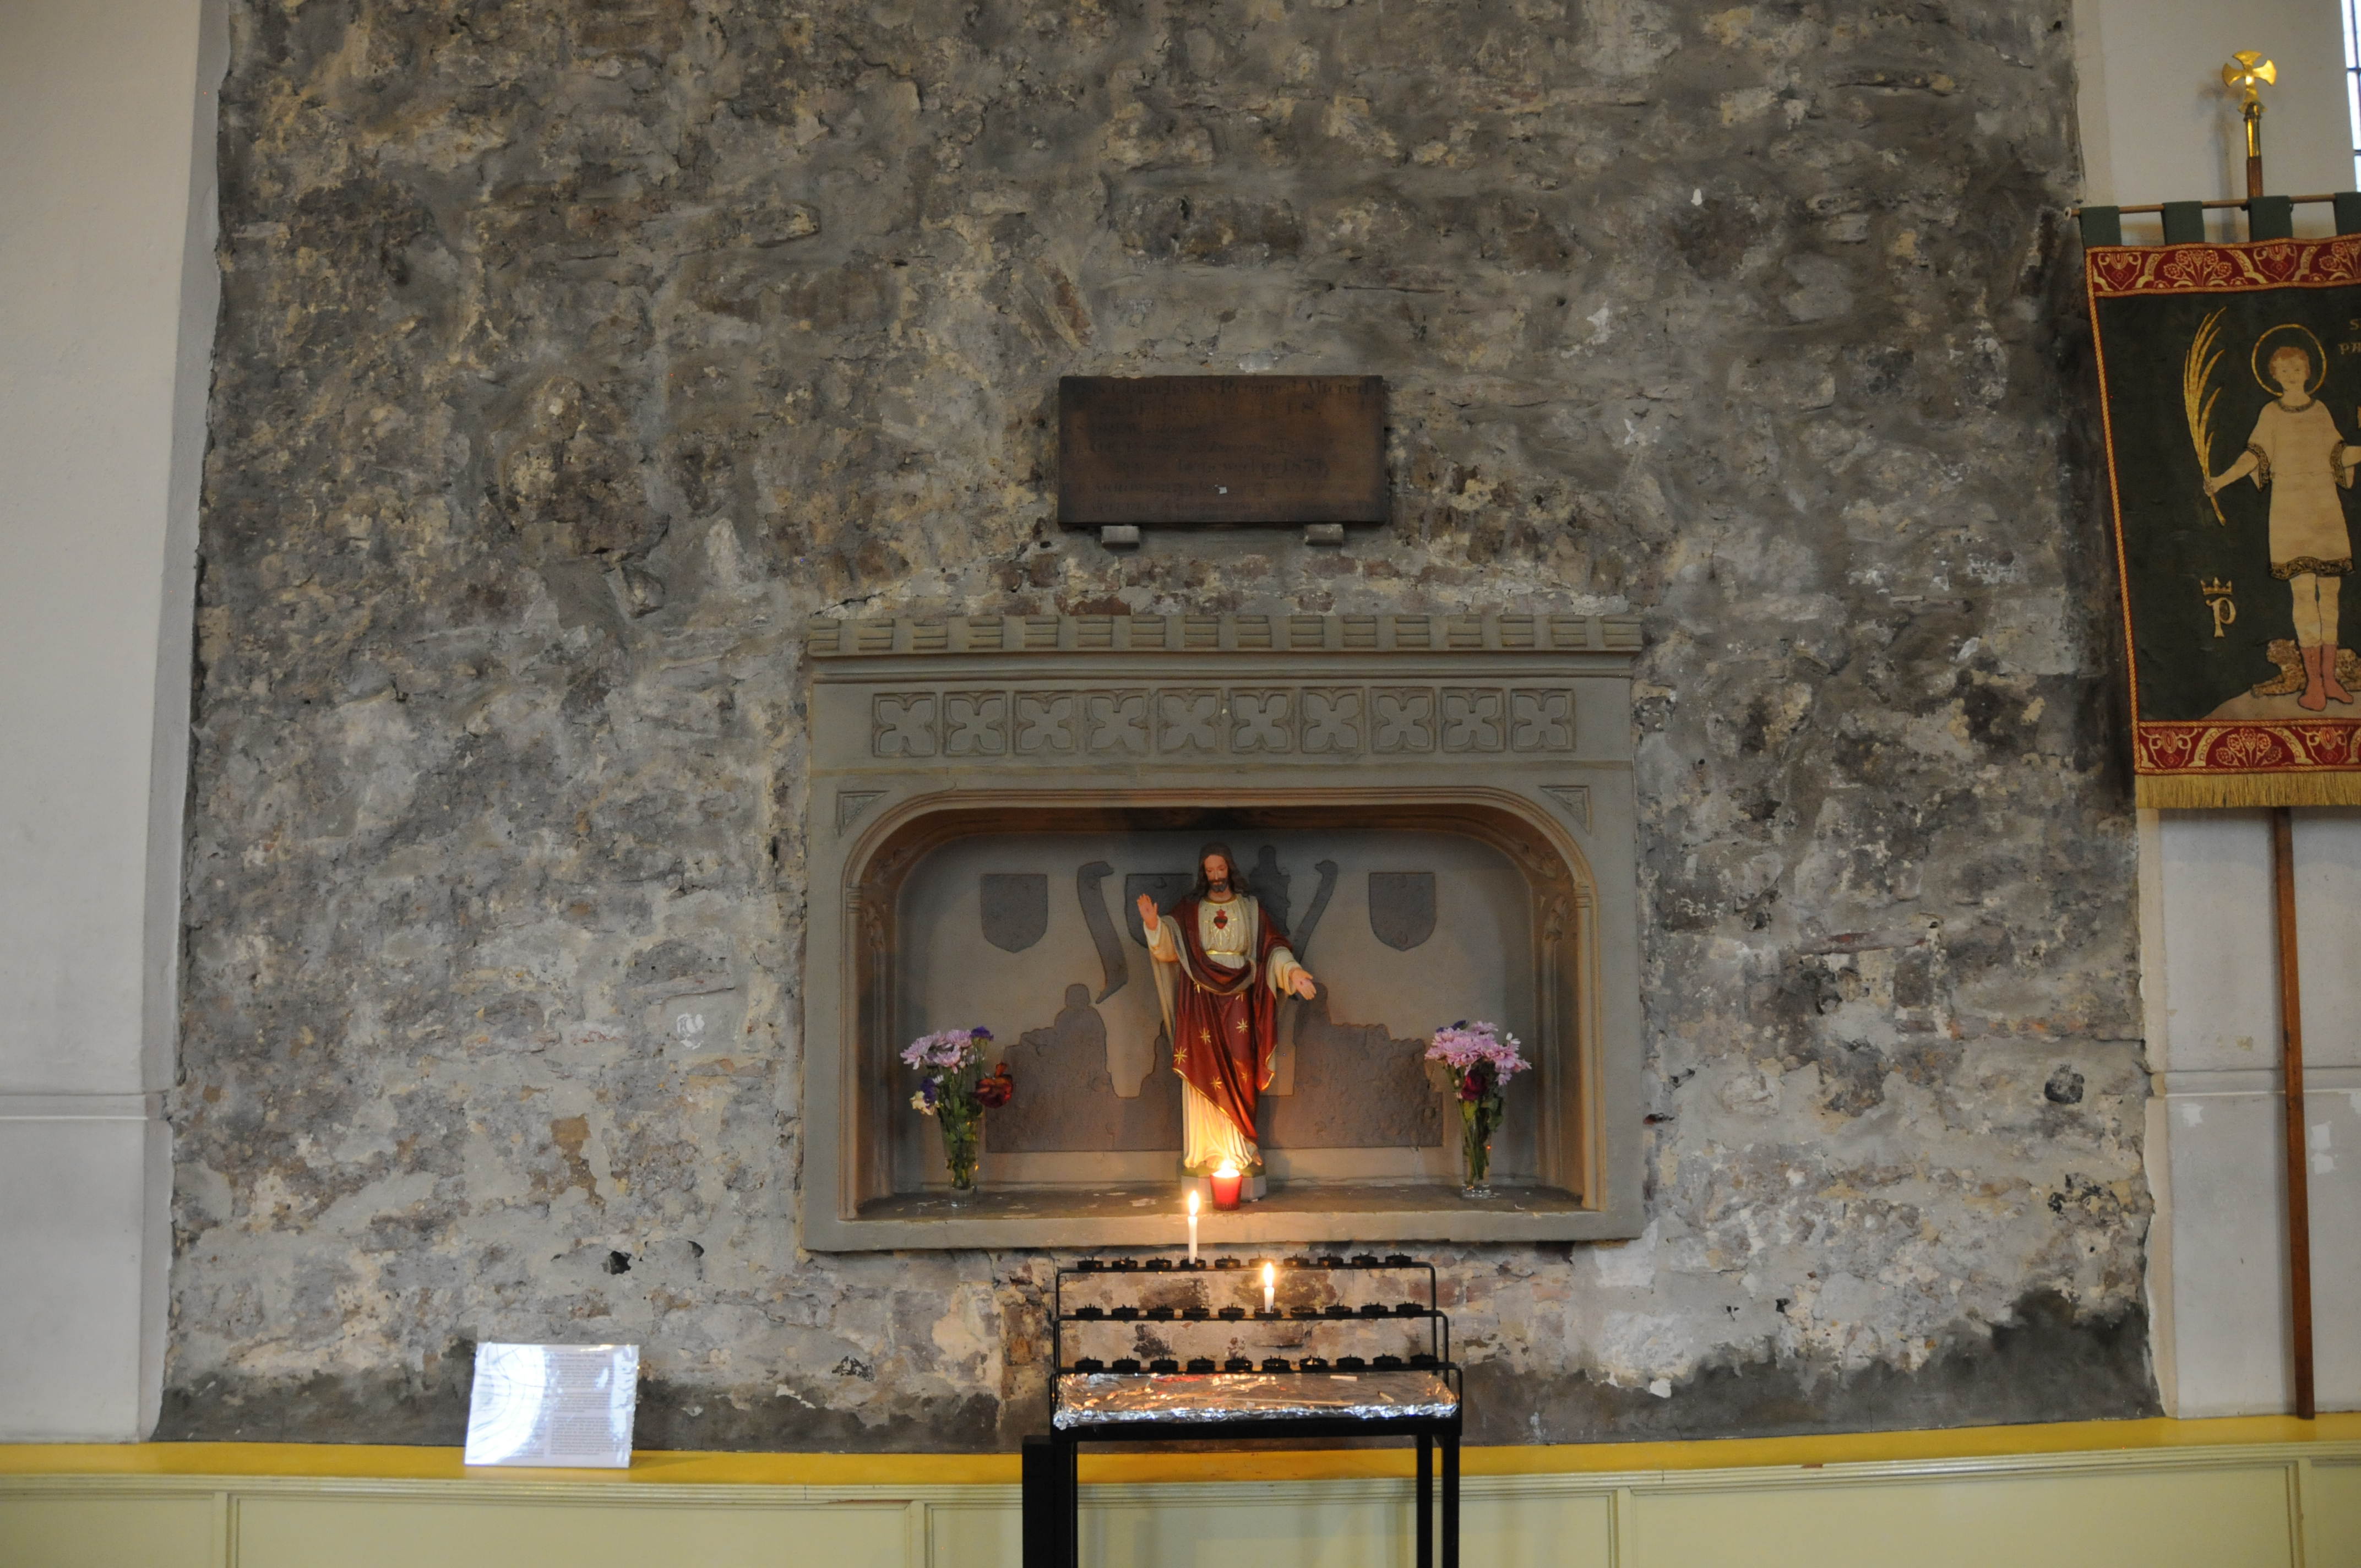
Other monuments in the church include the Offley family monument from the 1680s and includes their 18 children, a monument to Daniel Clarke from 1626 who was Master cooke to Queen Elizabeth and King James and an early 17th century stone curtained recess that reveals an Elizabethan woman with a baby.
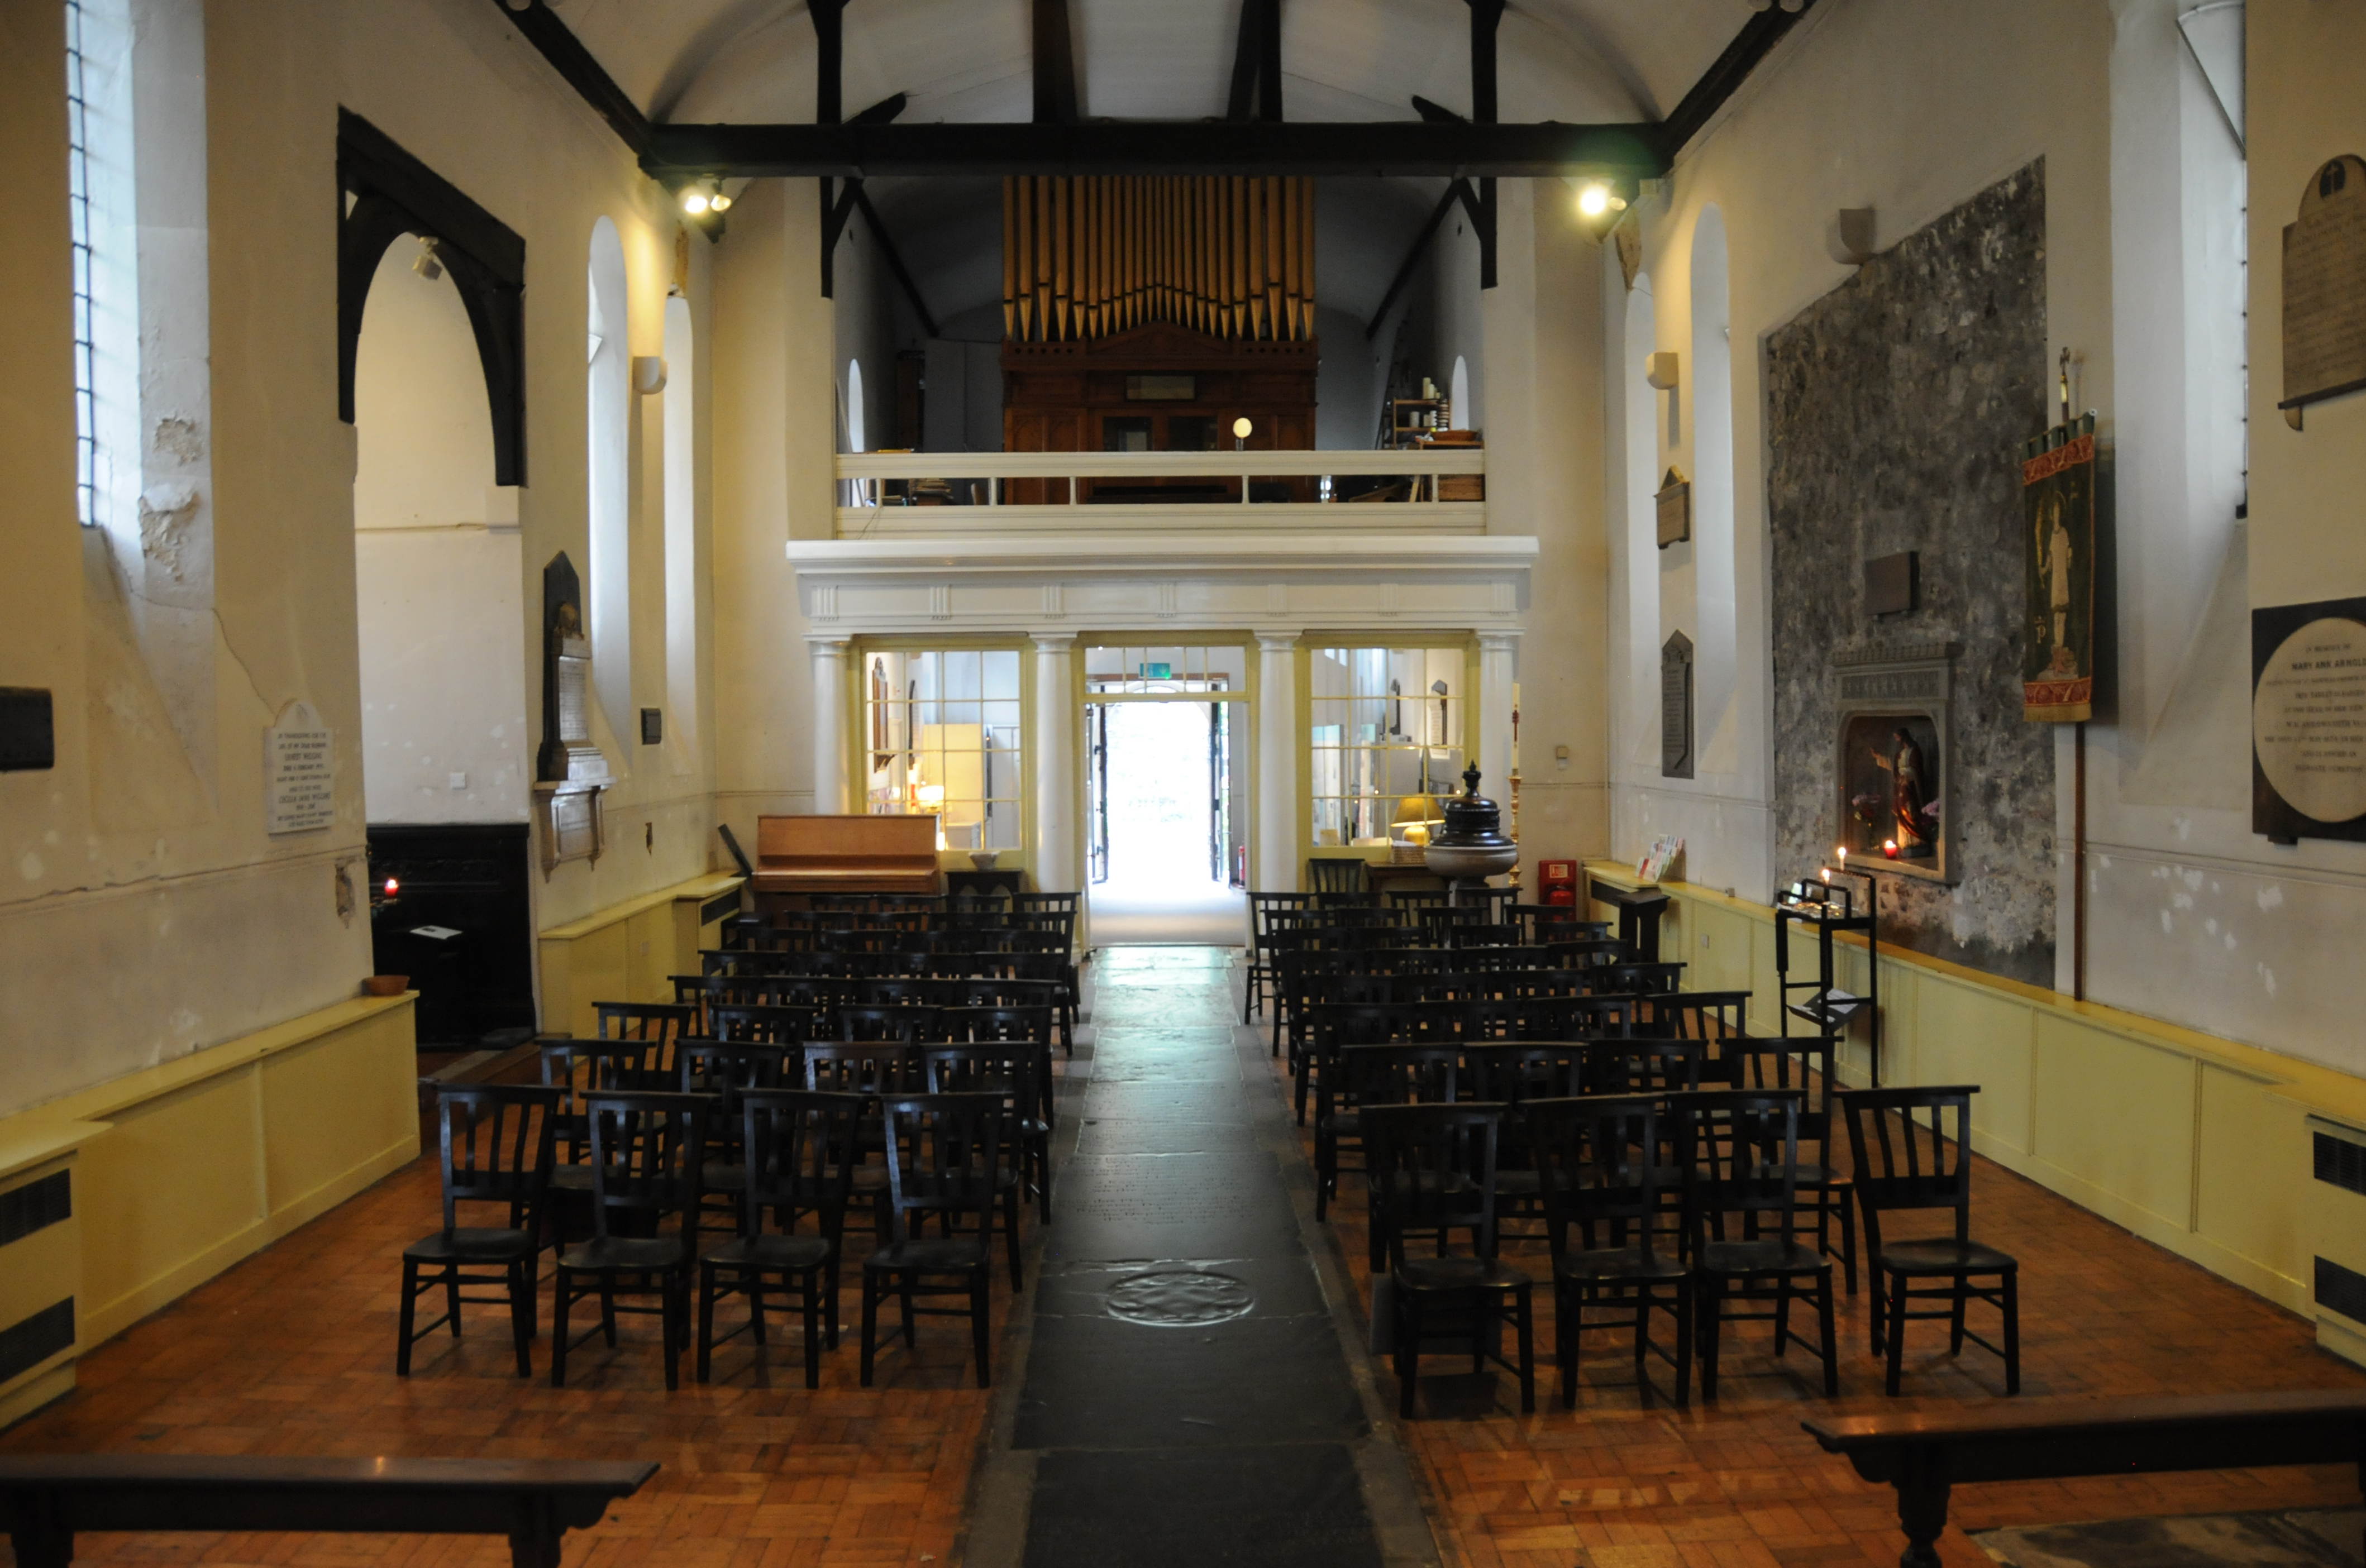
View of the church looking down towards the entrance.
St. Pancras Old Church is possibly one of the earliest sites of Christianity in the country with a much earlier history as a pagan / Roman shrine. Surviving through centuries of isolation, the church has now to contend with the encroachment of roads and railways, but is still an atmospheric and lovely place to visit. As with my last week’s post on All Hallows by the Tower, I was the only visitor.
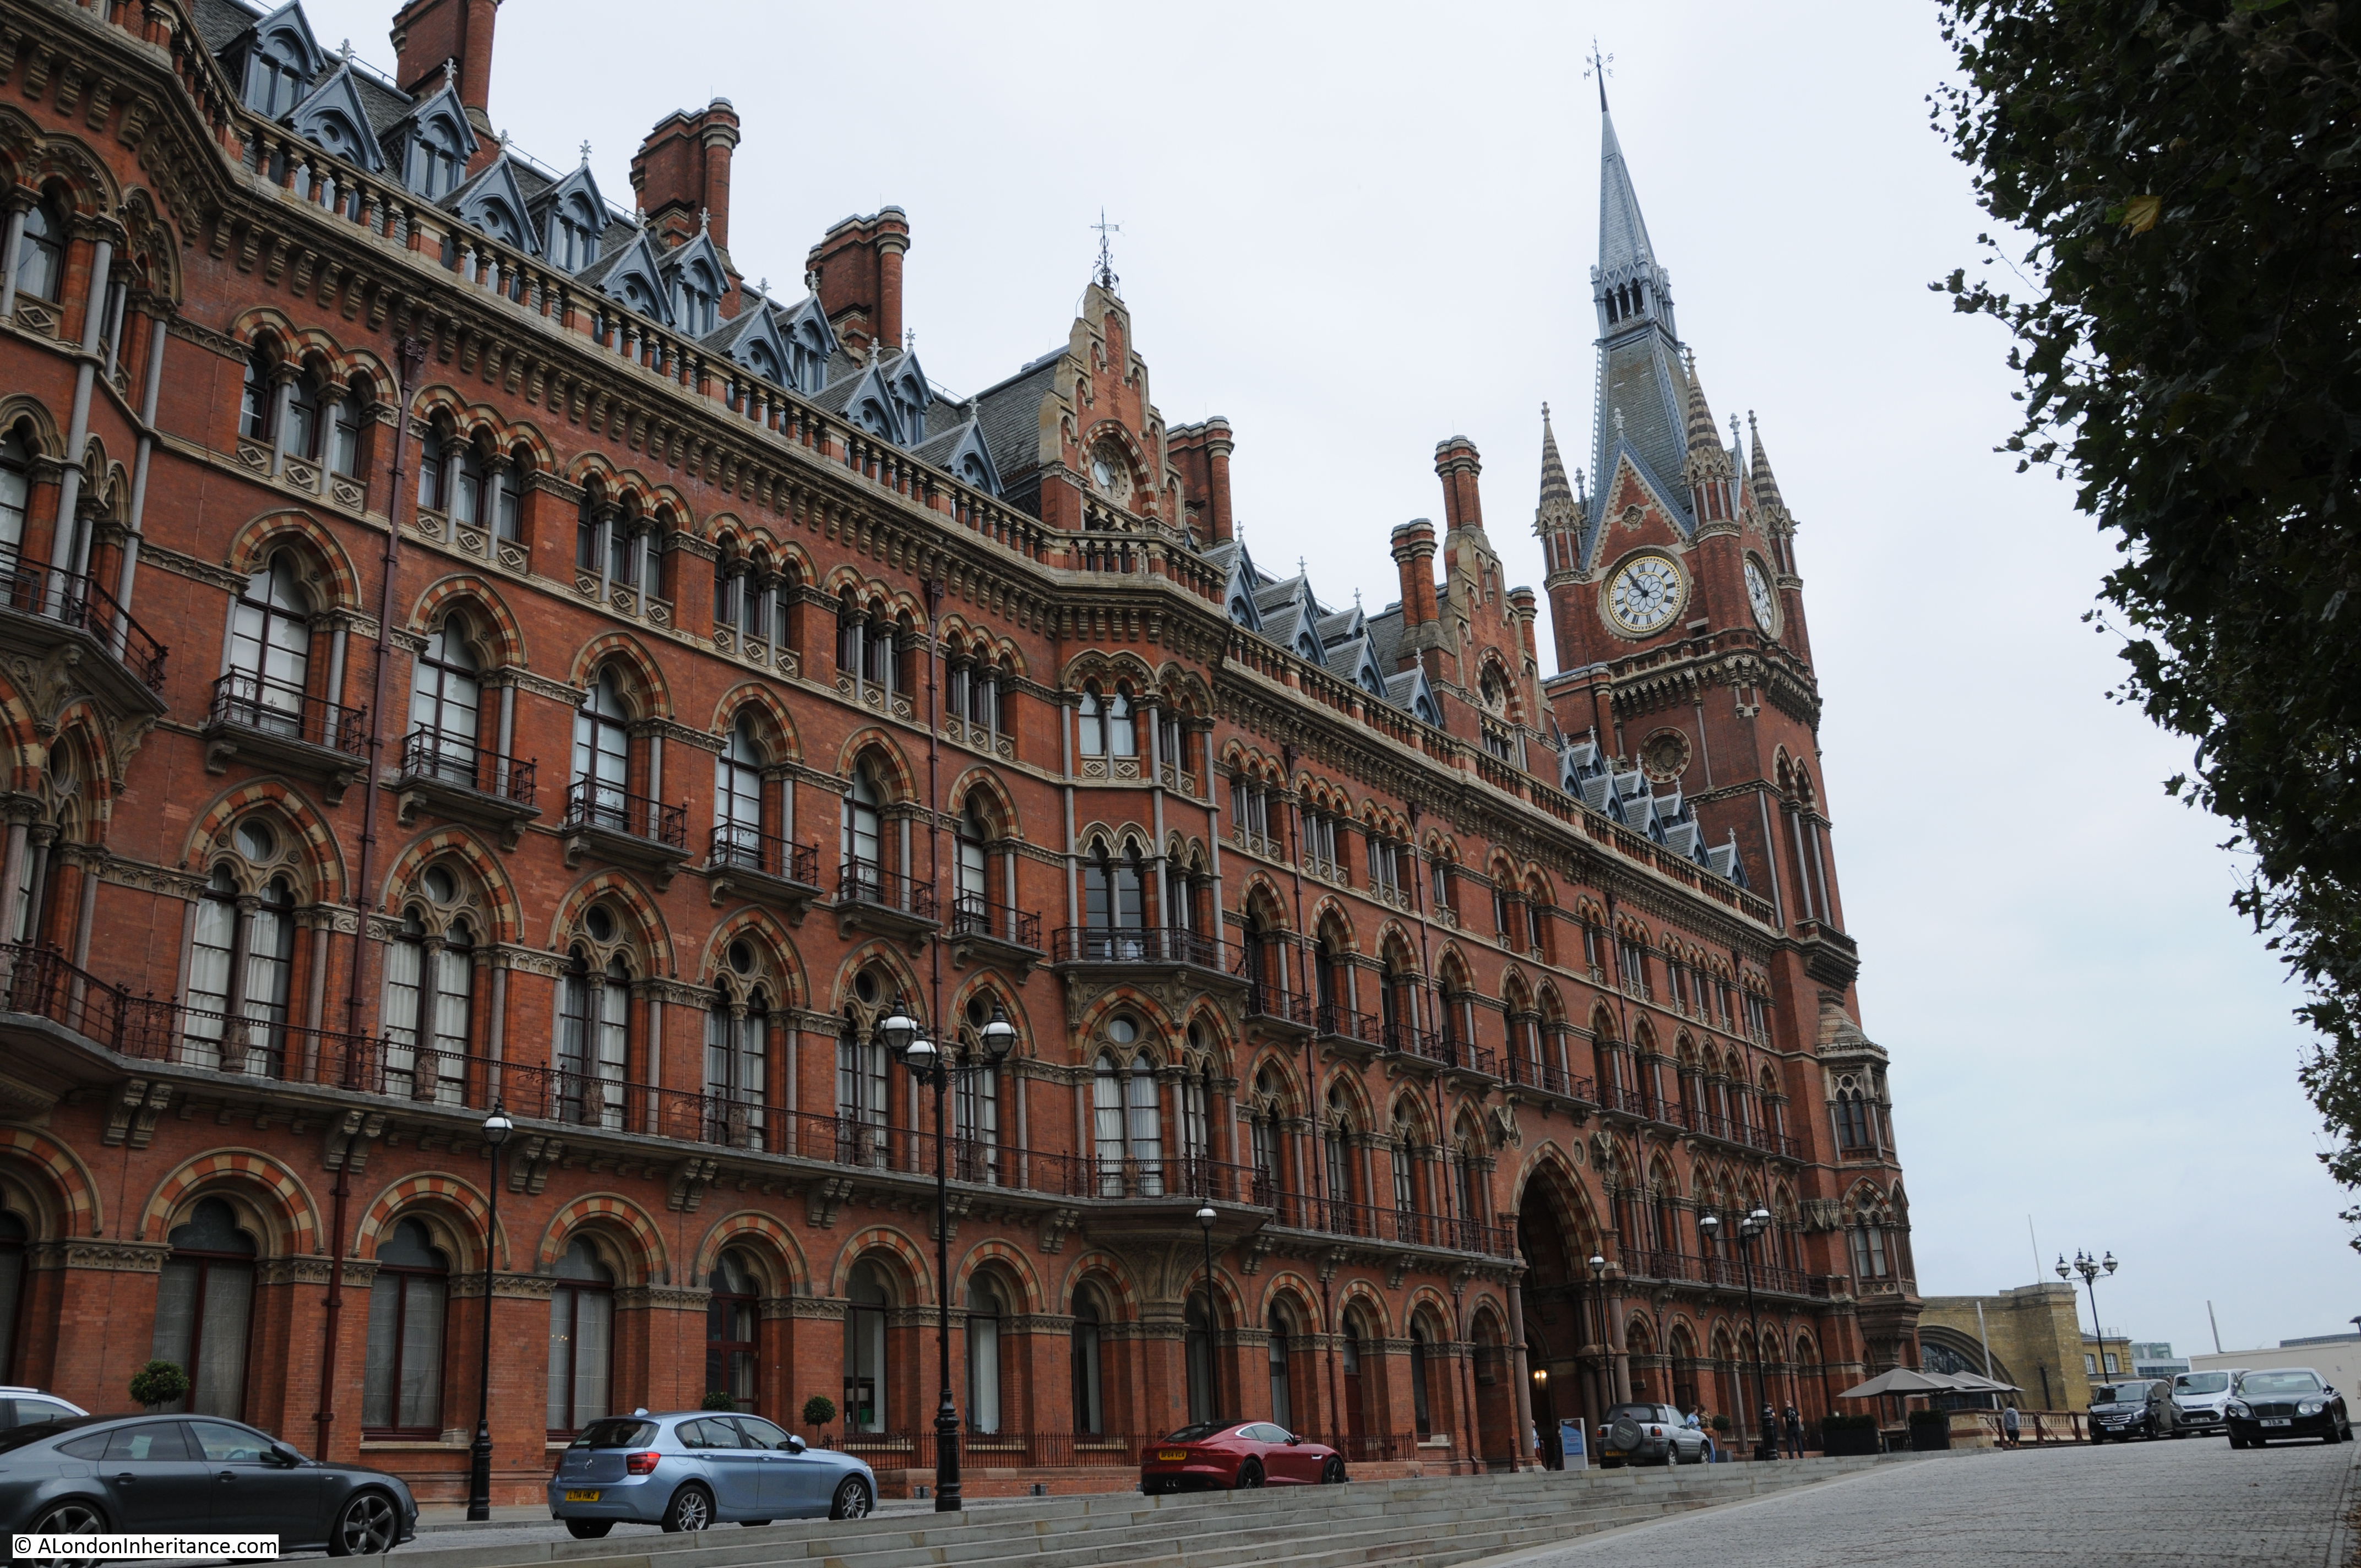
As I walked back to St. Pancras Station, I passed the new building of the Francis Crick Institute which had only just opened.
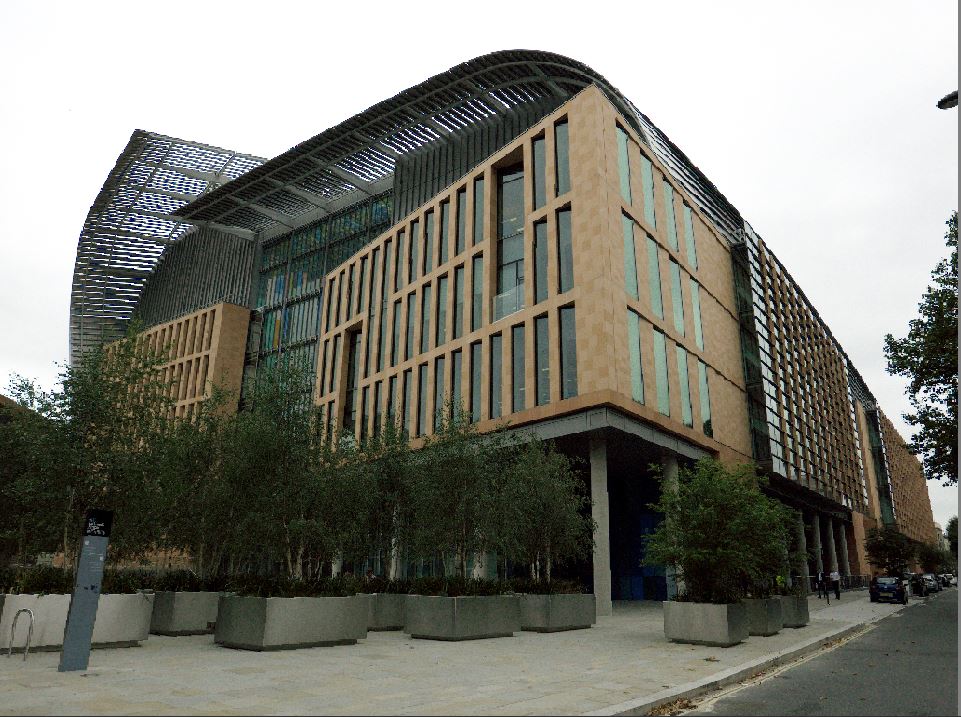
In this small area there is one of the earliest church sites in the country which may also be on the site of a much earlier pagan shrine, a new building housing the very latest in biomedical research, close to the British Library, all next to the magnificent architecture of St. Pancras Station which is also the terminal of a train service running under the channel to Europe – this continual development and diversity, but with very deep historic roots is why I continue to find London so fascinating.